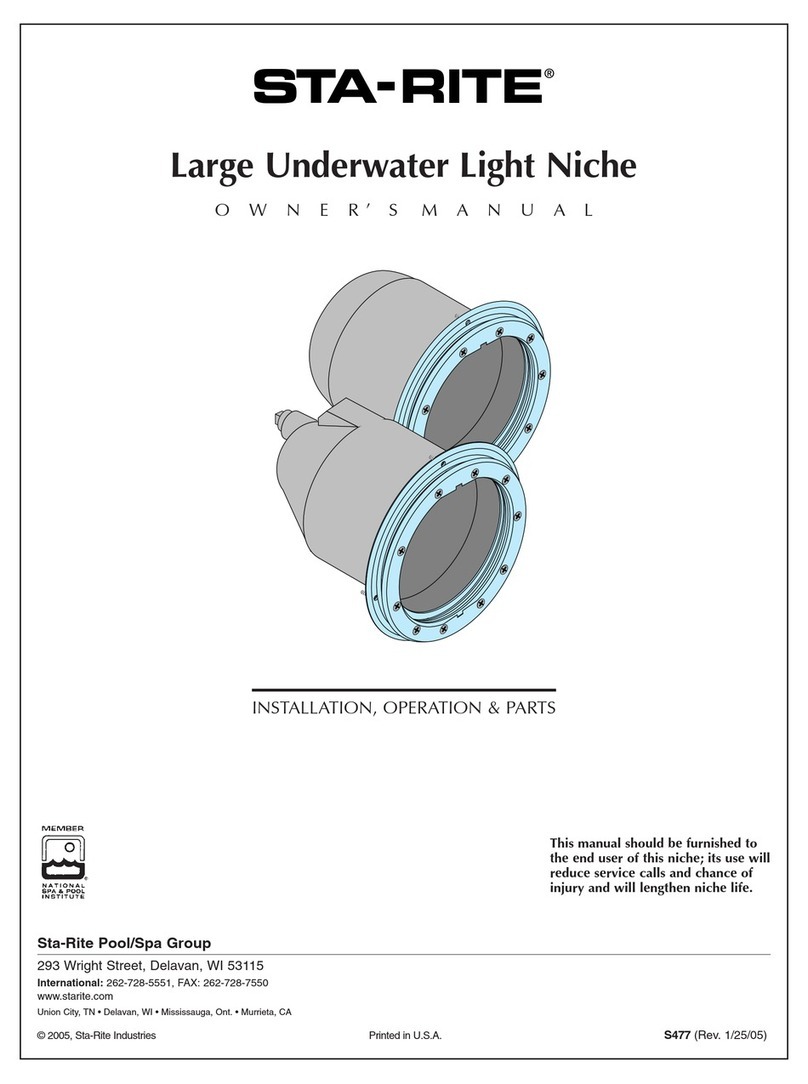
STA-RITE Sunbrite Series User manual

Sunbrite™
Large Underwater Pool Lights
O W N E R’ S M A N U A L
INSTALLATION, OPERATION & PARTS
Sta-Rite Pool/Spa Group
293 Wright Street, Delavan, WI 53115
North America: 800-752-0183, FAX 800-582-2217
International: 262-728-5551, FAX: 262-728-4461, TELEX: ITT 4970245
www.sta-ritepool.com
Union City, TN • Delavan, WI • Mississauga, Ont. • Murrieta, CA
©2002, Sta-Rite Industries, Inc. Printed in U.S.A. S473 (Rev. 8/7/02)
This manual should be furnished to
the end user of this light; its use will
reduce service calls and chance of
injury and will lengthen light life.

2
READ AND FOLLOW
SAFETY INSTRUCTIONS!
This is the safety alert symbol. When you see this
symbol in this manual, look for one of the follow-
ing signal words and be alert to the potential for personal
injury.
warns about hazards that will cause serious
personal injury, death or major property damage if
ignored.
warns about hazards that can cause serious
personal injury, death or major property damage if
ignored.
warns about hazards that will or can cause
minor personal injury or property damage if ignored.
The label NOTICE indicates special instructions which
are important but not related to hazards.
Carefully read and follow all safety instructions in this
manual and on equipment.
End user should save these instructions.
GENERAL SAFETY!
Hazardous voltage. Incorrectly installed or
tested equipment may fail, causing severe injury or prop-
erty damage. Read and follow instructions in owner's
manual when installing and operating equipment. Have
a trained pool professional perform all tests.
Risk of electrical shock. Before removing
fixture from pool wall, ALWAYS TURN OFF THE POWER
at the breaker.
Install this light and light niche in accordance with Article
680 of the National Electrical Code (NEC), in the United
States, or Section 68 of the Canadian Electrical Code
(CEC), as applicable, and all local code requirements.
Install an approved Ground Fault Circuit Interrupter in
the electrical circuit for this light.
All devices in the system must be directly grounded to a
positive electrical ground. All devices in the system must
meet all applicable code requirements for bonding.
Installation and maintenance of this circuit, and the light,
light niche, and any other accessories attached to the cir-
cuit, must be performed by a qualified, licensed electrician.
The complete electrical system must be installed, tested,
and approved by a qualified, licensed electrician before
it is placed in operation.
Burn hazard. Never operate this light fix-
ture for more than 10 seconds unless it is completely
submerged in water. This fixture requires total submer-
sion for cooling.
Breakage hazard. Install fixture in a vertical
pool or spa wall – not in floor. Failure to install the fix-
ture properly could result in personal injury and/or prop-
erty damage. Do not push off from the poolside against
the light.
Except when the fixture is installed in an area of the
swimming pool that is not used for swimming and the
lens is adequately guarded to keep any person from con-
tacting it, the fixture shall be installed in or on a wall of
the pool, with the top of the lens opening not less than
18” below the normal level of the pool.
The junction box must be located:
•at least 4 feet from the perimeter of the pool (unless
separated from the pool by a solid fence, wall or other
permanent structure,
•at least 8” above maximum water level,
•at least 4” above the deck or ground level.
Junction boxes should be located off the walkway
around the pool and given additional protection by
installing them next to a fence, building, or other perma-
nent structure. Make sure that the installation is in com-
pliance with local codes and the NEC or the CEC, as
applicable.
The improper use of Ozone generators, Chlorine genera-
tors, Copper/Silver Ion generators or certain chemicals
for water purification may cause damage to the fixture.
When such water purification methods are used, be sure
to monitor the water conditions. Subjecting the fixture to
extreme conditions or harsh environments may cause
corrosion and premature failure of the fixture or its
components.
Cutting hazard if light is improperly
installed. This light is for use only in commercial and
residential swimming pools and spas. It has not been
designed, tested, or approved for use in wave pools,
lazy rivers, or other waterpark features, and should not
be used in them. Use in any application other than a
swimming pool or spa may lead to damage to the light
and cuts to swimmers and will void the warranty. Sta-
Rite will not be responsible for any damages or injuries
due to misapplication of this light.
INSTALLATION
Sunbrite™Lamp Housing Installation
(Refer to Figure 2 and the Exploded View on Page 5).
1. Be sure the power is off.
2. Place lamp housing on the deck above the niche.
Feed the cord into the niche and through the conduit
until the cord reaches the junction box. Make sure
that there is enough cord to allow the fixture to be
placed on the deck for re-lamping.
3. Make connections in the junction box (be sure to fol-
low code requirements). Connect the supply circuit
grounding wire (green, green and yellow, or bare cop-
per) to the green ground conductor from the light fix-
ture. Connect the line supply wire (the black or ’hot’
wire) to the black wire from the light fixture. Connect
the neutral (white) supply wire to the neutral (white)
wire from the light fixture.
4. Wrap the cord around the lamp housing and place the
lamp housing in the niche. Be sure the locator tab on
the bottom of the lamp housing is in the notch at the
bottom of the niche.
5. Fasten the lamp housing into the niche with the cap-
tive leader screw at the top of the fixture (use a No. 2
Phillips screwdriver).
NOTICE: The screw in the face ring may be recessed.
3
Fixture
Fixture removed
for relamping
4 FT. Min.
Max. water
level
8" Min.
18" Min.
8" Min.
Pool wall
To
service
To service
To fixture
Junction box
Low level
probe
Brass conduit
Sufficient cord to allow fixture to
be put on the deck for relamping
Figure 1 – Lamp Housing Installation
Allowance of Watts/Sq. Foot
Type of Pool of Pool Area
Small Residential Pools
(Less than 800 sq. ft.) 1/2 to 1*
Large Public Pools 1 to 11⁄2
Diving Pools
(Less than 12 ft. deep) 11⁄2to 2
Diving Pools
(12 to 20 ft. deep) 2 to 3
Competition Pools 2 to 3**
* One 500 watt light at deep end of pool is recommended.
** For competition pools:
1. Make sure that the start/finish ends of lanes are well
lighted.
2. Never install lights in end walls at end of swimming
lanes. However, if short course racing is provided across
width of a 50 meter course, light fixtures may be
installed between lanes (under racing lines) on a seperate
switch.
Table I

MAINTENANCE
Electrical shock hazard. Before removing
fixture from pool wall, ALWAYS TURN OFF THE POWER
at the breaker. Installation and maintenance of this cir-
cuit, the light, light niche, and any other accessories
attached to this circuit must be performed by a licensed
electrician. The complete electrical system must be
installed, tested, and approved by a licensed electrician
before it is placed in operation.
Risk of cuts, burns, and electrical shock.
Avoid direct impacts on glass lens. Do not install dam-
aged or broken lens.
For Sunbrite™Lamps
See Figure 2, Page 5, for Key numbers.
1. Be sure that the power is off. Allow the lamp to cool
before re-lamping.
2. Loosen the captive leader screw (Key No. 1) from the
top of the fixture face ring (Key No. 2)
NOTICE: The screw in the face ring may be recessed.
3. Remove the lamp housing (Key No. 6) and place on
the pool deck.
4. Using a clean soft lint free cloth, carefully wipe all
sealing surfaces on the lamp housing and lens.
Replace lamp with an equivalent to the original lamp.
5. Replace the gasket (Key No. 4).
6. To reassemble the lens assembly to the lamp housing,
reverse the disassembly process. Be sure that the lamp
housing is clean, dry, and free of all traces of mois-
ture, before sealing the fixture.
7. Wind the extra cord around the lamp housing and
place the lamp housing back in the niche. Be sure to
align the locator tab at the bottom of the lamp hous-
ing with the notch in the bottom of the niche.
8. Fasten the lamp housing into the niche using the cap-
tive leader screw (Key No. 1) at the top of the trim
ring.
4
U.S. Canada Cord Length
Model Model in Feet (m)
12 Volts -
100 Watts
05501-2204 05501-2232 15 (4.5)
05501-2205 05501-2233 30 (9.1)
05501-2206 05501-2234 50 (15.2)
05501-2207 05501-2235 75 (22.8)
05501-2208 05501-2236 100 (30.5)
05501-2209 05501-2237 125 (38.1)
05501-2210 05501-2238 150 (45.7)
12 Volts -
200 Watts
05501-2211 05501-2239 15 (4.5)
05501-2212 05501-2240 30 (9.1)
05501-2213 05501-2241 50 (15.2)
05501-2214 05501-2242 75 (22.8)
05501-2215 05501-2243 100 (30.5)
05501-2216 05501-2244 125 (38.1)
05501-2217 05501-2245 150 (45.7)
120 Volts -
300 Watts
05502-1990 05502-2218 15 (4.5)
05502-1991 05502-2219 30 (9.1)
05502-1992 05502-2220 50 (15.2)
05502-1993 05502-2221 75 (22.8)
05502-1994 05502-2222 100 (30.5)
05502-1995 05502-2223 125 (38.1)
05502-1996 05502-2224 150 (45.7)
120 Volts -
500 Watts
05502-1997 05502-2225 15 (4.5)
05502-1998 05502-2226 30 (9.1)
05502-1999 05502-2227 50 (15.2)
05502-2200 05502-2228 75 (22.8)
05502-2201 05502-2229 100 (30.5)
05502-2202 05502-2230 125 (38.1)
05502-2203 05502-2231 150 (45.7)
Sunbrite™Large Underwater Lights
SPECIFICATIONS

5
1
2
3
4
5
6
8
7
120 Volt Lamp
12 Volt Lamp
05501-2204 – 2210 05501-2211 – 2217 05502-1990 – 1996 05502-1997 – 2203
and and and and
Key 05501-2232 – 2238 05501-2239 – 2245 05502-2218 – 2224 05502-2225 – 2231
No. Part Description Qty. 12V, 100W 12V, 200W 120V, 300W 120V, 500W
1Leader Screw 1 05101-0004 05101-0004 05101-0004 05101-0004
2Stainless Steel Face Ring Assembly 1 05501-0002 05501-0002 05501-0002 05501-0002
3Clear Lens 1 34620-0003 34620-0003 34620-0003 34620-0003
4Lens Gasket 1 05501-0001 05501-0001 05501-0001 05501-0001
5Clamp Assembly 1 05501-0003 05501-0003 05501-0003 05501-0003
6Lamp Housing 1 † † † †
750W, 12V, R40 Lamp Use 2 for 100W 1 34600-0016 – – –
7100W, 12V, R40 Lamp Use 2 for 200W 1 34600-0017 34600-0017 – –
8300W, 120V, R40 Lamp 1 – – 34600-0018 –
8500W, 120V, R40 Lamp 1 – – – 34600-0019
•Large Popover – Blue 1 34627-6005 34627-6005 34627-6005 34627-6005
•Large Popover – Red 1 34627-6007 34627-6007 34627-6007 34627-6007
•Replacement Screw Kit 1 05601-0101 05601-0101 05601-0101 05601-0101
•Rubber Retainer for Lead Screw 1 05101-0005 05101-0005 05101-0005 05101-0005
REPAIR PARTS LIST – SUNBRITE™LAMPS
† Not sold separately
• Not illustrated
Figure 2 - Replacement Parts Sunbrite™Lamps Exploded View

6

7

▲Retain Warranty Certificate (upper portion) in a safe and convenient location for your records.
DETACH HERE: Fill out bottom portion completely and mail within 10 days of purchase/installation to:
▼ Sta-Rite, Attn: Warranty Dept., 293 Wright St., Delavan, WI 53115
Pumps, filters, skimmers, underwater lights (except bulbs),
accessories and fittings manufactured by Sta-Rite are war-
ranted to be free of defects in material and workmanship
for one (1) year from date of installation.
Product specific warranties: Year from date
of installation
HRPB, DEPB, System 3, and PL – Tanks . . . . . . .10 years
Internal filter components and valves . . . . . . . . 1 year
Max-E-Therm – Pool/Spa Heaters . . . . . . . . . . . . 2 years
Heater Enclosure only (Upper RH & LH;
lower enclosure; and control board enclosure)…10 years
Automatic Pool Cleaners including Hose . . . . . . 2 years
Cristal-Flo filters – Tanks . . . . . . . . . . .10 years pro-rated*
Valve and internal components. . . . . . . . . . . . . . 1 year
Posi-Flo II – Tanks . . . . . . . . . . . . . . . . . . . . . . . .10 years
Elements . . . . . . . . . . . . . . . . . . . . . . . . . . . . . . 1 year
PRC Cartridge –
Filter Tanks . . . . . . . . .5 years pro-rated (1st 2 years full)
Elements . . . . . . . . . . . . . . . . . . . . . . . . . . . . . . 1 year
System 3 Above Ground Systems – Tanks . . . . . .10 years
Pumps / Platform and Internals . . . . . . . . . . . . . 1 year
Pumps . . . . . . . . . . . . . . . . . . . . . . . . . . . . . . . . . . 1 year
When equipped with A.O. Smith
2-compartment motors (Does not include
pumps sold as part of a systems package) . . . . . 2 years
Traps / In-Line Strainers . . . . . . . . . . . . . . . . . . . 1 year
Vertical Commercial Filter – Tanks . . . . . . . . . . .10 years
Internals . . . . . . . . . . . . . . . . . . . . . . . . . . . . . . . 1 year
Horizontal Commercial Filter
Tanks . . . . . . . . . . . . . . . . . . . . . . . . . . . . . . . . .5 years
(Years 6-9, Prorated declining 20%/year,Yr. 10 - 10%)
Internals . . . . . . . . . . . . . . . . . . . . . . . . . . . . . . . 1 year
* Full warranty coverage is in effect for one year after instal-
lation.The pro-rated warranty covers the tank only during
the 2nd through 10th year after installation.The amount cov-
ered decreases by 10% each year. (ie., 2nd year 90% covered,
3rd year 80% covered, etc.).
The foregoing warranties relate to the original consumer
purchaser (“Purchaser”) only. Sta-Rite shall have the option
to repair or replace the defective product, at its sole discre-
tion. Purchasers must pay all labor and shipping charges
necessary to replace the product covered by this warranty.
Requests for warranty service must be made through the
installing dealer. This warranty shall not apply to any prod-
uct that has been subject to negligence, misapplication,
improper installation or maintenance, or other circum-
stances which are not in Sta-Rite’s direct control.
This warranty sets forth Sta-Rite’s sole obligation and
Purchaser’s exclusive remedy for defective products.
STA-RITE SHALL NOT BE LIABLE FOR ANY CONSEQUENTIAL,
INCIDENTAL OR CONTINGENT DAMAGES WHATSOEVER.
THE FOREGOING WARRANTIES ARE EXCLUSIVE AND IN
LIEU OF ALL OTHER EXPRESS WARRANTIES. IMPLIED WAR-
RANTIES, INCLUDING BUT NOT LIMITED TO THE IMPLIED
WARRANTIES OF MERCHANTABILITY AND FITNESS FOR A
PARTICULAR PURPOSE, SHALL NOT EXTEND BEYONDTHE
DURATION OF THE APPLICABLE EXPRESS WARRANTIES
PROVIDED HEREIN.
Some states do not allow the exclusion or limitation of inci-
dental or consequential damages or limitations on how long
an implied warranty lasts, so the above limitations or exclu-
sion may not apply to you.This warranty gives you specific
legal rights and you may also have other rights which vary
from state to state.
Supersedes all previous publications.
Sta-Rite Industries, Inc.,
293 Wright St., Delavan, WI 53115
Warranty Registration Card
Name
Address
City State Zip
Purchase Date
Product Purchased
■■New installation ■■Replacement
Type of Pool ■■Inground ■■Vinyl ■■Fiberglass ■■Gunite
Size of Pool
Years pool has been in service ■■less than 1 ■■1-3 ■■3-5 ■■5-10
Purchased from:
Company name
Address
City State Zip
Please send me more information on these
other products from Sta-Rite.
■■Pumps ■■Filters ■■Automatic Pool Cleaners
■■Maintenance Equipment ■■Test Strips
■■Heaters
S4877PS (Rev. 1/22/01)
STA-RITE LIMITED WARRANTY
This manual suits for next models
56
Table of contents
Other STA-RITE Swimming Pool Lighting manuals
Popular Swimming Pool Lighting manuals by other brands

Professional Pool Products
Professional Pool Products 100 Series installation manual

Sicce
Sicce BLAGDON PHOTECH AMPHIBIOUS manual

Powerline
Powerline 8145 Series user guide

Astral Pool
Astral Pool 33710 Installation and maintenance manual

Hayward
Hayward 3464PLDBL owner's manual

Pentair
Pentair SlimLite 56400 Installation and user guide