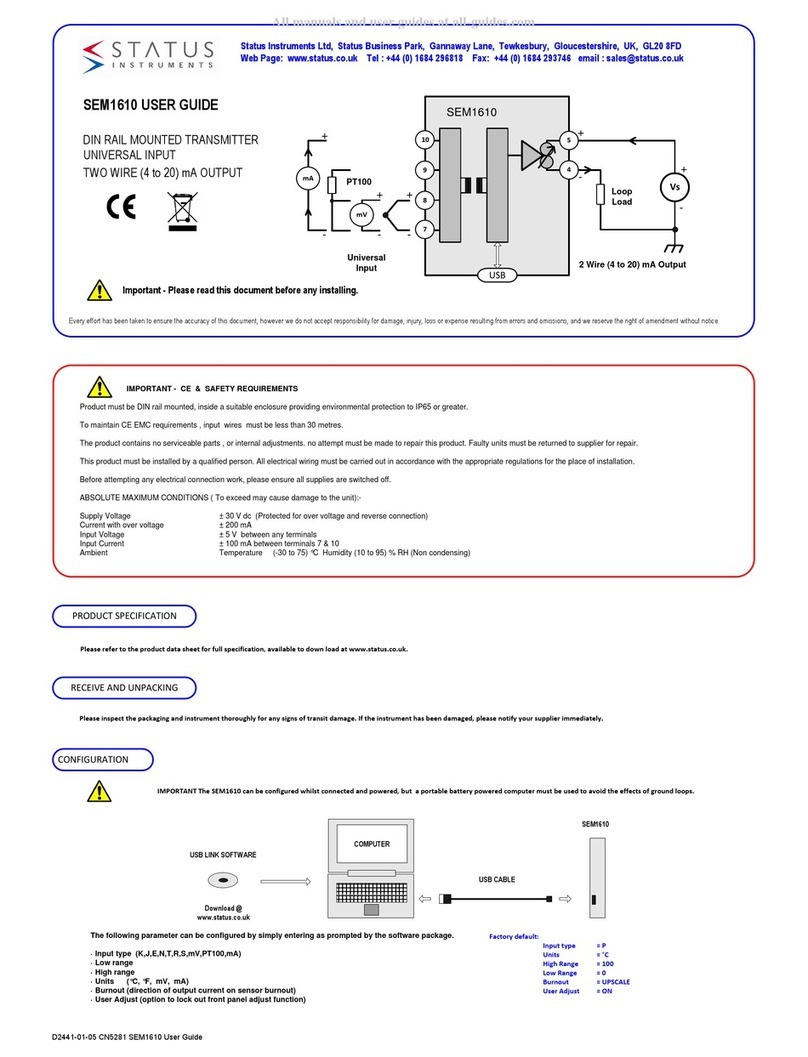
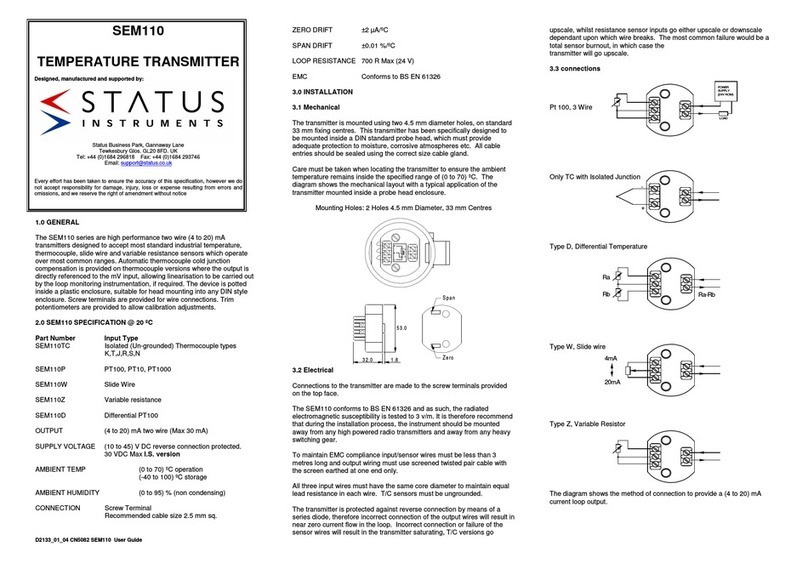
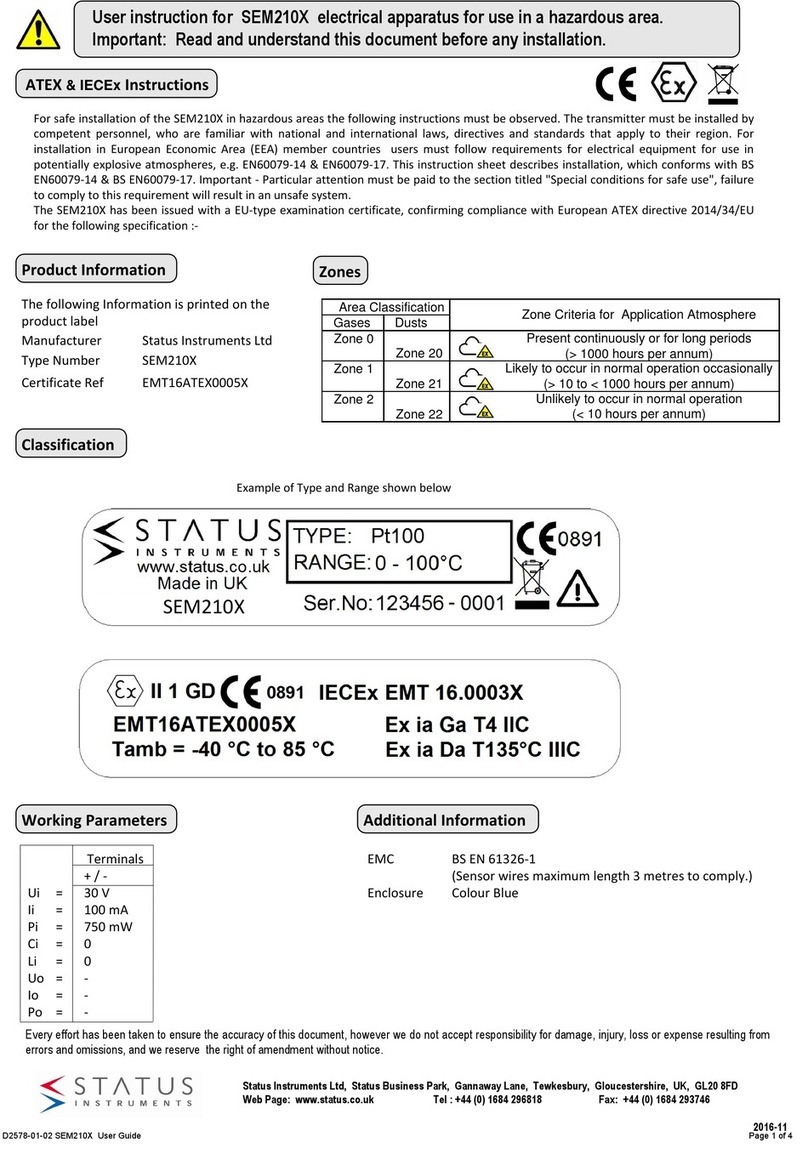
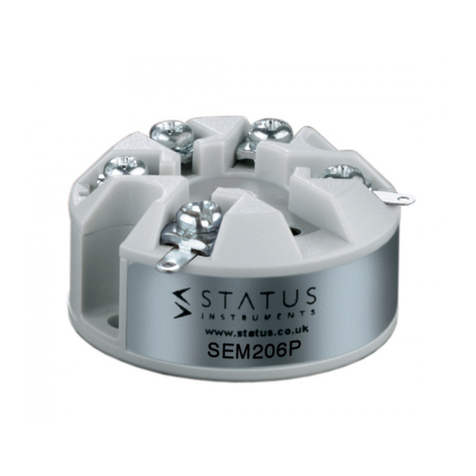
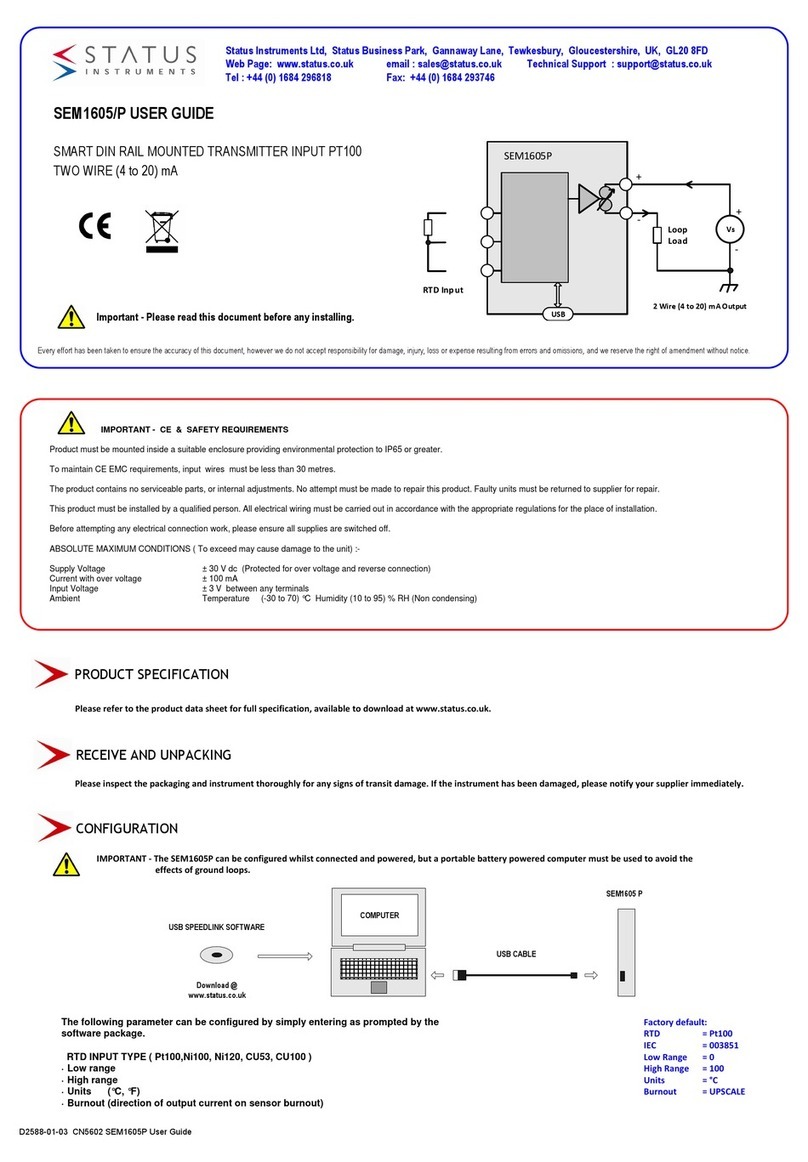
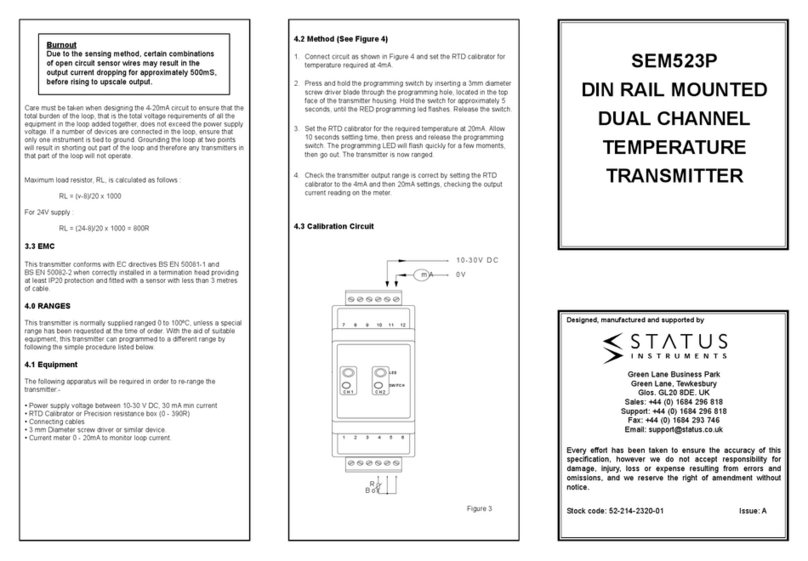
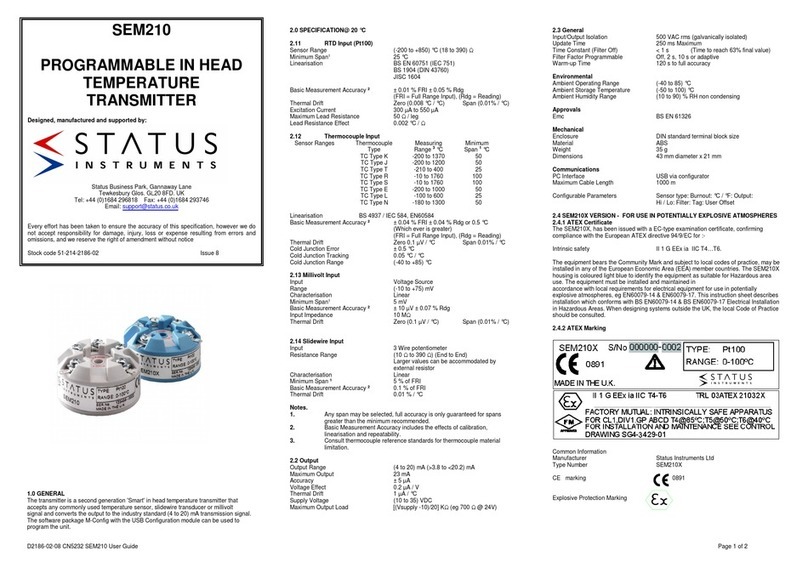
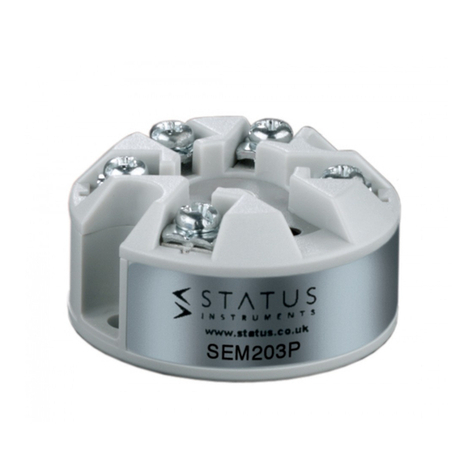
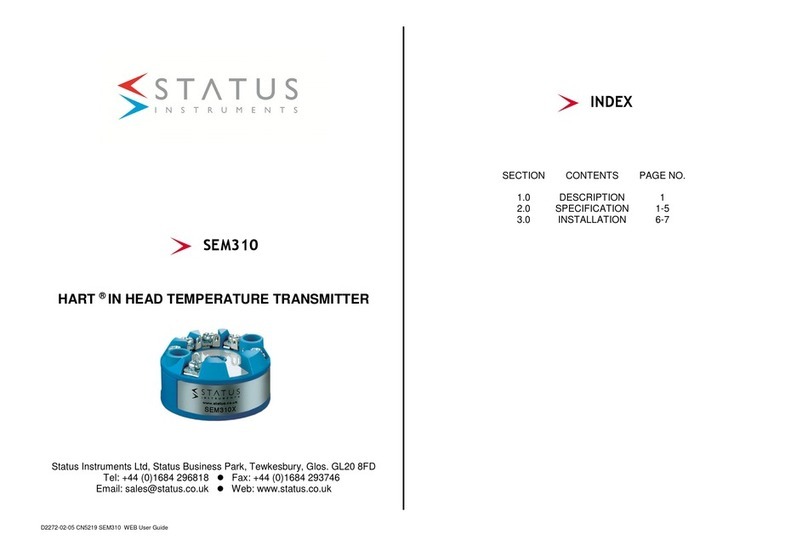
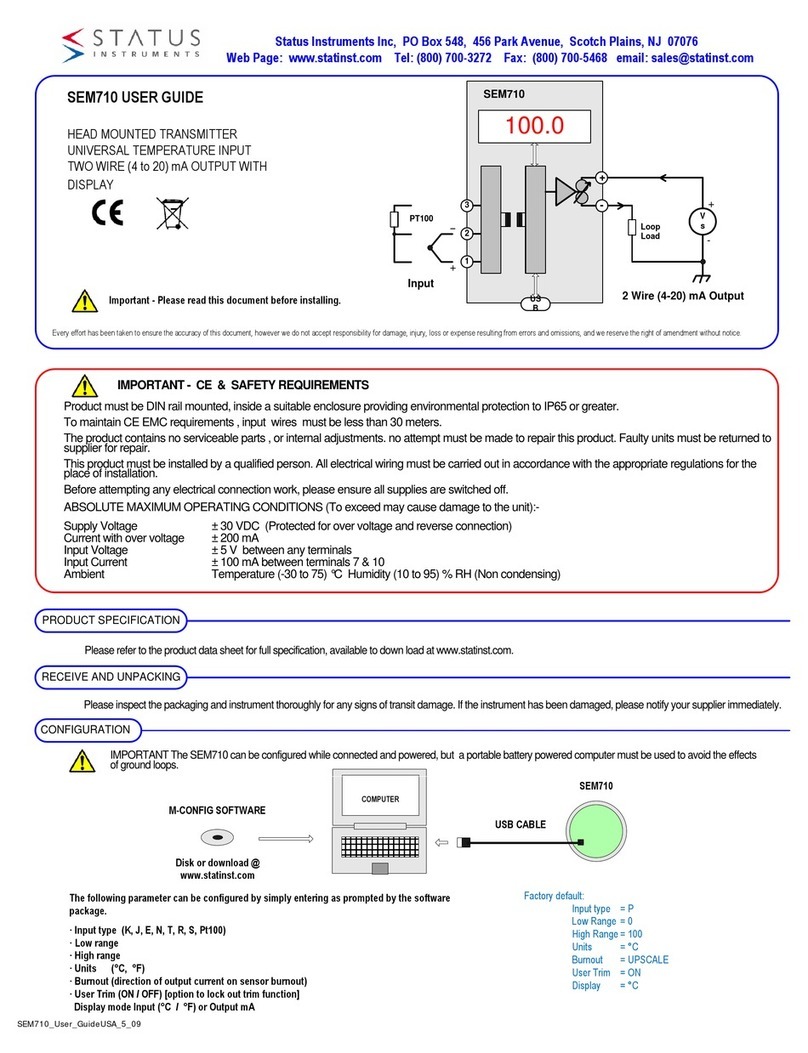
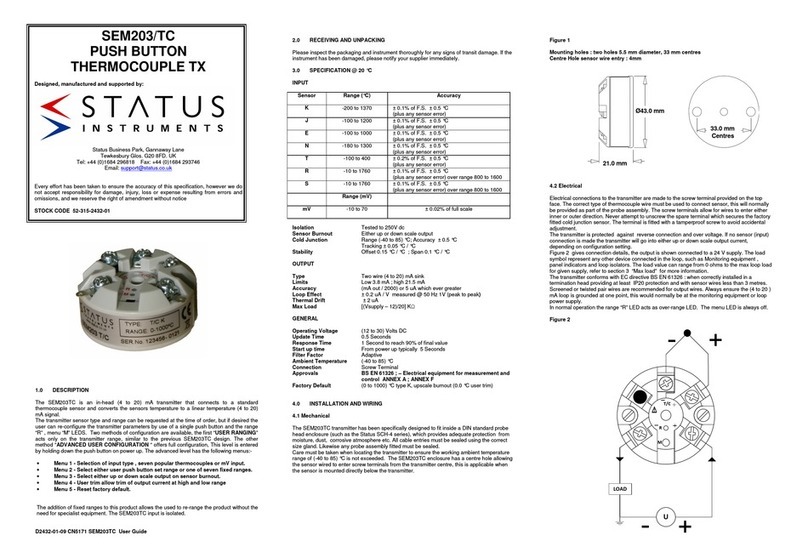
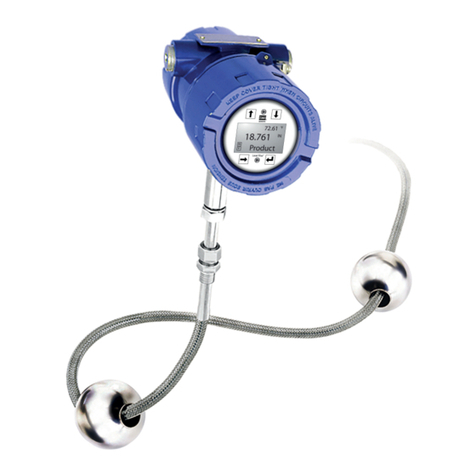
Status Instruments WTX700 Series User manual

1 of 33

2 of 33
Contents
1 Introduction ..................................................................................4
1.1 Safety information ...................................................................4
1.2 Description.............................................................................5
1.3 Block diagram .........................................................................5
1.4 Dimensions.............................................................................7
1.4.1 ransmitter .....................................................................7
1.4.2 Antenna-battery case.........................................................7
1.5 Connection elements and connectors ...........................................8
2 Identifying the instrument version......................................................9
2.1 Probe ID ................................................................................9
2.2 Order details ..........................................................................9
2.3 Accessories ............................................................................9
3 Probe preparation......................................................................... 10
3.1 Fitting/exchanging the battery.................................................. 10
3.2 Battery service life................................................................. 12
3.3 Disposal of lithium batteries ..................................................... 12
4 Probe range................................................................................. 13
4.1 General information about radio transmission .............................. 13
5 Installation.................................................................................. 13
5.1 Information about fastening, securing and arrangement ................. 13
5.4 Aligning the antenna............................................................... 14
6 Electrical connection..................................................................... 15
6.1 Safety information ................................................................. 15
6.2 Connection elements and connectors ......................................... 15
6.3 Connection diagram.................................................................... 16
6.3.1 Voltage supply................................................................ 16
6.3.2 Analog inputs ................................................................. 16
6.3.3 Output.......................................................................... 18
6.3.4 Interface....................................................................... 18
7 Setup program ............................................................................. 19
7.1 General information about the setup program .............................. 19
7.2 Hardware and software prerequisites ......................................... 20
7.3 Establishing the connection between PC and probe ....................... 21
7.4 Probe configuration................................................................ 23
7.4.1 Establishing communication............................................... 23
7.4.2 Reading current probe parameters...................................... 23
7.4.3 Editing probe parameters.................................................. 24
7.4.4 ransmitting new parameters to the probe ........................... 24
7.5 ParametersOverview .............................................................. 25
8.1 echnical data ...................................................................... 27
8.1.1 Analog inputs ................................................................. 27

3 of 33
8.1.2 Output (radio transmission) ............................................... 30
8.1.3 Electrical data ................................................................ 30
8.1.4 Environmental influences ................................................. 31
8.1.5 Case............................................................................. 32

4 of 33
1 Introduction
1.1 Safety information
General information
This manual contains information that must be observed in the interest of your
own safety and to avoid damage to assets. This information is supported by
symbols which are used in this manual as follows.
Please read this manual before commissioning the device. Keep the manual in a
place accessible to all users at all times. If difficulties occur during
commissioning please refrain from carrying out any manipulations that could
jeopardize your warranty rights.
Warning signs
CAU ION!
This symbol in combination with the signal word
indicates that damage to assets or data loss will
occur if suitable precautions are not taken.
Note signs
IP!
This symbol refers to important information about
the product or its handling or additional use.
REFERENCE!
This symbol refers to Further information in other
sections chapters or manuals.

5 of 33
1.2 Description
The head transmitter WTX700 designed for industrial applications consists of the
transmitter with integrated transmission unit and an antenna-battery case. The
transmitter is designed for integration into the connection head. Integration into
customer-specific connection heads is also possible. The antenna-battery case is
installed on the connection head via a thread (M20 x 1.5).
The measured value is transmitted wireless by the receiver (WRX900) displayed
on the LCD display and provided on the receiver via the RS485 interface as well as
an analog output. The radio frequency within the ISM band (Industrial Scientific
and Medical Band) is 868.4 MHz. This frequency is almost insensitive to external
interferences and allows transmission even in a rough industrial environment.
When using the antenna wall holder with the 10 meter long cable for the receiver
the maximum open air range is 300 m.
A lithium battery 3.6 V 2.2 Ah (size AA) is used for the transmitter power supply.
Transmitter (probe) and receiver can be configured with the optional setup
program (probe ID transmission interval measuring range and if necessary
probe type). The configuration data can be archived and printed. Changed
parameters can be overwritten again with the factory settings at any time. The
connection between transmitter and PC is established via a PC interface
(USB/TTL).
Configuration can be preset if stated at time of order.
1.3 Block diagram
WTX
700
Setup
Interface
Transmission Unit
Lithium Battery
3.6 V, 2.2 Ah
Power Supply
RTD
Temperature
Probe
Thermocouple
Potentiometer
Voltage
Analog Input
+
-
Transmission
frequency
868.4 MHz

6 of 33
IP!
An active (4 to 20) mA loop can be monitored passing the
current through a suitable resistor and sensing the mV
drop.

7 of 33
1.4 Dimensions
1.4.1 ransmitter
1.4.2 Antenna-battery case
Ø 30

8 of 33
1.5 Connection elements and connectors
(1) SMB antenna connector
(antenna connection)
(7) Voltage supply socket (battery
connection)
(2) Voltage supply connector
(battery connection)
(8) SMB antenna socket (antenna
connection)
(3) Cable guide for antenna cable
and voltage supply (9) Seal
(4) Probe connection (10) Locknut
(5) Setup connector (11) Battery lid screw
(6) Fastening holes for
installation in the connection
head

9 of 33
2 Identifying the instrument version
2.1 Probe ID
Position
The factory set probe ID is stated on a sign fitted on top of the transmitter.
Probe ID
The probe ID is factory set. It must be entered and activated on the receiver to
establish communication between the probe and receiver. The probe ID can be
changed to customer specific requirements using the setup program. The user
must ensure that probes with identical probe IDs are not used together.
2.2 Order details
WTX700/SCH11 RADIO TX C/W SCH11A HEAD
WTX700/SCH4/B RADIO TX C/W SCH4 B HEAD (Two side entries)
WTX700/SCH4/C RADIO TX C/W SCH4 C HEAD (One side and one base entry)
2.3 Accessories
Article Sales article No.
Lithium battery 3.6 V 2.2 Ah (size AA) 28-302-0036-01
PC interface with USB/TTL converter adapter
(socket connector) and adapter (pins) WLESS/CNFG/KIT

10 of 33
3 Probe preparation
3.1 Fitting/exchanging the battery
CAU ION!
Ensure that soiling moisture and vapors cannot enter the
device. The device could be destroyed. When
inserting/changing the lithium battery ensure that the
device is not exposed to soiling moisture and vapors.
CAU ION!
The probe does not function if the poles are incorrectly
connected. The battery and the probe electronics could be
damaged. Ensure that the poles are correctly connected.
CAU ION!
Incorrect batteries put safety at risk. The device could be
destroyed when using incorrect batteries. Only use the
lithium battery available as accessories.
Power supply of the probe is provided by the included 3.6 V 2.2 Ah lithium
battery inserted in the antenna-battery case ready for use. Battery service life
depends on the set transmission interval and the ambient temperature: approx. 1
year with the factory-set values (transmission interval 15 s) and room
temperature.

11 of 33
If the battery was removed or must be replaced proceed as follows:
Step Activity
1 Undo the battery lid screw (A) on the antenna-battery case and
open the case lid (B).
2 Press on the battery in the area of the minus pole (D) to remove the
battery (C).
3 When inserting a battery always insert the minus pole (D) side first
followed by the plus pole (E).
4 Close the case lid (B) again and ensure the correct seal position.
5 Retighten the battery lid screw (A).

12 of 33
3.2 Battery service life
The battery service life depending on the transmission interval (2 s 15 s 30 s 90
s) and the ambient temperature are shown in the following figure.
3.3 Disposal of lithium batteries
Please dispose of all batteries according to the national regulations. Insulate the
contacts of lithium batteries not completely discharged. Disposal of batteries
together with domestic waste is expressively prohibited. Batteries can be
deposited at communal waste collection points or the local retailers.
100
80
60
50
40
30
20
10
8
6
4
3
2
1
Battery service life in months
Ambient temperture in °C

13 of 33
4 Probe range
4.1 General information about radio transmission
See Receiver handbook for information
Part No: D2519_01
5 Installation
5.1 Information about fastening, securing and arrangement
IP!
Install the antenna-battery case vertically to the
top and if possible with free view to the receiver
antenna.
IP!
Never cover or coat the antenna-battery case with
metallic objects. Otherwise the probe range is
impaired.
IP!
For optimum probe function ensure a minimum
spacing of 200 mm between the probes.

14 of 33
5.4 Aligning the antenna
The recommended and unfavorable antenna alignment possibilities are shown in
the following figure. The best possible reception is ensured when the
recommended alignment possibilities are used.
Recommended installation: Connection head
vertical and antenna-battery case vertical to
the top
Recommended installation: Connection head
horizontal and antenna-battery case vertical to
the top
Recommended installation: Connection head
horizontal and antenna-battery case vertical to
the top
Unfavourable installation:
Never install the antenna-battery case
horizontally.
Unfavourable installation:
Never install the antenna-battery case
horizontally.

15 of 33
6 Electrical connection
6.1 Safety information
•The electrical connection must only be carried out by qualified personnel.
•When installing and operating the transmitter ensure that no electro-static
charging can take place.
•The transmitter is not suitable for installation and application in explosion
endangered areas.
•Never expose the transmitter to magnetic or electrical fields (e.g. caused by
transformers walkie-talkies or electro-static discharge).
•An electrical connection deviating from the connection diagram can destroy
the transmitter.
6.2 Connection elements and connectors
(1) SMB antenna connector
(antenna connection)
(7) Voltage supply socket (battery
connection)
(2) Voltage supply connector
(battery connection)
(8) SMB antenna socket (antenna
connection)
(3) Cable guide for antenna cable
and voltage supply (9) Seal
(4) Probe connection (10) Locknut
(5) Setup connector (11) Battery lid screw
(6) Fastening holes for installation
in the connection head

16 of 33
6.3 Connection diagram
6.3.1 Voltage supply
Connection Connector erminals Symbol and terminal
designation
Lithium battery DC 3.6 V 2
+ -
6.3.2 Analog inputs
Connection Connector erminals
Symbol and
terminal
designation
Thermocouple 4 2 and 3
RTD temperature probe 2-
wire circuit 4 1 and 3
RTD temperature probe 3-
wire circuit 4 1 to 3
2
3
+
_
1
3
1
3
2

17 of 33
Potentiometer 2-wire
circuit 4 1 and 3
Potentiometer 3-wire
circuit 4 1 to 3
Voltage (0 to 50) mV 4 2 and 3
1
3
2
1
3
1
3
+
_

18 of 33
6.3.3 Output
Connection Connector erminals
Symbol and
terminal
designation
Antenna connector 1
6.3.4 Interface
Connection Connector erminals
Symbol and
terminal
designation
Setup 5

19 of 33
7 Setup program
7.1 General information about the setup program
The setup program serves to configure probes and receivers by means of a PC.
The configuration data can be archived and printed.
Configurable parameters are:
•Probe ID
•Transmission interval
•Configuration of the probe used
The factory settings are:
•Probe ID consecutively
•Transmission interval (15 s)
•Probe setting as per order specifications
(Example: Pt100 in 3-wire circuit (-200 to +600) °C. The connection between
probe and PC is established via a PC interface (USB/TTL converter).

20 of 33
7.2 Hardware and software prerequisites
The following hardware and software prerequisites must be fulfilled for operation
and the software installation:
Minimum configuration
Intel Pentium III
1
or higher
Microsoft Windows 2000 or XP
2
256 MB central memory
CD drive
a free USB port
120 MB free hard-disk storage capacity
Recommended configuration
Intel Pentium 4
1
Microsoft Windows XP
2
512 MB central memory
Information about Windows 2000 or XP
If several users are managed on the computer ensure that the user is logged in
who will work with the program later. Ensure that the user has administrator
rights while installing the software. Once installation is completed the rights can
be restricted again.
In the event of non-observance of this information, correct and complete
installation cannot be guaranteed!
1
Intel and Pentium are registered trademarks of the Intel Corporation.
2
Microsoft
and Windows are registered trademarks of the Microsoft Corporation.
Table of contents
Other Status Instruments Transmitter manuals

Status Instruments
Status Instruments SEM210X Installation instructions

Status Instruments
Status Instruments SEM1610 User manual

Status Instruments
Status Instruments SEM210 User manual

Status Instruments
Status Instruments SEM523P User manual

Status Instruments
Status Instruments SEM310 User manual

Status Instruments
Status Instruments SEM203P MKII User manual

Status Instruments
Status Instruments SEM206/P User manual

Status Instruments
Status Instruments SEM1605/P User manual

Status Instruments
Status Instruments SEM203/TC User manual

Status Instruments
Status Instruments SEM710 User manual