Schedule meetings faster and easier
with RoomWizard®
.
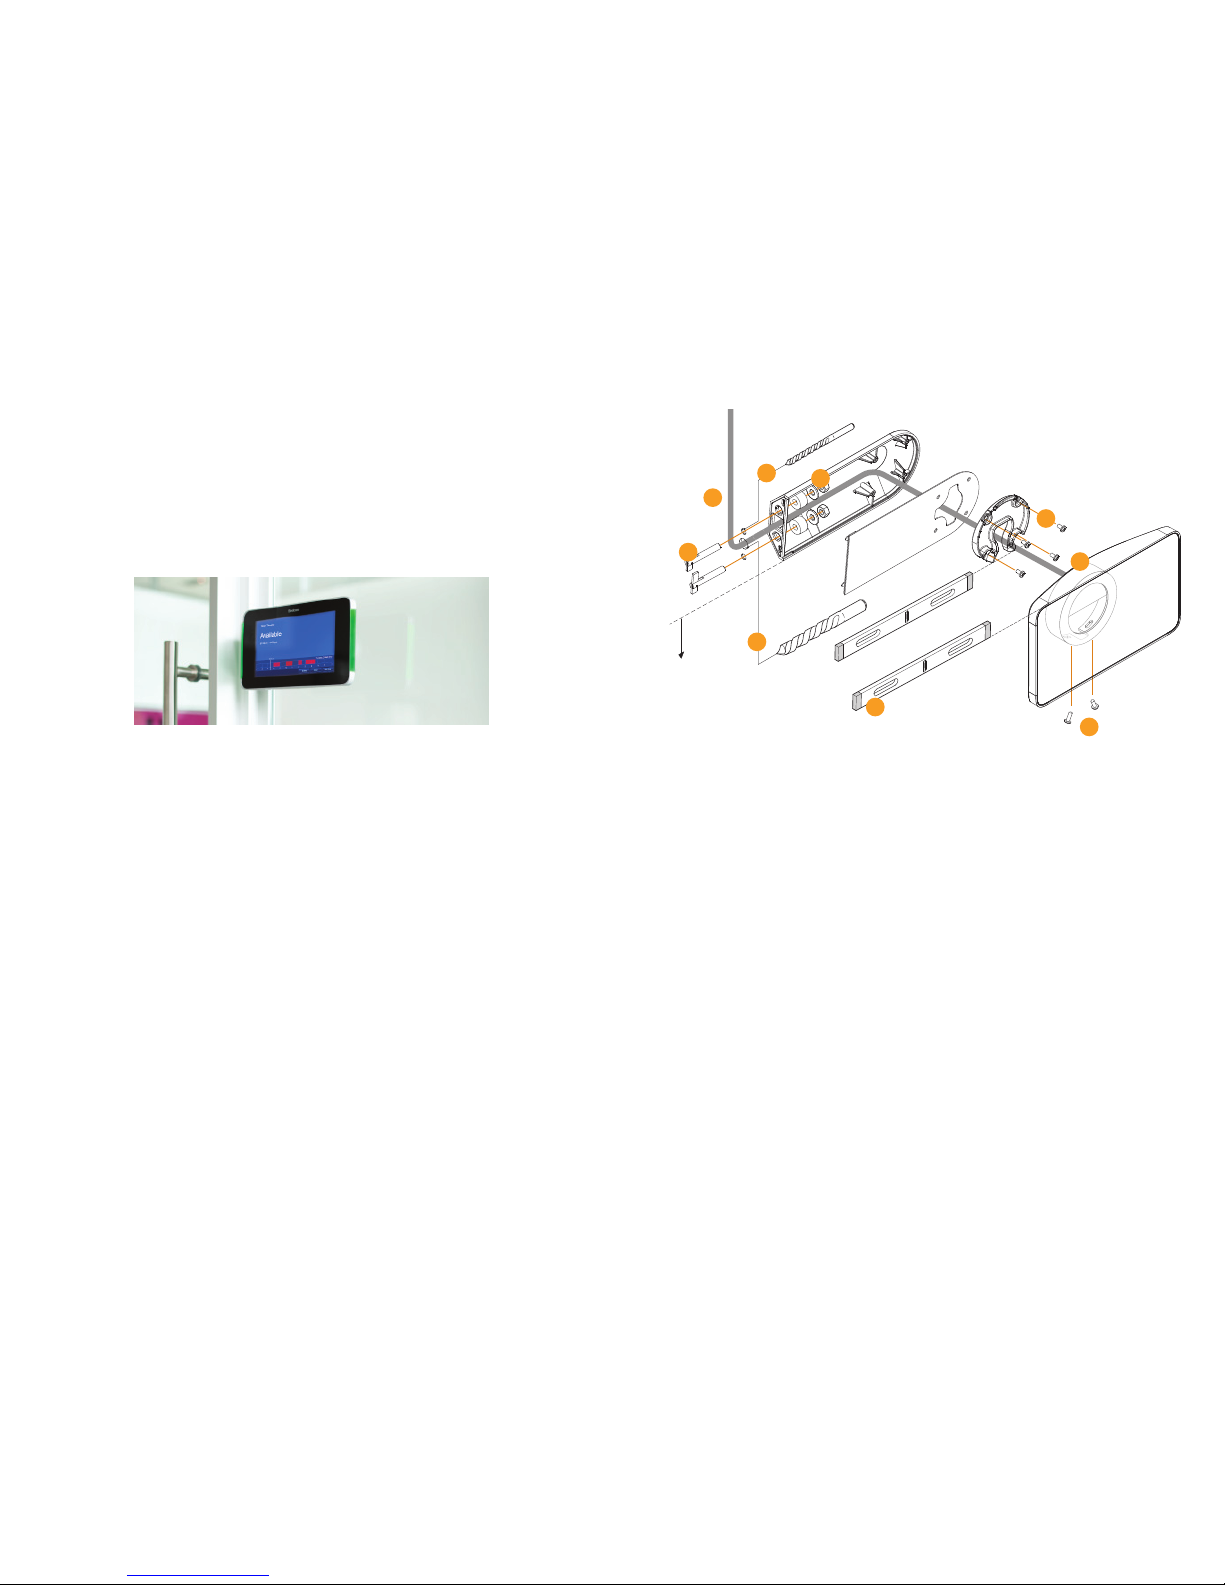
The RoomWizard is a web-based scheduling device mounted
near a meeting room entrance or group area. The interactive touch
screen displays room availability and reservation details and allows
you to schedule a room or adjust a reservation.
RoomWizards are easy to install and maintain.
• A power-over-ethernet (PoE) network cable powers each
RoomWizard. A traditional AC power source is not needed.
• RoomWizards may be mounted on drywall, concrete, brick, glass,
doorframes, or furniture.
• The touch screen may be easily cleaned with a microfiber cloth.
• RoomWizards may be secured with a Kensington lock.
RoomWizard web pages simplify administration.
• Update room names, times, and attributes.
• Implement changes and new features across groups of
RoomWizards.
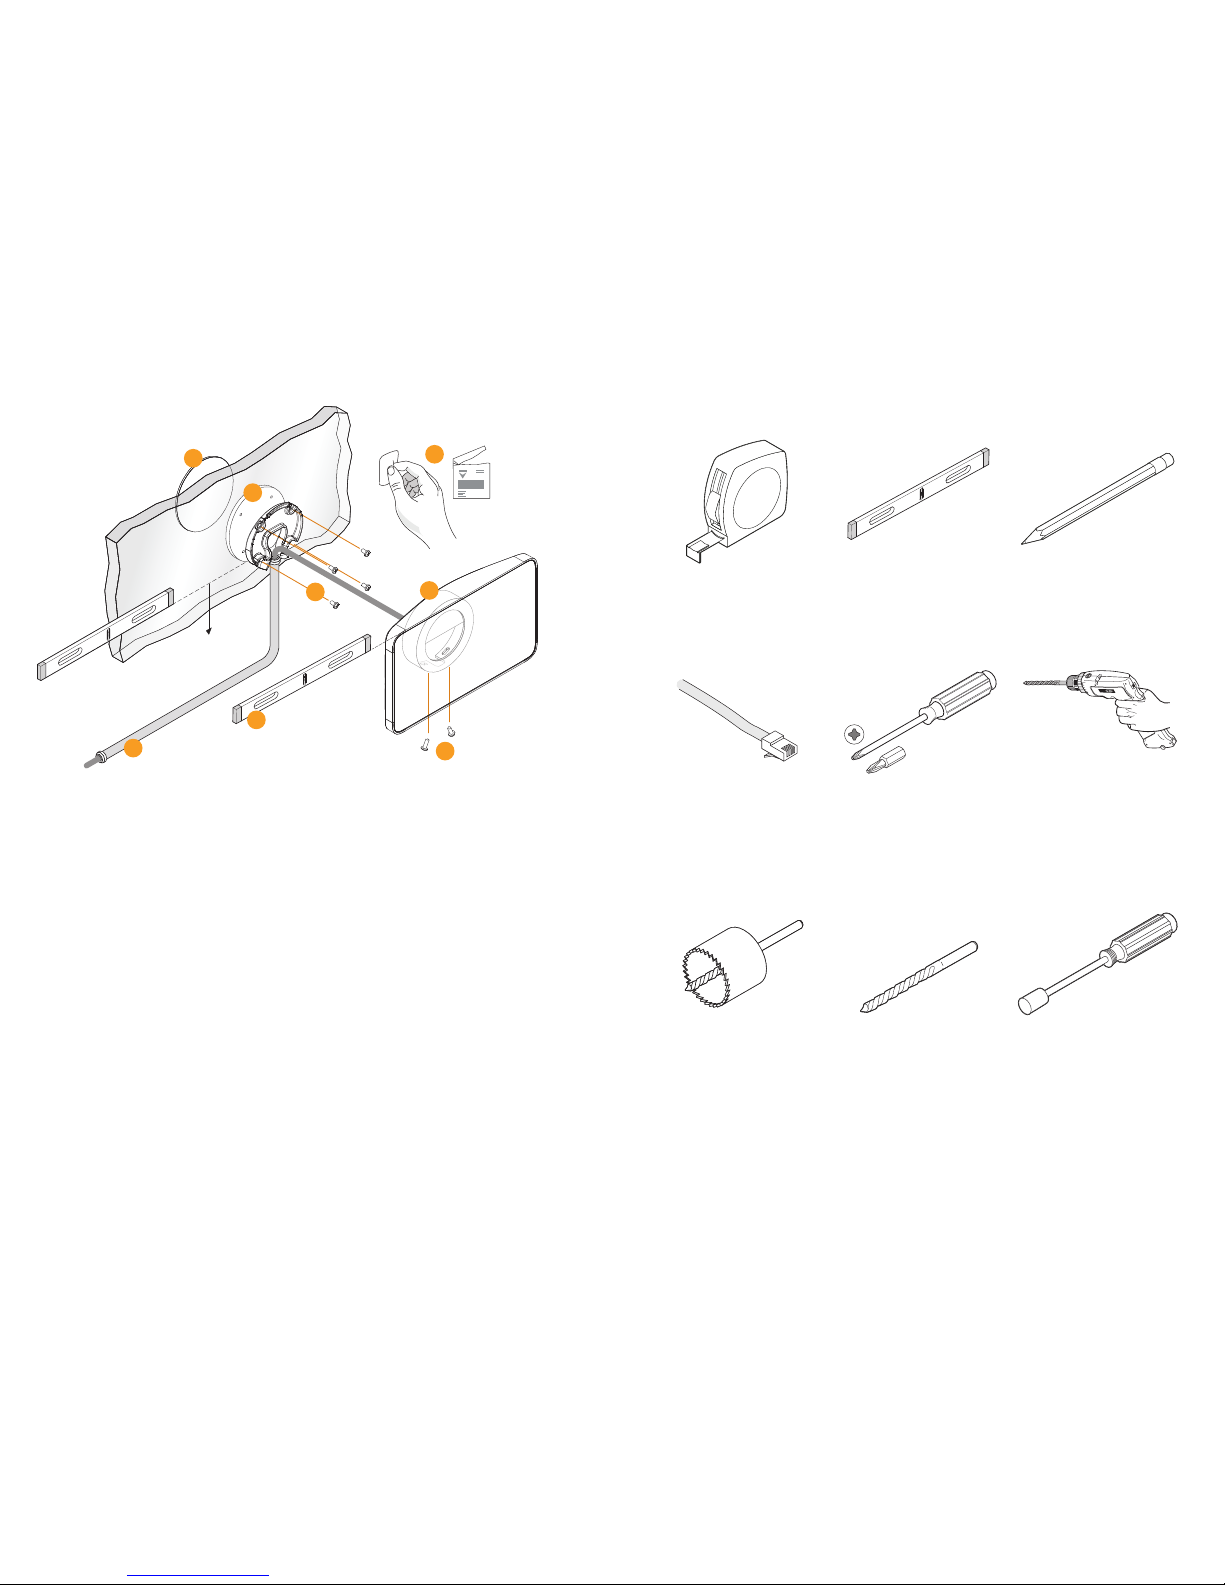
About this Quickstart Guide
RoomWizards can be installed on drywall, glass, or suspended
from a door frame using the unique universal mount. This Quickstart
Guide provides an overview of the tools you will need and how to
properly install a RoomWizard.
Go online to download detailed manuals
Visit www.steelcase.com/roomwizard to download the full RoomWizard
Installation Manual. There you will also find downloadable System
Manager Manuals for Classic Mode, Microsoft®Exchange, and Lotus®
Domino®
, as well as the User Manual and other Quickstart Guides.
WELCOME
50
3
/
4
" (128cm)
to oor
Included in universal-mount kit
• 1 universal mounting bracket
• 2 T-anchors and nuts
• 2 T-anchor washers
• 4 bracket spacers
• 1 universal mounting bracket cover
• 1 mounting puck
• 4 puck attachment screws
• 1 RoomWizard unit
• 2 set screws
1 Position bracket on extrusion. Mark and
drill two
8
" (16mm) hole in extrusion
for bracket hardware and PoE cable.
2 Route cable through extrusion and
universal bracket.
3 Attach universal bracket to extrusion
with two provided T-anchors.
4 Tighten nuts using a 10mm wrench.
Depending on extrusion, wall, or frame
thickness, spacers may be necessary.
5 Route PoE cable through bracket
cover. Attach bracket cover and puck
using four provided screws and #2
Phillips head screwdriver.
6 Mount RoomWizard onto puck.
7 Level RoomWizard.
8 Attach RoomWizard to puck using two
provided set screws and #2 Phillips
head screwdriver.
UNIVERSAL-MOUNT INSTALLATION INSTRUCTIONS
2
3
4
5
6
7
8
1
1