6947300000
17
PREPARING FOR
ELECTRODE WELDING
1) Respect the indications given previously
concerning primary connection and installation.
2) Connect the earth cable to the socket of the
machine. Negative polarity ( - )
3) Connect the electrode holder to the socket of
the machine. Positive polarity ( + );
4) Insert the bare core of the electrode in the gun;
5) Press the MODE (ref.6) button to select the
L CTROD mode, indicated by the LED (ref.1);
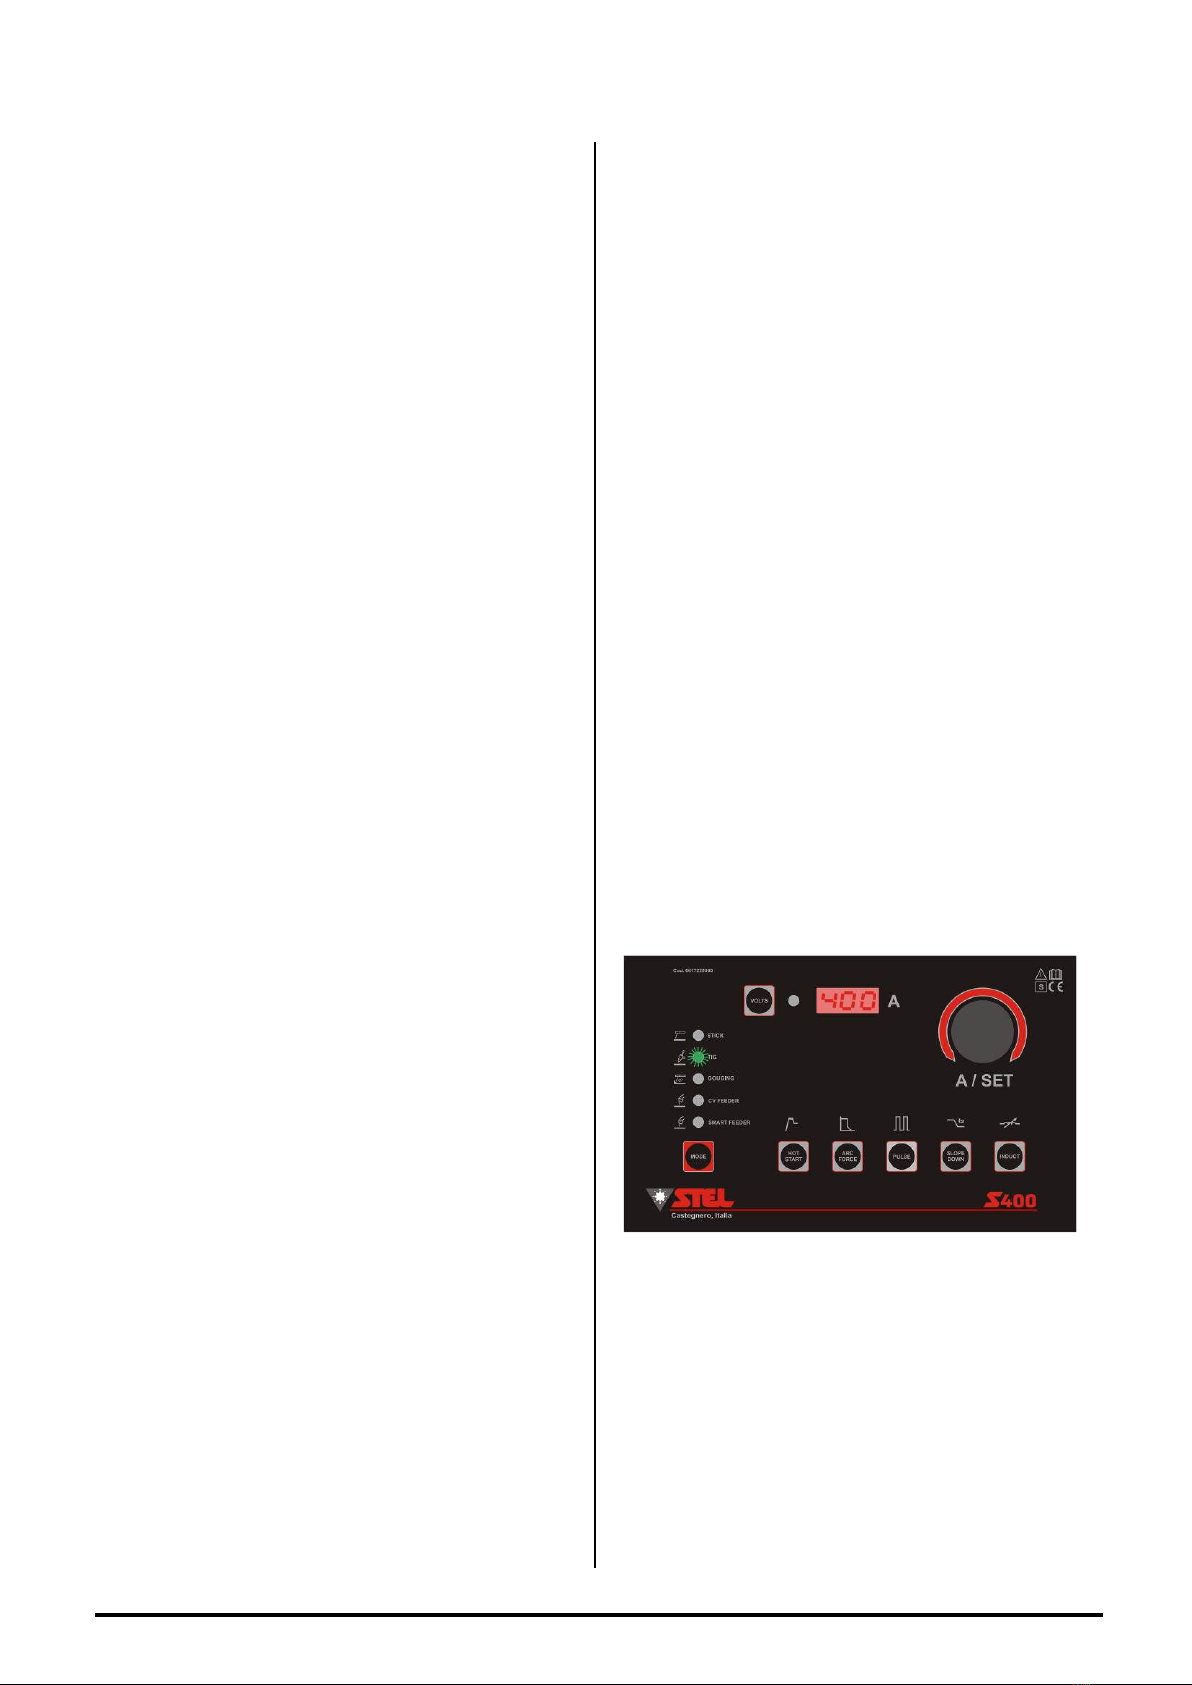
6) Set the welding current with the encoder
A/SET (Fig1,ref.12).
7) Proceed with welding.
HOT START SETTING
Pressing the Hot start button (Fig1,ref.7) the
message Hs appears on the display and turning
the A/S T encoder (Fig1,ref.12) it is possible to
adjust the Hot start value.
H.S.= 0-100%
ARC FORCE SETTING
Pressing the Arc Force button (Fig1,ref. 8) the
word AF appears on the display and by turning the
A/S T encoder (Fig1,ref.12) it is possible to adjust
the Arc Force value.
A.F.= 0-500%
PULSE MODE ACTIVATION
Pressing the Pulse button (Fig1,ref.9) the message
Pul appears on the display and turning the A/S T
encoder (Fig1,ref.12) clockwise or anti-clockwise
activates the pulse ON or deactivates it OFF.
The active function is indicated by the flashing of
two dots on the display.
Pulse parameters are not editable.
V.R.D.
(AVAILABLE ONLY IN
MMA / TIG
MODE)
V.R.D. MANAGEMENT
The initials V.R.D. stand for VOLTAG
R DUCTION D VIC , which is a system for
reducing the no-load voltage (OCV). When the
V.R.D. is installed in a welding machine it reduces
the maximum no-load voltage to a safety voltage
which is normally less than 18V.
- The V.R.D. is used as an additional aid for
operator safety.
- The procedures for safety at work must always be
carried out with attention.
V.R.D. ACTIVATION
1) Turn on the generator,
2) Hold down the MOD button (Fig1,ref.6) on the
front panel of the machine for about 4 seconds,
then release the button; the welding mode L D
flashes (V.R.D. FUNCTION ON V out 18V). The
VRD mode remains engaged even after the
machine is switched off and on again
V.R.D. EXCLUSION
1) Turn on the generator,
2) Hold down the MOD button (Fig1,ref.6) on the
front panel of the machine for about 4 seconds,
then release the button; the welding mode L D
remains fixed (V.R.D. FUNCTION excluded). The
VRD mode always remains excluded even after
the machine is switched off and on again.
PREPARING FOR TIG
WELDING
1) Respect the instructions previously provided
regarding the primary connection and installation;
2) Connect the earth cable to the dinse socket.
Positive polarity ( + );
3) Connect the torch to the machine socket with
negative polarity ( - );
4) Connect the torch gas connector to the gas
connection located on the front of the generator;
5) Press the MOD button (Fig1,ref.6) until
selecting the TIG mode, indicated by the switching
on of the respective L D (Fig1,ref.2);
7) Set the welding current with the adjustment
encoder A/S T (Fig1,ref.12);
8) Proceed with welding.
SLOPE-DOWN SETTING
Pressing the Slope Down button (Fig1,ref. 10) the
message Sld appears on the display and by
turning the A/S T encoder (Fig1,ref. 12) it is
possible to adjust the slope down value.
Slope down time = 0.1-10 seconds


