Electrical Supply
Installation must be carried out by a qualified electrician in
accordance with BS 7671:2008 Wiring Regulations.
230/240V AC 50/60Hz mains supply to a suitable SELV
LED Driver.
Site conditions: LED equipment is more susceptible to
static damage and over voltage than previous technology.
Before handling or connecting to the mains supply ensure
that all Stoane Lighting (SL) products are protected from
static discharge and that the mains supply is to regulation.
(230V +10 -6%)
This fitting is supplied with a Xicato LED module. Refer to
the fitting label for the module version and wattage. More
information on the module can be found at
www.xicato.com/support
Mains cables must be double insulated, strain relieved
and separated from E.L.V output cables.
If using the Xicato XTM Module;
This unit requires a constant current driver. 700mA Max.
If using the Xicato XIM Module;
This unit requires a 48V constant voltage PSU.
Observe polarity:
Positive (+) is marked as RED.
Incorrect supply or reverse polarity can cause irreparable
damage.
All connections must be made before switching on mains.
If the supply is energised prior to making the connections
to the fitting then the resulting surge will damage the LED.
The entire dimming control circuit source must be of SELV
insulation class.
Maintenance:
All lighting equipment is delicate and easily damaged
through misuse or inappropriate installation (mechanical
or electrical). Repairs and replacements may cause
delays and will be chargeable. Contact SL for support if
required.
All Stoane Lighting products are covered by a five year
Warranty and a 25 year Duty of Care. Products are
designed to be upgraded, adapted and refreshed using
our comprehensive ReNew service. For more information
on our ReNew service and for full Warranty terms and
conditions visit stoanelighting.com or contact us at the
address shown.
The light source contained in this luminaire shall only be
replaced by the manufacturer or his service agent or a
similar qualified person.
Installation
Check that the mounting surface is suitable for the
installation of this fitting.
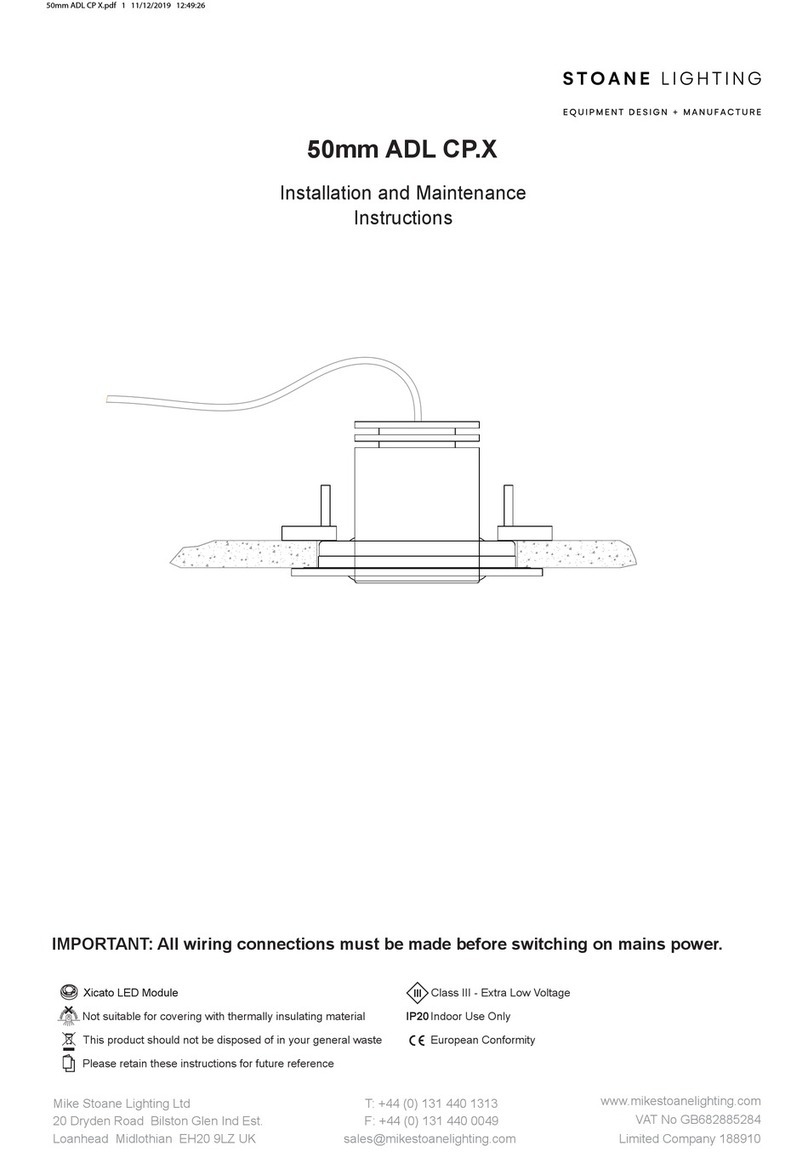
A 20mm diameter hole is required for cable routing if
fitting is direct mounted.
Step 1 Make mains connections to SELV LED driver
and extra low voltage connections to the
fitting.
Step 2 Mount the fitting as required via the two
Ø4.6mm holes in the heatsink or the first fix
disc (if supplied).
WARNING: Do not look at exposed LED lamps in
operation. Eye injury can result.
Cleaning:
Fully isolate the fitting and allow to cool.
Clean the fitting with a slightly damp lint free cloth
from a mild solution of soap and water. The fitting
must be completely dry before reconnecting power.
Incompatible or abrasive chemicals can damage the
fitting, contact SL for advice if required.
BPX.pdf 2 15/02/2021 13:02:36
