manuals.online logo
Brands
  1. Home
  2. •
  3. Brands
  4. •
  5. Stoane Lighting
  6. •
  7. Lighting Equipment
  8. •
  9. Stoane Lighting Frog X Spike User manual

Stoane Lighting Frog X Spike User manual

Mike Stoane Lighting Ltd
20 Dryden Road Bilston Glen Ind Est.
Loanhead Midlothian EH20 9LZ UK
T: +44 (0) 131 440 1313
F: +44 (0) 131 440 0049
[email protected]
www.mikestoanelighting.com
VAT No GB682885284
Limited Company 188910
Frog X Spike
Installation and Maintenance
Instructions
IMPORTANT: All wiring connections must be made before switching on mains power.
European Conformity
Please retain these instructions for future reference
This product should not be disposed of in your general waste
IP66 Dust tight and protected against powerful jets of water.
Class III - Extra Low Voltage
Xicato LED Module
Frog X Spike.pdf 1 24/07/2020 13:29:11
Electrical Supply
Installation must be carried out by a qualified electrician in
accordance with BS 7671:2008 Wiring Regulations.
230/240V AC 50/60Hz mains supply to a suitable SELV
LED Driver.
Site conditions: LED equipment is more susceptible to
static damage and overvoltage than previous technology.
Before handling or connecting to the mains supply ensure
that all MSL products are protected from static discharge
and that the mains supply is to regulation. (230V +10
-6%)
This fitting is supplied with a Xicato LED module. Refer
to the fitting label for the module version and wattage.
More information on the module can be found at
www.xicato.com/support
Mains cables must be double insulated, strain relieved
and separated from E.L.V output cables.
If using the Xicato XTM Module;
This unit requires a constant current driver. 700mA Max.
If using the Xicato XIM Module;
This unit requires a 48V constant voltage PSU.
Observe polarity:
Positive (+) is marked as RED.
Incorrect supply or reverse polarity can cause irreparable
damage.
All connections must be made before switching on mains.
If the supply is energised prior to making the connections
to the fitting then the resulting surge will damage the LED.
All lighting equipment is delicate and easily damaged
through misuse or inappropriate installation (mechanical
or electrical). Repairs and replacements may cause
delays and will be chargeable. Contact MSL for support if
required. For full warranty terms & conditions please visit
our website.
The IP rating stated is applicable only when the fitting has
been installed as per these instructions.
The light source contained in this luminaire shall only be
replaced by the manufacturer or his service agent or a
similar qualified person.
Dimming control circuit source must be of SELV insulation
class.
Installation
Check that the ground is suitable for the installation of
this fitting. For hard ground some preparation may be
required for spike installation.
Step 1 Make mains connections to SELV LED driver
and extra low voltage connections to the
fitting.
Step 2 Push the spike on the fitting into the ground
until it securely stands. Do not apply force to
the head when placing in the ground. Adjust
the pan and tilt by loosening the locks using a
2.5mm Allen key. Tighten once all adjustments
are made.
Ensure supply driver and connectors are housed
indoors OR in a suitably IP rated enclosure. Cable
ends must be suitably waterproofed. Inspect supply
cables before installation to ensure there is no damage
which will allow water to enter the fitting.
After opening the sealed portion of the luminaire for
any reason, MSL recommends running the fitting for
15 minutes with the lid open to expel moisture before
closing it up. This will prevent condensation on the
lens and protect the fitting from corrosion.
Care must be taken when handling any ingress
protection seals, glands or "O" rings to ensure they are
kept clean, unblemished and replaced exactly in their
required location and suitably fastened home.
WARNING: Do not look at exposed LED lamps in
operation. Eye injury can result.
Cleaning:
Fully isolate the fitting and allow to cool.
Clean the fitting with a slightly damp lint free cloth from
a mild solution of soap and water. The fitting must be
completely dry before reconnecting power.
Incompatible or abrasive chemicals can damage the
fitting, contact MSL for advice if required.
Frog X Spike.pdf 2 24/07/2020 13:29:12
2
Pan lock
Tilt lock
Soft ground
1
2
3
Bezel
Accessories
Spacer
Reflector
MODULE AND ACCESSORIES
The fitting uses a Xicato LED module. The colour
temperature and lumen output can be found on the
product label on the fitting.
To Add/Remove accessories:
Isolate the fitting from the supply and allow to cool.
Step 1 Remove the bezel from the lamp tube by
unscrewing in an anti-clockwise direction.
Step 2 Insert/remove any accessories or reflectors.
Step 3 Refit the bezel by rotating it on in a clockwise
direction.
Frog X Spike.pdf 3 24/07/2020 13:29:12
Other Stoane Lighting Lighting Equipment manuals

Stoane Lighting BPX User manual

Stoane Lighting

Stoane Lighting BPX User manual

Stoane Lighting Penguin Type X User manual

Stoane Lighting

Stoane Lighting Penguin Type X User manual

Stoane Lighting inter-lux Niche User manual

Stoane Lighting

Stoane Lighting inter-lux Niche User manual

Stoane Lighting 50mm ADL CP.X User manual

Stoane Lighting

Stoane Lighting 50mm ADL CP.X User manual

Stoane Lighting Badger M User manual

Stoane Lighting

Stoane Lighting Badger M User manual

Stoane Lighting Mini Module User manual

Stoane Lighting

Stoane Lighting Mini Module User manual

Stoane Lighting Module Star User manual

Stoane Lighting

Stoane Lighting Module Star User manual

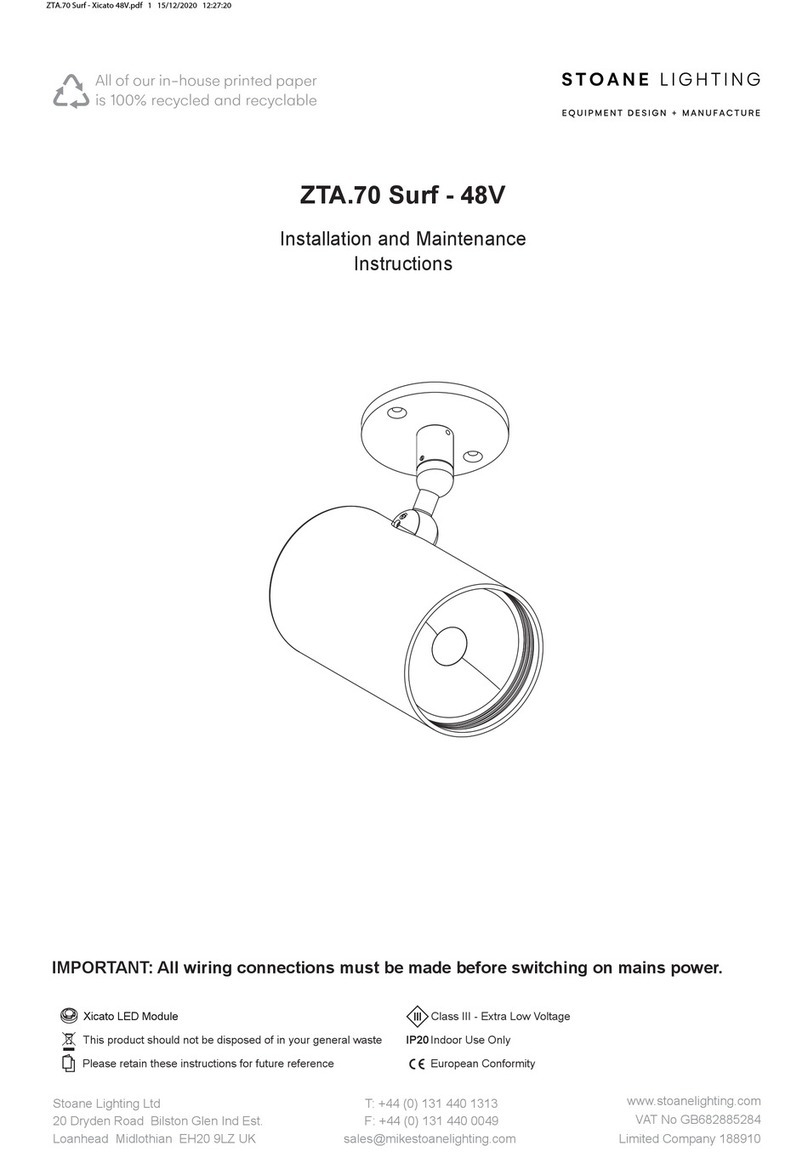
Stoane Lighting ZTA.70 Surface User manual

Stoane Lighting

Stoane Lighting ZTA.70 Surface User manual

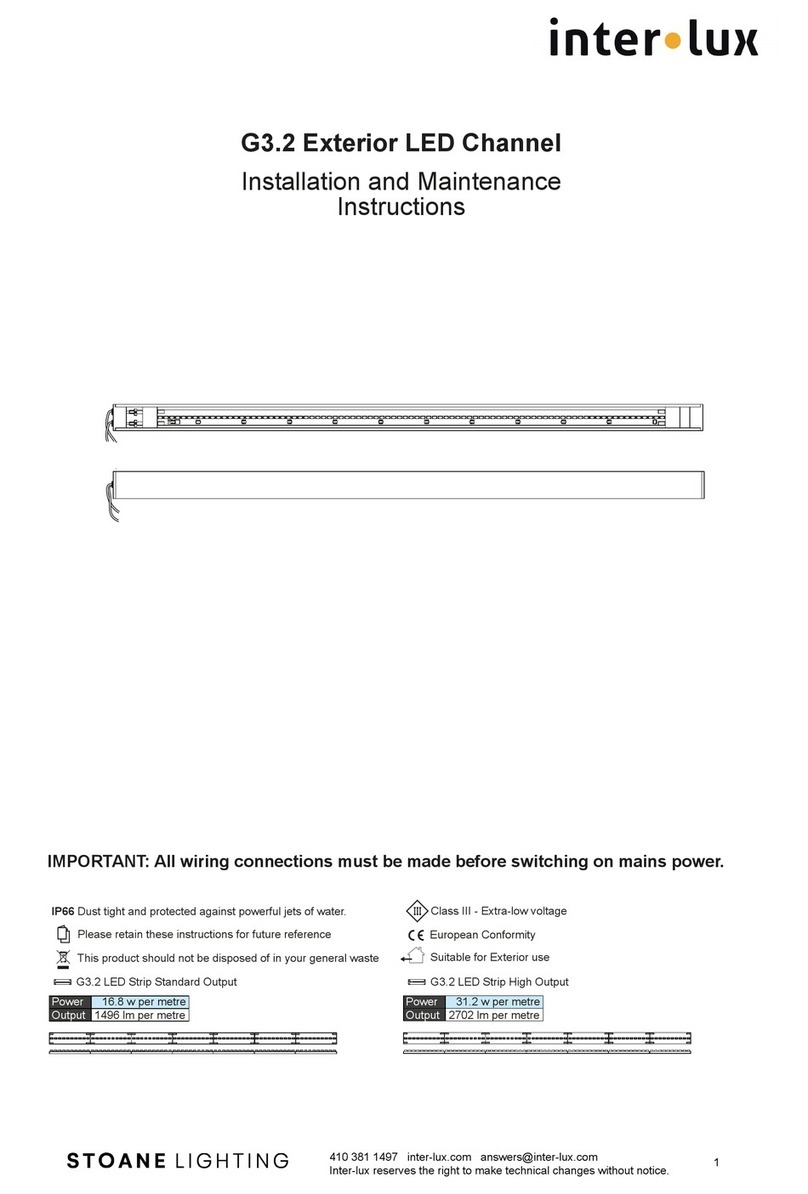
Stoane Lighting G3.2 User manual

Stoane Lighting

Stoane Lighting G3.2 User manual

Stoane Lighting Mushroom User manual

Stoane Lighting

Stoane Lighting Mushroom User manual

Popular Lighting Equipment manuals by other brands

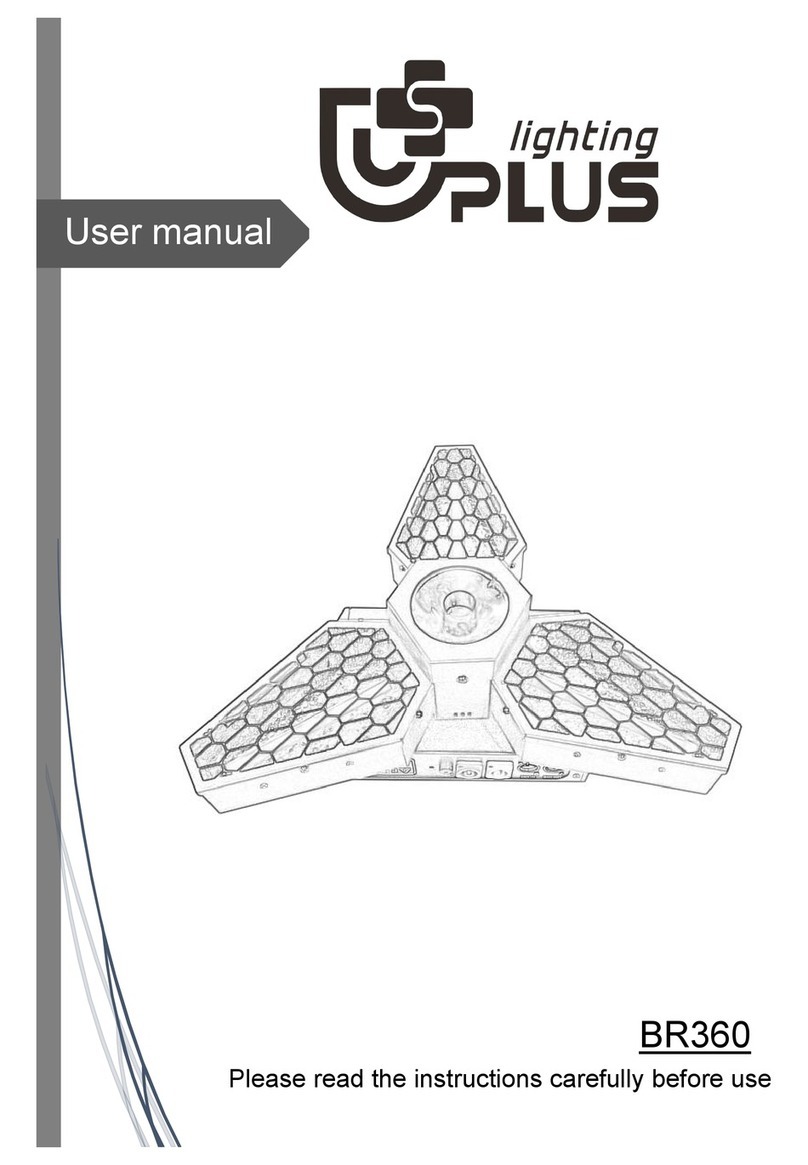
Uplus Lighting BR360 user manual

Uplus Lighting

Uplus Lighting BR360 user manual

VISICO Elfin Series user guide

VISICO

VISICO Elfin Series user guide

FRC MAGNAFIRE 3000 Series quick start guide

FRC

FRC MAGNAFIRE 3000 Series quick start guide

Flash butrym LED MOVING HEAD 7x10W RGBW 4IN1 user manual

Flash butrym

Flash butrym LED MOVING HEAD 7x10W RGBW 4IN1 user manual

Beamz 151.238 LED PAR 64-36x1W RGB DMX quick start guide

Beamz

Beamz 151.238 LED PAR 64-36x1W RGB DMX quick start guide

Ikan LW10-3PT-KIT quick start guide

Ikan

Ikan LW10-3PT-KIT quick start guide

MPK VisionVent M pro Installation and operating instructions

MPK

MPK VisionVent M pro Installation and operating instructions

Tecsis F3203 operating instructions

Tecsis

Tecsis F3203 operating instructions

SEVEN FOR 7 TR-460102 user manual

SEVEN FOR 7

SEVEN FOR 7 TR-460102 user manual

HauntBots EyeFx operating manual

HauntBots

HauntBots EyeFx operating manual

Jandy AquaPure Ei Series instructions

Jandy

Jandy AquaPure Ei Series instructions

ADJ VIZI WASH Z19 user manual

ADJ

ADJ VIZI WASH Z19 user manual

Velleman HQ POWER HQPE10010 user manual

Velleman

Velleman HQ POWER HQPE10010 user manual

Enabling Devices 7511M user guide

Enabling Devices

Enabling Devices 7511M user guide

DSE NOVA user manual

DSE

DSE NOVA user manual

PROEL PLFT100EP ANTIALO?PLFT100EF FRESNEL user manual

PROEL

PROEL PLFT100EP ANTIALO?PLFT100EF FRESNEL user manual

atecpool 20204 RGB owner's manual

atecpool

atecpool 20204 RGB owner's manual

Quarkpro Light MAGIC LASER user manual

Quarkpro Light

Quarkpro Light MAGIC LASER user manual

manuals.online logo
manuals.online logoBrands
  • About & Mission
  • Contact us
  • Privacy Policy
  • Terms and Conditions

Copyright 2025 Manuals.Online. All Rights Reserved.