manuals.online logo
Brands
  1. Home
  2. •
  3. Brands
  4. •
  5. Stoane Lighting
  6. •
  7. Lighting Equipment
  8. •
  9. Stoane Lighting ZTA.70 Surface User manual

Stoane Lighting ZTA.70 Surface User manual

Stoane Lighting Ltd
20 Dryden Road Bilston Glen Ind Est.
Loanhead Midlothian EH20 9LZ UK
T: +44 (0) 131 440 1313
F: +44 (0) 131 440 0049
[email protected]
www.stoanelighting.com
VAT No GB682885284
Limited Company 188910
ZTA.70 Surf - 48V
Installation and Maintenance
Instructions
IMPORTANT: All wiring connections must be made before switching on mains power.
European Conformity
Please retain these instructions for future reference
This product should not be disposed of in your general waste
Class III - Extra Low Voltage
Indoor Use Only
IP20
Xicato LED Module
All of our in-house printed paper
is 100% recycled and recyclable
ZTA.70 Surf - Xicato 48V.pdf 1 15/12/2020 12:27:20
Electrical Supply
Installation must be carried out by a qualified electrician in
accordance with BS 7671:2008 Wiring Regulations.
230/240V AC 50/60Hz mains supply to a suitable 48V DC
PSU.
Site conditions: LED equipment is more susceptible to
static damage and over voltage than previous technology.
Before handling or connecting to the mains supply ensure
that all MSL products are protected from static discharge
and that the mains supply is to regulation. (230V +10
-6%)
This fitting is supplied with a Xicato LED module. Refer to
the fitting label for the module version and wattage. More
information on the module can be found at www.xica-
to.com/support
Mains cables must be double insulated, strain relieved
and separated from E.L.V output cables.
This unit requires a 48V constant voltage PSU.
Observe polarity:
Positive (+) is marked as RED.
Incorrect supply or reverse polarity can cause irreparable
damage.
All connections must be made before switching on mains.
If the supply is energised prior to making the connections
to the fitting then the resulting surge will damage the LED.
Multiple LEDs should be wired in parallel, refer to driver
instructions for minimum/maximum load.
All lighting equipment is delicate and easily damaged
through misuse or inappropriate installation (mechanical
or electrical). Repairs and replacements may cause
delays and will be chargeable. Contact MSL for support if
required. For full warranty terms & conditions please visit
our website.
When supplying digital equipment with the potential to be
connected to networks, physically or wirelessly (i.e.
Bluetooth, WiFi, DMX radio etc.), MSL does not take
responsibility for the digital security of the equipment or
associated networks. It is the customer’s responsibility to
select a protocol suitably robust for their requirements
and to ensure responsible utilisation of passwords.
The light source contained in this luminaire shall only be
replaced by the manufacturer or his service agent or a
similar qualified person.
The entire dimming control circuit source must be of SELV
insulation class.
Installation
Check that the mounting surface is suitable for the
installation of this fitting.
A suitable hole is required for incoming supply cable.
Step 1 Make mains connections to SELV LED driver
and extra low voltage connections to the
fitting.
Step 2 Secure the fitting in position with two suitable
fixings.
WARNING: Do not look at exposed LED lamps in
operation. Eye injury can result.
Additional items should not be hung or suspended
from this fitting. MSL takes no responsibility for
additional items added by others or the consequences
of those items.
MSL can provide assistance on dimming compatibility
or control systems by request. For advice on specific
dimming systems we recommend seeking assistance
from the commissioning engineer or the control
systems provider in the first instance.
Cleaning:
Fully isolate the fitting and allow to cool.
Clean the fitting with a slightly damp lint free cloth
from a mild solution of soap and water. The fitting
must be completely dry before reconnecting power.
Incompatible or abrasive chemicals can damage the
fitting, contact MSL for advice if required.
ZTA.70 Surf - Xicato 48V.pdf 2 15/12/2020 12:27:20
12
Make connections to LED driver
ZTA.70 Surf - Xicato 48V.pdf 3 15/12/2020 12:27:20
Pan
Tilt
MODULE AND ACCESSORIES
The colour temperature and lumen output can be found
on the product label on the fitting.
To add/remove accessories:
Isolate the fitting from the supply and allow to cool.
Step 1 To remove optic and accessories remove circlip.
Step 2 Replace optic/accessories as required and
replace circlip to secure.
ADJUSTMENT
To adjust the tilt and pan of the fitting use the supplied
2mm Allen key to loosen off the tilt and pan lock screws.
Once the desired angle is achieved lock off the screws.
DO NOT over tighten the screws as this could damage
the lock and cause it to no longer function.
Circlip
Accessories
Optic/
Reflector
ZTA.70 Surf - Xicato 48V.pdf 4 15/12/2020 12:27:20
Other Stoane Lighting Lighting Equipment manuals

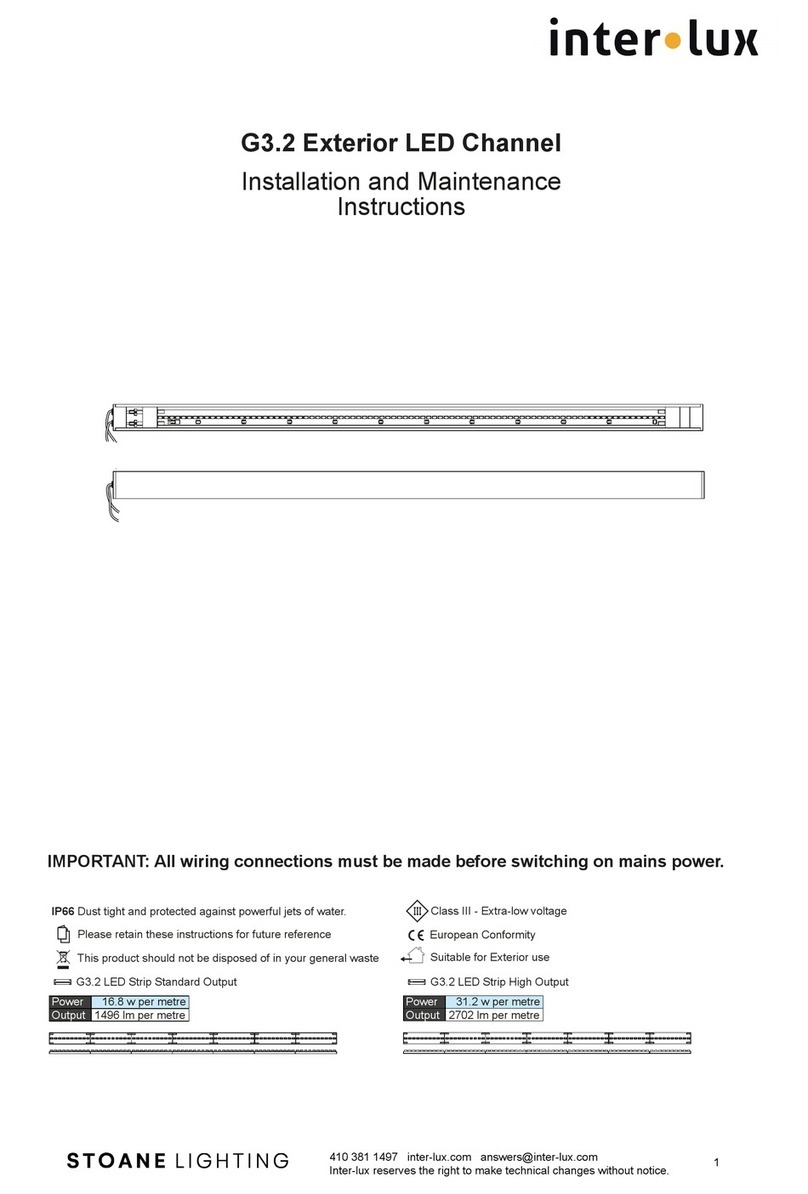
Stoane Lighting G3.2 User manual

Stoane Lighting

Stoane Lighting G3.2 User manual

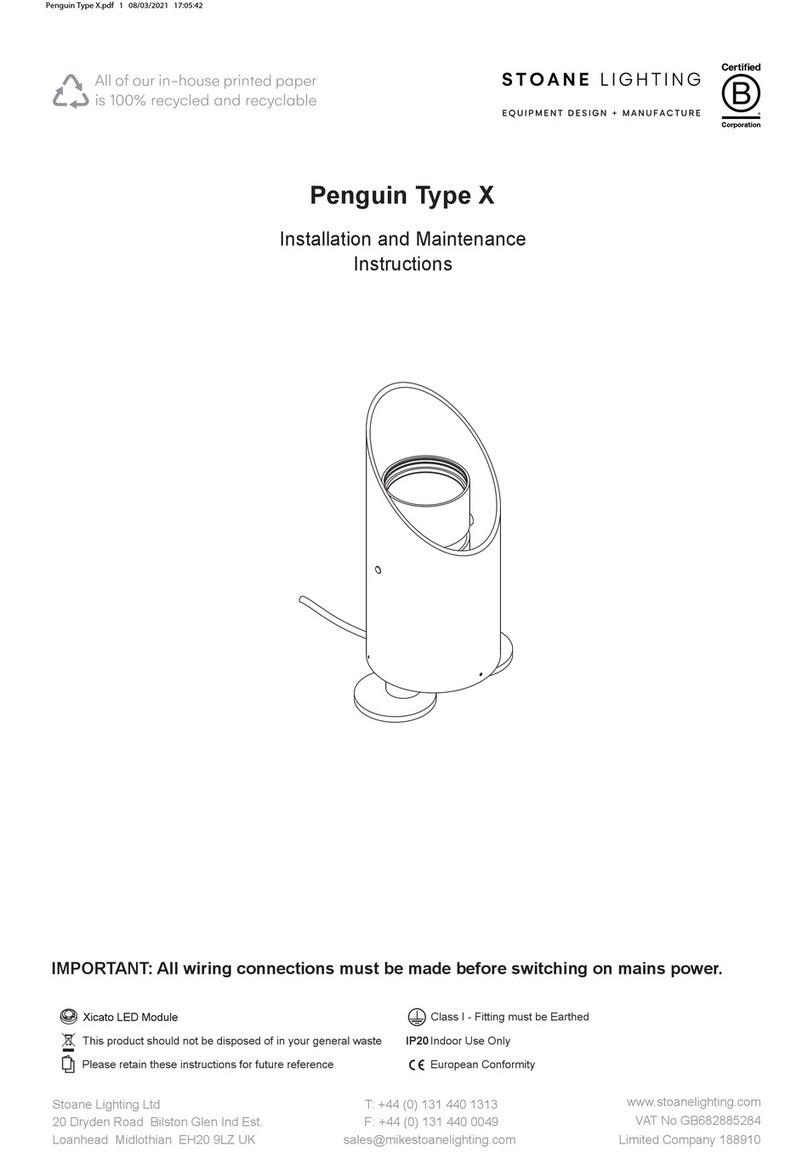
Stoane Lighting Penguin Type X User manual

Stoane Lighting

Stoane Lighting Penguin Type X User manual

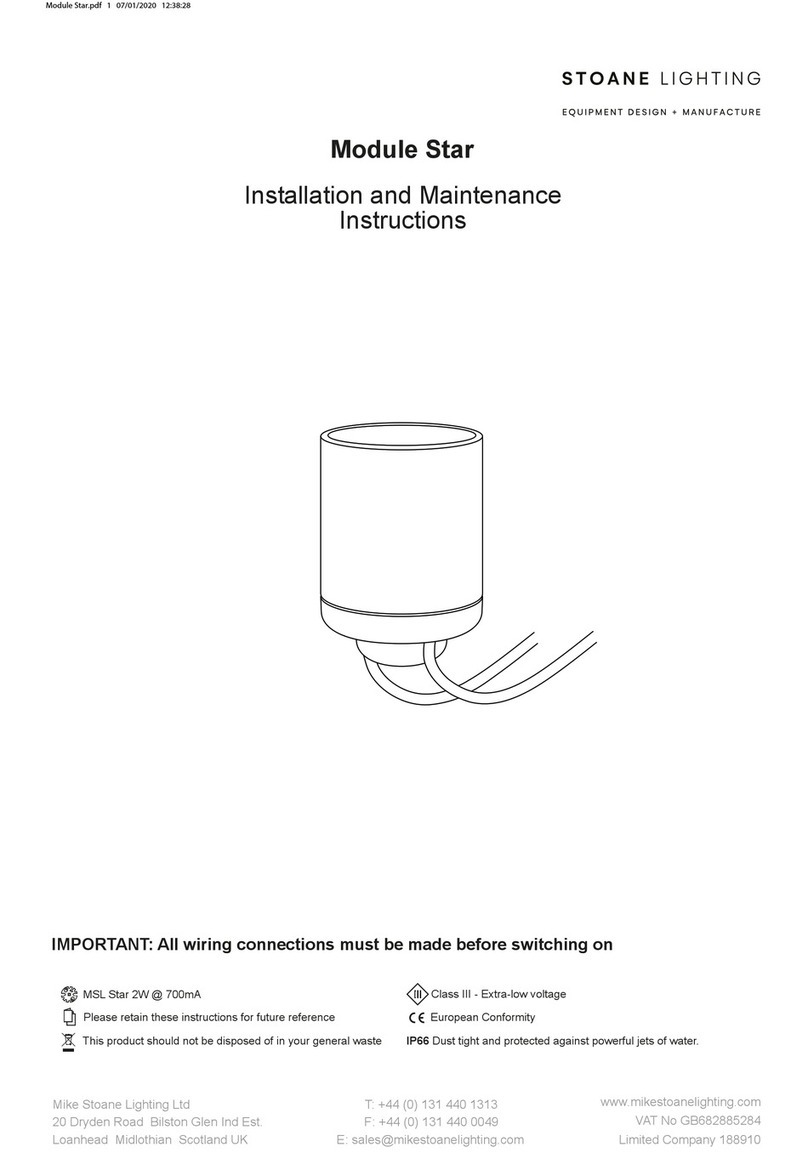
Stoane Lighting Module Star User manual

Stoane Lighting

Stoane Lighting Module Star User manual

Stoane Lighting Mushroom User manual

Stoane Lighting

Stoane Lighting Mushroom User manual

Stoane Lighting BPX User manual

Stoane Lighting

Stoane Lighting BPX User manual

Stoane Lighting Mini Module User manual

Stoane Lighting

Stoane Lighting Mini Module User manual

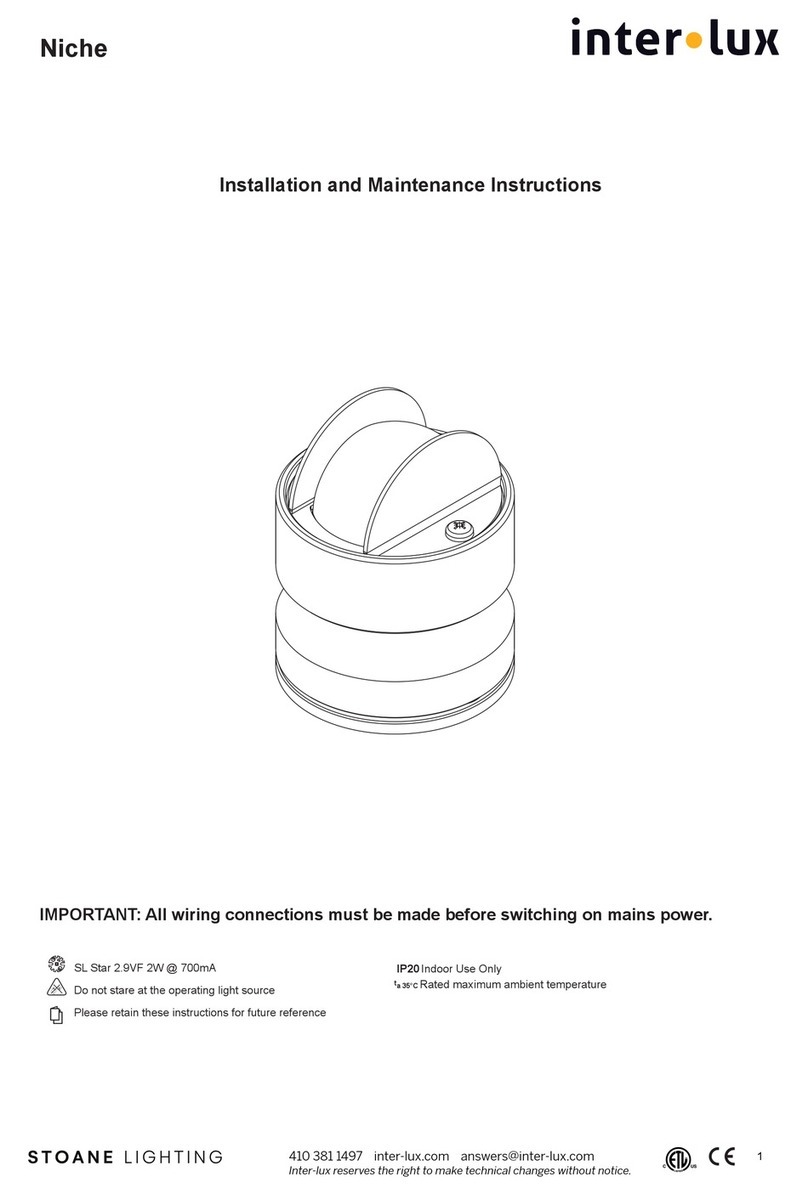
Stoane Lighting inter-lux Niche User manual

Stoane Lighting

Stoane Lighting inter-lux Niche User manual

Stoane Lighting Badger M User manual

Stoane Lighting

Stoane Lighting Badger M User manual

Stoane Lighting Frog X Spike User manual

Stoane Lighting

Stoane Lighting Frog X Spike User manual

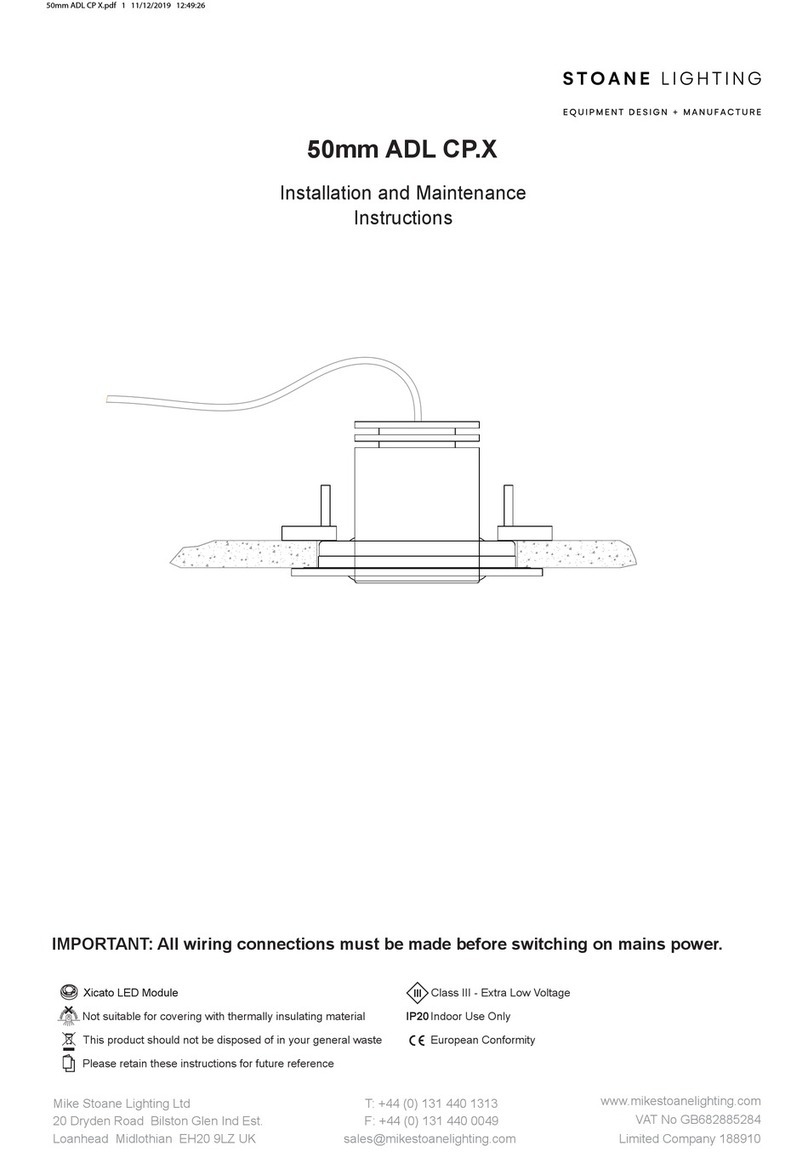
Stoane Lighting 50mm ADL CP.X User manual

Stoane Lighting

Stoane Lighting 50mm ADL CP.X User manual

Popular Lighting Equipment manuals by other brands

Luminetic HMX Series installation manual

Luminetic

Luminetic HMX Series installation manual

ADJ MONSTER FUN User instructions

ADJ

ADJ MONSTER FUN User instructions

ALPHA LITE ALPHA SEVEN COLOR Series User manual book

ALPHA LITE

ALPHA LITE ALPHA SEVEN COLOR Series User manual book

EuroLite CLS-40 user manual

EuroLite

EuroLite CLS-40 user manual

Clevertronics CLP Argonaut ARGOSQ-LP Series ASSEMBLY, INSTALLATION & MAINTENANCE INSTRUCTIONS

Clevertronics

Clevertronics CLP Argonaut ARGOSQ-LP Series ASSEMBLY, INSTALLATION & MAINTENANCE INSTRUCTIONS

Lightmaxx Platinum Line LED Strobe X3 user manual

Lightmaxx

Lightmaxx Platinum Line LED Strobe X3 user manual

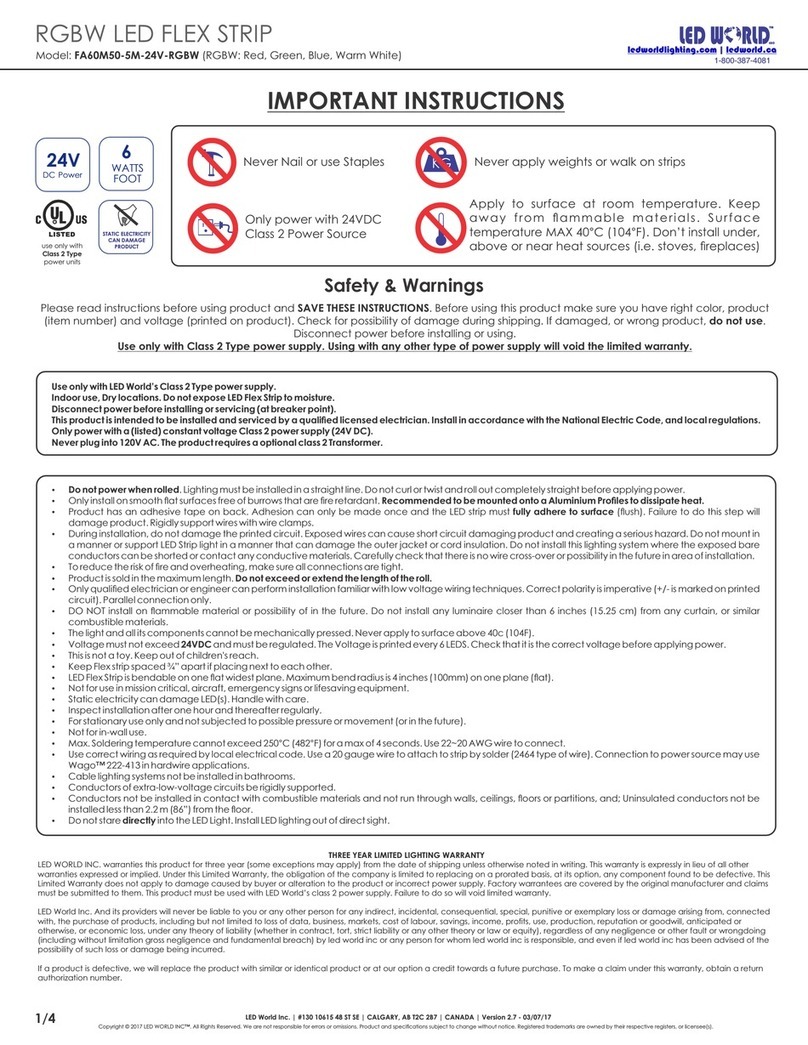
LED World FA36M57-2M-12V-X Important instructions

LED World

LED World FA36M57-2M-12V-X Important instructions

American DJ INNO POCKET SPOT User instructions

American DJ

American DJ INNO POCKET SPOT User instructions

Collar AquaLighter 3 Marine 30 instructions

Collar

Collar AquaLighter 3 Marine 30 instructions

RUTEC VARDAflex COB R-to-R Plus Instructions for use

RUTEC

RUTEC VARDAflex COB R-to-R Plus Instructions for use

Light Emotion thunderboltg2 User instruction manual

Light Emotion

Light Emotion thunderboltg2 User instruction manual

Flash LED NEW EFFECT LIGHT user manual

Flash

Flash LED NEW EFFECT LIGHT user manual

STL K-FORCE 27 LINEAR instruction manual

STL

STL K-FORCE 27 LINEAR instruction manual

Renkforce Modica 1297726 operating instructions

Renkforce

Renkforce Modica 1297726 operating instructions

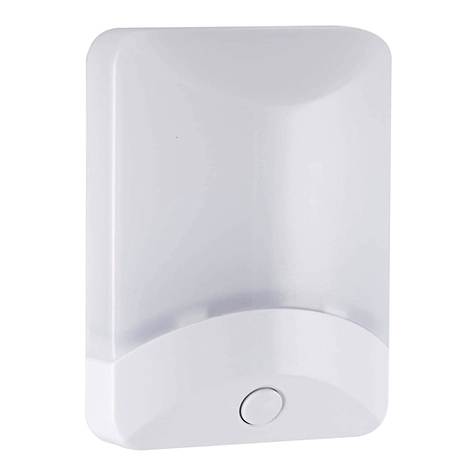
HoMedics Illumine ILS-NPA manual

HoMedics

HoMedics Illumine ILS-NPA manual

Spectroline uVision Series manual

Spectroline

Spectroline uVision Series manual

Lightolier ProSpec Track Lighting FIXTURE installation instructions

Lightolier

Lightolier ProSpec Track Lighting FIXTURE installation instructions

JONATHAN Y JYL1044A Product Assembly

JONATHAN Y

JONATHAN Y JYL1044A Product Assembly

manuals.online logo
manuals.online logoBrands
  • About & Mission
  • Contact us
  • Privacy Policy
  • Terms and Conditions

Copyright 2025 Manuals.Online. All Rights Reserved.