manuals.online logo
Brands
  1. Home
  2. •
  3. Brands
  4. •
  5. Stratasys
  6. •
  7. 3D Printer
  8. •
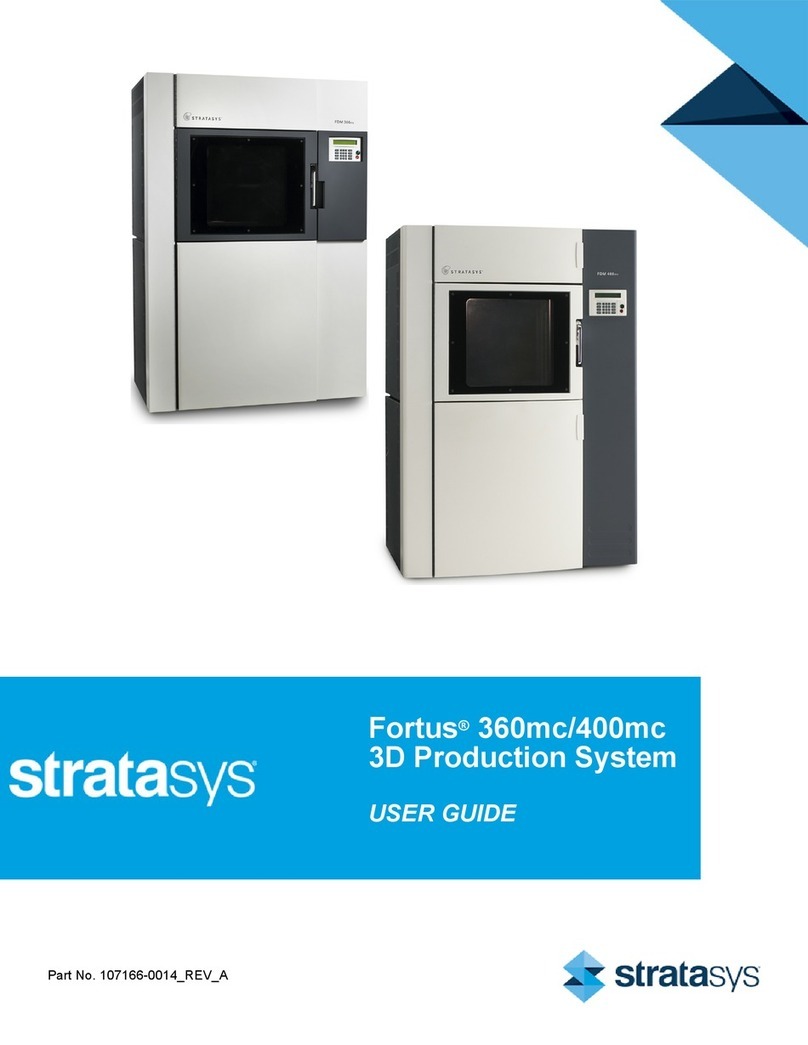
  9. Stratasys Fortus 360mc Reference guide

Stratasys Fortus 360mc Reference guide

Pull sealing
tape back
Remove the plug
New
thumbwheel
Remove insert
The text in brackets refers to the corresponding user guide
chapter. [Chapter Number]
TIP COMPATIBILITY [3]
IDENTIFYING TIPS [3]
PLATEN VACUUM [3]
Make sure the vacuum gauge reads -15Hg or higher (more
negative) before building or calibrating. See Troubleshooting:
Low Vacuum if gauge is out of range.
USING BUILD SHEETS [4]
Use clear build sheet for ABS-M30, PC, and PC-ABS.
Use amber build sheet for PPSF and ULTEM.
Use green tinted build sheet for Nylon 12.
INSTALLING CANISTERS [4]
Remove the anti-rotation plug from side of
canister before use. Seal hole with sealing tape.
Make sure the rubber shipping insert is removed
from the thumbwheel door before building.
Do not remove rubber shipping insert until
the canister is loaded into the canister bay.
Storing Canisters
Always replace the rubber shipping insert
when storing a partially used canister. Store
canister vertically (as if it is installed in a
system) or cross-winding of the lament on
the inner spool may result.
CHANGING TIPS OR MATERIAL TYPE [4]
1. Remove the used build sheet from platen.
2. Clean the oven and tip wipe assembly.
3. Inspect the tip wipe assembly.
4. From the Main Menu select; Operator Control > Change
Tips/Mtl.. > Unload Model and Support. Wait until the
material unloads before continuing to the next step.
107161-0012_REV_A
5. If changing material type:
- Remove the canisters. If removing a partially used canister,
you must remove it immediately (within ten seconds) after
separating drive block from canister; otherwise the lament is
forced into the canister, making it unusable.
- Seal the canisters and store vertically.
- Insert new canisters and turn the thumbwheel to put the
canister in the “Ready” state (ashing LED).
Note: If material type is changed, the tips MUST be changed.
Do not use the same tip for dierent material types.
6. Change the liqueer tips.
- If the removed tips are to be
re-used later, record material
type and volume.
- Make sure that you insert the
tip fully into the heater block.
Note: Worn tips cause part quality issues and can lead to loss of
extrusion. Always replace tips when prompted (reset
tip odometers).
7. From the menu, choose Select Materials/Tips..
8. If changing material type:
- Select Review Materials to Load.. and choose materials to load.
- Select Menu to continue.
9. Choose Select Tips to toggle through tip choices.
The system automatically does the following:
- Waits for oven to stabilize
- Performs Auto Z Zero calibration
- Loads model and support material
- Performs Auto Tip-to-Tip calibration
- Builds Calibration Job
MATERIAL DRYING SYSTEM [4]
Call Customer Support if the air pressure does not read between
36-40 psi for internal air or 48-52 psi for external air.
AUTO COOL-DOWN FEATURE [4]
This option acts as an energy saver when PC, PC-ABS, ULTEM, or
PPSF materials are being used. It also helps to prevent parts from
cracking when building large, thick parts using PPSF. After building
completes, the oven gradually cools to the standby temperature.
Wait until the PPSF parts are cool before removing them from the oven.
ULTEM
9085
STABILIZING OVEN [4]
When changing material type or using Auto Cool-Down, allow oven
temperatures to stabilize before calibration and system use. Oven
stabilization times are as follows:
10. Select Reset Tip Odometers.. and enter the odometer values for
the new tips.
11. If user placement is on, choose Select Calibration Part Position
and make user placement selections.
12. Select Load and Calibrate..
13. Select Unlock Door and insert a new build sheet. If switching to or
from PPSF, wait for the oven to stabilize before inserting a new
build sheet.
14. Determine Calibration Job tip oset values. See Calibration Job
for more information.
Make sure
tip is fully
inserted into
block
ABSi
Oven Stabilization Times (in hours)
ABS-
M30
ABS-
ESD7
Nylon
12
PC-
ABS
PC/
PC-ISO
ABS-M30
Auto
Cooldown
Nylon 12
ASA
ABSi
Room temp.
ABS-ESD7
PC-ABS
PC/ PC-ISO
ULTEM 9085
ULTEM 1010
ASA
4 4 4 4 4 4 4 8 8 8
--- --- --- --- --- 4 4 6 6 6
--- --- --- --- --- 4 4 6 6 6
--- --- --- --- --- 4 4 6 6 6
--- --- --- --- --- 4 4 6 6 6
4 4 4 4 4 --- 4 6 6
4 4 4 4 4 4 --- 4 4 4
6 6 6 6 6 4 4 ---
6 6 6 6 6 4 4 ---
PPSF
6
4
PPSF 6 6 6 6 6 6 4 4 ---
ULTEM
1010
Table 1-3: Oven Stabilization Times
---
4
4
---
Table 1-1: Available Tips
Table 1-2: Slice Height
Material Model Tip Support Tip
ABSi
ABS-M30
ABS-M30i †
ABS-ESD7 †
Nylon 12
PC
PC-ABS
PC
PC-ISO †
PC
PC-ISO †
PPSF †
ULTEM 9085 †
T10, T12, T16, T20
T10, T12, T16, T20
T12, T16
T12, T16, T20
T10, T12, T16
T10, T12, T16, T20
T16, T20
T12
T16
T16, T20
T12SR20
T12SR20 /
T12SR30
T12SR30
T12SR-100
T12SR-100
T12SR20
T16
T12
T16
T16
ASA T10, T12, T16, T20 T12SR30
ULTEM 1010 †T14, T20 T16
† 400mc only
Model Tip Slice Height
T12
T16
T20
0.007 in. (0.178 mm)
0.010 in. (0.254 mm)
0.013 in. (0.330 mm)
T14 0.010 in. (0.254 mm)
T10 0.005 in. (0.127 mm)
All unused model and support
tips are interchangeable -
EXCEPT for Soluble
Release (SR) support tips.
Once a tip is used, it is
committed to that material
type and is no longer
interchangeable.
Tip size is imprinted on
the top side of the plate
(T10 T12, T14, T16, T20)
The Soluble Release
support tip is shorter
than standard tips.
Tip size is imprinted on
the top side of the plate
(T12SR20, T12SR30,
T12SR100).
QUICK REFERENCE CARD
Fortus 360mc/400mc and FDM 360mc/400mc
CALIBRATING LIQUEFIER TIPS [6]
Calibration is an automatic step when changing material
type or tips.
Calibration Job
After the system builds the Calibration Job, follow these steps:
1. View the relationship between the support calibration toolpath
and the alignment indicators to determine the X and Y
axis calibration.
- Use a magnifying glass.
- Hold the build sheet up to the light, a light-colored wall, or
a light-colored piece of paper.
2. Determine where on each axis the support toolpath is most
centered between the X-Y alignment path. For example, if
most centered between indicators below the “4” on the “-Y”
side of calibration box, tip oset value for -Y is 0.004.
3. Select Operator Control > Calibrate > Tip Oset Value.
Enter any X and Y tip oset corrections.
4. Select Operator Control > Calibrate > Calibration Job to build a
new Calibration Job.
5. Repeat steps 1-4 until the support toolpath is centered
between all X and Y zero indicators.
6. Peel the Z box support layer from the last Calibration Job.
Z thickness should measure within +/-0.0005 in. (0.01 mm)
of the installed model tip’s slice height.
Note: Do not measure for Z adjustment until the Calibration
Model Shows the XY Oset to be less than 0.002 inch
(0.05 mm) for the X and Y axis.
7. If the Z thickness is not within specication, subtract your
measurement from the model’s tip slice height.
8. Select Operator Control > Calibrate > Tip Oset Value.
Enter any Z tip oset corrections.
- Select -Z if thickness is greater than slice height.
- Select +Z if thickness is less than slice height.
MAINTAINING TIP WIPE ASSEMBLY [7]
1. Unlock doors and open the oven door.
2. Using safety gloves and sleeves, remove the top piece of
the tip wipe chute.
3. Remove the purge ledge assembly.
4. Remove the brush/icker assemblies.
5. Clean the purge chute.
6. Clean purge ledge and brush/icker assemblies.
7. Inspect the Kapton tape around the top piece of the tip
wipe chute.
8. Inspect the purge.
9. Inspect the brush/icker assemblies.
TROUBLESHOOTING [8]
Canister Will Not Load
- Anti-rotation plug not removed from canister.
Remove the plug.
- Rubber thumbwheel insert not removed from
thumbwheel door.
Remove the insert.
- Empty canister (zero volume).
Replace the canister.
- Filament stuck in canister.
Remove the canister from the bay. Pull about 8 feet (2 meters)
of material out, making sure the lament pulls out freely.
- Canister drive block not fully lowered onto canister.
Re-seat the drive block onto canister.
- Wrong tip size selected on operator display.
Verify correct tip size is displayed. See Tip Compatibility.
- Canister smartspool circuit failed.
View lament status from the operator display.
If the status reads None or is blank, replace the canister.
- Broken or bent pogo pin.
Remove the canister from the bay and check the pogo pins
on the underside of the canister drive block. Replace any
bent or broken pogo pins.
- Filament does not reach head (load time-out).
Change the canister. If this fails, contact Customer Support.
Auto-Changeover Failure (4-bay systems only)
Filament not unloaded into empty canister.
Perform a manual unload.
Note: All scenarios from Canister Will Not Load section may apply
in an Auto-Changeover Failure.
Loss of Extrusion
- Filament stuck in canister.
Remove the canister from the bay and pull about 8 feet
(2 meters) of material out, making sure the lament pulls
out freely.
- Canister drive too slow.
Verify that load time from the canister to the head switch
is less than 2.5 minutes.
- Material not extruding on rst two layers or model base.
Verify that material purges by performing a load. Perform the
Platen Flatness Diagnostic. Verify that all numbers are
within +/-0.015 inches (0.38 mm).
- Plugged tips:
•Verify that the size of tip matches tip size indicated on
the operator display. See Tip Compatibility.
•Verify that tip life has not exceeded the maximum
tip odometer.
•Verify that the tips were installed correctly.
•Verify that material purges by performing a load.
•Replace the tip.
- System not calibrated.
Verify that material purges by performing a load. Perform
the Auto Z Stage Zero and Auto Tip-to-Tip Calibration.
- Low vacuum caused build sheet to shift and may have
plugged tip.
See Low Vacuum.
Low Vacuum
Note: System will not build until the vacuum level is adequate.
- Filament debris on the platen.
Clean the platen surface.
- Plugged vacuum screen.
Clean or replace the vacuum screen.
- Rubber O-ring is twisted or needs to be replaced.
•Remove the O-ring and inspect for cracks.
•Replace if cracks are found or problems persist.
If no cracks are found, re-install the O-ring, making sure
that it is not twisted.
Low Air Pressure
Contact Customer Support for assistance.
10. Replace parts as necessary.
11. Re-install parts in reverse order of disassembly.
HEADQUARTERS
7665 Commerce Way, Eden Prairie, MN 55344
+1 800 801 6491 (US Toll Free)
+1 952 937 3000 (Intl)
+1 952 937 0070 (Fax)
2 Holtzman St., Science Park, PO Box 2496
Rehovot 76124, Israel
+972 74 745 4000
+972 74 745 5000 (Fax)
E info@stratasys.com / S T R AT A S YS . C O M
THE 3D PRINTING SOLUTIONS COMPANY™

Other manuals for Fortus 360mc

5

This manual suits for next models

3

Other Stratasys 3D Printer manuals

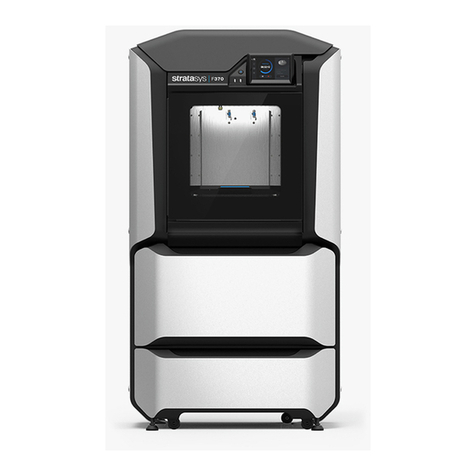
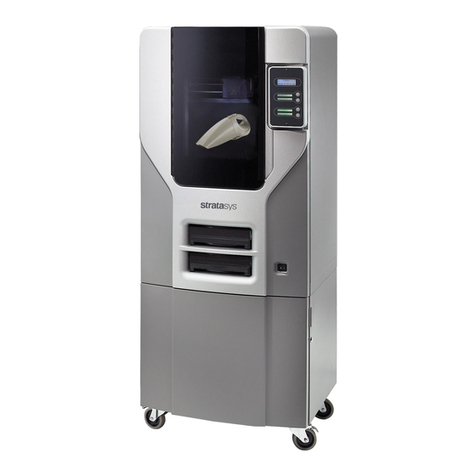
Stratasys Dimension Elite User manual

Stratasys

Stratasys Dimension Elite User manual

Stratasys Objet350 User manual

Stratasys

Stratasys Objet350 User manual

Stratasys Fortus 900mc Reference guide

Stratasys

Stratasys Fortus 900mc Reference guide

Stratasys H350 User manual

Stratasys

Stratasys H350 User manual

Stratasys FDM Titan User manual

Stratasys

Stratasys FDM Titan User manual

Stratasys Eden250 User manual

Stratasys

Stratasys Eden250 User manual

Stratasys F123 Series User manual

Stratasys

Stratasys F123 Series User manual

Stratasys Fortus 250mc User manual

Stratasys

Stratasys Fortus 250mc User manual

Stratasys F120 User manual

Stratasys

Stratasys F120 User manual

Stratasys F120 Operating instructions

Stratasys

Stratasys F120 Operating instructions

Stratasys Finishing Touch User manual

Stratasys

Stratasys Finishing Touch User manual

Stratasys Fortus 900mc Operating instructions

Stratasys

Stratasys Fortus 900mc Operating instructions

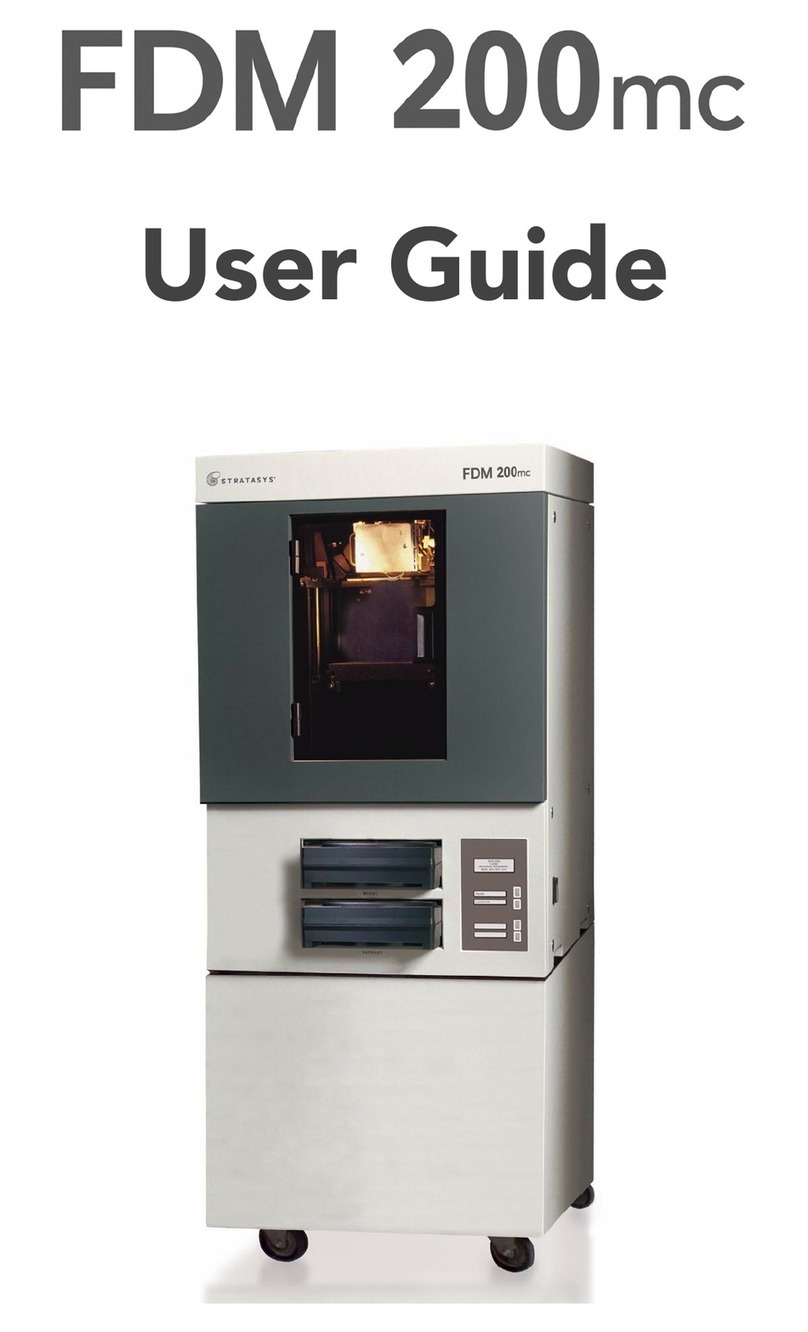
Stratasys FDM 200mc User manual

Stratasys

Stratasys FDM 200mc User manual

Stratasys Objet24 V2 Operating instructions

Stratasys

Stratasys Objet24 V2 Operating instructions

Stratasys Mojo User manual

Stratasys

Stratasys Mojo User manual

Stratasys J4100 User manual

Stratasys

Stratasys J4100 User manual

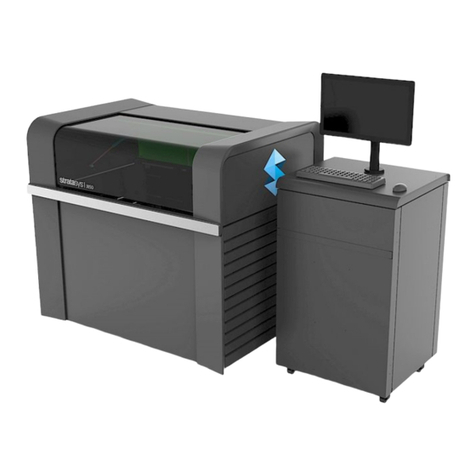
Stratasys J850 User manual

Stratasys

Stratasys J850 User manual

Stratasys Objet500 User manual

Stratasys

Stratasys Objet500 User manual

Stratasys Objet500 User manual

Stratasys

Stratasys Objet500 User manual

Stratasys Objet1000 Connex 2 User manual

Stratasys

Stratasys Objet1000 Connex 2 User manual

Stratasys Origin One User manual

Stratasys

Stratasys Origin One User manual

Stratasys Eden260VS Operating instructions

Stratasys

Stratasys Eden260VS Operating instructions

Stratasys uPrint User manual

Stratasys

Stratasys uPrint User manual

Stratasys Fortus 250mc Operating instructions

Stratasys

Stratasys Fortus 250mc Operating instructions

Popular 3D Printer manuals by other brands

Polaroid ModelSmart 250S user guide

Polaroid

Polaroid ModelSmart 250S user guide

INFINITY3DP NEW X1 user manual

INFINITY3DP

INFINITY3DP NEW X1 user manual

mbot 3d CUBE user manual

mbot 3d

mbot 3d CUBE user manual

MiiCraft Profession Series Maintenance manual

MiiCraft

MiiCraft Profession Series Maintenance manual

GiantArm D200 user manual

GiantArm

GiantArm D200 user manual

Bfb RapMan 3.1.0 Installations

Bfb

Bfb RapMan 3.1.0 Installations

Creality CR-10 Series user manual

Creality

Creality CR-10 Series user manual

AZUREFILM DIY Kit manual

AZUREFILM

AZUREFILM DIY Kit manual

Tumaker Voladora NX + manual

Tumaker

Tumaker Voladora NX + manual

3D Fun Printz Cameo 4 Universal Pen Holder instructions

3D Fun Printz

3D Fun Printz Cameo 4 Universal Pen Holder instructions

Ultimaker ORIGINAL+ Assembly instructions

Ultimaker

Ultimaker ORIGINAL+ Assembly instructions

TH3D EZABL Pro installation guide

TH3D

TH3D EZABL Pro installation guide

Glowforge Pro user manual

Glowforge

Glowforge Pro user manual

JGaurora A3S user guide

JGaurora

JGaurora A3S user guide

Rokit Dr. Invivo AI Regen KIT manual

Rokit

Rokit Dr. Invivo AI Regen KIT manual

Sigma R19 quick start guide

Sigma

Sigma R19 quick start guide

3D Systems ProX SLS 6100 user guide

3D Systems

3D Systems ProX SLS 6100 user guide

Gembird 3D Printer Filament Dryer Box user guide

Gembird

Gembird 3D Printer Filament Dryer Box user guide

manuals.online logo
manuals.online logoBrands
  • About & Mission
  • Contact us
  • Privacy Policy
  • Terms and Conditions

Copyright 2025 Manuals.Online. All Rights Reserved.