manuals.online logo
Brands
  1. Home
  2. •
  3. Brands
  4. •
  5. Sunnydaze Decor
  6. •
  7. Indoor Furnishing
  8. •
  9. Sunnydaze Decor MERANTI FRN-893 User manual

Sunnydaze Decor MERANTI FRN-893 User manual

Other Sunnydaze Decor Indoor Furnishing manuals
Sunnydaze Decor JVA-415 User manual

Sunnydaze Decor

Sunnydaze Decor JVA-415 User manual

Sunnydaze Decor JVA-076 User manual

Sunnydaze Decor

Sunnydaze Decor JVA-076 User manual

Sunnydaze Decor AGR-331 User manual

Sunnydaze Decor

Sunnydaze Decor AGR-331 User manual

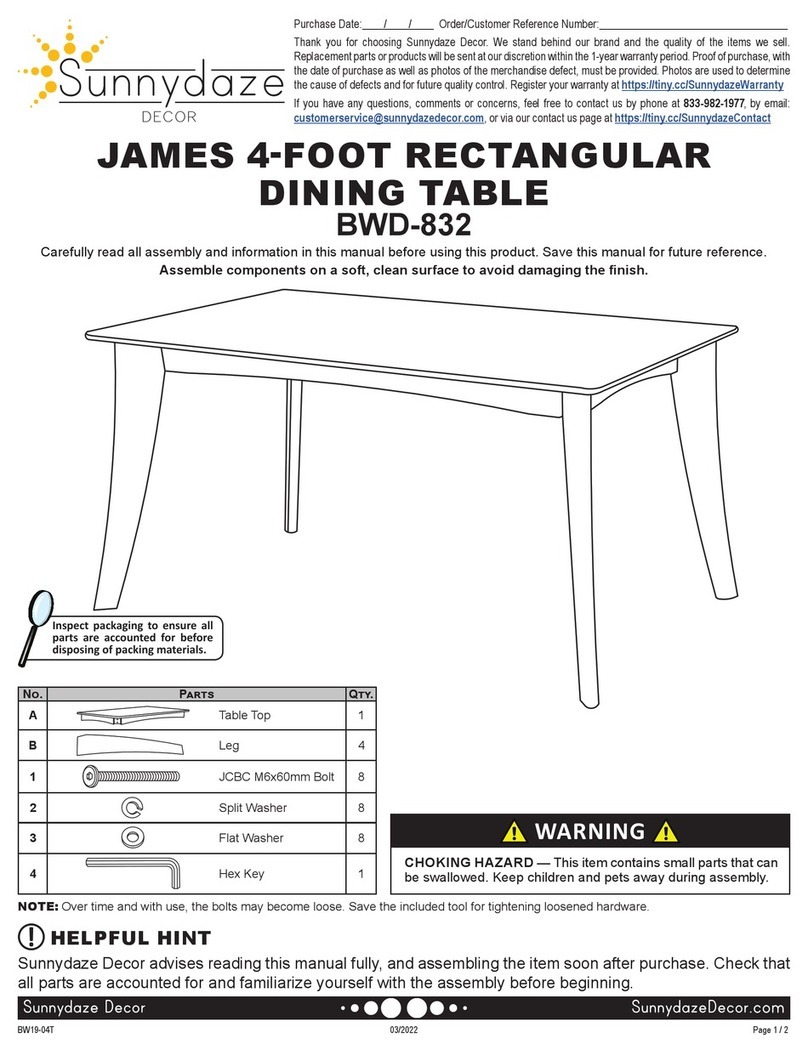
Sunnydaze Decor JAMES BWD-832 User manual

Sunnydaze Decor

Sunnydaze Decor JAMES BWD-832 User manual

Sunnydaze Decor PENELOPE AJ-229 User manual

Sunnydaze Decor

Sunnydaze Decor PENELOPE AJ-229 User manual

Sunnydaze Decor STR-435 User manual

Sunnydaze Decor

Sunnydaze Decor STR-435 User manual

Sunnydaze Decor DORIAN BWD-818 User manual

Sunnydaze Decor

Sunnydaze Decor DORIAN BWD-818 User manual

Sunnydaze Decor MTR-508 User manual

Sunnydaze Decor

Sunnydaze Decor MTR-508 User manual

Sunnydaze Decor AGR-348 User manual

Sunnydaze Decor

Sunnydaze Decor AGR-348 User manual

Sunnydaze Decor KIDS WOODEN ADIRONDACK CHAIR User manual

Sunnydaze Decor

Sunnydaze Decor KIDS WOODEN ADIRONDACK CHAIR User manual

Sunnydaze Decor DSL-978 User manual

Sunnydaze Decor

Sunnydaze Decor DSL-978 User manual

Sunnydaze Decor MERANTI FRN-978 User manual

Sunnydaze Decor

Sunnydaze Decor MERANTI FRN-978 User manual

Sunnydaze Decor LAM-443 User manual

Sunnydaze Decor

Sunnydaze Decor LAM-443 User manual

Sunnydaze Decor AGR-379 User manual

Sunnydaze Decor

Sunnydaze Decor AGR-379 User manual

Sunnydaze Decor CRO-133 User manual

Sunnydaze Decor

Sunnydaze Decor CRO-133 User manual

Sunnydaze Decor DTA-287 User manual

Sunnydaze Decor

Sunnydaze Decor DTA-287 User manual

Sunnydaze Decor AJ-638 User manual

Sunnydaze Decor

Sunnydaze Decor AJ-638 User manual
Sunnydaze Decor LAM-450 User manual

Sunnydaze Decor

Sunnydaze Decor LAM-450 User manual

Sunnydaze Decor MTR-461 User manual

Sunnydaze Decor

Sunnydaze Decor MTR-461 User manual

Sunnydaze Decor AJ-141 User manual

Sunnydaze Decor

Sunnydaze Decor AJ-141 User manual

Sunnydaze Decor ARNOLD BWD-894 User manual

Sunnydaze Decor

Sunnydaze Decor ARNOLD BWD-894 User manual

Sunnydaze Decor AGR-355 User manual

Sunnydaze Decor

Sunnydaze Decor AGR-355 User manual

Sunnydaze Decor CRO-102 User manual

Sunnydaze Decor

Sunnydaze Decor CRO-102 User manual

Sunnydaze Decor DTA-270 User manual

Sunnydaze Decor

Sunnydaze Decor DTA-270 User manual

Popular Indoor Furnishing manuals by other brands

Regency LWMS3015 Assembly instructions

Regency

Regency LWMS3015 Assembly instructions

Furniture of America CM7751C Assembly instructions

Furniture of America

Furniture of America CM7751C Assembly instructions

Safavieh Furniture Estella CNS5731 manual

Safavieh Furniture

Safavieh Furniture Estella CNS5731 manual

PLACES OF STYLE Ovalfuss Assembly instruction

PLACES OF STYLE

PLACES OF STYLE Ovalfuss Assembly instruction

Trasman 1138 Bo1 Assembly manual

Trasman

Trasman 1138 Bo1 Assembly manual

Costway JV10856 manual

Costway

Costway JV10856 manual

moss DESIGN Caisson Credenza Assembly instructions

moss DESIGN

moss DESIGN Caisson Credenza Assembly instructions

Aquaglide FULL DECK 15.0 owner's manual

Aquaglide

Aquaglide FULL DECK 15.0 owner's manual

AREBOS AR-HE-SW30 user manual

AREBOS

AREBOS AR-HE-SW30 user manual

Till-Hilft Fulda 87005.330 Assembly instructions

Till-Hilft

Till-Hilft Fulda 87005.330 Assembly instructions

Twoey Outside 2010 quick start guide

Twoey Outside

Twoey Outside 2010 quick start guide

Hettich Easys 200 operating instructions

Hettich

Hettich Easys 200 operating instructions

The bedboss RELAX 404 Series owner's manual

The bedboss

The bedboss RELAX 404 Series owner's manual

Oeseder Möbelindustrie Bern 991 720 Assembly instructions

Oeseder Möbelindustrie

Oeseder Möbelindustrie Bern 991 720 Assembly instructions

Costway HW68469 user manual

Costway

Costway HW68469 user manual

Next ALIX A27743 Assembly instructions

Next

Next ALIX A27743 Assembly instructions

BROSA Hans Assembly guide

BROSA

BROSA Hans Assembly guide

Prodigg MINIKA PBA015T-FUR installation manual

Prodigg

Prodigg MINIKA PBA015T-FUR installation manual

manuals.online logo
manuals.online logoBrands
  • About & Mission
  • Contact us
  • Privacy Policy
  • Terms and Conditions

Copyright 2025 Manuals.Online. All Rights Reserved.

MERANTI WOOD STORAGE BENCH
FRN-893

Page 1 / 388891
  
ABackrest 1
BRight Arm 1
CLeft Arm 1
DFront Panel 1
EBack Panel 1
FLid 1
GBottom Panel 1
HJCBC M6x60 Grub Screw 8
IJCBC M6x40 Bolt 4
JJCBC M6x16 Bolt 12
KCoupling Nut 8
LCurved Washer 8
MHinge (L&R) 2
NHex Key 1
OSpanner 1
WARNING
CHOKING HAZARD — This item contains small parts that can be
swallowed. Keep children and pets away during assembly.
Inspect packaging to ensure all
parts are accounted for before
disposing of packing materials.
2-PERSON
ASSEMBLY
RECOMMENDED
Thank you for choosing Sunnydaze Decor. We stand behind our brand and the quality of the items we sell.
Replacement parts or products will be sent at our discretion within the 1-year warranty period. Proof of purchase, with
the date of purchase as well as photos of the merchandise defect, must be provided. Photos are used to determine
the cause of defects and for future quality control. Register your warranty at https://tiny.cc/SunnydazeWarranty
If you have any questions, comments or concerns, feel free to contact us by phone at 833-982-1977, by email:
customerservice@sunnydazedecor.com, or via our contact us page at https://tiny.cc/SunnydazeContact
Purchase Date: / / Order/Customer Reference Number:
10/2021
Tip: Always fully insert
the hex key inside the
designated notch of
the bolt.
If the hex key is not fully inside the notch, the hex key could slip
out, causing damage to the bolt head. Repeated hex key slipping
will cause the notch to become rounded, making it di󰀩cult or
impossible to tighten the bolt with the hex key.
440
pounds
200 kg
Weight Capacity

Read carefully and understand assembly before beginning.
Do not fully tighten bolts until all components have been loosely assembled.
Page 2 / 3
STEP 1
B: 1
C: 1
H: 8
Do not fully tighten any hardware until after Step 6 is complete.
STEP 2
D: 1
E: 1
K: 8
L: 8
STEP 3
G: 1
STEP 4
M: 2
J: 6
• Place Bottom Panel (G) inside the storage box, as
shown.
Do not fully tighten any hardware until after Step 6 is complete.
Do not fully tighten any bolts until after Step 6 is complete.Do not fully tighten any bolts until after Step 6 is complete.
88891
• Insert 4x JCBC M6x60 Grub Screw (H) into the inside
of each Arm Panel (B, C).
• Ensuring the pre-drilled holes face inward, align Front
Panel (D) and Back Panel (E) over the grub screws.
• Place Curved Washer (L) over grub screws, as shown,
then secure by hand-tightening Coupling Nut (K).
• Fasten the bottom of right-side Hinge (M) to the inside
of the storage box by hand-tightening 3x JCBC M6x16
Bolt (J), as shown.
• Repeat this step on the left side of the storage box.
10/2021
Page 3 / 3
Care & Maintenance
Only use on a at, level surface. Do not stand on the storage bench.
Periodically check assembly points and tighten ttings as necessary.
CLEANING: Identify the direction of the woodgrain. Following the direction of the woodgrain, wipe surfaces with a
soft, dry cloth. Do not use harsh chemicals or abrasive materials or a pressure washer to clean.
COVER: When not in use, cover furniture with a breathable cover to help protect it from the harmful e󰀨ects of sunlight,
inclement weather, dust build-up, and collecting debris.
: Protect this item from inclement weather, especially ice and snow. Move to a cool,
dry indoor location. Covering while in storage is recommended to help prevent dust build-up.
MAINTENANCE:If left untreated, the wood may weather. A suitable wood stain or oil may need to be applied yearly.
WARNING: THE ONE-YEAR WARRANTY DOES NOT COVER DAMAGES OR DEFECTS
CAUSED BY THE USE OF CHEMICAL TREATMENTS OR PROTECTIVE COATINGS.
STEP 5
F: 1
J: 6
88891
STEP 6
A: 1
I: 4
• Align Lid (F) with the top of Hinge (M) and secure by
hand-tightening 3x JCBC M6x16 Bolt (J)
• Repeat this step on the left side of the storage box lid.
• Affix Backrest (A) to the arms using 4x JCBC M6x40
Bolt (I), as shown.
Fully tighten all hardware after this step is complete.Do not fully tighten any bolts until after Step 6 is complete.
WARNING:
Manufacturer and seller expressly disclaim any and all liability from personal injury, property damage or loss, whether direct or

• Do not exceed the weight capacity of the bench.
• Do not let children to use the lid or play inside the storage box.
• Do not use this item in the proximity of open flame or flammable/combustible chemicals.
• Keep this unit a safe distance from heat sources such as fire pits, patio heaters, and grills.
• Do not use harsh chemicals or abrasive materials to clean this unit.
• This product is for residential use only; institutional or commercial use will void this warranty.
SAFETY STATEMENTS & WARNINGS

10/2021