manuals.online logo
Brands
  1. Home
  2. •
  3. Brands
  4. •
  5. Sunricher
  6. •
  7. Switch
  8. •
  9. Sunricher R-SBP2801K4-FOS-E User manual

Sunricher R-SBP2801K4-FOS-E User manual

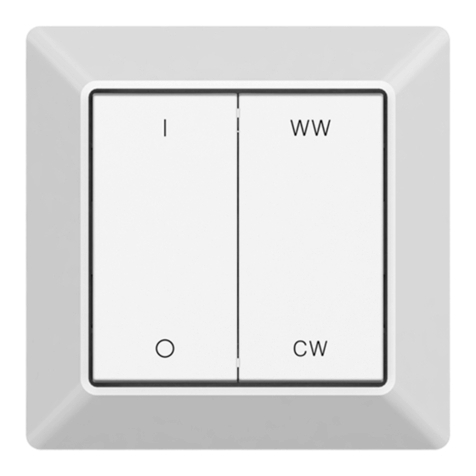
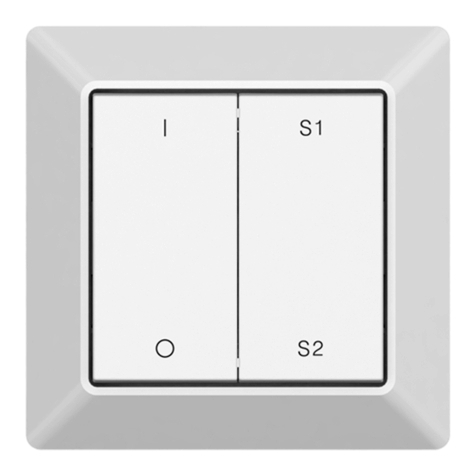
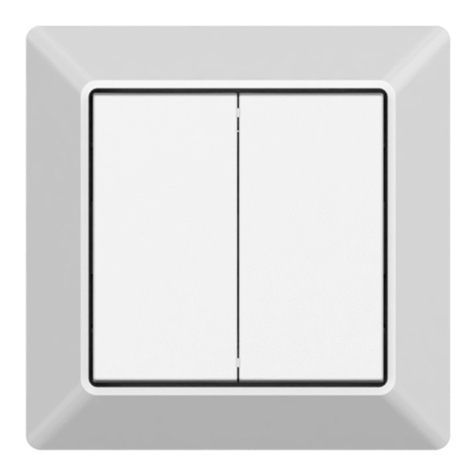
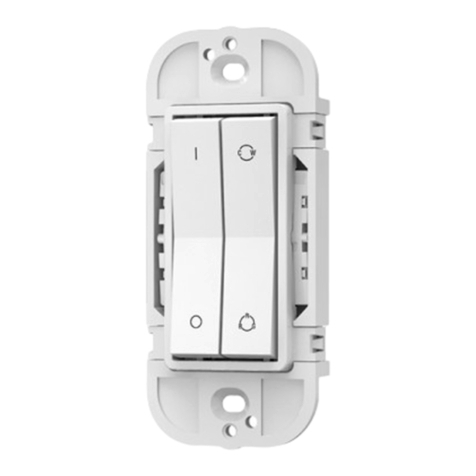
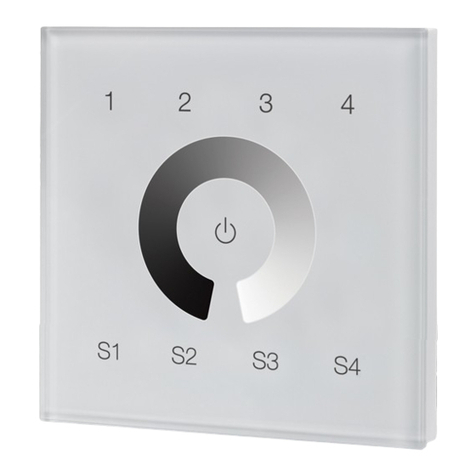
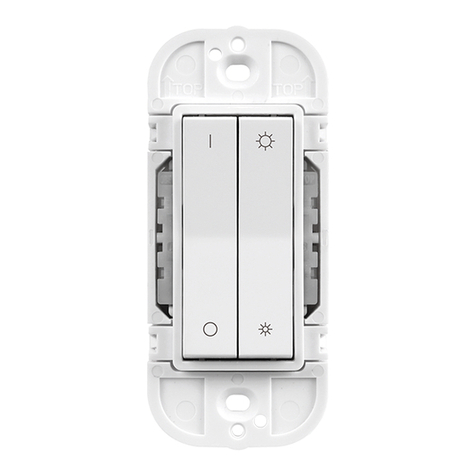
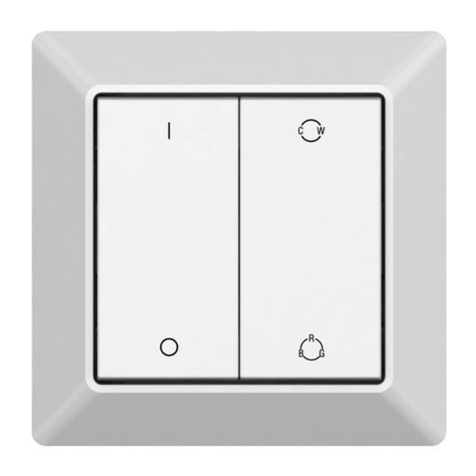
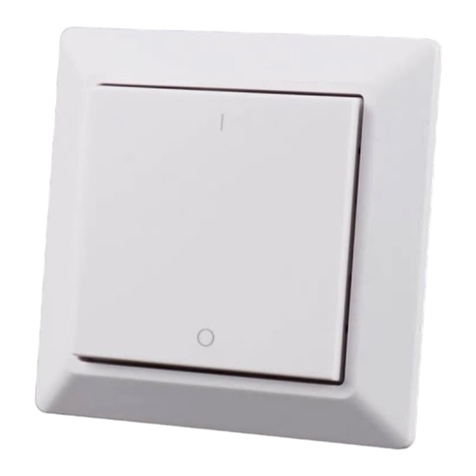
Configurable RF+Bluetooth Smart Switch
70200050
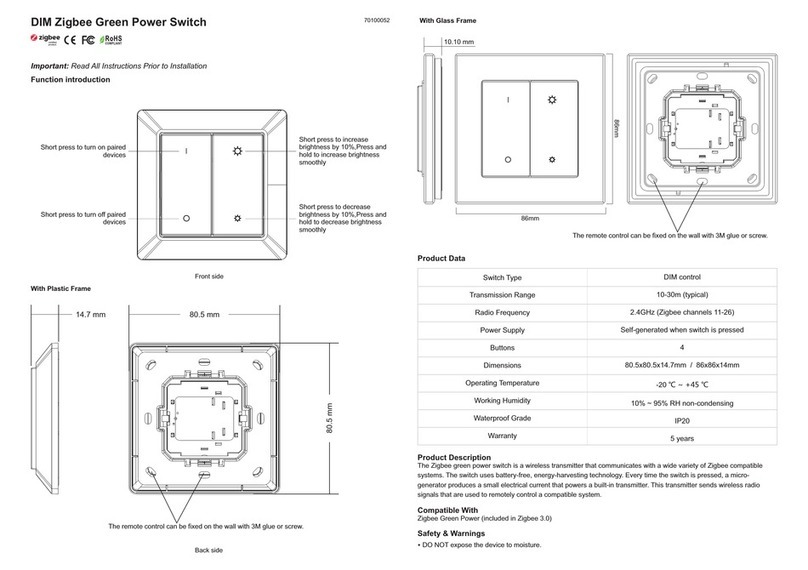
Function introduction
Important: Read All Instructions Prior to Installation
Front side
10.10 mm
86mm
86mm
The remote control can be fixed on the wall with 3M glue or screw.
With Glass Frame
Product Data
Protocol
Number of Buttons
Power Supply
Transmission Frequency
Transmission Range (free field)
Protection Type
Dimming Range
Dimensions
RF+Bluetooth
4
3VDC(1xCR2430 battery)
2.4GHz
30m
IP20
0.1%-100%
80.5x80.5x14.7mm / 86x86x14mm
• Configurable RF+Bluetooth smart wall switch with 4 buttons
• Battery powered, ultra low power consumption
• Easy & quick pairing to the RF+Bluetooth receivers by simply pushing the buttons
• Configurable through EasyThings APP with numerous functions
• Enables to control ON/OFF, brightness, CCT, RGB colors
• Enables to trigger preset dynamic color sequences, preset scenes or saved scenes in EasyThings APP
• Mesh network for further control distance, receivers can transmit signal to each other
• 2.4 GHz global operation
• The controlled receiver status can be quickly synchronized to the smart APP
• Transmission range between every two neighbor devices up to 30m
• Each receiver can be paired to max. 8 remote controls
• Enables to control universal DIM, CCT, RGB, RGBW and RGB+CCT RF+Bluetooth devices
• Standard size, compatible with existing EU size frame
Back side
With Plastic Frame
The remote control can be fixed on the wall with 3M glue or screw.
80.5 mm
80.5 mm
14.7 mm
Safety & Warnings
• This device contains lithium battery that shall be stored and disposed properly.
• DO NOT expose the device to moisture.
Operations
Figure 9 Figure 10 Figure 11
BUTTON INDEX
1
2 4
3
Pair a RF+Bluetooth Receiver to the APP
Step 1: Add the RF+Bluetooth LED receiver to EasyThings APP (please refer to the instruction of EasyThings APP to
learn how).
Step 2: Press and hold the added device icon to enter into control interface of the LED receiver, then tap button at
upper right corner to enter into edit page of this device (As shown in Figure 1 & Figure 2 & Figure 3).
Figure 1 Figure 2 Figure 3
Configure the Smart Switch
Step 1: Tap “Configure Smart Switch” (As shown in Figure 4) to go to configuration page. “Link Switch” is the 1st step
to configure a coupler, tap “Link Switch” (As shown in Figure 5), then choose “Number of Buttons” as 4, 1/2/4 means
1-button/2-button/4-button switch respectively, “Select Button” is to select a button you would like to link, tick and select a
button. Then tap the scan button “ ” to scan the QR code or manually input the Switch ID printed at the back side of the
switch. Then tap “Link” at the upper right corner, the selected button will be linked to the app. To configure all 4 buttons, you
need to select and link the 4 buttons respectively (As shown in Figure 6). “Unlink Switch” enables the user to unlink a smart
switch from the app by scan QR code or manually input the ID on the back of the switch, the operation is similar to “Link”.
“Custom Switch Action” is to configure the function of a linked switch, tap “Custom Switch Action” to enter into setting
page of a linked switch (As shown in Figure 7 & Figure 8).
Figure 4 Figure 5
Step 2: “NUMBER OF BUTTONS” is to choose the number of push buttons of the switch (1/2/4 buttons), choose 4 here
(As shown in Figure 8). “BUTTON INDEX” is to choose a button that you would like to configure (As shown in Figure 8).
“PRESS TYPE” is to choose an operation of the button for example “Short press” (As shown in Figure 8). After choosing
an operation, the available functions can be triggered by the operation will be listed, tap to choose a function that you
would like to assign to the operation (As shown in Figure 9 & Figure 10).
Figure 6
Figure 7 Figure 8
For the configuration of “Long press” operation of a button, 2 steps should executed, step 1 is to configure “Long press
start” which means the button is pressed without releasing, step 2 is to configure “Long press end” which means the button
is released.
Meanings of the available configurable actions for “Long press start” are as follows (As shown in Figure 12, Figure 13):
Move level up: dim up brightness.
Move level down: dim down brightness.
Move level up/down: first operation to dim up brightness, second operation to dim down brightness.
Move CCT/white up (RGB enabled): for RGBCCT or RGBW devices, increase WW and decrease CW, or increase W
channel, RGB channels are enabled.
Move CCT/white down (RGB enabled): for RGBCCT or RGBW devices, increase CW and decrease WW, or decrease W
channel, RGB channels are enabled.
Move CCT/white up/down (RGB enabled): for RGBCCT devices, first operation to increase WW and decrease CW, second
operation to decrease WW and increase CW, for RGBW devices, first operation to increase W channel, second operation
to decrease W channel, RGB channels are enabled.
Installation
The key part of this controller is a universal, extremely rotary standard switch element that can be integrated in
numerous frames by different manufactures as below list:
BERKER S1, B1, B3, B7 glass
GIRA Standard55, E2, Event, Esprit
JUNG A500, Aplus
MERTEN M-smart, M-Arc, M-Plan
With Plastic Frame With Glass Frame
CR2430CR2430
Step 3: Configure the 4 buttons one by one, the corresponding buttons of button index is as shown in Figure 11, please
make sure the up direction of the switch is installed upward correctly according to the direction label on the back.
Step 4: Once configured successfully, the switch can control the paired LED receiver with the configured functions. Each
receiver can be paired to max. 8 switches.
Figure 12 Figure 13
Figure 14
Move CCT/white up (RGB disabled): for RGBCCT or RGBW devices, increase WW and decrease CW, or increase W
channel, RGB channels are disabled.
Move CCT/white down (RGB disabled): for RGBCCT or RGBW devices, increase CW and decrease WW, or decrease W
channel, RGB channels are disabled.
Move CCT/white up/down (RGB disabled): for RGBCCT devices, first operation to increase WW and decrease CW, second
operation to decrease WW and increase CW, for RGBW devices, first operation to increase W channel, second operation
to decrease W channel, RGB channels are disabled.
Move RGB mix fade up (CCT/White enabled): for RGBCCT or RGBW devices, RGB colors mix fade up, CCT channels or
white channel are enabled.
Move RGB mix fade down (CCT/White enabled): for RGBCCT or RGBW devices, RGB colors mix fade down, CCT
channels or white channel are enabled.
Move RGB mix fade up/down (CCT/White enabled): for RGBCCT or RGBW devices, first operation means RGB colors mix
fade up, second operation means RGB colors mix fade down, CCT channels or white channel are enabled.
Move RGB mix fade up (CCT/White disabled): for RGBCCT or RGBW devices, RGB colors mix fade up, CCT channels or
white channel are disabled.
Move RGB mix fade down (CCT/White disabled): for RGBCCT or RGBW devices, RGB colors mix fade down, CCT
channels or white channel are disabled.
Move RGB mix fade up/down (CCT/White disabled): for RGBCCT or RGBW devices, first operation means RGB colors mix
fade up, second operation means RGB colors mix fade down, CCT channels or white channel are disabled.
Move speed up: speed up the RGB color running effects.
Move speed down: speed down the RGB color running effects.
Save scene 1/2/3/4: save current status as a scene.
Recall scene 1/2/3/4: recall the saved scene.
Meanings of the available configurable actions for “Long press end” are as follows (As shown in Figure 14):
Move level stop: stop dim up/down the brightness when button released.
Move CCT/white stop (RGB enabled): for RGBCCT or RGBW devices, stop adjusting color temperature or white channel
when button released, RGB channels are enabled.
Move CCT/white stop (RGB disabled): for RGBCCT or RGBW devices, stop adjusting color temperature or white channel
when button released, RGB channels are disabled.
Move RGB mix fade stop (CCT/White enabled): for RGBCCT or RGBW devices, stop RGB colors mix fade when button
released, CCT channels or white channel are enabled.
Move RGB mix fade stop (CCT/White disabled): for RGBCCT or RGBW devices, stop RGB colors mix fade when button
released, CCT channels or white channel are disabled.
Move speed up/down stop: stop speeding up/down the RGB color running effects when button released.
This manual suits for next models

1

Other Sunricher Switch manuals

Sunricher SR-GW-ZG User manual

Sunricher

Sunricher SR-GW-ZG User manual

Sunricher SR-ZGP2801K2-DIM User manual

Sunricher

Sunricher SR-ZGP2801K2-DIM User manual

Sunricher SR-ZGP2801K4-DIM User manual

Sunricher

Sunricher SR-ZGP2801K4-DIM User manual

Sunricher SR-ZG9080A User manual

Sunricher

Sunricher SR-ZG9080A User manual

Sunricher SR-ZG2833PAC-S4 User manual

Sunricher

Sunricher SR-ZG2833PAC-S4 User manual

Sunricher SR-ZGP2801K4-5C User manual

Sunricher

Sunricher SR-ZGP2801K4-5C User manual

Sunricher SR-ZGP2801K4-DIM-G2-E User manual

Sunricher

Sunricher SR-ZGP2801K4-DIM-G2-E User manual

Sunricher SR-ZGP2801K4-DIM-S2 User manual

Sunricher

Sunricher SR-ZGP2801K4-DIM-S2 User manual

Sunricher SR-ZG9100A User manual

Sunricher

Sunricher SR-ZG9100A User manual

Sunricher ZG9001T4-DIM-EU User manual

Sunricher

Sunricher ZG9001T4-DIM-EU User manual

Sunricher SR-ZGP2801K4-CCT-E-US User manual

Sunricher

Sunricher SR-ZGP2801K4-CCT-E-US User manual

Sunricher SR-ZGP2801K2-DIM User manual

Sunricher

Sunricher SR-ZGP2801K2-DIM User manual

Sunricher SR-ZV9100A-A User manual

Sunricher

Sunricher SR-ZV9100A-A User manual

Sunricher SR-ZGP2801K4-DIM-S2-E User manual

Sunricher

Sunricher SR-ZGP2801K4-DIM-S2-E User manual

Sunricher Azoula AZ220614A User manual

Sunricher

Sunricher Azoula AZ220614A User manual

Sunricher SR-ZGP2801K2-DIM-E User manual

Sunricher

Sunricher SR-ZGP2801K2-DIM-E User manual

Sunricher SR-ZG9100A-S User manual

Sunricher

Sunricher SR-ZG9100A-S User manual

Sunricher SR-2830A-AC User manual

Sunricher

Sunricher SR-2830A-AC User manual

Sunricher SR-ZGP2801K4-DIM User manual

Sunricher

Sunricher SR-ZGP2801K4-DIM User manual

Sunricher SR-ZGP2801K4-DIM-E User manual

Sunricher

Sunricher SR-ZGP2801K4-DIM-E User manual

Sunricher SR-ZGP2801K4-CCT-E User manual

Sunricher

Sunricher SR-ZGP2801K4-CCT-E User manual

Sunricher SR-SBP2801K4-FOS User manual

Sunricher

Sunricher SR-SBP2801K4-FOS User manual

Sunricher SR-ZG9101SAC-HP-SWITCH User manual

Sunricher

Sunricher SR-ZG9101SAC-HP-SWITCH User manual

Popular Switch manuals by other brands

Atlona AT-HD4-V41 user manual

Atlona

Atlona AT-HD4-V41 user manual

Extron electronics A-3 user manual

Extron electronics

Extron electronics A-3 user manual

UE 120 Series Installation and maintenance instructions

UE

UE 120 Series Installation and maintenance instructions

OEZ BL1000SE305 Instructions for use

OEZ

OEZ BL1000SE305 Instructions for use

Allied Telesis Series release note

Allied Telesis

Allied Telesis Series release note

Perle IDS-509FPP quick start guide

Perle

Perle IDS-509FPP quick start guide

Panasonic MAU2111 Specification sheet

Panasonic

Panasonic MAU2111 Specification sheet

Edge-Core ES4624-SFP user guide

Edge-Core

Edge-Core ES4624-SFP user guide

Niveo Professional NGSME16T2H user manual

Niveo Professional

Niveo Professional NGSME16T2H user manual

Westermo Viper-12 Series user guide

Westermo

Westermo Viper-12 Series user guide

Cypress Semiconductor CY7C65113C Specification sheet

Cypress Semiconductor

Cypress Semiconductor CY7C65113C Specification sheet

HomeMatic HmIP-BRA Mounting instruction

HomeMatic

HomeMatic HmIP-BRA Mounting instruction

TRENDnet TK-209K Quick installation guide

TRENDnet

TRENDnet TK-209K Quick installation guide

TP-Link JetStream L2 Lite TL-SG3210 user guide

TP-Link

TP-Link JetStream L2 Lite TL-SG3210 user guide

Pilz 22195-3FR-02 operating instructions

Pilz

Pilz 22195-3FR-02 operating instructions

Barco ImagePRO-4K Safety guide

Barco

Barco ImagePRO-4K Safety guide

Omron D4DS manual

Omron

Omron D4DS manual

AuviTran AxC-SW D5G instruction manual

AuviTran

AuviTran AxC-SW D5G instruction manual

manuals.online logo
manuals.online logoBrands
  • About & Mission
  • Contact us
  • Privacy Policy
  • Terms and Conditions

Copyright 2025 Manuals.Online. All Rights Reserved.