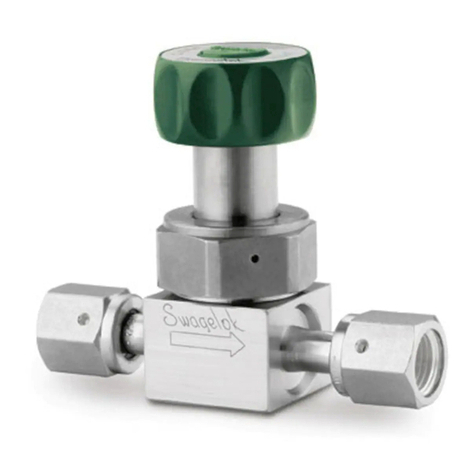
Valve Reassembly
1. Apply the supplied MS-LTK-NNS lubricant liberally
to the rst four outside diameter (OD) threads, the
bottom face of the bonnet, and to the OD threads
of the stem sleeve. Also apply the MS-LTK-NNS
lubricant lightly to the top face of the stem sleeve.
Apply the supplied MS-LTK-WL8-1 lubricant lightly
to the packing sequence area.
•WARNING
Before removing the valve from service,
to avoid personal injury, you must:
• Depressurize the system.
• Cycle the valve.
• Purge system to remove any residual
system media left in valve.
NOTICE
Do not scratch any sealing surfaces while
following these instructions. Scratches
on sealing surfaces may affect valve
performance.
Disassembly
1. Remove the valve from the system.
2. Place the valve in a vise.
3. Loosen and remove the spring lock washers,
handle jam nuts, and set screws.
4. Remove the tee handle assembly.
5. Loosen and remove the locking device and socket
head cap screw.
6. Loosen and remove the bonnet, and remove the
stem assembly.
7. Discard the stem assembly.
8. Clean all remaining components: handle assembly,
bonnet, and valve body.
3
Instructions
Tee handle assembly
Bonnet
Stem assembly
Valve body
Handle
jam nut
Set screw
Spring lock
washer
Lock nuts and
upper bearing washer
Socket head
cap screw
Locking device
Bonnet
Stem assembly
Stem jam nuts and
upper bearing washer
2. Assemble the bonnet onto the stem sleeve until
bottomed.
NOTICE
To prevent damage to the sealing area during
reassembly, thread the stem to the fully open
position prior to insertion into the valve body.
NOTICE
The stem assembly ships with the stem jam
nuts and upper bearing washer appropriately
tightened. Do not tighten the stem jam nuts
and upper bearing washer any further; the stem
assembly needs to move freely.
Liberal MS-LTK-NNS
lubricant
Liberal MS-LTK-NNS
lubricant Light MS-LTK-WL8-1
lubricant
Bonnet
Stem sleeve
Packing
sequence
Light MS-LTK-NNS
lubricant
