3www.sylvan.co.nz
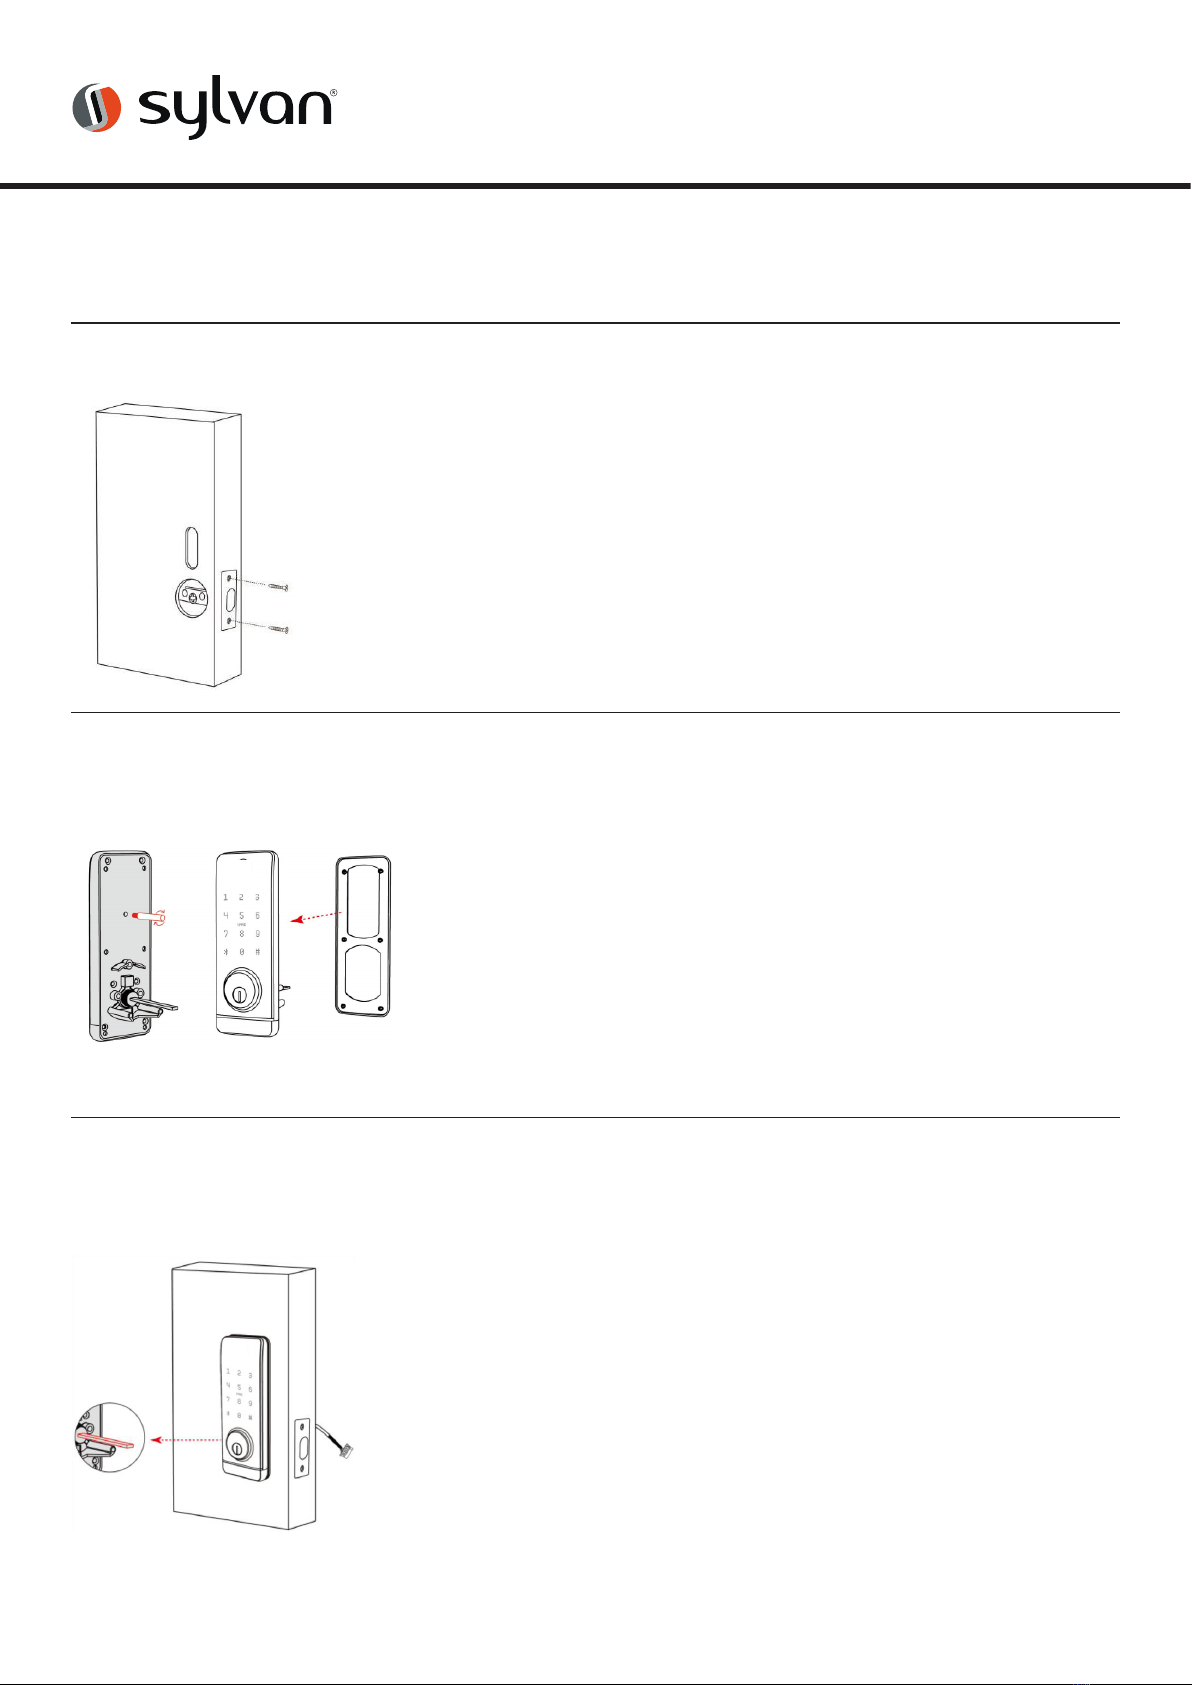
SL39E INSTALLATION INSTRUCTIONS
Thank you for choosing Sylvan, this lock is for Residential use only, and its two year
warranty (mechanical and electronic) only applies for locks being used for residential use.
To ensure you get the best out of your purchase we ask that you follow the below:
• Please read these instructions fully before installation of this lock.
• We recommend this lock is installed by a professional installer or a serious DIYer to
ensure correct installation and operation.
• The supplied rubber boots must be installed; however, this smart lock requires a
smooth flat surface to hold its water tightness. This lock is not suitable for use on
a tongue and groove door, where water can penetrate the lock via a groove in the
door.
• We recommend that this lock is never fully exposed to direct weather for long
periods of time. For long lasting properties of the product, positioning the lock
under a eve or sheltered position is best.
• This lock is rated IP55, but only on the outward face of the lock. No warranty is
given if the lock gets damaged from water for the inside of the door.
• This lock is not suitable for use on a gate.
• This lock comes with a mechanical key override, this can be used in a situation
of complete battery loss. We recommend an override key is put somewhere safe
outside in case complete power loss.
• Replace batteries when they are showing low voltage on the app.
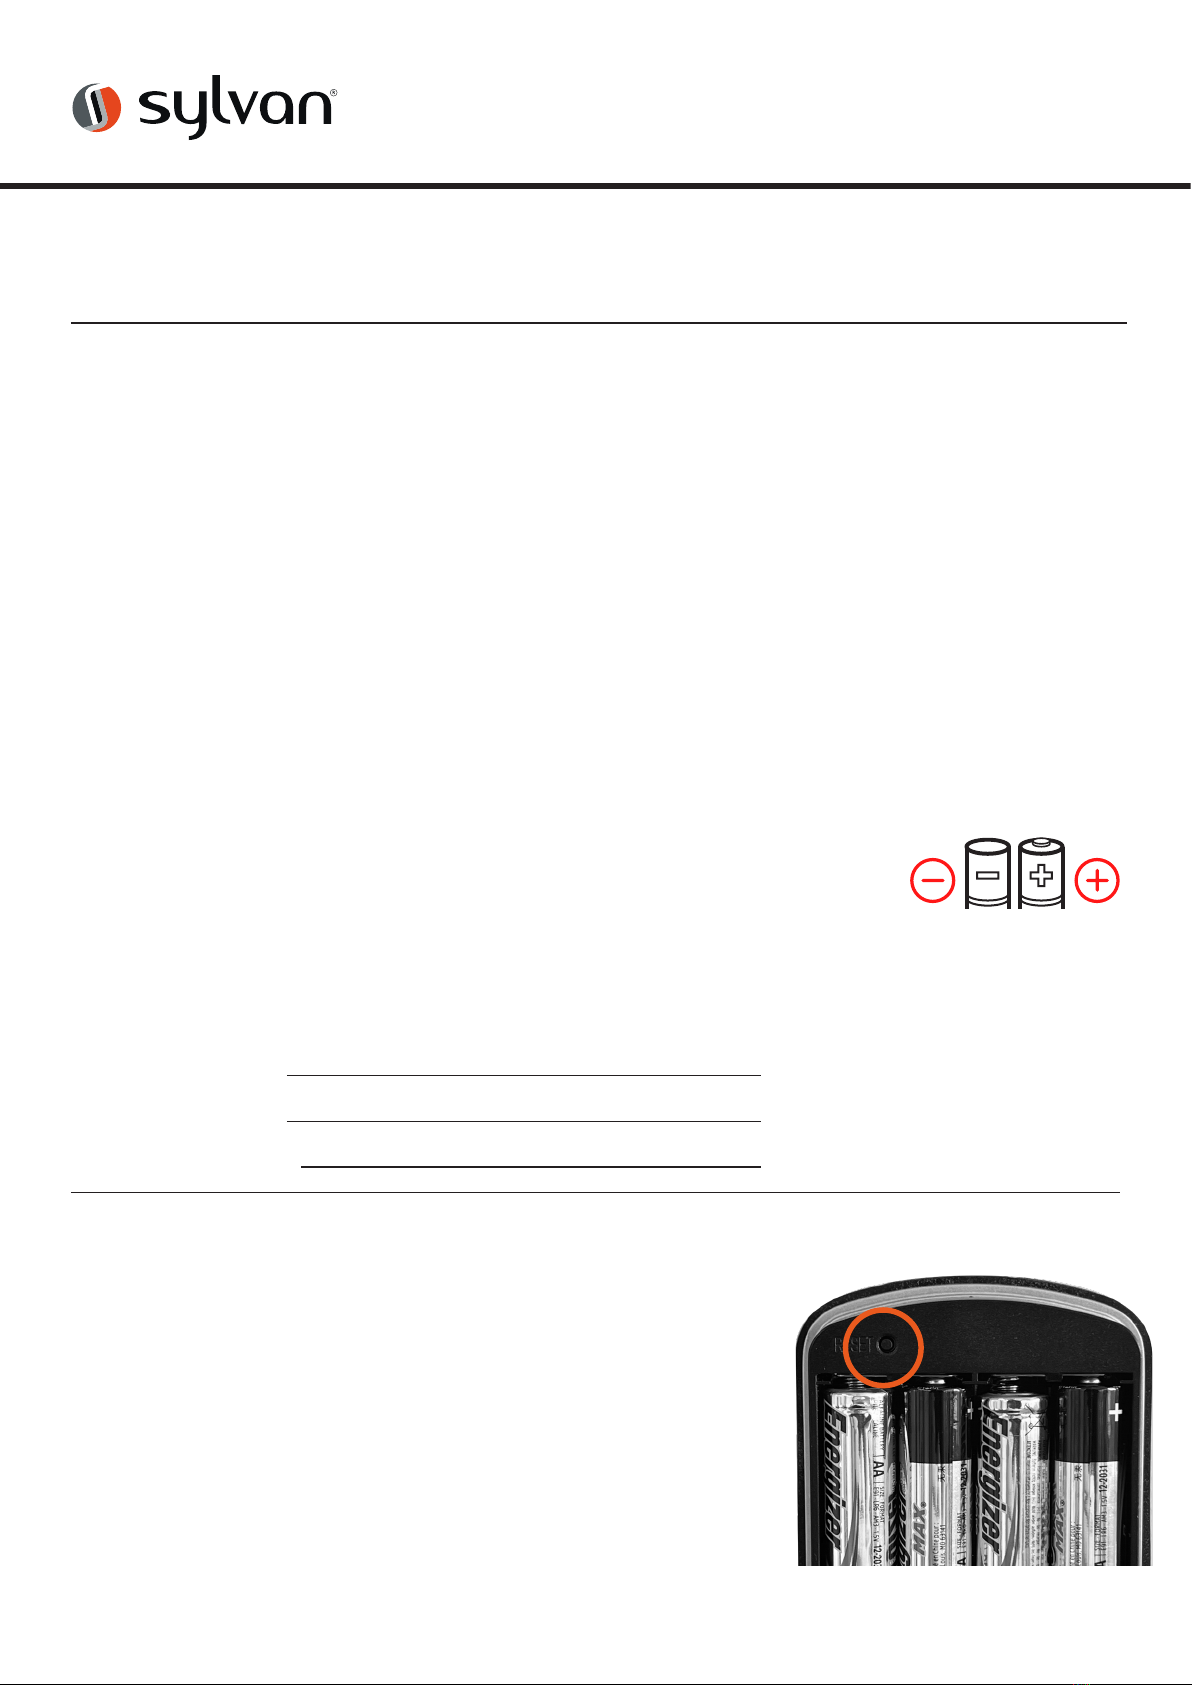
• All batteries used with this lock must be high quality
Alkaline (4 x AA batteries), to ensure long lasting use.
• Lithium or rechargeable batteries cannot be used with this lock.
Introduction
Installation Video
Scan this code:
App Setup Video
Scan this code: