Symmons Origins SK248 Series Manual
Other Symmons Plumbing Product manuals
Symmons
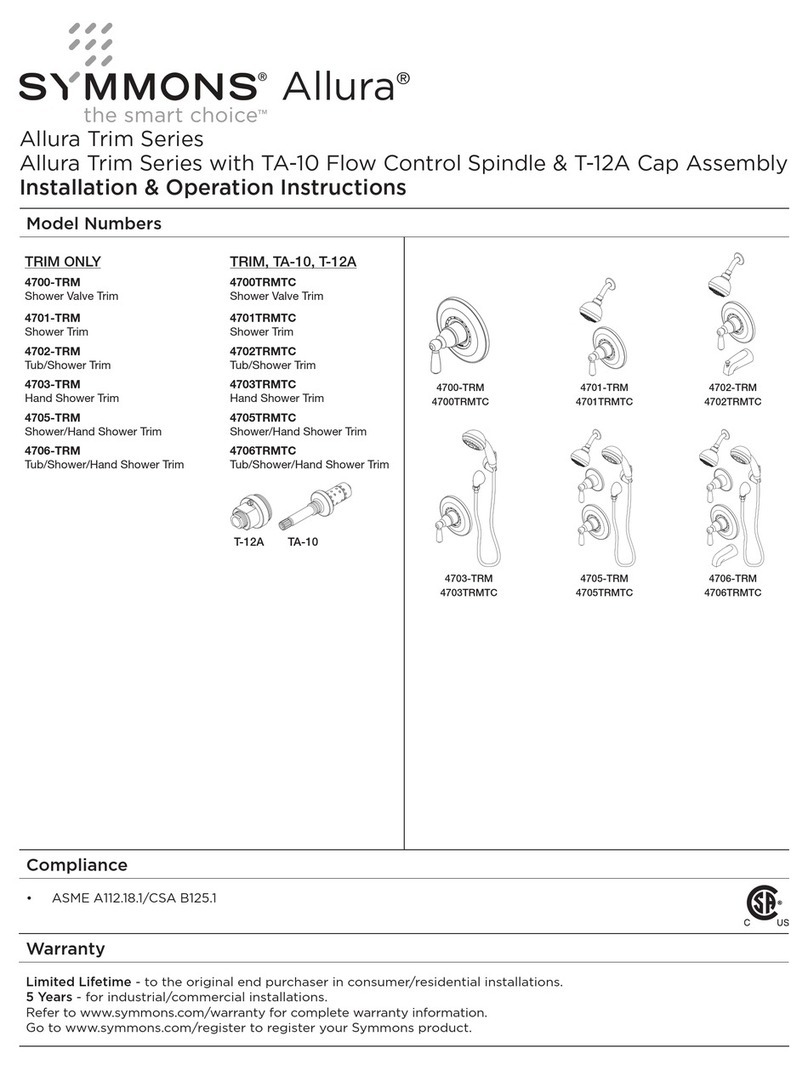
Symmons Allura 4700-TRM Installation instructions

Symmons
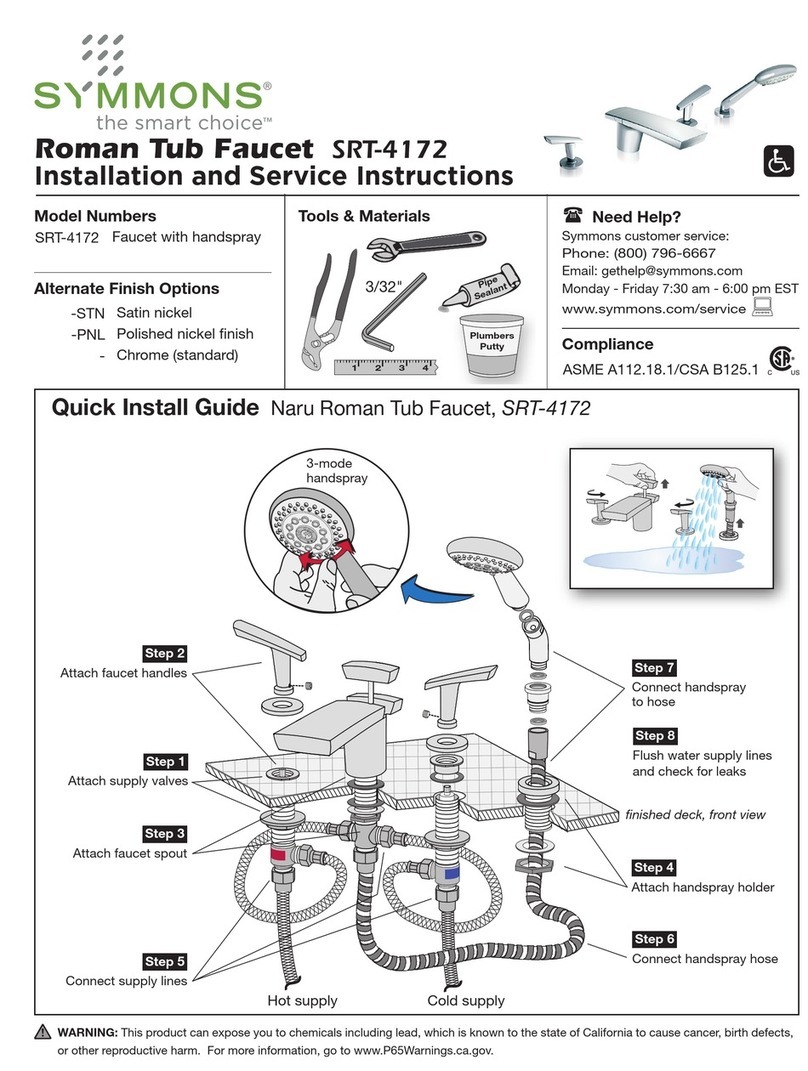
Symmons Origins S-23 Series Quick guide
Symmons
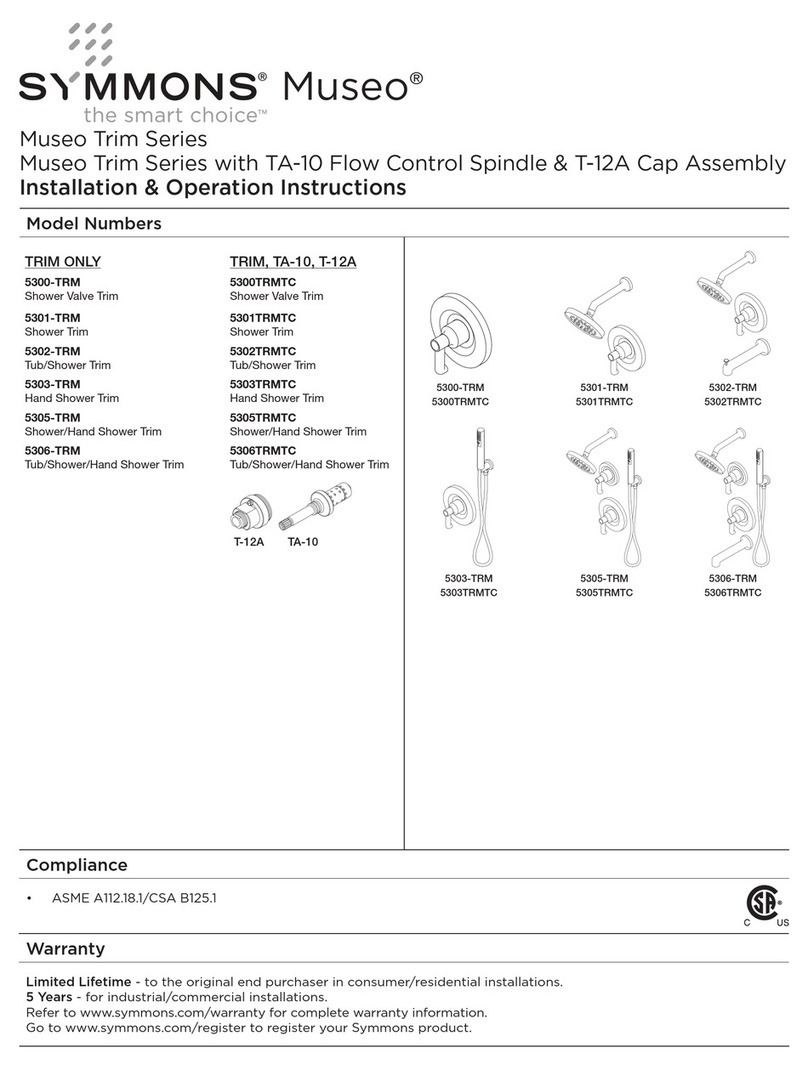
Symmons SRT-4172 Quick guide
Symmons
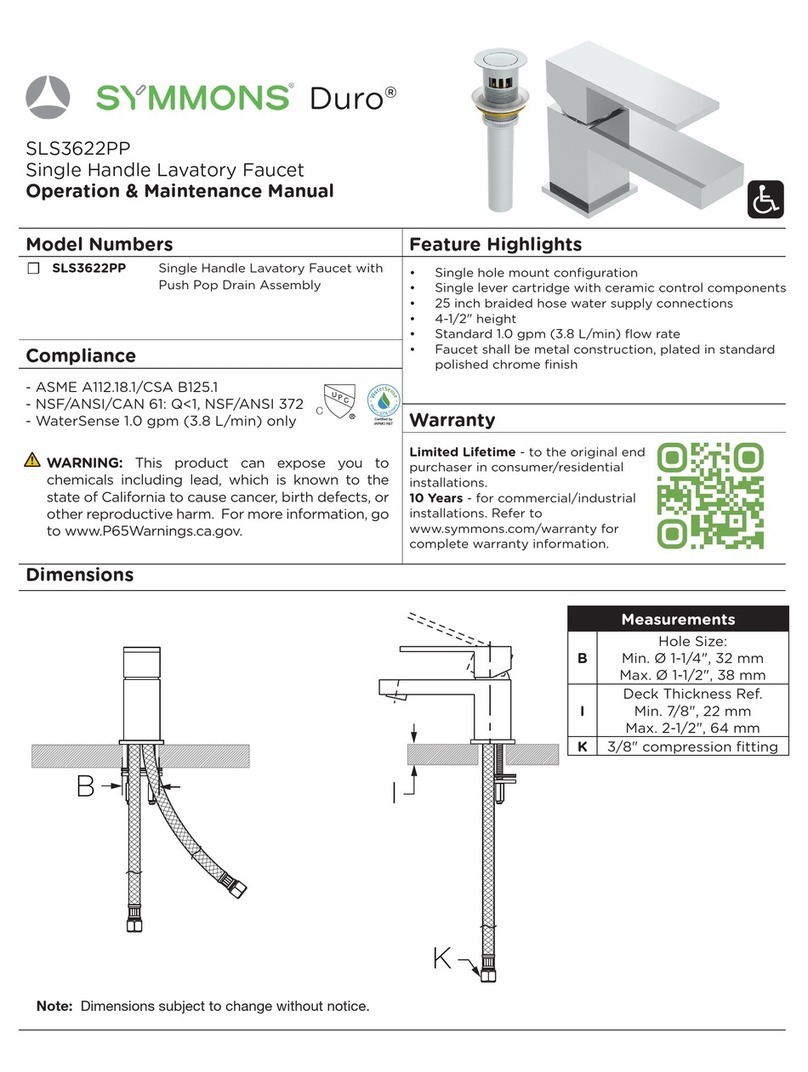
Symmons Museo 5300-TRM Installation instructions
Symmons
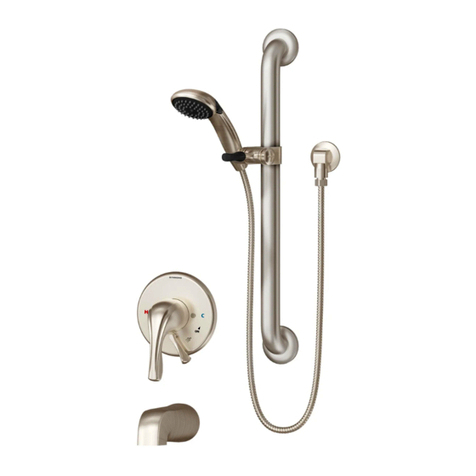
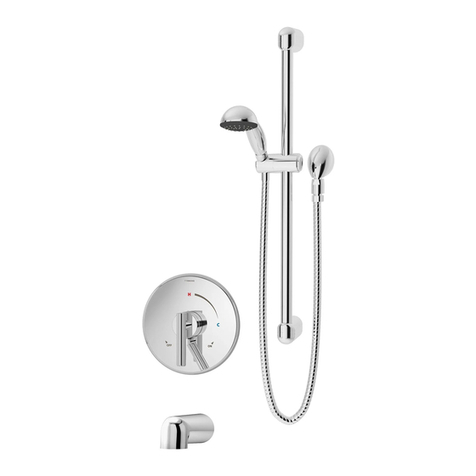
Symmons Duro SLS3622PP Manual
Symmons
Symmons Origins S-9603-PLR Manual

Symmons
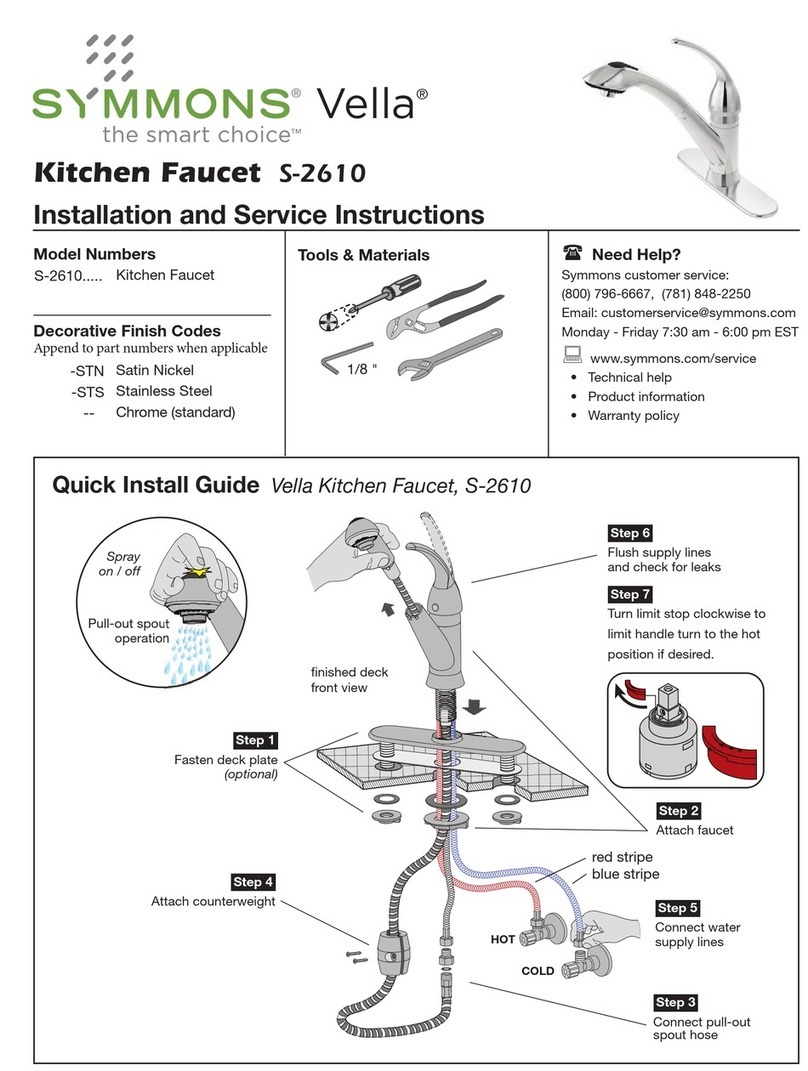
Symmons Sereno 4300-TRM Installation instructions
Symmons
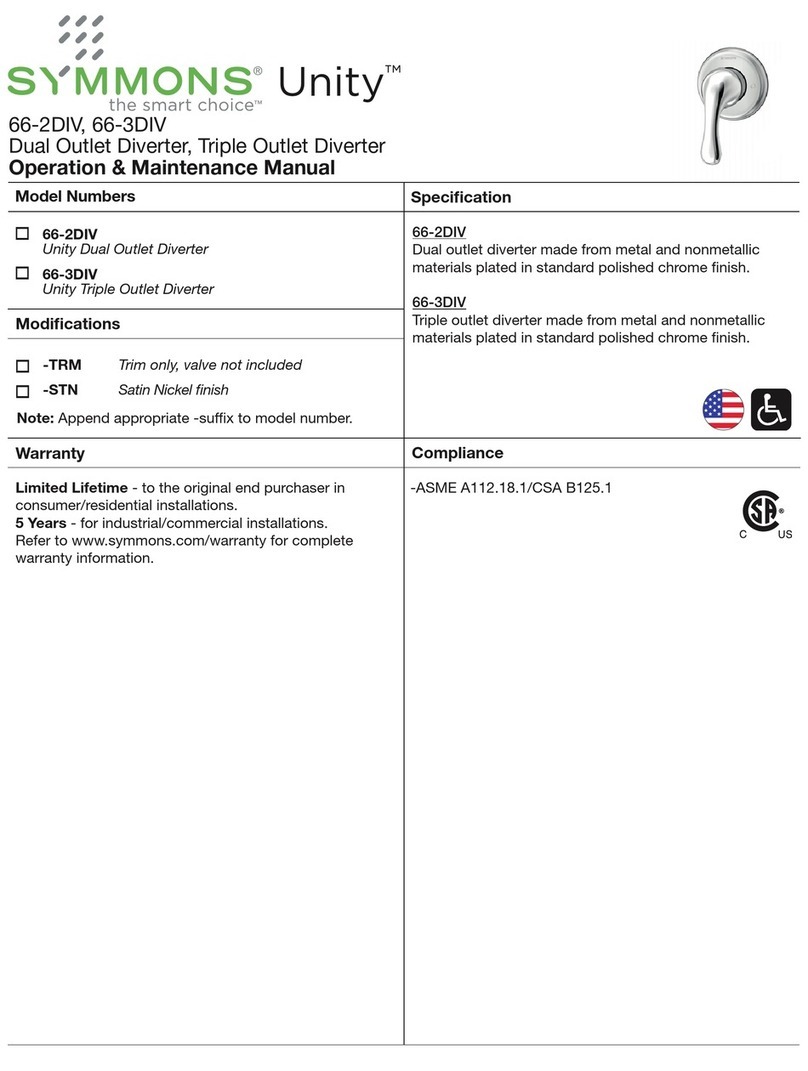
Symmons Vella S-2610 Series Quick guide
Symmons
Symmons Unity 66-2DIV Manual

Symmons
Symmons Museo Trim Series Installation instructions
Symmons
Symmons Dia S-3504-H321-V-CYL-B-TRM Manual
Symmons
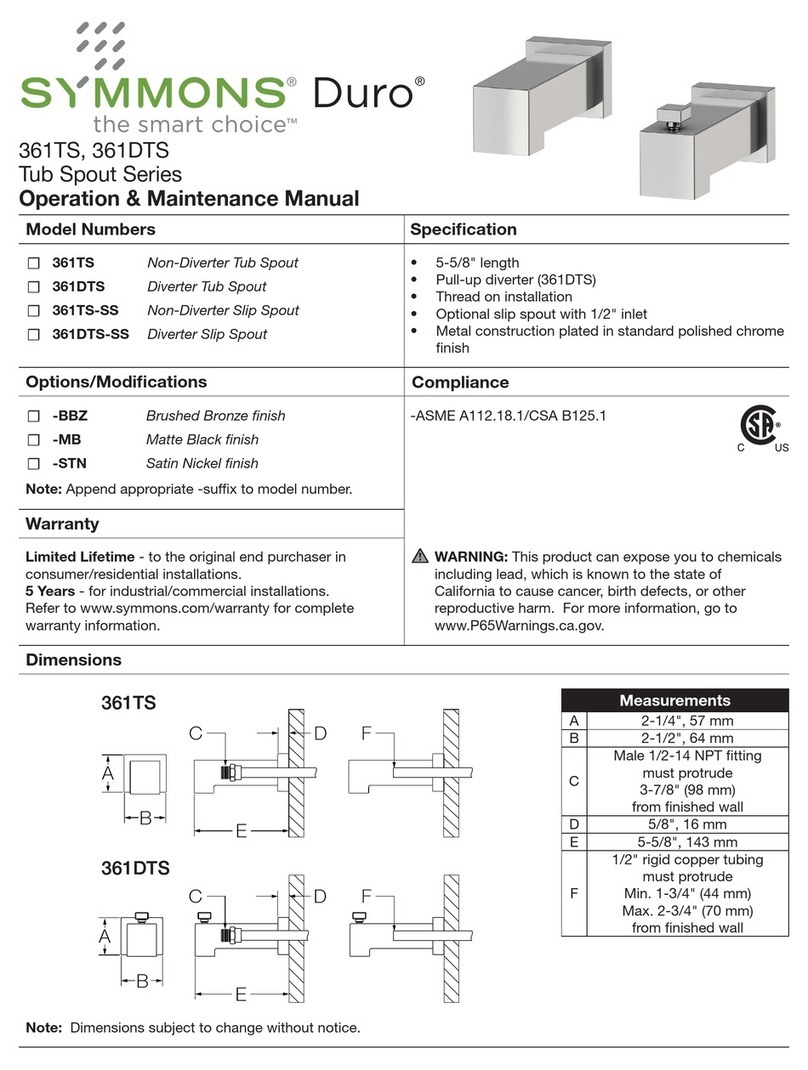
Symmons Duro 361TS Series Manual
Symmons
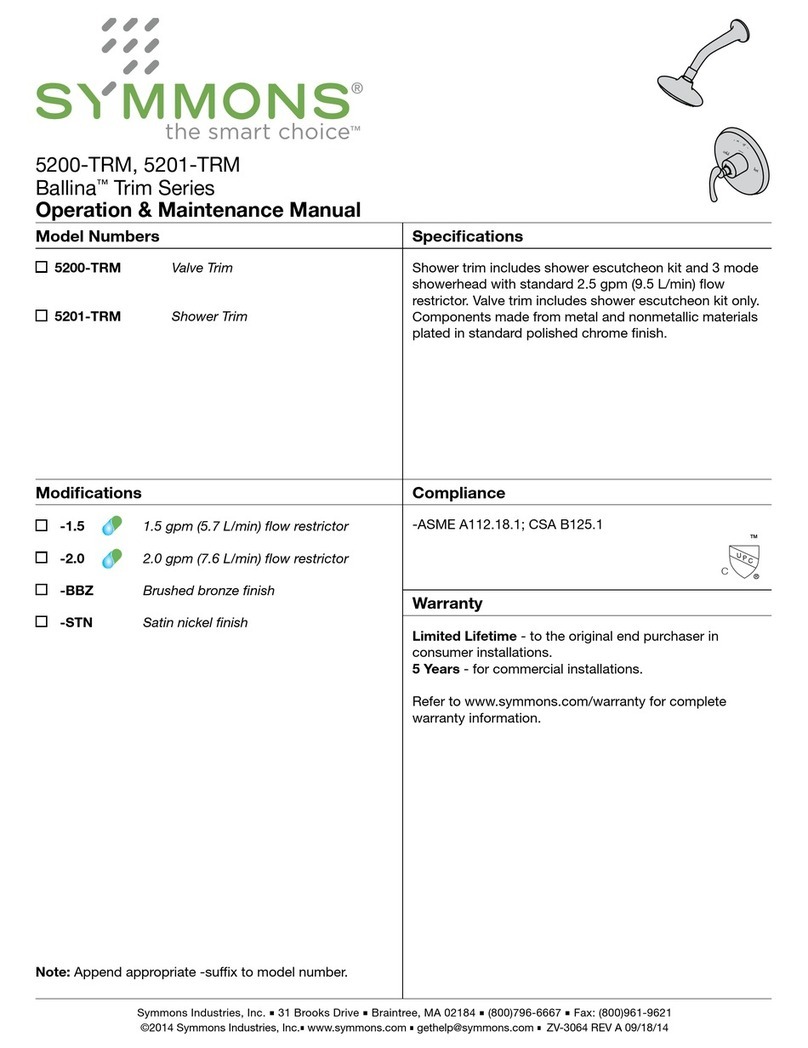
Symmons Ballina 5200-TRM Manual
Symmons
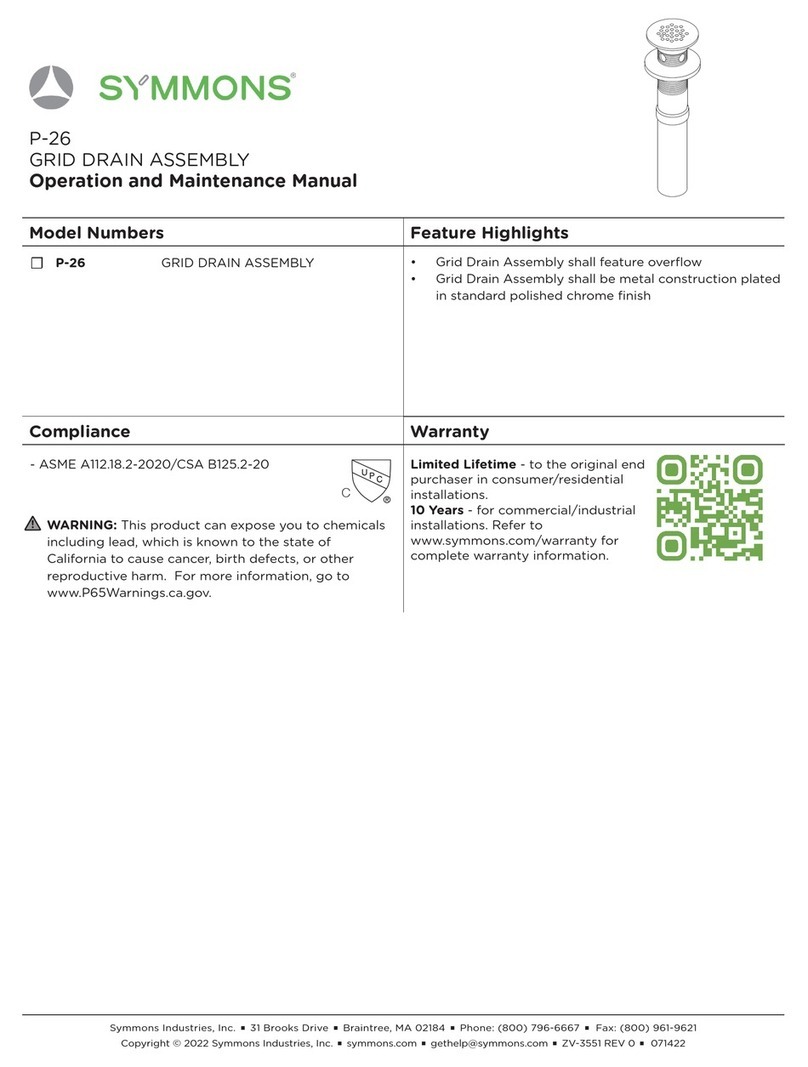
Symmons P-26 User manual
Symmons
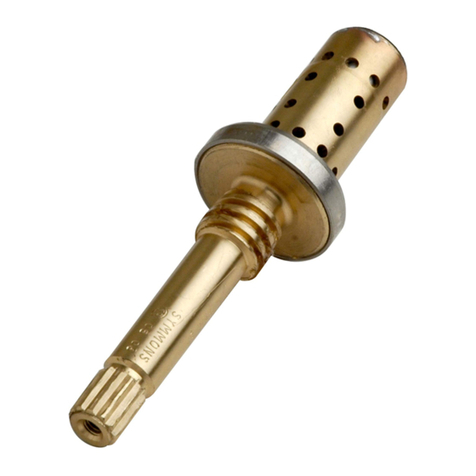
Symmons TA-10 User manual
Symmons
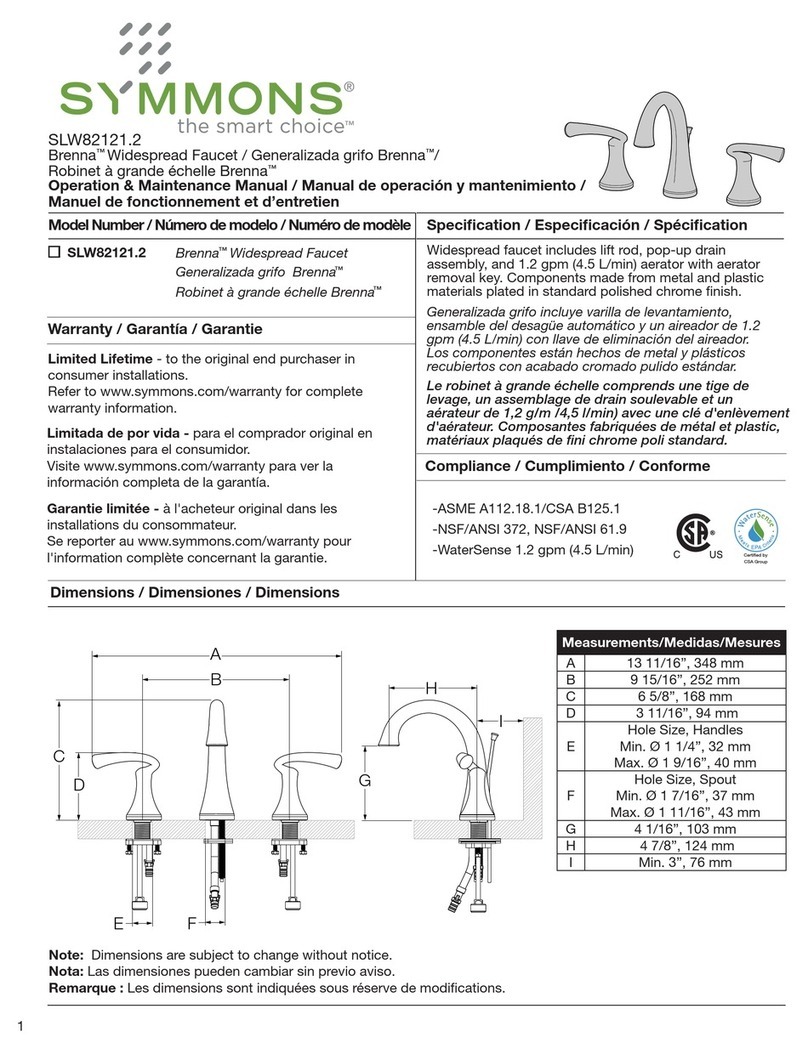
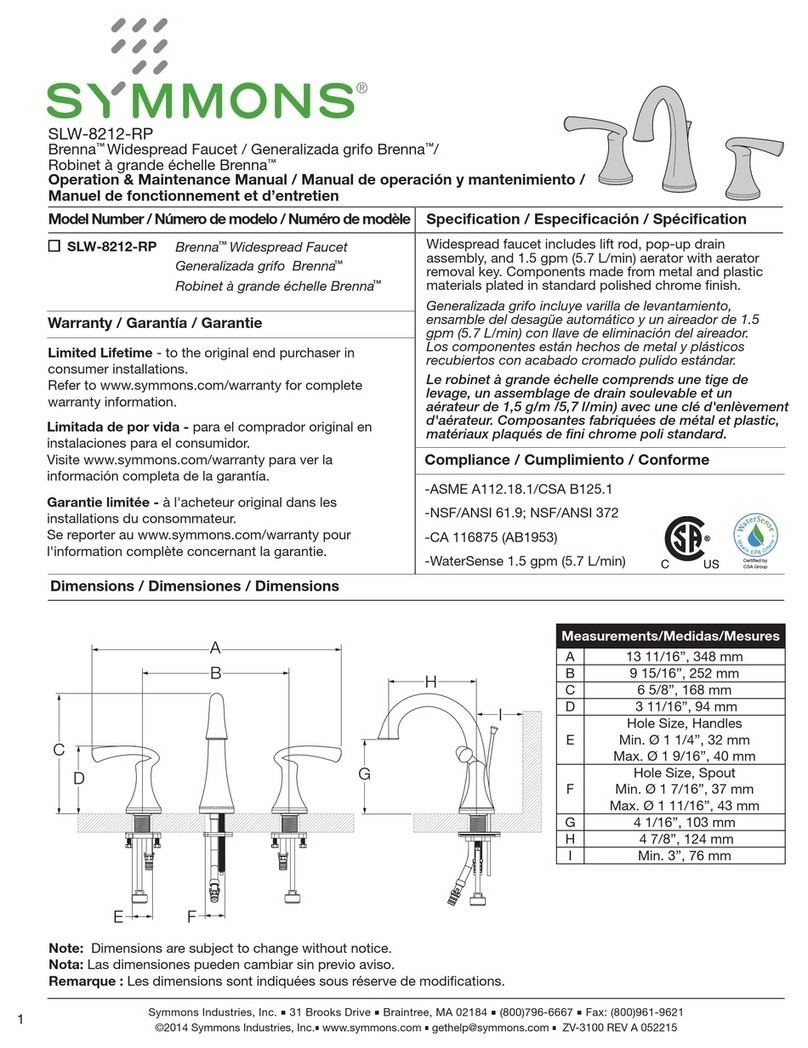
Symmons Brenna SLW-8212-RP Manual
Symmons
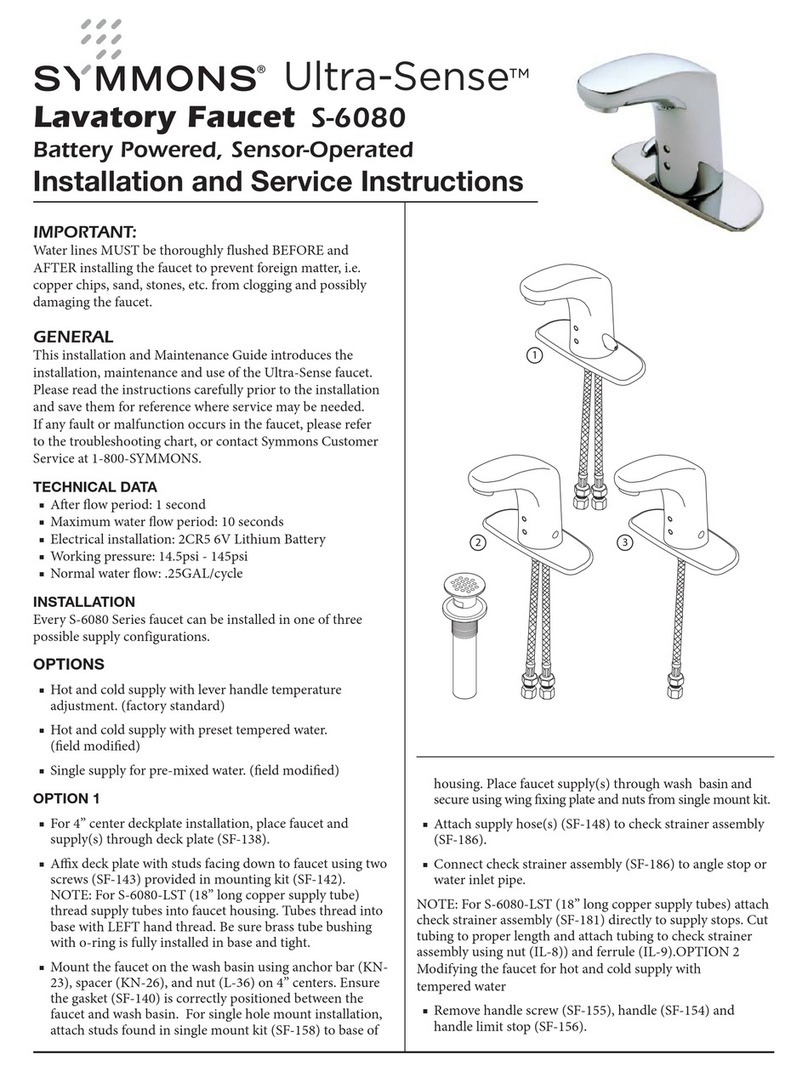
Symmons Ultra-Sense S-6080 Quick guide

Symmons
Symmons Ballina 522TS Manual

Symmons
Symmons Elm SLS5512PP Manual
Symmons
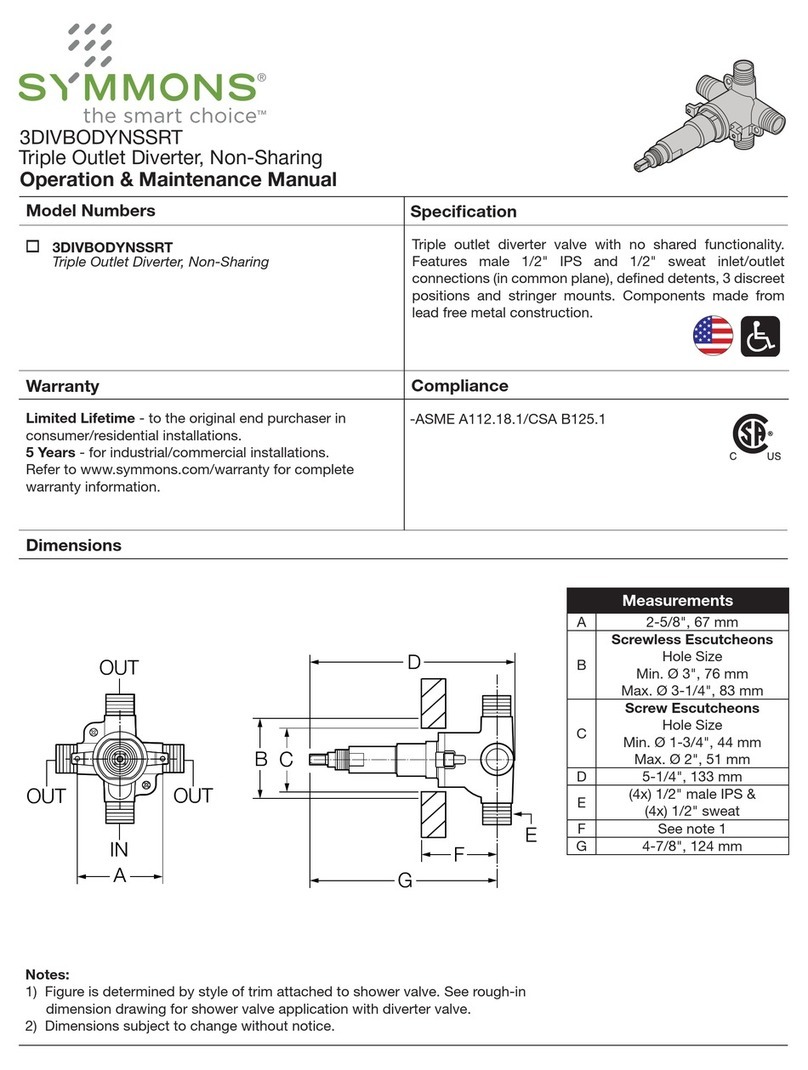
Symmons 3DIVBODYNSSRT Manual
Popular Plumbing Product manuals by other brands

Weka
Weka 506.2020.00E ASSEMBLY, USER AND MAINTENANCE INSTRUCTIONS

American Standard
American Standard DetectLink 6072121 manual

Kohler
Kohler K-6228 Installation and care guide

Uponor
Uponor Contec TS Mounting instructions

Pfister
Pfister Selia 49-SL Quick installation guide

Fortis
Fortis VITRINA 6068700 quick start guide

Elkay
Elkay EDF15AC Installation, care & use manual

Hans Grohe
Hans Grohe AXOR Citterio E 36702000 Instructions for use/assembly instructions

baliv
baliv WT-140 manual

Kohler
Kohler Mira Eco Installation & user guide

BELLOSTA
BELLOSTA romina 0308/CC Installation instruction

Bristan
Bristan PS2 BAS C D2 Installation instructions & user guide
