manuals.online logo
Brands
  1. Home
  2. •
  3. Brands
  4. •
  5. Symmons
  6. •
  7. Plumbing Product
  8. •
  9. Symmons Symmetrix S202PP Manual

Symmons Symmetrix S202PP Manual

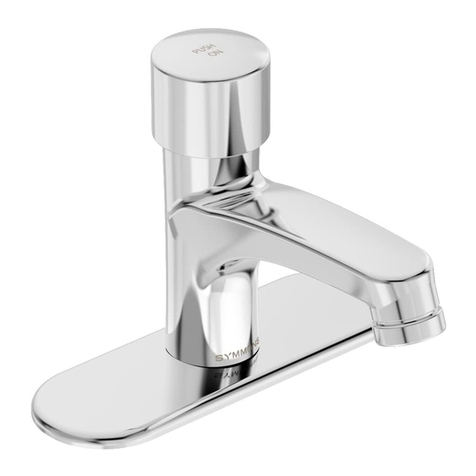
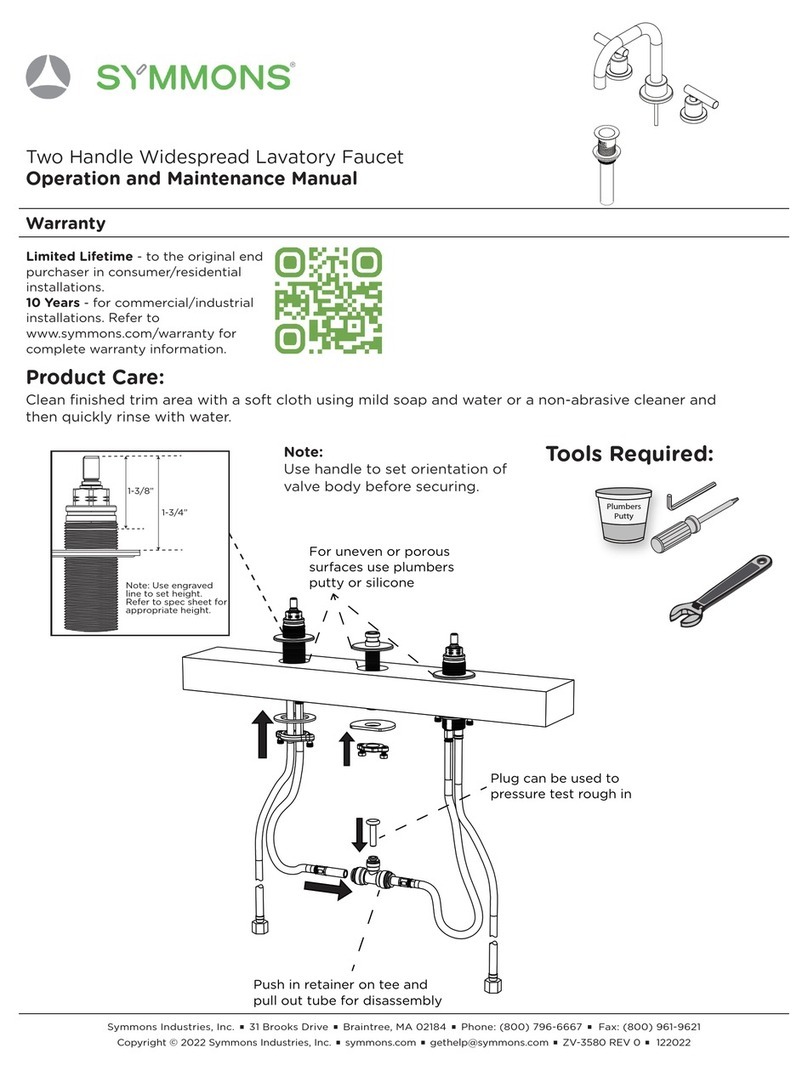
Model Numbers Feature Highlights
☐S202PP Lavatory Faucet with Push Pop
Drain Assembly
☐S202G Lavatory Faucet With all metal grid
drain
• Singlelever faucet with red and blue indicators on
handle
• Ceramic control components and handle limit stops
• 3/8" Braided flexible supply lines
• 4 inch (102mm) centers
• standard 1.0 gpm (3.8 L/min) aerator
• Metal contruction, polished chrome finish
Compliance
- ASME A112.18.1/CSA B125.1
- NSF/ANSI/CAN 61: Q<1, NSF/ANSI 372
- WaterSense: 1.0 gpm (3.8 L/min)
Limited Lifetime - to the original end
purchaser in consumer/residential
installations.
10 Years - for commercial/industrial
installations. Refer to
www.symmons.com/warranty for
complete warranty information.
Warranty
Symmetrix®
S202PP, S202G
Lavatory Faucet
Operation & Maintenance Manual
handle options
W
Certied by
CSA Group
ADA compliant lever handles
WARNING: This product can expose you to chemicals including
lead, which is known to the state of California to cause cancer,
birth defects, or other reproductive harm. For more information,
go to www.P65Warnings.ca.gov.
Note: Dimensions subject to change without notice.
Dimensions
Symmetrix®
S202PP, S202G
20” Braided supply lines
with 3/8” compression
fittings
6-7/8”
175mm
4-7/8”
122mm
S202
S202W
KN-2 Compression ring
KN-3RB* Solid handle
KN-3BRB* Loop handle
KN-4 Cartridge
KN-23 Anchor bar (2)
KN-26 Mounting spacer (2)
KN-157 Plug button
LN-8* Valve cap
LN-11* Screw (2)
LN-34 Cartridge wrench
LN-122 Acrylic Handle
LN-135 6” lever handle with red/blue indicators
LN-171 Screw
LN-363* Undercover plate
LN-370 Mounting gasket
LN-371BH Cartridge housing assembly
L-22 Set screw
L-36 Mounting nut (2)
RL324* Push Pop Drain Assembly (complete)
P-26 Grid drain assembly (complete)
T-33 Plug button
For Decorative Finish Faucets add sufx to
parts marked with an asterisk as follows:
Sufx -STN: Satin Nickel nish
Sufx -BC: Brushed Chrome nish
RL324*
P-26
LN-370
LN-11
LN-363
LN-371BH
KN-4
KN-2
LN-8
KN-157
L-22
KN-3RB
LN-122
LN-171
T-33
KN-3BRB
LN-135
LN-34
Vandal resistant
aerator
removal tool
Standard aerator
Reference
chart
Figure 1
Removal tool part number, LL-60K
2.2 gpm (8.3L/min)
1.5 gpm (5.7L/min)
1.0 gpm (3.8L/min)
0.5 gpm (1.9L/min)
LN-15*
FLR-110-1.5*
FLR-110-1.0*
----
LN-101*
RL-288
(non-aerated)
RL-288-VP-1.0
(non-aerated)
LN-100*
Standard
Aerators
Vandal Resistant
with removal tool
Part Number
Aerator
(ow regulator)
Parts Assembly Symmetrix Lavatory Faucet, S202 Series
Symmons Industries, Inc. ■31 Brooks Drive ■Braintree, MA 02184 ■Phone: (800) 796-6667 ■ Fax: (800) 961-9621
Copyright © 2023 Symmons Industries, Inc. ■symmons.com ■gethelp@symmons.com ■ZV-3829 REV 0 ■ 101923
Caution: Be sure to turn off hot and cold water
supplies before installing or servicing faucet.
1. Place gasket on base of faucet then loosely install the
anchor bar (KN-23), spacer (KN-26) and nut (L-36) on
the mounting bolts. Push faucet supplies and anchor
bolt/spacer/nut assemblies with gasket through holes
in sink. Secure faucet to sink by tightening nuts from
underside. (If sink or counter surface is uneven, use
putty or sealant to make proper seal under base.)
2. Connect supply hoses to supply stops (left hose to
hot, right to cold). Hot hose is marked with tag. Note:
If the LCT handle is being used the supplies will be
reversed. The right side hose will be marked hot and
should cross over and be connected to the hot sup-
ply. Connect the left side hose to the cold supply.
3.
Push Pop Install: Insert drain body (L) into drain
opening. From below, Tighten locking nut (O) with
gasket (M) and washer (N) to ange. Tighten tail nut (Y)
with washer (X) to secure tail pipe (Q).
DO NOT overtighten.
4. It is very important to thoroughly ush the supply
lines to prevent foreign matter, i.e. copper chips,
sand, stones, etc. from damaging the sealing sur-
faces of cartridge. Remove aerator and turn valve
handle on to full cold position, open cold supply.
Without closing, turn handle to full hot and open hot
supply. Let water run in hot only and cold only posi-
tions long enough to ush supply lines thoroughly.
Shut off faucet and replace aerator. Check for leaks.
5. The handle limit stop can be set to limit handle turn
to the hot position. The limit mechanism is factory
set to allow full handle travel. To adjust the limit stop,
turn handle to the full hot position and lift handle
to open faucet approximately half way to obtain a
smooth ow for correct initial temperature measure-
ment.
6. If when faucet is on and in full hot position and water
is too hot, shut off water, remove plug button (KN-
157), loosen set screw (L-22) and remove handle
(KN-3RB, KN-3BRB or LN-135) or plug button (T-33),
screw (LN-171), and handle (LN-122). Lift limit stop
ring using a small at head screw driver and rotate
clockwise to lower temperature. If water is not hot
enough, rotate counter clockwise (See Figure 1 on
reverse side). After correct temperature is achieved,
reattach handle, reversing procedure above.
Cartridge Replacement (KN-4):
1. Remove plug button (KN-157), loosen set screw
(L-22) and remove handle (KN-3RB, KN-3BRB or
LN-135) or plug button (T-33), screw (LN-171), and
handle (LN-122).
2. Engage tabs in cartridge wrench (LN-34) with slots
in compression ring (KN-2) and use screwdriver in
wrench holes or pliers on wrench and turn counter
clockwise until compression ring engages with cap
(LN-8). Continue turning counter clockwise so that
cap/ring assembly is removed from the body (LN-
371BH). Remove cartridge and o-ring seal (KN-4).
Install new cartridge while taking care to maintain
position of the o-ring seal at the base of the car-
tridge. Match posts in base of cartridge with align-
ment holes in valve body during assembly. Reas-
semble faucet in reverse fashion. Thread cap onto
body rmly by hand. Do not use a wrench which may
damage the nish. Tighten compression ring (KN-2)
nger tight using the wrench (LN-34) then 1/4 to 1/2
turn further. Set hot water limit stop in accordance
with installation step 5 above.
Installation
1
2
3
Plumbers Putty L
Q
X
N
Y
O
M

This manual suits for next models

1

Other Symmons Plumbing Product manuals
Symmons Degas 542TS-ORB Manual

Symmons

Symmons Degas 542TS-ORB Manual

Symmons Maxline 7-230-CK-FS User manual

Symmons

Symmons Maxline 7-230-CK-FS User manual

Symmons SPP-3510 User manual

Symmons

Symmons SPP-3510 User manual

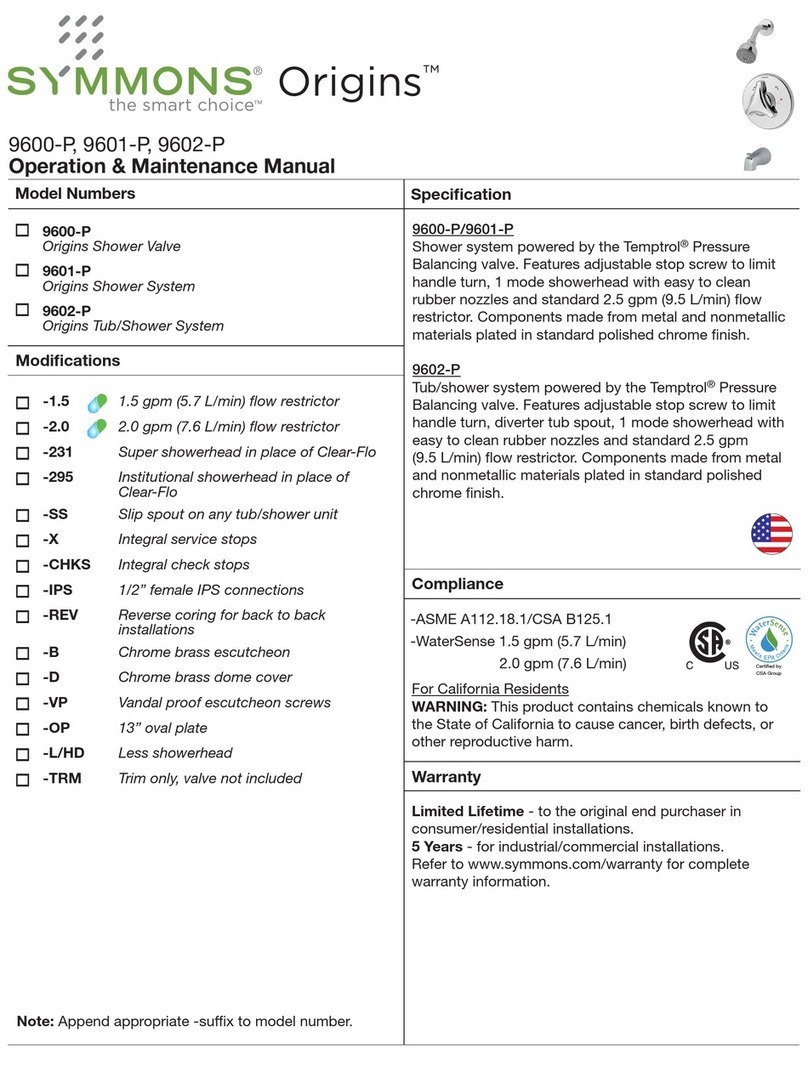
Symmons Origins 9600-P Manual

Symmons

Symmons Origins 9600-P Manual

Symmons Sereno 4300-TRM Installation instructions

Symmons

Symmons Sereno 4300-TRM Installation instructions

Symmons Identity Trim Series Installation instructions
Symmons

Symmons Identity Trim Series Installation instructions

Symmons Museo 5300-TRM Installation instructions

Symmons

Symmons Museo 5300-TRM Installation instructions

Symmons Dia SLC-3512-1.5 Manual

Symmons

Symmons Dia SLC-3512-1.5 Manual

Symmons Unity Trim Series Installation instructions

Symmons

Symmons Unity Trim Series Installation instructions

Symmons Elm S-5504-TRM Manual

Symmons

Symmons Elm S-5504-TRM Manual

Symmons Origins S-9600-P-TRM Installation instructions

Symmons

Symmons Origins S-9600-P-TRM Installation instructions

Symmons Ballina Trim Series Manual

Symmons

Symmons Ballina Trim Series Manual

Symmons Carrington Trim Series Manual

Symmons

Symmons Carrington Trim Series Manual

Symmons 3DIVBODYNSSRT Manual

Symmons

Symmons 3DIVBODYNSSRT Manual

Symmons Dia 3503-H321-V-CYL-B-TRM Manual

Symmons

Symmons Dia 3503-H321-V-CYL-B-TRM Manual

Symmons Canterbury Trim Series Installation instructions

Symmons

Symmons Canterbury Trim Series Installation instructions

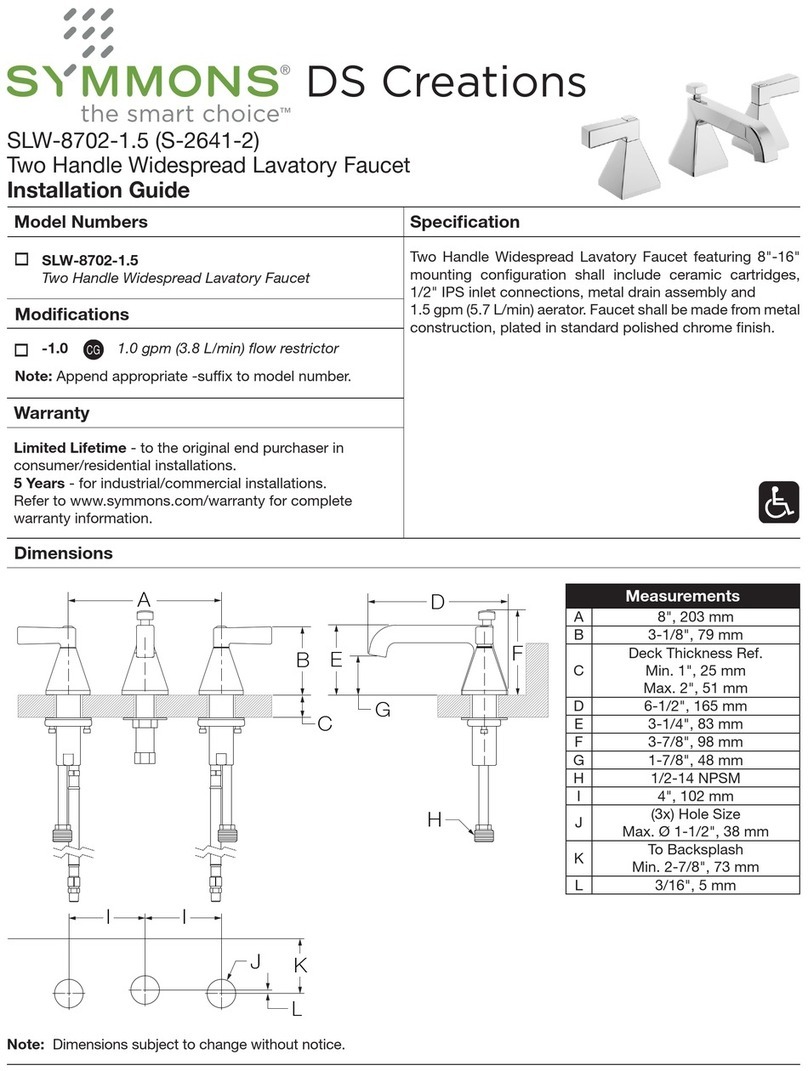
Symmons SLW-8702-1.5 User manual

Symmons

Symmons SLW-8702-1.5 User manual

Symmons Allura SRT-4770 Quick guide

Symmons

Symmons Allura SRT-4770 Quick guide

Symmons Oxford SLW-4212 Quick guide

Symmons

Symmons Oxford SLW-4212 Quick guide

Symmons Symmetrix S-250 Series Quick guide

Symmons

Symmons Symmetrix S-250 Series Quick guide

Symmons Oxford Trim Series Installation instructions

Symmons

Symmons Oxford Trim Series Installation instructions

Symmons Unity SK6600PO Manual

Symmons

Symmons Unity SK6600PO Manual

Symmons Carrington SRT-4470 Quick guide

Symmons

Symmons Carrington SRT-4470 Quick guide

Symmons TEMPTROL II Operation manual

Symmons

Symmons TEMPTROL II Operation manual

Popular Plumbing Product manuals by other brands

safgard 550 Series manual

safgard

safgard 550 Series manual

Project Source ETHAN 21-K121HCP-PS manual

Project Source

Project Source ETHAN 21-K121HCP-PS manual

American Standard Aqualyn 0475.020 Specifications

American Standard

American Standard Aqualyn 0475.020 Specifications

PEERLESS PTT188782-LHD Series manual

PEERLESS

PEERLESS PTT188782-LHD Series manual

Delta 583 Series parts manual

Delta

Delta 583 Series parts manual

American Standard 8017A60GRC installation manual

American Standard

American Standard 8017A60GRC installation manual

Maxxus MX-K206-01 instruction manual

Maxxus

Maxxus MX-K206-01 instruction manual

Grohe Ladylux Cafe manual

Grohe

Grohe Ladylux Cafe manual

American Standard Saga Pull Out Sink Mixer installation instructions

American Standard

American Standard Saga Pull Out Sink Mixer installation instructions

Kohler K-2443 installation guide

Kohler

Kohler K-2443 installation guide

Kohler Karbon K-6227A Installation and user guide

Kohler

Kohler Karbon K-6227A Installation and user guide

Black & Decker Price Pfister Portland 34 Series quick start guide

Black & Decker

Black & Decker Price Pfister Portland 34 Series quick start guide

Franke AQUA501 Installation and operating instructions

Franke

Franke AQUA501 Installation and operating instructions

Pyle SereneLife SLISAU10SL user manual

Pyle

Pyle SereneLife SLISAU10SL user manual

Hansgrohe Axor Urquiola Installation/User Instructions/Warranty

Hansgrohe Axor

Hansgrohe Axor Urquiola Installation/User Instructions/Warranty

Sanela Antero SLP 20RZ Instructions for use

Sanela

Sanela Antero SLP 20RZ Instructions for use

Prier P-114 Series Installation, operation & maintenance instructions

Prier

Prier P-114 Series Installation, operation & maintenance instructions

Hans Grohe AXOR Montreux 16514 1 Series Installation/User Instructions/Warranty

Hans Grohe

Hans Grohe AXOR Montreux 16514 1 Series Installation/User Instructions/Warranty

manuals.online logo
manuals.online logoBrands
  • About & Mission
  • Contact us
  • Privacy Policy
  • Terms and Conditions

Copyright 2025 Manuals.Online. All Rights Reserved.