manuals.online logo
Brands
  1. Home
  2. •
  3. Brands
  4. •
  5. Symmons
  6. •
  7. Plumbing Product
  8. •
  9. Symmons Ultra-Sense S-6080 Operation manual

Symmons Ultra-Sense S-6080 Operation manual

Faucet supply configuration options
3)
External premixed
water supply with
single supply input
(field modified)
1)
Temperature adjust
using lever handle
(factory configured)
2)
Tempered water
preset internally
(field modified)
Temperature
adjust
Operation
(sensor activated)
nished deck
front view
nished deck
front view
Single hole mount
Hot & Cold
supply inputs
Hot & Cold
supply inputs
Faucet Part Number SF-244
Three hole mount
with deck plate
Step 2
Connect power and
water supply lines
Step 3
Test and check
for leaks
Step 1
Attach faucet
to deck
Step 1
Attach faucet and
deck plate to deck
Step 2
Connect power and
water supply lines
Step 3
Test and check
for leaks
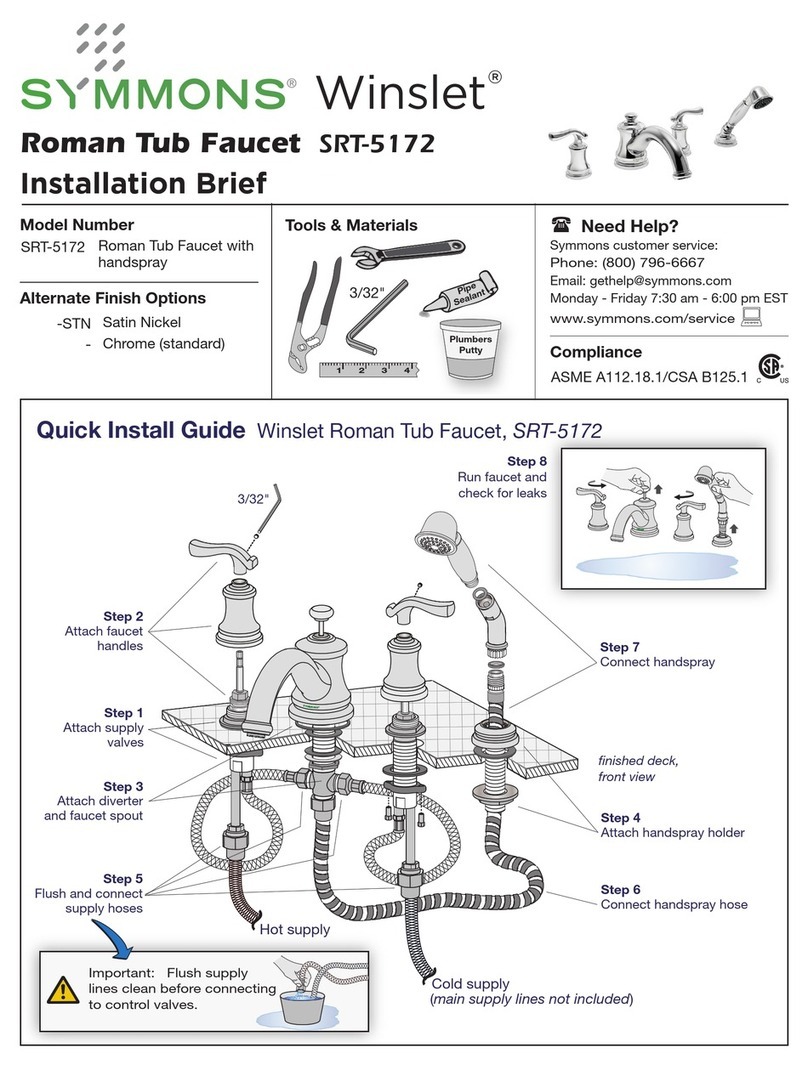
Quick Install Guide
Ultra-Sense Lavatory Faucet, S-6080
■S-6080.......Sensor Faucet
Faucet Part # SF-244
■S-6080-G...Sensor Faucet with
grid strainer drain assembly
2.5 mm
(included)
Lavatory Faucet S-6080
Battery Powered, Sensor-Activated
Installation, Operation & Service Brief
Ultra-Sense™
Model Numbers Tools & Materials Need Help?
Symmons customer service:
(800) 796-6667, (781) 848-2250
Email: [email protected]
Monday - Friday 7:30 am - 7:00 pm EST
www.symmons.com/service
■Technical help
■Product information
■Warranty policy
Important! Prior to connecting the water supply, ensure
supply lines are ushed. Particles can clog lter and result in
malfunction. Excessive particles from supply lines may require
installing a separate ecient lter.
Step 1 Attach faucet to deck (1 hole)
Single hole mount without deck plate
Step 1 Attach faucet to deck (3 hole)
Three hole mount with deck plate
Step 2 Connect water supply line
Step 3 Modify faucet for preset tempered hot
cold supply (Cong option #2)
■ Remove temperature control handle and limit stop.
■ Re-insert handle to adjust supply temperature.
■ Remove handle and replace with push plug.
Step 4 Modify faucet for single supply with
pre-mixed water (Cong option #3)
■ Turn temperature control handle counter clockwise
to the maximum cold position.
■ Remove temperature control handle and replace
with push in plug.
■ Remove the exible hot water supply hose from
base of faucet. (Note: le hand thread)
■ Screw plug in place of supply hose into base of
faucet.
■ Attach single cold supply hose to pre-mixed supply.
Step 5 Test operation and check for leaks
nished deck
front view HOT
COLD
check
strainer
servicing strainer
OFF
OFF
nished deck
front view
Installation Instructions
Page 2Page 2
Sensor recognition range is factory
preset at 1/2 - 4 inches
Place hand under faucet, water will ow
automatically for 10 seconds and shut o.
Auto shut-off time is factory preset
at 1/2 to 1 second
Remove hands, water will stop automatically
within 1/2 to 1 second.
Security OFF after 10 seconds
Faucet will automatically shut o aer
continuous water ow for 10 seconds.
Weak or dead battery
LED will ash to signal battery is getting
weak and should be replaced soon.
Operation
Cleaning surface finish
■ Block sensor with plastic cleaning cover to prevent faucet from
turning on while cleaning.
■ Clean nish area by using mild soap and water or non-
abrasive cleaner and then rinse immediately. A non-
abrasive wax may be used to preserve nish area.
Precautions
■ Ensure sensor is not damaged through impact or scratches.
■ Ensure sensor is not blocked or disturbed by any object
with its detection range.
■ Ensure that no strong light source is aimed directly at
sensor or through a mirror.
Risk of Freezing
When installing the faucet in a location where the temperature
may fall below freezing, the entire system must be drained of
water to prevent damage in freezing weather.
■ Turn o water supply.
■ Disconnect all exible hoses.
■ Drain all parts and hoses of water.
Faucet care
Sensor eye is blinking
■ Indicates battery is weak and needs to be replaced.
No water flow
■ Check water supply to the faucet.
■ Clean around photo cell sensor area.
■ Check for loose battery connections.
■ Replace the solenoid valve.
■ Replace the sensor.
Water flow is weak
■ Water supply stops are not fully open.
■ Clean aerator and check strainer on end of supply line(s).
Excessive clogging may require installing of separate
ecient lter into supply line.
Water flow from spout fails to turn off
■ Sensing range may be too low. Clean around photo cell
sensor area.
■ Clean solenoid valve membrane or replace solenoid valve.
Water temperature can’t be adjusted
■ Clean the check strainer on end of supply line(s).
■ Clean or replace the mixer.
Troubleshooting
Using Temperature adjustment handle
■ Remove temperature adjustment handle.
■ Set maximum water temperature limit by turning handle
limit stop clockwise (CW).
■ Increase maximum water temperature by turning handle
limit stop counter clockwise (CCW).
■ Re-install temperature adjustment handle.
Adjusting preset water temperature (cong #2)
■ Remove temperature adjustment handle plug.
■ Adjust the maximum water temperature limit by inserting
handle into faucet and turning counter clockwise (CCW).
■ Increase temperature by turning handle clockwise (CW).
■ Remove handle and re-install plug.
Limiting water temperature
Page 3Page 3
spacer
1/4"-20 UNC
1-1/8" (29 mm)
without spacer
Hole diameter
1-5/16" - 1-3/8"
(33 mm - 35 mm) 4-7/16"
(112 mm)
Deck plate
2-1/2"
(64 mm)
Deck plate, 6" (152 mm)
19"
(483 mm)
5-5/16"
(135 mm)
19º
4" (102 mm)
1/2" (13 mm)
with spacer
Note
(1) Faucet shown with 4 inch
centered deck plate.
(2) Dimensions subject to
change without notice.
Temperature
adjust
Strainer/adapters,
3/8" compression
Model S-6080, p/n SF-244
Dimensions Ultra-Sense Lavatory Faucet, S-6080
Deck plate assembly
mounting
stud
spacer
nut
deck plate
gasket
bracket
body
fastener
screw
housing
check
screen
Sensor and
retainer
Check / strainer kit
for ex hose
connections
Non-aerated laminar ow
vandal resistant spray outlet
with removal key #LL-60K
■ 0.5 gpm (1.9 L/min)
■ 1.5 gpm (5.7 L/min)
Aerator, vandal resistant
with removal key #LL-60K
■ 1.5 gpm (5.7 L/min)
SF-158
Solenoid valve
with removal tool
Single hole
mounting kit
SF-186
SF-240
SF-245
SF-125
LN-100
LN-217
Battery casing
with removal paddle
S-6080 Replacement Parts
Part Number Item
6v lithium battery, 2CR5
SF-103
SF-2CR5
SF-163 Cleaning cover
power
connector
holder
sensor
retainer
mixer adjust
screw
temperature
adjust handle
mixing plug
retainer
body fastener
screw
check/strainer adapter
sensor
aerator
1.5 gpm
removal key
faucet body
valve body
u-washer
hex nut
3/8" compression
ex hose
solenoid
power
connector
2.5 mm wrench
(included)
Ordering replacement parts:
Call Symmons customer service at (800) 796-6667,
(781) 848-2250 M-F 7:30 am - 7:00 pm EST or
check our website at www.symmons.com for a
list of Symmons distributors.
battery casing
battery
removal paddle
solenoid valve
removal tool
cleaning cover
Parts Assembly Ultra-Sense Lavatory Faucet, S-6080
Faucet Part Number SF-244
Symmons Industries, Inc. 31 Brooks Drive ■Braintree, MA 02184 ■Phone: (800) 796-6667 ■ Fax: (800) 961-9621
Copyright © 2016 Symmons Industries, Inc. ■www.symmons.com ■[email protected] ■ZV-1017 REV C ■070716
Model# S-6080 ■Part# SF-244

Other Symmons Plumbing Product manuals

Symmons Sereno 4303-TRM Manual

Symmons

Symmons Sereno 4303-TRM Manual

Symmons 3DIV-BODY Manual

Symmons

Symmons 3DIV-BODY Manual

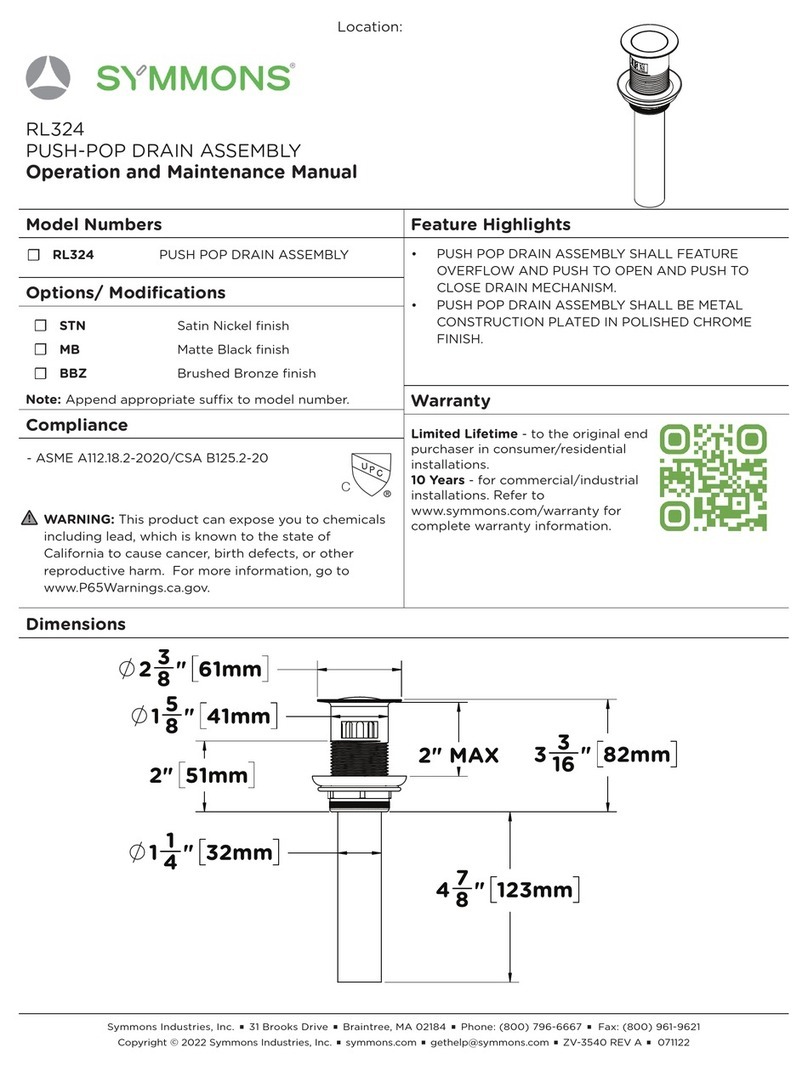
Symmons Origins SLC9612PP Manual

Symmons

Symmons Origins SLC9612PP Manual

Symmons S-71 Series User manual

Symmons

Symmons S-71 Series User manual

Symmons Unity Trim Series Installation instructions

Symmons

Symmons Unity Trim Series Installation instructions

Symmons Brenna SLW-8212-RP Manual

Symmons

Symmons Brenna SLW-8212-RP Manual

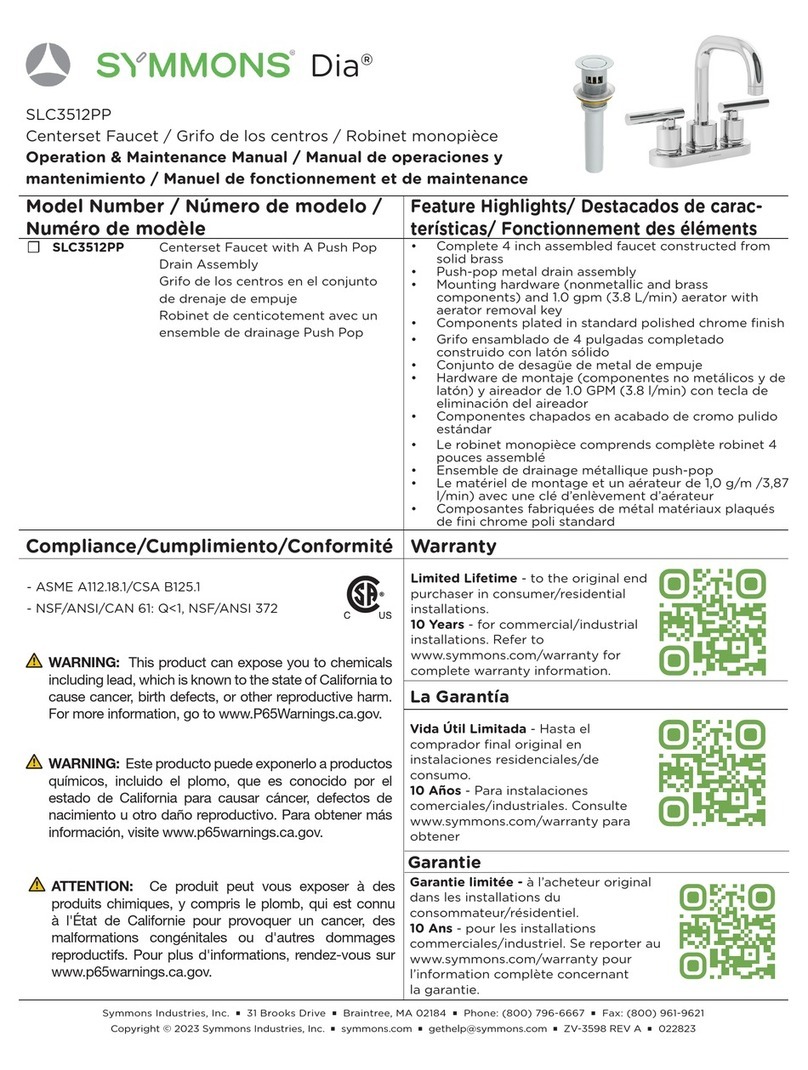
Symmons SLC-5512 Series User manual

Symmons

Symmons SLC-5512 Series User manual

Symmons Symmetrix SLS-2012 Series Reference guide

Symmons

Symmons Symmetrix SLS-2012 Series Reference guide

Symmons Duro 361SH Manual

Symmons

Symmons Duro 361SH Manual

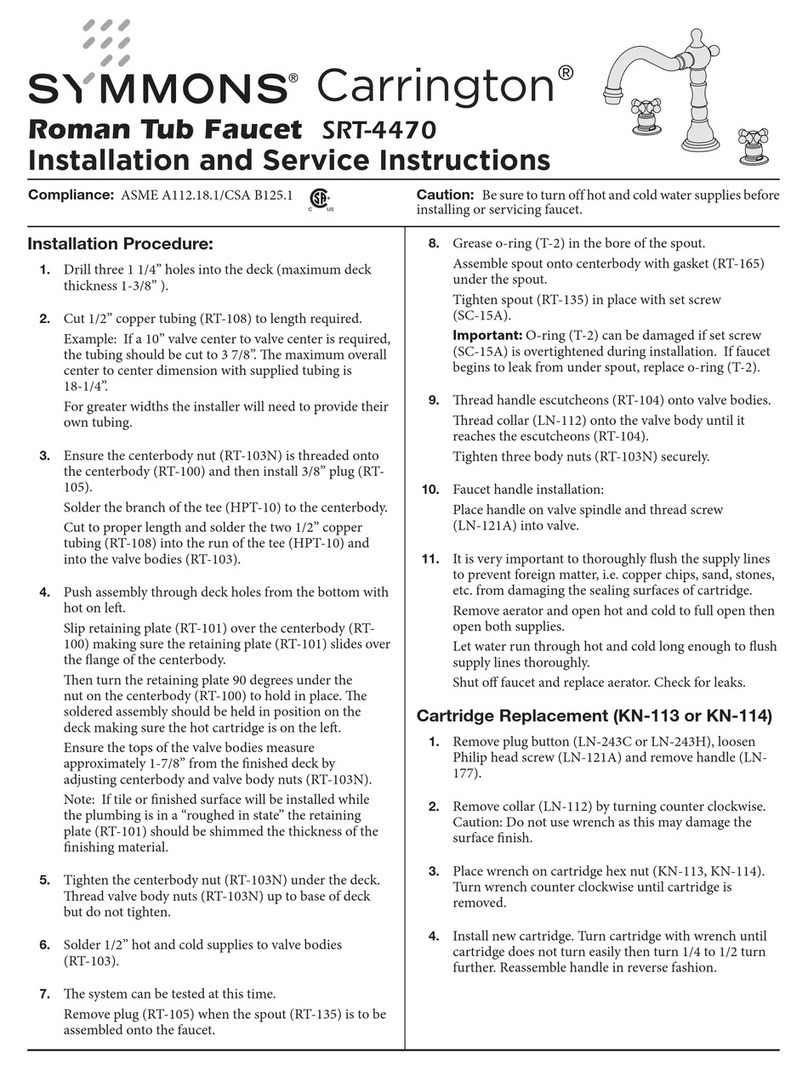
Symmons Carrington Trim Series Installation instructions

Symmons

Symmons Carrington Trim Series Installation instructions

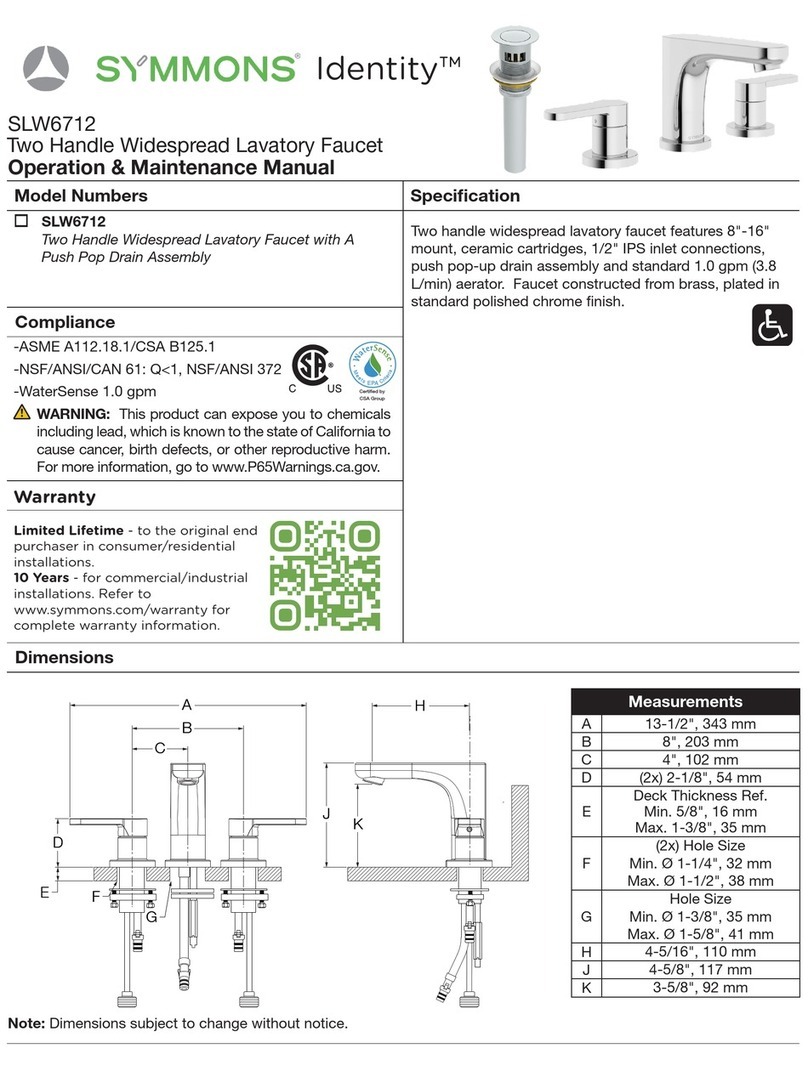
Symmons Carrington SRT-4470 Quick guide
Symmons

Symmons Carrington SRT-4470 Quick guide

Symmons TEMPTROL II Operation manual

Symmons

Symmons TEMPTROL II Operation manual
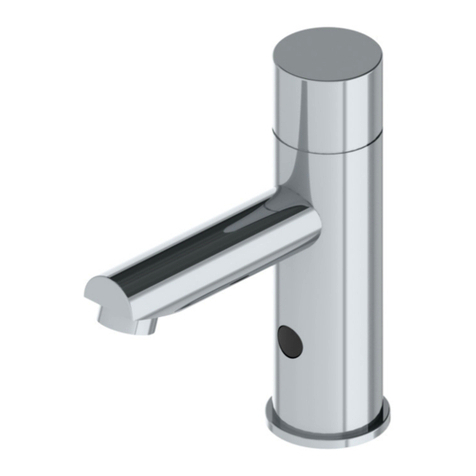
Symmons Allura Series Quick guide

Symmons

Symmons Allura Series Quick guide

Symmons Duro SLS-3612-1.5 Manual

Symmons

Symmons Duro SLS-3612-1.5 Manual

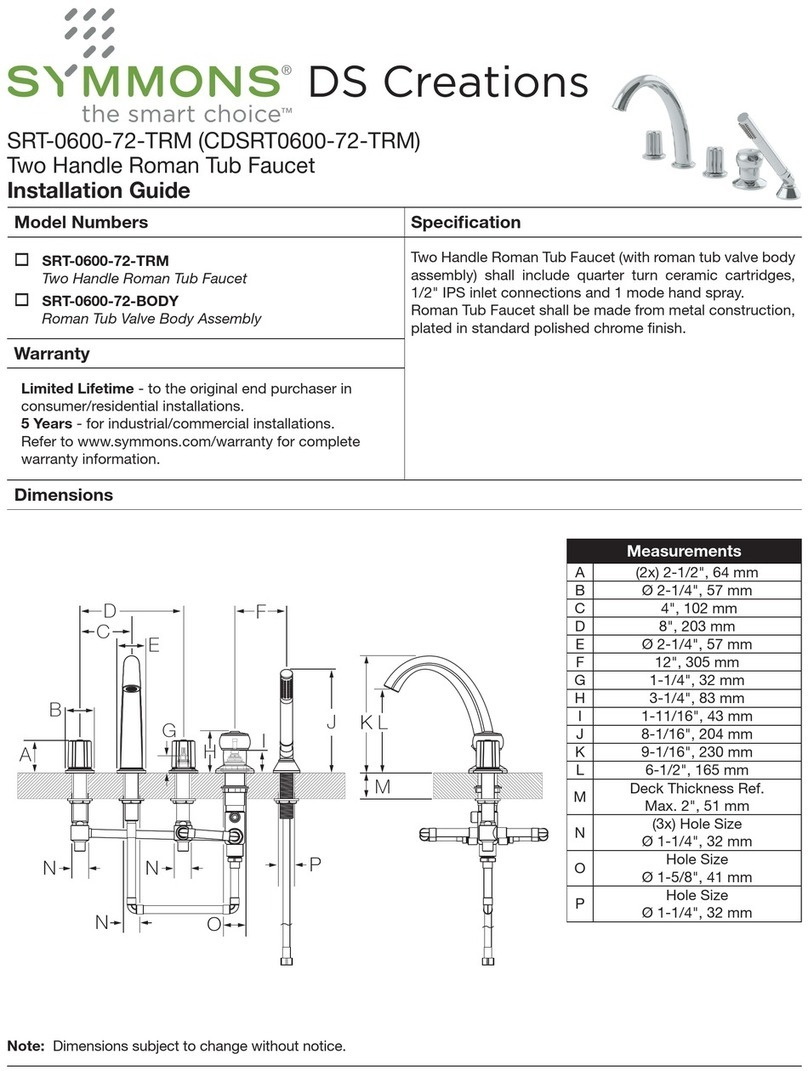
Symmons RL324 User manual

Symmons

Symmons RL324 User manual

Symmons Vella S-2610 Series Quick guide

Symmons

Symmons Vella S-2610 Series Quick guide

Symmons Safetymix 1-400 series User manual

Symmons

Symmons Safetymix 1-400 series User manual

Symmons Symmetrix S-23 Series Quick guide

Symmons

Symmons Symmetrix S-23 Series Quick guide

Symmons Canterbury Trim Series Installation instructions

Symmons

Symmons Canterbury Trim Series Installation instructions

Symmons Temptrol 2000 User manual

Symmons

Symmons Temptrol 2000 User manual

Symmons Origins S-23 Series Quick guide

Symmons

Symmons Origins S-23 Series Quick guide

Symmons Allura Trim Series Installation instructions

Symmons

Symmons Allura Trim Series Installation instructions

Symmons Hydapipe 1-901Series User manual

Symmons

Symmons Hydapipe 1-901Series User manual

Symmons Winslet S-5100-TRM Installation instructions

Symmons

Symmons Winslet S-5100-TRM Installation instructions

Popular Plumbing Product manuals by other brands

ALT CANTINA 40777 Installation & Care Guide

ALT

ALT CANTINA 40777 Installation & Care Guide

Spectrum Brands Pfister Auden LF-042-AD Quick installation guide

Spectrum Brands

Spectrum Brands Pfister Auden LF-042-AD Quick installation guide

Hansa MURANO X 5605 2200 Installation and maintenance guide

Hansa

Hansa MURANO X 5605 2200 Installation and maintenance guide

Bradley HN200 installation instructions

Bradley

Bradley HN200 installation instructions

MIYAWAKI S31N user manual

MIYAWAKI

MIYAWAKI S31N user manual

American Standard 6074F installation instructions

American Standard

American Standard 6074F installation instructions

KEUCO Edition 400 Series manual

KEUCO

KEUCO Edition 400 Series manual

Ponte Giulio G12JDS05 Instructions for installation

Ponte Giulio

Ponte Giulio G12JDS05 Instructions for installation

Brizo Baliza T60905 Assembly instructions

Brizo

Brizo Baliza T60905 Assembly instructions

Roltechnik DREAM-M installation instructions

Roltechnik

Roltechnik DREAM-M installation instructions

Elkay LK2500 Installation & owner's manual

Elkay

Elkay LK2500 Installation & owner's manual

Axor Montreux Handshower 16320XX1 Specification sheet

Axor

Axor Montreux Handshower 16320XX1 Specification sheet

Felton ODYSSEY II O2HSKC installation guide

Felton

Felton ODYSSEY II O2HSKC installation guide

Moen WS84004 Series installation guide

Moen

Moen WS84004 Series installation guide

Moen L2351 Series installation instructions

Moen

Moen L2351 Series installation instructions

Luxart HR2708LHE-PUCP Installation

Luxart

Luxart HR2708LHE-PUCP Installation

Sloan Optima ETF-600 installation instructions

Sloan

Sloan Optima ETF-600 installation instructions

Hans Grohe Croma 100 27742000 Assembly instructions

Hans Grohe

Hans Grohe Croma 100 27742000 Assembly instructions

manuals.online logo
manuals.online logoBrands
  • About & Mission
  • Contact us
  • Privacy Policy
  • Terms and Conditions

Copyright 2025 Manuals.Online. All Rights Reserved.