manuals.online logo
Brands
  1. Home
  2. •
  3. Brands
  4. •
  5. System air
  6. •
  7. Ventilation Hood
  8. •
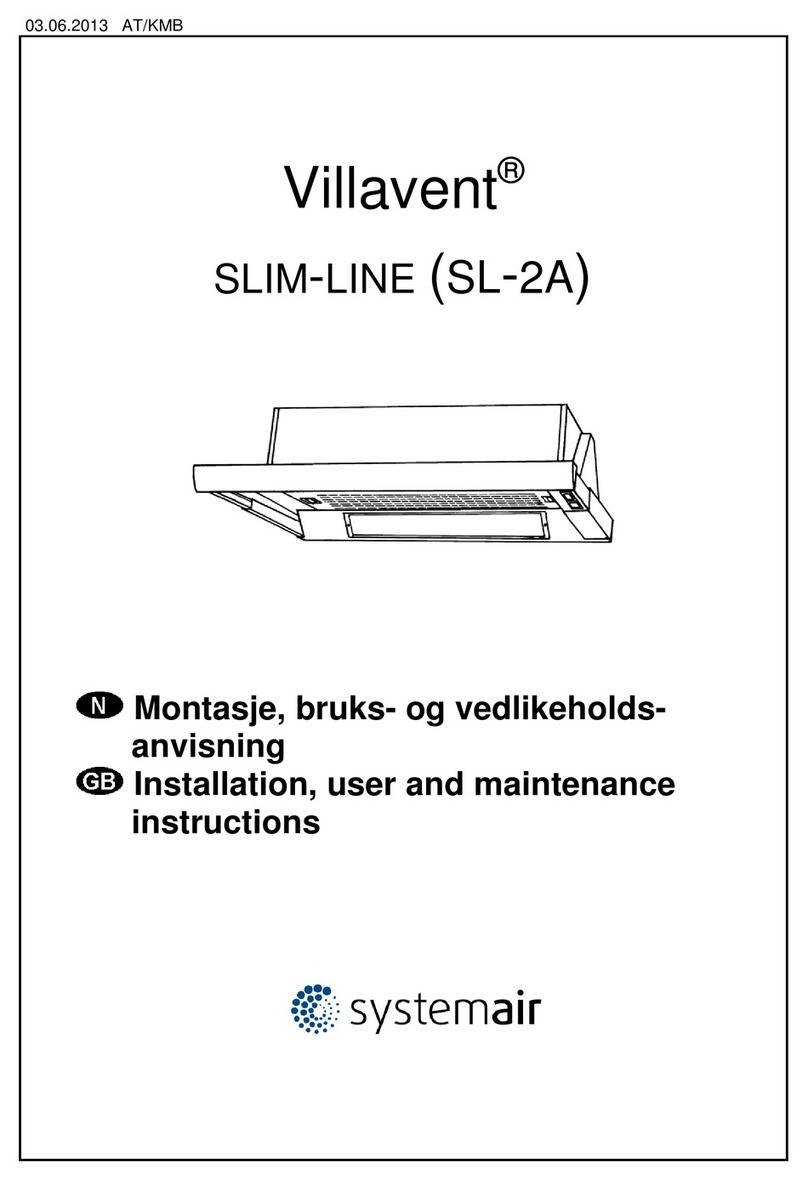
  9. System air Villavent 251-10 Operating instructions

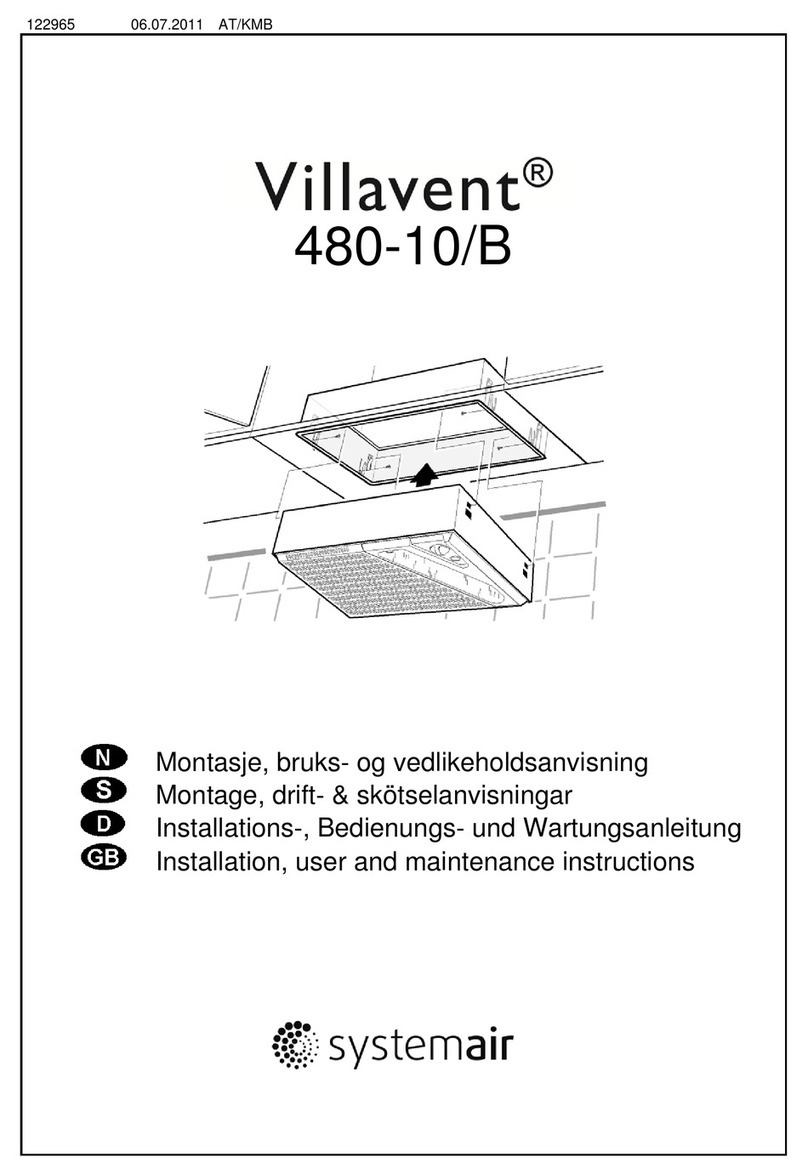
System air Villavent 251-10 Operating instructions

122655 20.11.2003/AT/KMB
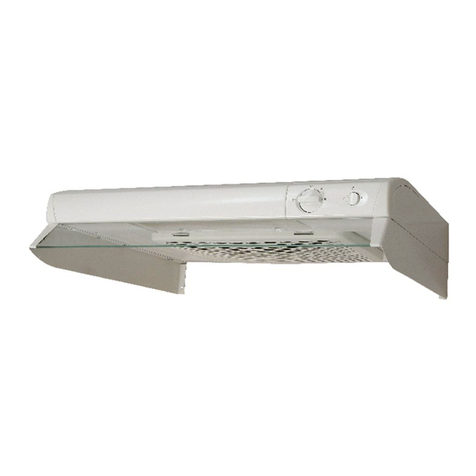
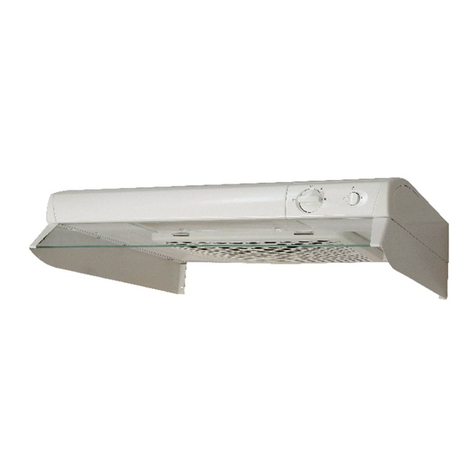
Montasje-, bruks- og vedlikeholdsanvisning, kjøkkenhette, type 251-10
Installation, user and maintenance instructions, cookerhood, type 251-10
Bruk
Funksjoner, Fig. 1
A Bryter for spjeld
B Bryter for lys
Åpne spjeldet under matlaging.
Spjeldet stenger automatisk etter
maks. 60 min. eller manuelt ved å
vri bryter "A" til .
Flambering under hetten må ikke
forekomme. Sørg for tilstrekkelig
lufttilførsel til rom der kjøkkenhette
er installert.
Vedlikehold
Kjøkkenhetten rengjøres med varmt
såpevann og klut. Rengjør filteret
ca. 2 ganger pr. måned. Filteret tas
ut som vist i fig. 2. Bløtlegg filter-
duken og filterristen i varmt vann
tilsatt oppvaskmiddel. Eventuelt kan
hele filterkassetten vaskes i opp-
vaskmaskin før det settes tilbake i
hetten.
NB! Manglende rengjøring kan
føre til oppsamling av fett
og dermed brannfare.
Skifte av lysrør
For utskifting av lysrør åpnes
lampedekselet som vist i fig. 3.
Feilsøking
Kontroller at sikringen er i orden.
Test lysrør og om hetten fungerer
på alle hastigheter. Kontakt din
leverandør eller Villavent as,
tlf.: + 47 51969700
Operation
Functions, Fig. 1
A Switch for damper
B Switch for light
Open the damper when cooking.
The damper will close autoamtically
after max. 60 min. or manually by
setting switch "A" to position.
Flaming under the cookerhood
must not occur.
Ensure sufficient fresh air supply to
room where cookerhood is
installed.
Maintenance
Remove filter for cleaning at least
twice a month, fig. 2. Soak the filter
cloth and grill in warm soapy water.
At the same time wipe the inside of
the cookerhood. The filter casette
can alternatively be washed in dish
washer. Let filter dry properly
before replacing.
Note!Build-up of grease and dust
inside the cookerhood
increases the risk of fire.
Changing the light bulb
For changing of light bulb, open the
lamp cover as shown in fig. 3
Troubleshooting
Check the fuse. Test light bulb and
that the cookerhood is operating on
all fan speeds. Contact your local
supplier for further assistance.
'
Tekniske data:
Bredde: 60 cm
Øvrige mål: Se fig. 4
El.tilkobling: 230 V + jord
Belysning:
modell 250-10: Lysrør, 11W
sokkel G23
Montasje
PS! Avkastluft må ikke ledes ut
via felles røk-kanal.
For øvrig iht. gjeldende forskrifter
fra myndighetene.
Spjeldtilkobling, fig. 5
Kanalstuss følger leveransen.
Spjeldakselen "A" plasseres i
åpningen under speldlokket, fig. 5.
Sørg for at "låsehaker" "B" kommer
under topplaten. Stussen "sneppes"
fast.
Montering av kjøkkenhetten
Kjøkkenhetten kan monteres under
standard kjøkkenskap, fig. 6.
Avstanden til elektrisk komfyr må
være min. 40 cm og til gasskomfyr
min. 60 cm. Kjøkkenhetten kan
alternativt monteres ved hjelp av
braketter (tilleggsutstyr), fig. 7.
Elektrisk installasjon
Kjøkkenhetten, type 250-10,
leveres med ledning og støpsel for
10A/16A, 230V jordet stikkontakt.
Innregulering
Se separat anvisning.
Technical data:
Width: 60 cm
Measurements: See fig. 4
El.connection: 230 V + earth
Light:
Model 250-10: Light bulb, 11 W
Socket G23
Installation
NOTE! Discharge air must not
be lead into common
smoke duct.
and in accordance with regulations
from the authorities in force.
Installing the damper, fig. 5
Duct connector is provided. Install
damper axle "A" in the opening
under the damper lid, fig. 5. Ensure
that the clips "B" get under the top
plate. Snap the connector into
position.
Installing the cookerhood
Install the hood under standard
kitchen cupboard, fig. 6. Distance
from electrical hob must be
minimum 40 cm and from gas hob
minimum 60 cm. Alternatively install
cookerhood by means of brackets
(additional equipment), fig 7.
Electrical installation
The cookerhood, type 250-10, is
supplied with cable and earthed
plug for 10A/16A, 230V.
Commissioning the airflow
See separate instructions.
Kjøkkenhette, type 251-10
Cookerhood, type 251-10
Innregulering av luftmengde
Commisioning the airflow
Grunnventilasjon
Grunnventilasjon stilles inn ved at skyvespjeldet "A" føres i
ønsket stilling i henhold til markeringen "B", fig. 1. (Se diagram
1 på baksiden).
Forsert ventilasjon
Åpne spjeldet og dra ut strupebrikken "C", fig. 2.
Forsert ventilasjon stilles ved på skjære ut hensiktsmessig
antall ringer i strupebrikken, fig. 3 (se diagram 2 på baksiden).
Se til at styresporet "D" ligger i stilling når brikken settes på
plass.
Trykkfallsmåling
Trykkfallsmålingen gjøres ved at slangen monteres på
måleuttaket "E" i spjeldets fremkant, fig. 4.
Minimum ventilation
Set minimum ventilation by sliding the damper "A" to desired
position, "B", fig. 1. ( See also diagram 1 overleaf).
Forced ventilation
Open the damper and remove the throttle damper "C", fig. 2.
Cut out the required number of rings, fig. 3 (diagram 2
overleaf). Ensure that the guide slot "D" is in position when the
throttle damper is re-installed.
Measuring the pressure drop
Mount the hose on the measuring outlet "E" on the damper,
fig. 4.
Grunnventilasjon
Diagram 1
Minimum ventilation
Diagram 1
L
pA = Det A-målte lydtrykksnivå ved 10 m2Sabin
LWA = Det A-målte lydeffektnivå relativt 1 pW
LpA = The A-measured sound pressure level at 10 m2 Sabin
L
WA = The A-measured sound power level relatively 1pW
Forsert ventilasjon
Diagram 2 Forced ventilation
Diagram 2
'
Rett til endringer forbeholdes Specifications may be changed without notice
Produsent/Manufacturer: Forhandler/Distributor:

Other System air Ventilation Hood manuals
System air SAVE VTR 150/K User manual

System air

System air SAVE VTR 150/K User manual

System air 382-16 User manual

System air

System air 382-16 User manual

System air Villavent 490-10/B Operating instructions

System air

System air Villavent 490-10/B Operating instructions

System air Villavent 210 Operating instructions

System air

System air Villavent 210 Operating instructions

System air Villavent 251-10/B User manual

System air

System air Villavent 251-10/B User manual

System air 782-10/B User manual

System air

System air 782-10/B User manual

System air Villavent 251-16 Operating instructions

System air

System air Villavent 251-16 Operating instructions

System air SAVE VTR 100/B User manual

System air

System air SAVE VTR 100/B User manual

System air MONOLIT AC VIT User manual

System air

System air MONOLIT AC VIT User manual

System air VR-300 TK/B Operating instructions

System air

System air VR-300 TK/B Operating instructions

System air SAVE VTR 300/B User manual

System air

System air SAVE VTR 300/B User manual

System air 382-10/B User manual

System air

System air 382-10/B User manual

System air 392-14 User manual

System air

System air 392-14 User manual

System air 251-14 EC Manual

System air

System air 251-14 EC Manual

System air 392-10/B User manual

System air

System air 392-10/B User manual

System air Tender 722-10/B User manual

System air

System air Tender 722-10/B User manual

System air Villavent 480-10/B Operating instructions

System air

System air Villavent 480-10/B Operating instructions

System air B Safe 251-10 User manual

System air

System air B Safe 251-10 User manual

System air MONOLIT EC User manual

System air

System air MONOLIT EC User manual

System air VR-700E Instruction Manual

System air

System air VR-700E Instruction Manual
System air fantech HERO Series User manual

System air

System air fantech HERO Series User manual

System air WVA Installation guide

System air

System air WVA Installation guide

System air MONOLIT EC User manual

System air

System air MONOLIT EC User manual
System air 602-10/B User manual

System air

System air 602-10/B User manual

Popular Ventilation Hood manuals by other brands

ElectrIQ eiQCHINTGY60 user manual

ElectrIQ

ElectrIQ eiQCHINTGY60 user manual

Zanussi ZHC 932 Operating and installation instructions

Zanussi

Zanussi ZHC 932 Operating and installation instructions

Broan BWT1 Series installation manual

Broan

Broan BWT1 Series installation manual

Bosch DHL535BGB Operating and installation instructions

Bosch

Bosch DHL535BGB Operating and installation instructions

Hauslane chef Series Instruction, Use & Care Manual

Hauslane

Hauslane chef Series Instruction, Use & Care Manual

Astivita CHOOD90M instruction manual

Astivita

Astivita CHOOD90M instruction manual

Beko 01M-8991493200-2218-02 user manual

Beko

Beko 01M-8991493200-2218-02 user manual

KitchenAid WVW53UC6FS Installation Instructions and Use & Care Guide

KitchenAid

KitchenAid WVW53UC6FS Installation Instructions and Use & Care Guide

AEG DI7490-M user manual

AEG

AEG DI7490-M user manual

ROBLIN COMFORT ENERGY 1000 Dimensions

ROBLIN

ROBLIN COMFORT ENERGY 1000 Dimensions

Futuro Futuro QUEST BLACK installation manual

Futuro Futuro

Futuro Futuro QUEST BLACK installation manual

Malloca Gama K3155.9 Assembly instructions

Malloca

Malloca Gama K3155.9 Assembly instructions

Westinghouse QR054R owner's manual

Westinghouse

Westinghouse QR054R owner's manual

NuTone ALLURE WS3 Series instruction manual

NuTone

NuTone ALLURE WS3 Series instruction manual

American Aldes DHV-150H Installation, operation & service instructions

American Aldes

American Aldes DHV-150H Installation, operation & service instructions

Modine Manufacturing Lodronic HCH installation instructions

Modine Manufacturing

Modine Manufacturing Lodronic HCH installation instructions

Miele DA 327 i OPERATING AND INSTALLATION Manual

Miele

Miele DA 327 i OPERATING AND INSTALLATION Manual

Smeg KV694R Instruction booklet

Smeg

Smeg KV694R Instruction booklet

manuals.online logo
manuals.online logoBrands
  • About & Mission
  • Contact us
  • Privacy Policy
  • Terms and Conditions

Copyright 2025 Manuals.Online. All Rights Reserved.