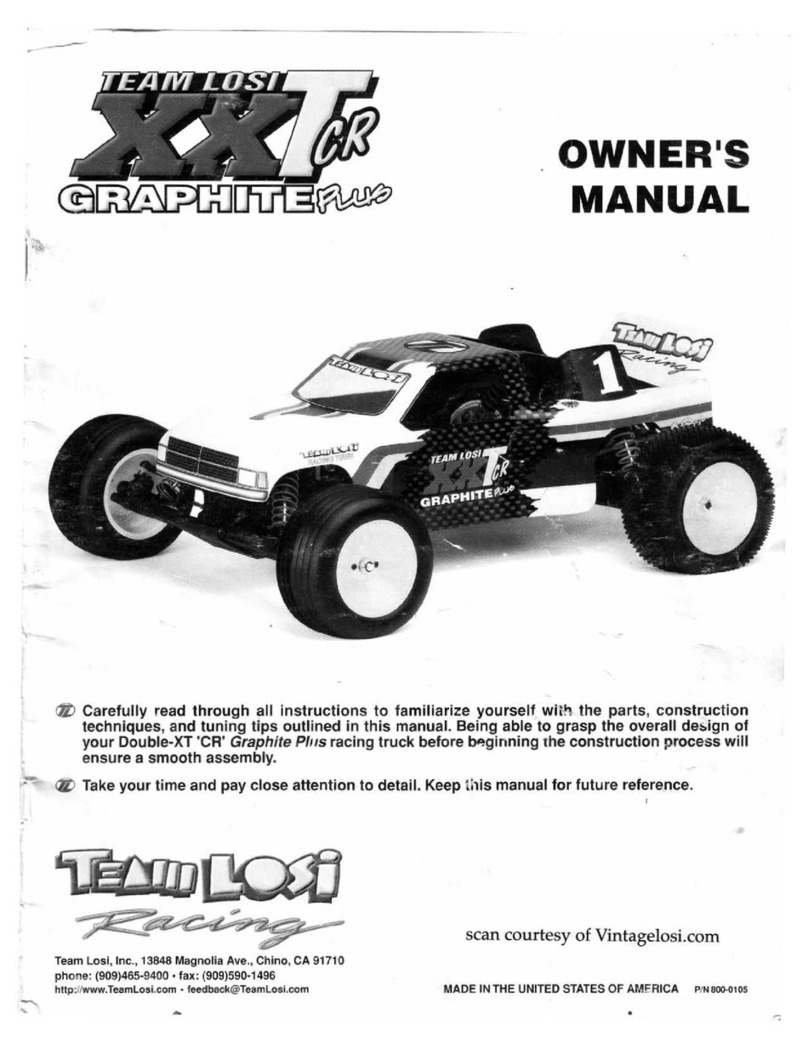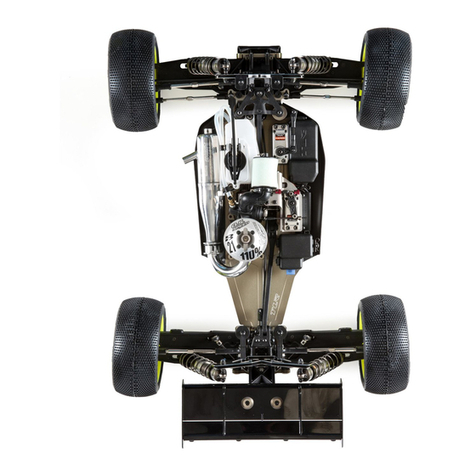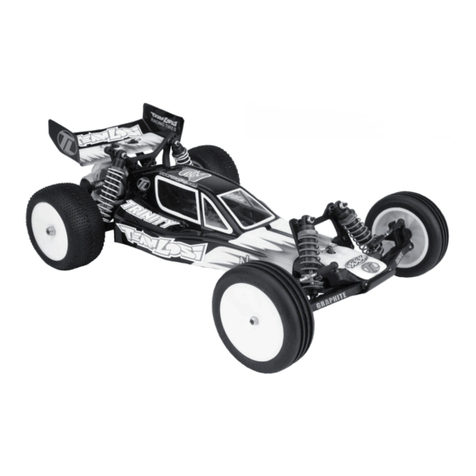
Welcome Team Losi XXX-4 Owner!
ThankyouforselectingTeamLosiandtheXXX-4asyournewracing Buggy. Asyouwillsee,wehavemadeeveryeffort
to design and produce a kit that is not only the most competitve, but easy to build and maintain. The simple bag-by-bag
assemblysequenceandunmatchedeasilyfollowedinstructions,combinedwithTeamLosi'sworldfamousquality-fittingparts,
shouldmakebuildingyour newXXX-4amost enjoyableproject.
Beforeyouopen thefirstbagorstart anyassembly,pleasetakea fewmomentstoreadcompletely throughthefollowing
instructions.This willfamiliarizeyou withthevarious partsaswell asthetools youwillneed.Takinganextra momentbefore
startingcansaveyouagooddeal of time and assureproperassembly.
Onceagain,thank youforchoosingTeamLosi.
Goodluckandgoodracing!
1. INTRODUCTION
XXX-4 COMPLETED KIT DIMENSIONS
OverallLength:15-3/8" FrontWidth: 9-3/4" RearWidth: 9-5/8" Height: 5-3/8"
Wheelbase: 10-3/4" All dimensions at ride height. Weight will vary depending on accessories.
Step A-1
i
NOTES& SYMBOLS USED
This is a common Step sequence found at the beginning of each
new illustration throughout the manual.
!1. Each step throughout the entire manual has a check box to the
leftof it.As you completeeachstep, mark thebox with a check.If you
need to take a break and return to building at a later time you will be
able to locate the exact step where you left off.
This is a common note. It is used to call attention to specific
details of a certain step in the assembly.
IMPORTANTNOTE:Evenif you are familiar withTeam
Losi kits, be sure and pay attention to these notes. They point out
very important details during the assembly process. Do not ignore
these notes!
In illustrations where it is important to note which
directionparts are facing,a helmet likethisone will beincluded in the
illustration. The helmet will always face the front of the car. Any
reference to the right of left side will relate to the direction of the
helmet.
The kit is composed of different bags markedAthrough H. Each
bag contains all of the parts necessary to complete a particular sec-
tion of the XXX-4. Some of these bags have subassembly bags within
them. It is essential that you open only one bag at a time and follow
the correct assembly sequence, otherwise you may face difficulties
in finding the correct part. It is helpful to read through the instruc-
tions for an entire bag prior to beginning assembly. Key numbers (in
parenthesis) have been assigned to each part and remain the same
thoughout the manual. In some illustrations, parts which have al-
ready been installed are not shown so that the current steps can be
illustratedmore clearly.
For your convenience, an actual-size hardware identification
guide is included with each step. To check a part, hold it against the
silhouette until the correct part is identified. In some cases extra
hardware has been supplied for parts that may be easy to lose.
The molded parts in the XXX-4 are manufactured so that they
interlock. Whenscrews aretightened to thepoint ofbeingsnug, the
partsare heldfirmlyin place.For this reason it is very important that
screws not be overtightened in any of the plastic parts.
To ensure that parts are not lost during construction, it is recom-
mended that you work over a towel or mat to prevent parts from
rollingaway.
1.Select an areafor assemblythatis away fromthe reachofsmall
children. Some parts in this kit are small and can be swallowed by
children, causing choking and possible internal injury.
2. The shock fluid and greases supplied should be kept out of
childrens' reach. They are not intended for human consumption!
3. Exercise care when using any hand tools, sharp instruments,
or power tools during construction.
4. Carefullyread allmanufacturers'warnings and cautionsfor
any glues, chemicals, or paints that may be used for assembly and
operatingpurposes. When you areusing glues,chemicals, andpaints
you should always wear eye protection and a mask.
KIT/MANUALORGANIZATION
IMPORTANTSAFETYNOTES
