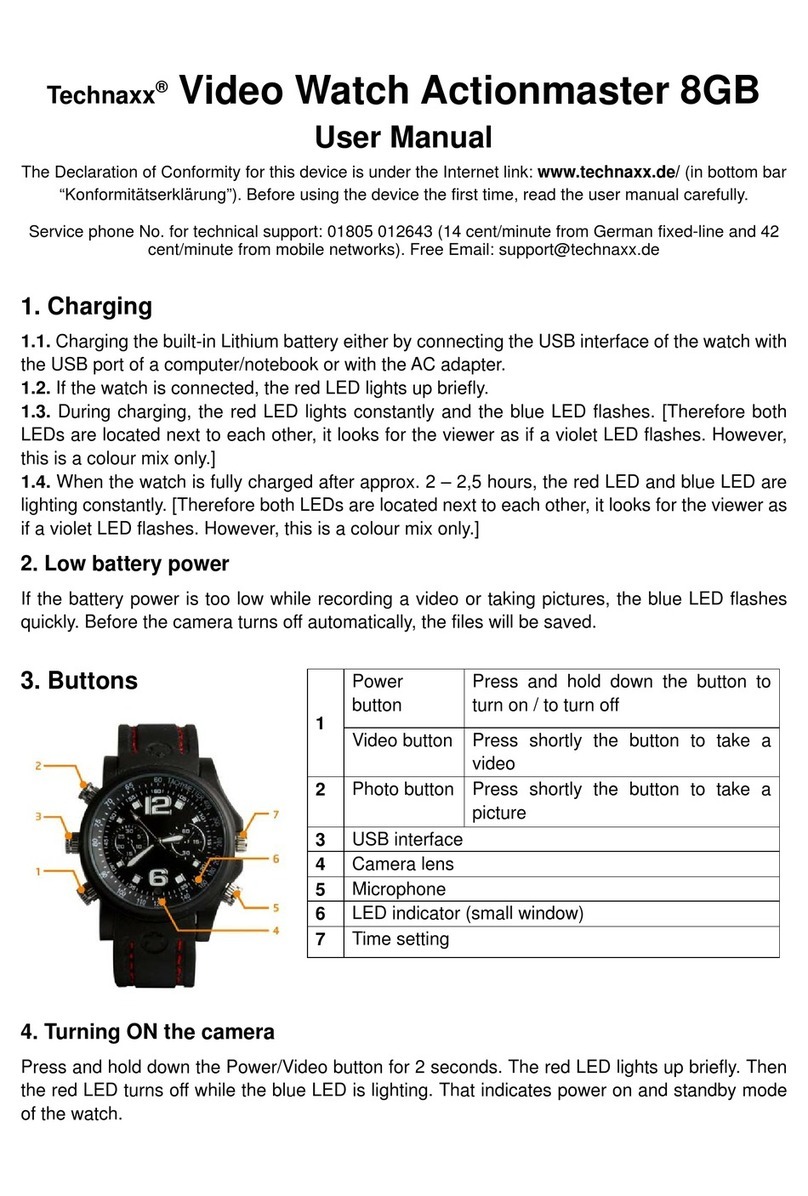
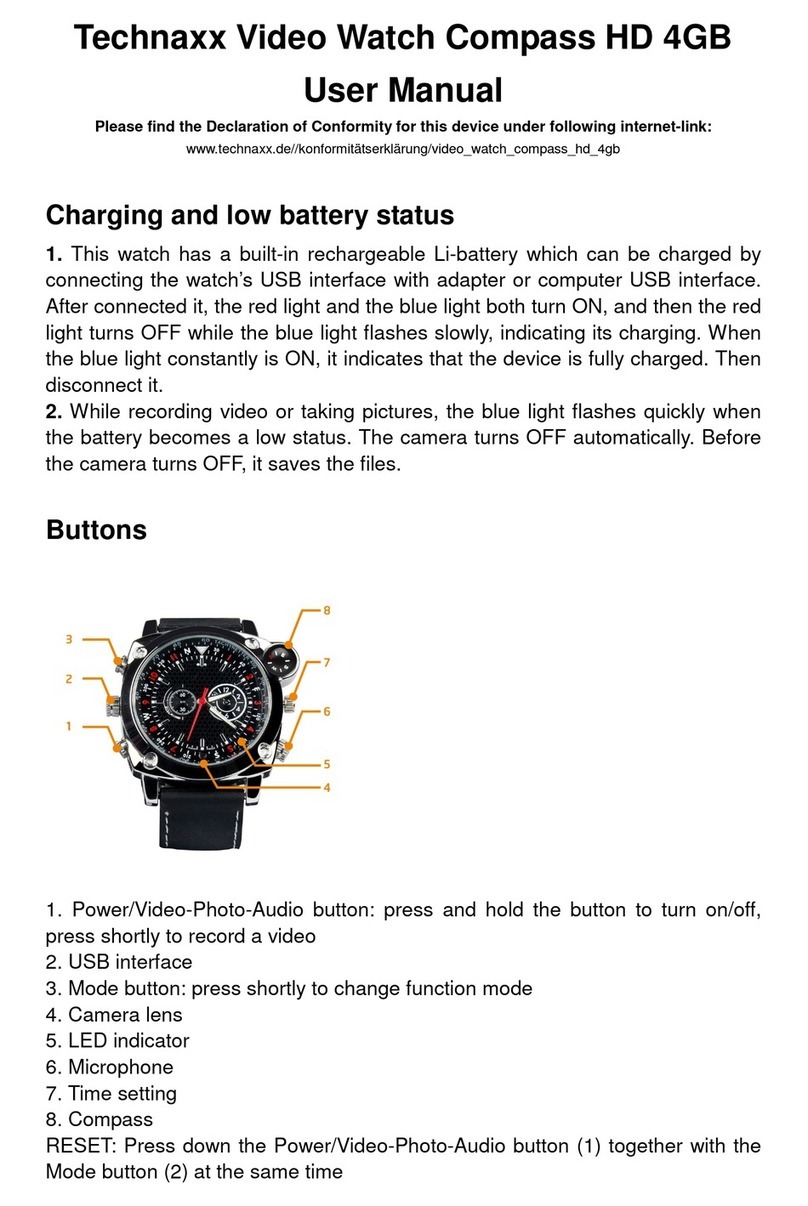
Technaxx TX-93 User manual

Technaxx® * User Manual
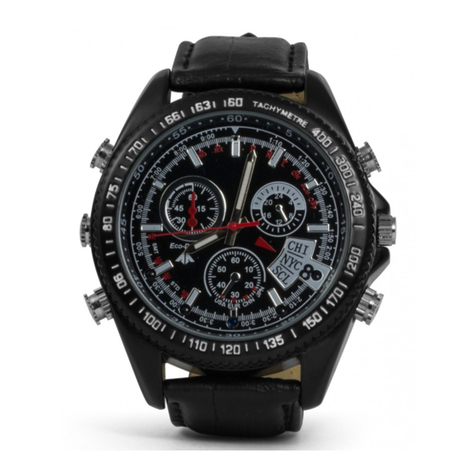
Video Watch with FullHD Camera TX-93
8GB Watch for video recordings with sound
The Declaration of Conformity for this device is under the Internet link:
www.technaxx.de/ (in bottom bar “Konformitätserklärung”). Before using the
device the first time, please read the user manual carefully.
This device has a rechargeable battery. It must be fully charged before
first use. NOTE: Charge the battery of the device every 2–3 month if it is
not used!
Service phone No. for technical support: 01805 012643 (14 cent/minute from
German fixed-line and 42 cent/minute from mobile networks).
Keep this user manual for future reference or product sharing carefully. Do the
same with the original accessories for this product. In case of warranty, please
contact the dealer or the store where you bought this product.
Warranty 2 years
Features
Video watch with integrated 2MP FullHD camera and microphone
Inconspicuous camera lens in the dial
Video resolution 1920x1080 with sound
Separate sound recording (WAV)
WEB cam function
8GB flash memory
4x IR LED for night vision ~1m
Protection class IP65 (dust proof & water jet proof)
Easy transfer via USB cable to a PC
Plug & Play device

Technical specifications
CMOS sensor 1/4” CMOS 2 Mega Pixels
Lens Viewing angle 60° horizontal, IR night vision ~1m, 4x IR LED
Video resolution 1920 x 1080 (1280 x 720 interpolated)
Video / Audio format AVI , 30fps / WAV
Internal memory 8GB for video & audio files
Video recording time with sound ~35–40 minutes
Power consumption DC 160mAh/3.7V (only video)
DC 100mAh73.7V (only IR)
Charging Via 2.5mm jack to USB cable* (*included) or
DC 5V/1A USB power adapter** (**not included)
Built-in rechargeable 250mAh Lithium ion battery:
Charging time ~3 hours (without simultaneous recording)
Maximal recording time ~1 hour (fully charged battery)
Watch power supply / Battery
DC 1.5V/150mA / AG4 cell battery 1.5V
(not rechargeable, but replaceable)
Protection Class IP65 (dust proof & water jet proof)
Operation systems Windows 7 / 8 / 8.1 / 10
Working temperature –5°C up to 50°C
Weight / Dimensions 83g / Dial (L) 5.5 x (W) 5.2 x (H) 1.8cm
Package
contents
Video Watch with FullHD Camera TX-93,
USB charging cable with
2.5mm jack, Replacement knob for microphone, CD, User Manual

Charging Status & Low Battery Status
This watch has a built-in rechargeable (but not replaceable) Lithium ion
battery which can be charged by connecting the USB interface of the watch
with computer USB interface or an adapter** (**not included).
1. Charging: remove the knob (7) by screwing it apart and then insert the
2.5mm jack of the USB charging cable* (*included) to the watch. Insert the
USB jack of the cable to an USB port of a PC or to an USB 5V/500mAh
adapter** (**not included). After connection, the BLUE LED (9) lights up for
about 2 seconds. The RED LED flashes during the charging process. When
the BLUE LED constantly is ON (constantly shines) the watch is fully charged,
and you can disconnect the watch. Charging time is approx. 3 hours.
2. Low Battery Status: while recording a video and/or voices, the BLUE LED
flashes quickly when the battery becomes a low status. The camera turns OFF
automatically. Before the camera turns OFF, the files are saved.
Overview
1) Power ON/OFF
Video Record Button
2) Time adjust
3) Microphone
4) 4x IR LED light
5) Camera
6) IR LED light ON/OFF
7) 3.5mm jack charging slot
8) Sound Recording Button
9) Indicator LED

Operation Modes
1. Turning camera ON
Press and hold the Power/Video button (1) for two seconds. The BLUE LED
lights up turns OFF and turns ON again. The BLUE LED is steady ON now (it
indicates power on and standby time mode).
2. Turning camera OFF
In the standby/video mode, press and hold the Power/Video button (1). The
RED and BLUE LEDs turn on at the same time. Then the BLUE LED turns off,
and the RED LED flashes for 3x and turns off, too. When the camera is not
used for 3 minutes after powered on, it will power off automatically.
3. Recording a video
In the standby/video mode press shortly the Power/Video button (1). The
BLUE LED flashes for 3x and then turns off. Video recording starts. Press
shortly press the Power/Video button (1) again to stop the recording. To save
the video file, hold the Power/Video button (1). The RED LED flashes 3x
quickly. Then the camera turns off.
Note: When storage of the camera is full, the RED and BLUE LEDs flash
quickly. After 5 seconds the camera turns off automatically.
4. Separate Sound recording
In the standby mode press shortly the Sound recording button (8) to start
sound recording. The RED LED flashes 3x and turns off. Then recording
starts. Press the Sound recording button (8) to stop the recording. If the
Power/Video button (1) is press long, the RED LED flashes 3x quickly. Then
the recorded file will be saved, and the camera turns off.
5. Infra Red Mode
Under standby mode, press shortly the IR LED light ON/OFF button (6). The
BLUE LED is steady on, the RED LED flashes 2x and turns off now infrared
light is enabled. Press shortly the IR LED light ON/OFF button 86). The RED
LED flashes 2x and turns off then infrared light is closed.

6. Reset
If the watch is not operating properly, press the Power/Video button (1) and
the Voice record button (8) at the same time to reset it.
Installation of the WEB camera driver
1. If the WEB cam functions does not work, install the driver. Copy the file onto
your computer. For Windows 7 / 8 / 8.1 / 10 only.
2. Put the CD*** (***included) to the CD-ROM drive to copy the file (amcap2a)
to the computer for using the watch as WEB camera.
Connect to a computer
1. Use the USB cable* (*included) to connect the watch to a PC USB port.
Then a “removable disk” icon occurs on the computer. If the watch is
connected to a PC, it starts to work as a removable disk. Video/Transmit/Copy
can be checked, data can be easily attached and deleted (video, audio, etc.)
and non-music documents can be saved.
2. PC camera function
Connect the watch to a computer. When it shows a removable disk, press
shortly the Power/Video record button (1). Then the PC camera can be used.
3. Set Date stamp and Time stamp
a. Plug in the USB cable to the watch and to a computer.
b. Go to <My Computer> or Computer or Explorer.
c. The camera will be recognized as removable Disk Drive.
d. Edit the text file named <<time>> by double left click on the <time.txt> file.
e. Fill in the current Year.Month.Day. hour:minute:seconds [eg: 2016.11.01
23:59:59 Stamp Mode:Y] (Change ”Y” to “N”, the time stamp will not show up.)
f. Go to the file and save it, then close the file.
g. Power off the watch and restart it. Now it has the current date and time.

4. Disconnect the watch (USB watch) from the PC
a. Right mouse click on the Windows interface "Safely Remove Hardware"
icon (lower right corner on green arrow).
b. Select "Stop" in "Safely Remove Hardware" dialog box.
c. Choose the watch you want to disconnect, click "OK", watch quit safely.
"Safely Remove Hardware" dialog box shows “USB Mass Storage Watch can
now be safely removed from the system”(lower right corner, green arrow).
d. Close "Safely Remove Hardware" dialog box.
e. Disconnect the watch (USB watch) from the computer.
Note: The watch is not recording video or voice while connected with a
computer.
Waterproof function
(comply strictly with following operations)
NOTE: The watch is NOT suitable for swimming or diving!
Distinguish strictly between the two different types of knobs
1. MIC knob with sound hole
2. Sound transmission hole
3. Waterproof MIC knob
4. Waterproof sealing pad
MIC knob & USB knob
they are NOT inter-
changeable. otherwise the
product will be damaged. May
not longer be waterproof or
dustproof.

MIC1 and MIC2 are both MIC knobs.
MIC1 is with a sound hole at the center. Under usual conditions, use this
knob. It can record the voice synchronously when recording video.
MIC2 is with a sealing pad and no sound hole. Under bad conditions, use
this knob for waterproof and dustproof. The voice cannot be recorded when
using this knob.
Note: USB knob also is with sealing pad and no hole. Screw it tightly no
matter what environment, otherwise the USB port or electronic components
will be damaged. Tighten all waterproof knobs when using. Check if the
sealing pads are off, if off, use back-up knobs.
FAQ:
Cannot turn on Check if the watchs power is low: charge the battery.
Cannot upload/download files normally (a) Check the USB cable
between the watchs USB and the PC, maybe is damaged or not/correct
connected. (b) Check if the driver is installed properly. (c) Check if there is
enough storage space to save the file.
Warnings
Do not attempt to disassemble the watch, it may result in shortly-circuit or
even damage. Do not drop or shake the watch. It may cause internal
mechanical damage. Use it under normal temperature and normal humidity.
Do not use it directly against strong light, to avoid damage optical watch.
Do not use under high dust density environment, to avoid the lens and other
components stain dust and effect the camera quality. Do not make its strong
shock, vibration, do not use under high magnetic field. Keep the watch away
from little children.
Hints for Environment Protection: Packages materials
are raw materials and can be recycled. Do not disposal old
devices or batteries into the domestic waste. Cleaning:
Protect the device from contamination and pollution (use a
clean drapery). Avoid using rough, coarse-grained
materials or solvents/aggressive cleaner. Wipe the
cleaned device accurately. Distributor: Technaxx
Deutschland GmbH & Co.KG, Kruppstr. 105, 60388
Frankfurt a.M., Germany
Other manuals for TX-93
2
Table of contents
Other Technaxx Watch manuals

Technaxx
Technaxx TX-SW7HR User manual

Technaxx
Technaxx TrendGeek TG-SW1 User manual

Technaxx
Technaxx 4G Kids-Watch User manual

Technaxx
Technaxx TX-SW3HR User manual

Technaxx
Technaxx TX-93 User manual

Technaxx
Technaxx TX-SW5HR User manual

Technaxx
Technaxx TX-81 User manual

Technaxx
Technaxx TX-SW6HR User manual

Technaxx
Technaxx TXX3233 User manual

Technaxx
Technaxx Video Watch Compass HD User manual