manuals.online logo
Brands
  1. Home
  2. •
  3. Brands
  4. •
  5. Teknion
  6. •
  7. Indoor Furnishing
  8. •
  9. Teknion Beginning Work Table User manual

Teknion Beginning Work Table User manual

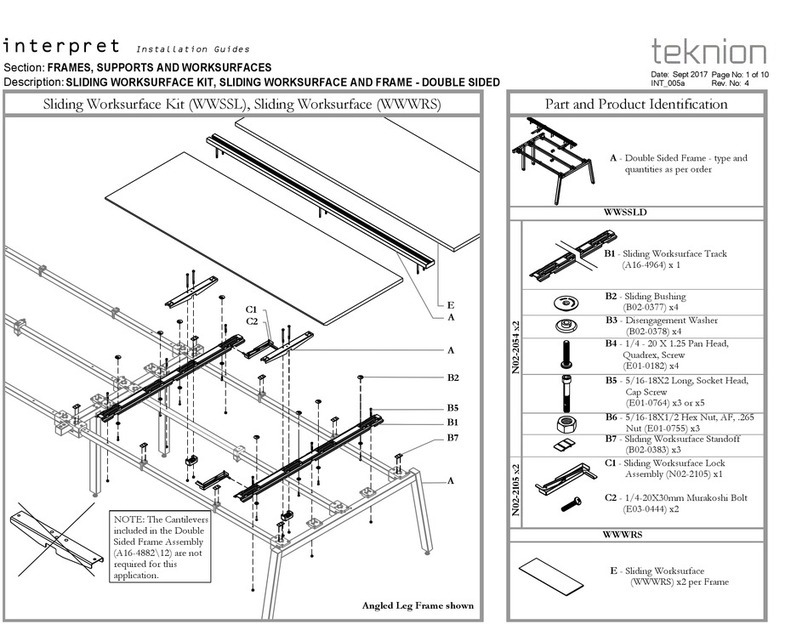
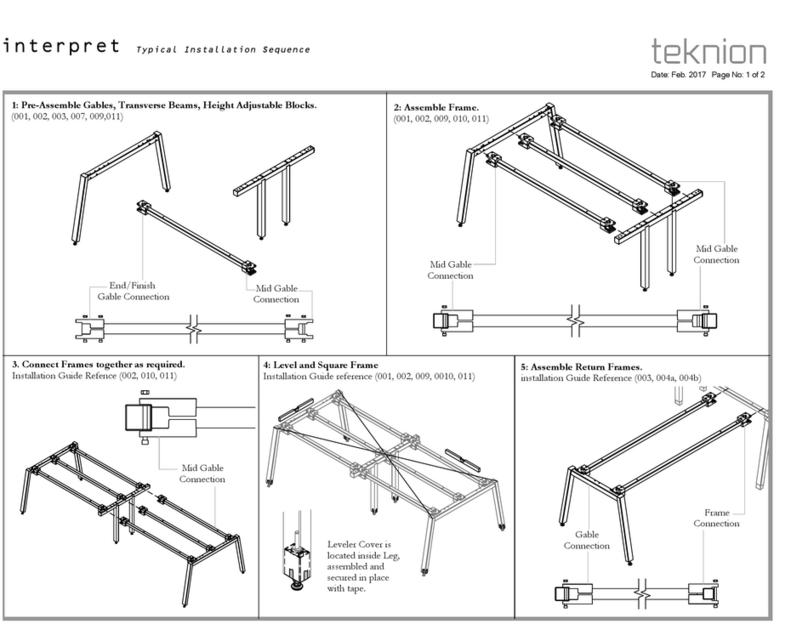
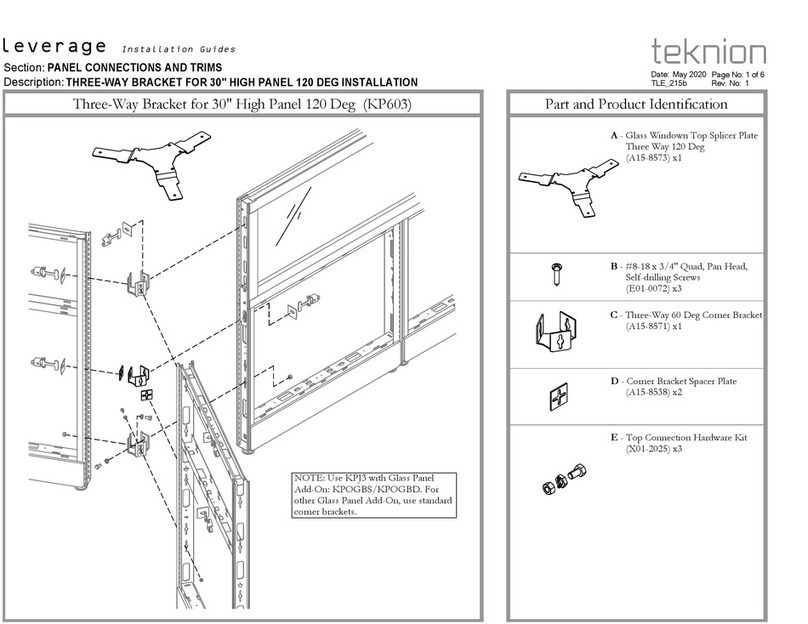
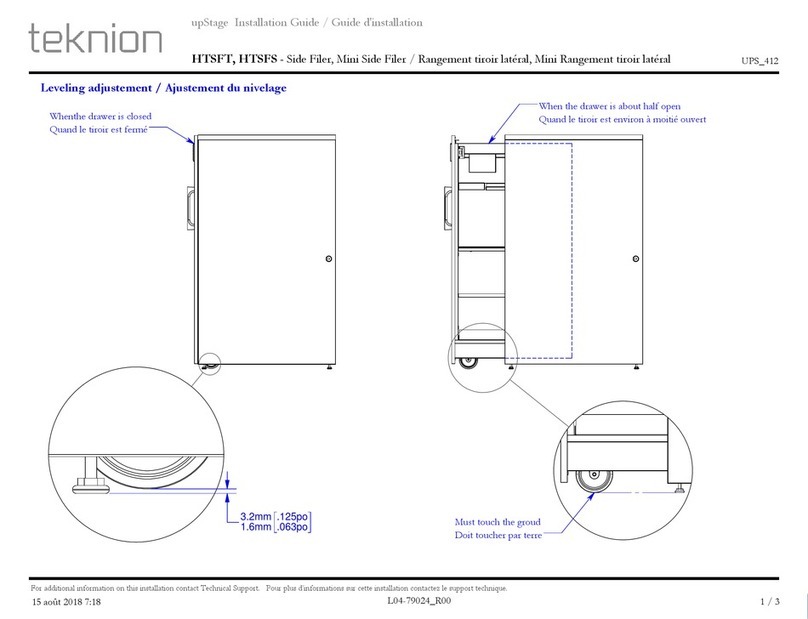
Beginning Work Table (WWTWB) Part and Product Identification
Section:
Description: Page No:
Date:
Rev. No: 1
WORK TABLE BEGINNING. MIDDLE, FINISH WITH STRAIGHT AND ANGLED LEGS
TABLES
Jan 2018 1 of 19
INT_504a
interpret
Installation Guides
AC2
AC1
AI
Beginning Table
Worksurface with cut-out shown
as example
AL1
AF
AH
AD1
AG
AA2
AA1
AC3
AL1 - Worksurface for Beginning
Table with Cut-out
(C05-7490) x 1
OR
AL2 - Worksurface for Beginning
Table without Cut-out
(C05-7356) x 1
AG -Center Spacer
(A16-1652) x1
AJ -1/4-20x5/8
Mach. Screw
(E01-0098) x4
AH -Mid Gable
Center Spacer
(A16-1652) x1
AI -Flush Plate
(A15-6948) x1
AK -#10 x .875" LG.
Quad Pan Screw
(E07-0077) x4
AA1 - End Leg
Assy Straight
(N02-1934) x2
AA2 - Leveler Cover
(A23-3670) x4
or
AB1 -End Leg Assy
Angled
(N02-1996) x2
AB2 -Leveler Cover
(A23-3822) x4
AD3 - 5/16-18 Hex
Nut 1/2 A/F
.265 Thick
(E01-0755) x16
AD1 - Transverse
Beam Sub-Assy
(N02-1935) x4
AD2 - 5/16-18x2.5 Soc.
Head Cap Screw
(E01-0756) x
AE -1/4-20 x 3 -1/2
Flat Hd, Mach Sc.
(E01-0771) x4
AF - Front Standoff
(B02-0381)x2 or 4
AC1 - Mid Gable
Assembly
(N02-2053) x1
AC2 - Leveler Cover
(A23-3670) x2
AC3 - End Cap
(B02-0389) x3
Pre assembled
OR
AL3 - Worksurface for Beginning
Table with CALA Cut-out
(C07-2519) x 1
Middle Work Table (WWTWM) Part and Product Identification
Section:
Description: Page No:
Date:
Rev. No: 1
WORK TABLE BEGINNING. MIDDLE, FINISH WITH STRAIGHT AND ANGLED LEGS
TABLES
Jan 2018 2 of 19
INT_504a
interpret
Installation Guides
BA2
Middle Table
Worksurface with cut-out shown
as example
BE -1/4-20x5/8
Mach. Screw
(E01-0098) x2
BG
BB3 - 5/16-18 Hex
Nut 1/2 A/F
.265 Thick
(E01-0755) x16
BB1 - Transverse Beam
Sub-Assembly
(N02-1935) x2
BB2 - 5/16-18x2.5 Soc.
Head Cap Screw
(E01-0756) x16
BF - Front Standoff
(B02-0381)x2 or 4
BD
BA1 - Mid Gable
Assembly
(N02-2053) x1
BA2 - Leveler Cover
(A23-3670) x2
BA3 - End Cap
(B02-0389) x2
BD -Mid Gable Center
Spacer (A16-1652) x1
BC -1/4-20 x 3 -1/2
Flat Hd, Mach Sc.
(E01-0771) x4
BG -Flush Plate
(A15-6948) x2
BH -#10 x .875" LG.
Quad Pan Screw
(E07-0077) x8
BI1 - Worksurface for Middle
Table with Cut-out
(C05-7496) x 1
OR
BI2 - Worksurface for Middle
Table without Cut-out
(C05-7495) x 1
BI1
BF
BB1
BA1
Pre assembled
BA3
OR
BI3 - Worksurface for Middle
Table with CALA Cut-out
(C07-2501) x 1
Finish Work Table (WWTWF) Part and Product Identification
Section:
Description: Page No:
Date:
Rev. No: 1
WORK TABLE BEGINNING. MIDDLE, FINISH WITH STRAIGHT AND ANGLED LEGS
TABLES
Jan 2018 3 of 19
INT_504a
interpret
Installation Guides
CA2
CH
Finish Table
Worksurface with cut-out shown
as example
CJ1 - Worksurface for Finish
Table with Cut-out
(C05-7740) x 1
OR
CJ2 - Worksurface for Finish
Table without Cut-out
(C05-7739) x 1
CF -Center Spacer
(A16-1652) x1
CG -1/4-20x5/8
Mach. Screw
(E01-0098) x2
CH -Flush Plate
(A15-6948) x 1
CI -#10 x .875" LG.
Quad Pan Screw
(E07-0077) x4
CJ1
CA1 - End Leg Assy
Straight
(N02-1934) x2
CA2 - Leveler Cover
(A23-3670) x4
or
CB1 -End Leg Assy
Angled
(N02-1996) x2
CB2 -Leveler Cover
(A23-3822) x4
CC3 - 5/16-18 Hex
Nut 1/2 A/F
.265 Thick
(E01-0755) x16
CC1 - Transverse Beam
Sub-Assembly
(N02-1935) x4
CC2 - 5/16-18x2.5 Soc.
Head Cap Screw
(E01-0756) x16
CD -1/4-20 x 3 -1/2
Flat Hd, Mach Sc.
(E01-0771) x4
CE - Front Standoff
(B02-0381)x2 or 4
CE
CC1
CA1
CF
Pre assembled
OR
CJ3 - Worksurface for Finish
Table with CALA Cut-out
(C07-2513) x 1
Section:
Description: Page No:
Date:
REMOVE MOUNTING NUTS AND SCREWS
Jan 2018 4 of 19
INT_504a
WORK TABLE BEGINNING. MIDDLE, FINISH WITH STRAIGHT AND ANGLED LEGS
TABLES
interpret
Installation Guides
STEP 1: Remove Nuts and Screws as shown on illustration. Save for future installation.
Do Not
Remove
Do Not Remove
AD3
AD2
AD1
AD1
AD2
AD3
End Gable
Connection
Mid Gable
Connection
End Gable
Connection
Mid Gable
Connection
Section:
Description: Page No:
Date:
DETAIL
Jan 2018 5 of 19
INT_504a
WORK TABLE BEGINNING. MIDDLE, FINISH WITH STRAIGHT AND ANGLED LEGS
TABLES
interpret
Installation Guides
END GABLE CONNECTION MID GABLE CONNECTION
Section:
Description: Page No:
Date:
CONNECT GABLE AND BEAMS SECURE WITH FASTENERS
INT_504a
6 of 19
Jan 2018
WORK TABLE BEGINNING. MIDDLE, FINISH WITH STRAIGHT AND ANGLED LEGS
TABLES
interpret
Installation Guides
AA1
AC1AD1
End Gable
Connection
Mid Gable
Connection
AD2
AD3
AF
(Side View)
AD1
DO NOT
TIGHTEN
STEP 2: Bring End Gable, Mid Gable and Transverse Beam Assembly together. Line up the set
of holes on the top of Gable Cross Beams with Clamp Brackets holes.
STEP 3: Fasten together using Socket Cap Screw and Nuts. Level and square the whole
assembly. Tighten Screws and Nuts.
Section:
Description: Page No:
Date:
REMOVE MOUNTING NUTS, SCREWS AND CLAMP FOR MID GABLE INSTALLATION
Jan 2018 7 of 19
INT_504a
WORK TABLE BEGINNING. MIDDLE, FINISH WITH STRAIGHT AND ANGLED LEGS
TABLES
interpret
Installation Guides
STEP 4: Remove Nuts and Screws as shown on Illustration. Save for future installation.
Do Not Remove
BB3
BB2 BB1
BB1
BB2
BB3
Clamp to be
removed and
repositioned to
Mid Gable Position
End Gable
Connection.
(To be Removed and
Repositioned to Mid Gable Position)
Mid Gable
Connection
End Gable
Connection.
(To be Removed and
Repositioned to Mid Gable Position)
Mid Gable
Connection
Section:
Description: Page No:
Date:
DETAIL
Jan 2018 8 of 19
INT_504a
WORK TABLE BEGINNING. MIDDLE, FINISH WITH STRAIGHT AND ANGLED LEGS
TABLES
interpret
Installation Guides
MID GABLE CONNECTION MID GABLE CONNECTION
Refer to highlighted hole
to fasten Clamps for Mid
Gable Position.
BEFORE CLAMP REMOVAL
AFTER CLAMP REMOVAL
Section:
Description: Page No:
Date:
CONNECT MID GABLE AND BEAMS SECURE WITH FASTENERS
INT_504a
9 of 19
Jan 2018
WORK TABLE BEGINNING. MIDDLE, FINISH WITH STRAIGHT AND ANGLED LEGS
TABLES
interpret
Installation Guides
STEP 5: Bring Mid Gables and Transverse Beam Assembly together. Line up the set of holes
on the top of Gable Cross Beams with Clamp Brackets holes.
BB1
BA1
Mid Gable Connection
AC1
Mid Gable Connection
STEP 6: Fasten together using Socket Cap Screw and Nuts. Level and square the whole
assembly. Tighten Screws and Nuts.
BB2
BF
BB3
BB1
AC1
BA1
Section:
Description: Page No:
Date:
REMOVE MOUNTING NUTS AND SCREWS
Jan 2018 10 of 19
INT_504a
WORK TABLE BEGINNING. MIDDLE, FINISH WITH STRAIGHT AND ANGLED LEGS
TABLES
interpret
Installation Guides
STEP 7: Remove Nuts and Screws as shown on Illustration. Save for future installation.
Do Not
Remove
Do Not Remove
CC3
CC2
CC1
CC1
CC2
CC3
Mid Gable
Connection
End
Gable Connection
Mid Gable
Connection
End
Gable Connection
STEP 7: Remove Nuts and Screws as shown on Illustration. Save for future installation.
Section:
Description: Page No:
Date:
DETAIL
Jan 2018 11 of 19
INT_504a
WORK TABLE BEGINNING. MIDDLE, FINISH WITH STRAIGHT AND ANGLED LEGS
TABLES
interpret
Installation Guides
END GABLE CONNECTIONMIDDLE GABLE CONNECTION
Section:
Description: Page No:
Date:
CONNECT MID GABLE AND BEAMS SECURE WITH FASTENERS
INT_504a
12 of 19
Jan 2018
WORK TABLE BEGINNING. MIDDLE, FINISH WITH STRAIGHT AND ANGLED LEGS
TABLES
interpret
Installation Guides
STEP 8: Bring End Gable, Mid Gable and Transverse Beam Assembly together. Line up the set
of holes on the top of Gable Cross Beams with Clamp Brackets holes.
CC1
CA1
Mid Gable
Connection
End Gable
Connection
BA1
Mid Gable
Connection
End Gable
Connection
CC1
STEP 9: Fasten together using Socket Cap Screw and Nuts.
CC2
CE
CC3
CC1
STEP 9: Fasten together using Socket Cap Screw and Nuts.
CC2
CE
CC3
CC1
CA1
BA1
Section:
Description: Page No:
Date:
LEVEL ASSEMBLY AND INSTALL LEVELER COVERS
Jan 2018 13 of 19
INT_504a
WORK TABLE BEGINNING. MIDDLE, FINISH WITH STRAIGHT AND ANGLED LEGS
TABLES
interpret
Installation Guides
AA2
AC2
BA2
CA2
Use string to
align holes
STEP 10: Level and square the whole assembly. Tighten Screws and Nuts. Carefully lift the frame and install Leveler Covers.
Section:
Description: Page No:
Date:
INSTALL SPACERS
Jan 2018 14 of 19
INT_504a
WORK TABLE BEGINNING. MIDDLE, FINISH WITH STRAIGHT AND ANGLED LEGS
TABLES
interpret
Installation Guides
BE
BD CJ1
Middle Worksurface
Beginning Worksurface
Finnish Worksurface
AJ
AG
AL1
CG
CF
BI1
AJ
AH
STEP 11: Install Spacers to underside of Worksurface.
Section:
Description: Page No:
Date:
LOWER BEGINNING WORKSURFACE TO BEGINNING FRAME
Jan 2018 15 of 19
INT_504a
WORK TABLE BEGINNING. MIDDLE, FINISH WITH STRAIGHT AND ANGLED LEGS
TABLES
interpret
Installation Guides
STEP 12: Lower Beginning Worksurface onto Beginning Frame. Make sure Spacer rests on Gable
Underside View
AE
Mid Gable
AL1
(Beginning Worksurface)
Pilot hole to
be used for End
Gable Connection
Pilot hole to
be used for Mid
Gable Connection
STEP 12: Lower Beginning Worksurface onto Beginning Frame. Make sure Spacer rests on Gable
Section:
Description: Page No:
Date:
LOWER MIDDLE WORKSURFACE TO MIDDLE FRAME
Jan 2018 16 of 19
INT_504a
WORK TABLE BEGINNING. MIDDLE, FINISH WITH STRAIGHT AND ANGLED LEGS
TABLES
interpret
Installation Guides
STEP 13: Lower Middle Worksurface onto Middle Frame. Make sure Spacer Make sure Spacer rests on Gable.
Underside View
BI1
(Middle Worksurface)
Mid Gable
BC
BE
Pilot hole to
be used for
Mid Gable
Connection
BC
BE
Section:
Description: Page No:
Date:
LOWER FINISH WORKSURFACE TO FINISH FRAME
Jan 2018 17 of 19
INT_504a
WORK TABLE BEGINNING. MIDDLE, FINISH WITH STRAIGHT AND ANGLED LEGS
TABLES
interpret
Installation Guides
STEP 14: Lower Finish Worksurface onto Finish Frame. Make sure Spacer rests on Gable.
Underside View
CD
Mid
Gable
CJ1
(Finish Worksurface)
CG
Pilot hole to
be used for End
Gable Connection
Pilot hole to
be used for Mid
Gable Connection
CA1
CA1
STEP 14: Lower Finish Worksurface onto Finish Frame. Make sure Spacer rests on Gable.
Section:
Description: Page No:
Date:
INSTALL FLUSH PLATE
Jan 2018 18 of 19
INT_504a
WORK TABLE BEGINNING. MIDDLE, FINISH WITH STRAIGHT AND ANGLED LEGS
TABLES
interpret
Installation Guides
Underside View
AI
BG
BG
CH
AL1
BI1
CJ1
STEP 15: Install Flush Plate to underside of Worksurface.
Section:
Description: Page No:
Date:
INSERT END CAPS
Jan 2018 19 of 19
INT_504a
WORK TABLE BEGINNING. MIDDLE, FINISH WITH STRAIGHT AND ANGLED LEGS
TABLES
interpret
Installation Guides
Underside View
AC3
BA3
AC3
BA3
STEP 16: Insert End Caps making sure "doors" swing sidewise.

Other Teknion Indoor Furnishing manuals

Teknion NUOVA CONTESSA Owner's manual

Teknion

Teknion NUOVA CONTESSA Owner's manual

Teknion nuova contessa Owner's manual

Teknion

Teknion nuova contessa Owner's manual
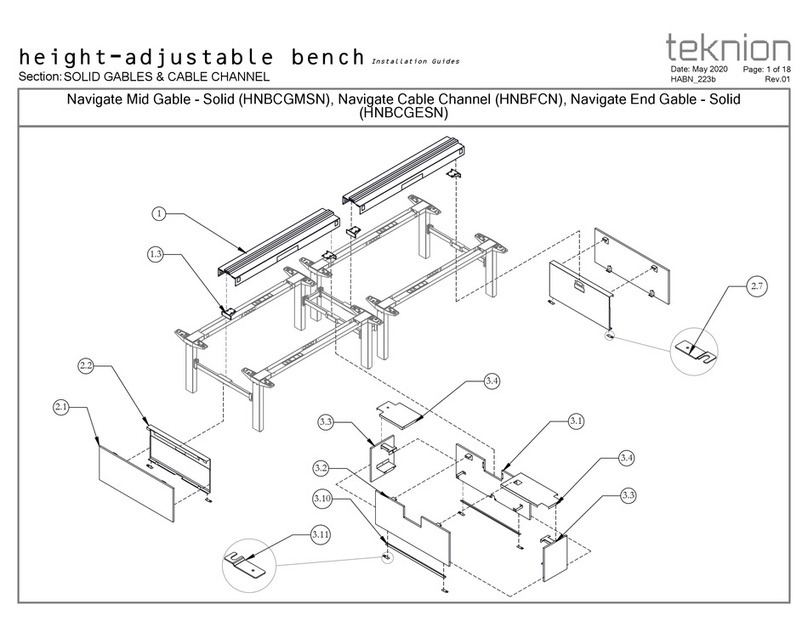
Teknion Navigate Mid Gable-Solid Operating and maintenance instructions
Teknion

Teknion Navigate Mid Gable-Solid Operating and maintenance instructions

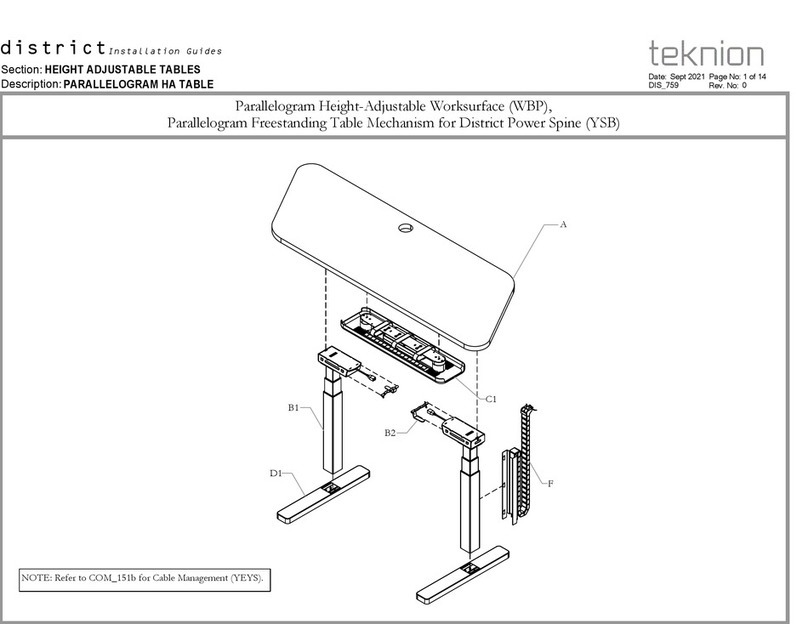
Teknion district WBP User manual

Teknion

Teknion district WBP User manual
Teknion B WPA Series User manual

Teknion

Teknion B WPA Series User manual
Teknion HTWB User manual

Teknion

Teknion HTWB User manual
Teknion Navigate Single-Sided Frame HNBFNZ User manual

Teknion

Teknion Navigate Single-Sided Frame HNBFNZ User manual

Teknion Livello User manual

Teknion

Teknion Livello User manual
Teknion Complements hiSpace YSX Height-Adjustable Freestanding... Operating and maintenance instructions

Teknion

Teknion Complements hiSpace YSX Height-Adjustable Freestanding... Operating and maintenance instructions

Teknion CJDG User manual

Teknion

Teknion CJDG User manual

Teknion Interpret User manual

Teknion

Teknion Interpret User manual
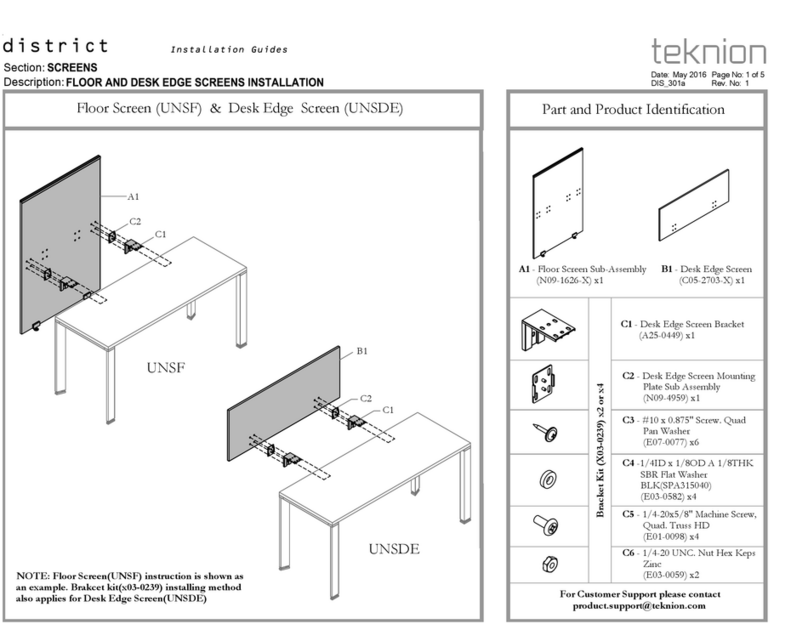
Teknion UNSF User manual

Teknion

Teknion UNSF User manual
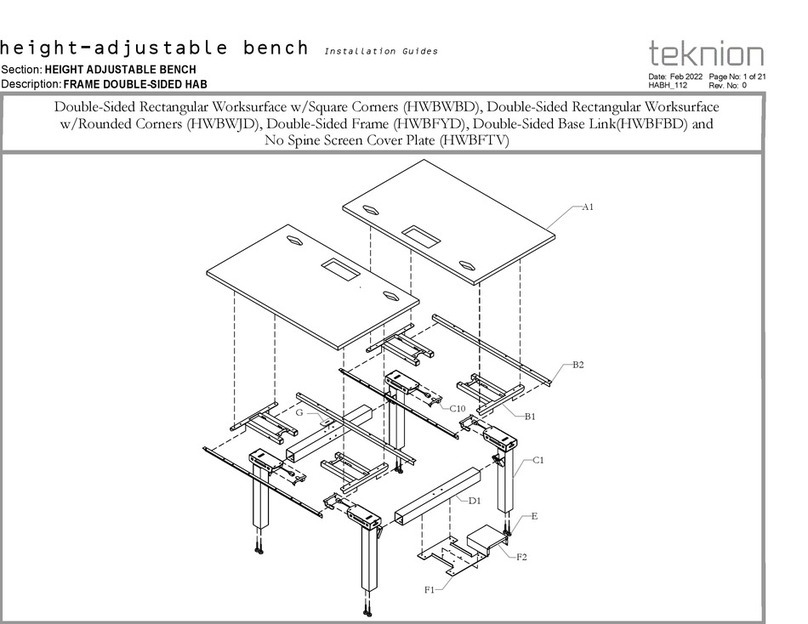
Teknion HWBWBD User manual

Teknion

Teknion HWBWBD User manual

Teknion hiSpace User manual

Teknion

Teknion hiSpace User manual
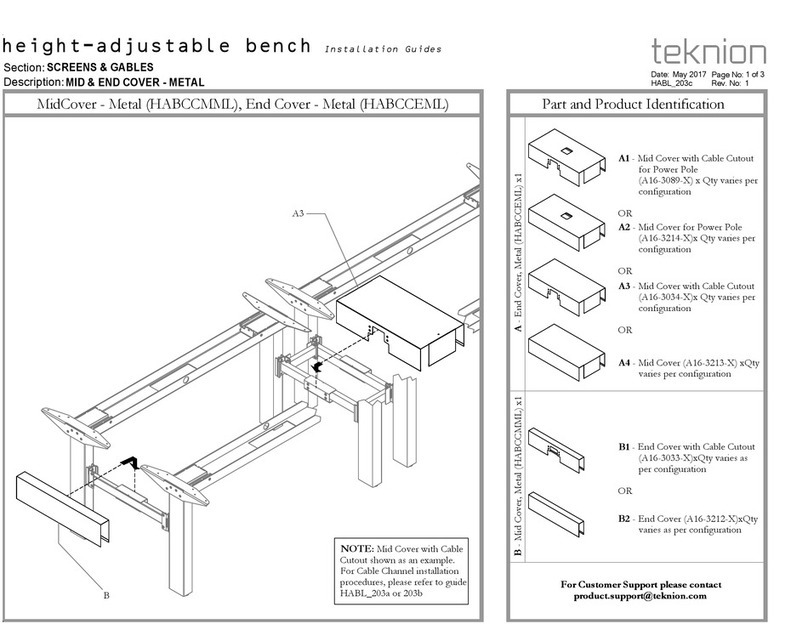
Teknion HABCCMML Operating and maintenance instructions

Teknion

Teknion HABCCMML Operating and maintenance instructions

Teknion Interpret User manual

Teknion

Teknion Interpret User manual
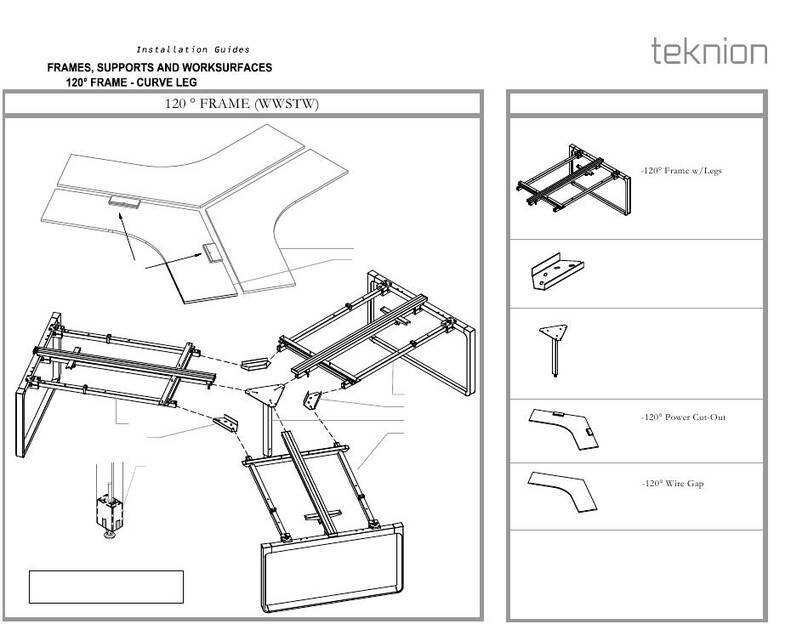
Teknion interpret 120 FRAME CURVE LEG WWSTW User manual
Teknion

Teknion interpret 120 FRAME CURVE LEG WWSTW User manual

Teknion hiSpace User manual

Teknion

Teknion hiSpace User manual
Teknion Complements User manual

Teknion

Teknion Complements User manual

Teknion Interpret Operating and maintenance instructions

Teknion

Teknion Interpret Operating and maintenance instructions

Teknion Savera Owner's manual

Teknion

Teknion Savera Owner's manual

Teknion Interpret User manual

Teknion

Teknion Interpret User manual

Teknion Leverage User manual

Teknion

Teknion Leverage User manual

Teknion HTSFT User manual

Teknion

Teknion HTSFT User manual

Popular Indoor Furnishing manuals by other brands

Great Little Trading Book Cart, Dinosaur quick start guide
Great Little Trading

Great Little Trading Book Cart, Dinosaur quick start guide

PRAKTIK TC-1995 Instructions for installation
PRAKTIK

PRAKTIK TC-1995 Instructions for installation

IKEA KARLBY 903.694.23 manual

IKEA

IKEA KARLBY 903.694.23 manual

FEZIBO MA01-01 quick start guide

FEZIBO

FEZIBO MA01-01 quick start guide
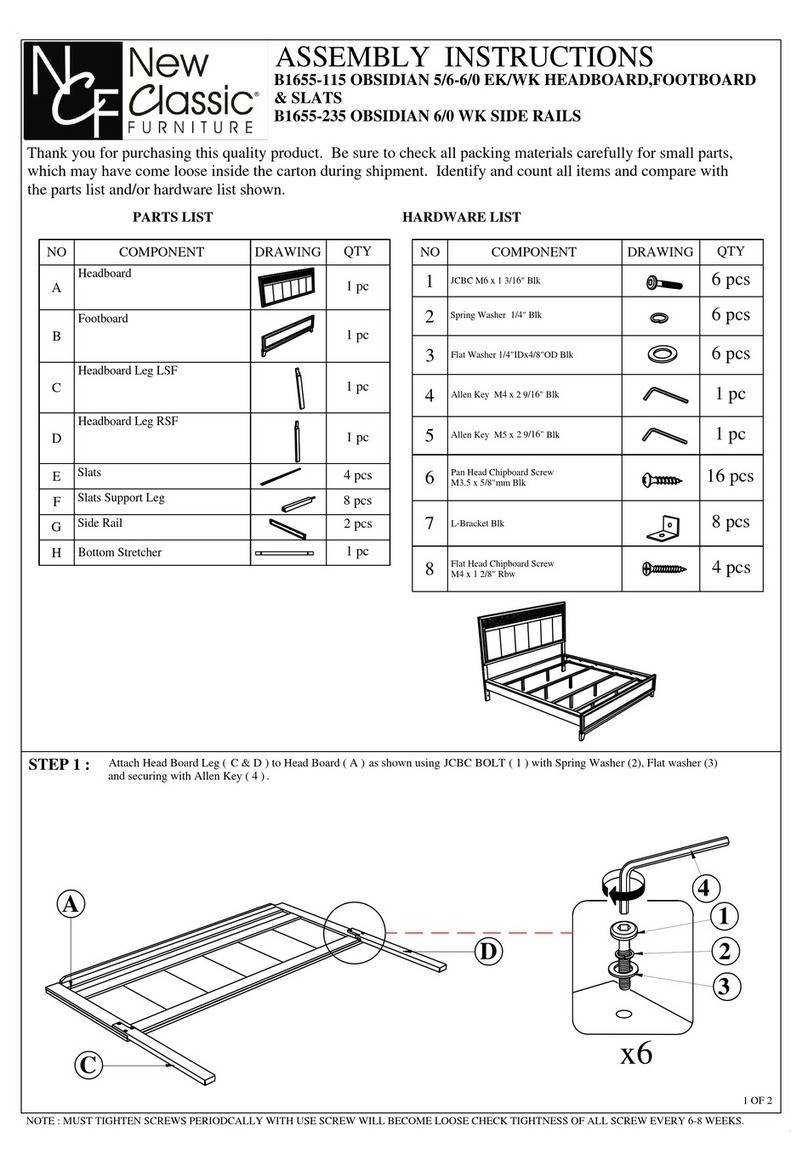
New Classic Furniture OBSIDIAN B1655-115 Assembly instructions
New Classic Furniture

New Classic Furniture OBSIDIAN B1655-115 Assembly instructions

smirthwaite FOXDENTON 8011 Instructions for use

smirthwaite

smirthwaite FOXDENTON 8011 Instructions for use

Vivo DESK-EV47TB instruction manual

Vivo

Vivo DESK-EV47TB instruction manual

Rauch M1225 Assembly instructions

Rauch

Rauch M1225 Assembly instructions

Crate&Barrel Odin Assembly manual

Crate&Barrel

Crate&Barrel Odin Assembly manual

Living Spaces LUCY 3002A 3EL Assembly instructions

Living Spaces

Living Spaces LUCY 3002A 3EL Assembly instructions

Diphano Ray instruction manual

Diphano

Diphano Ray instruction manual

STRUCTUBE BELFORT Assembly instructions

STRUCTUBE

STRUCTUBE BELFORT Assembly instructions

Furnika SB19 Assembly instructions

Furnika

Furnika SB19 Assembly instructions

atmosphera AURELL instruction sheet

atmosphera

atmosphera AURELL instruction sheet

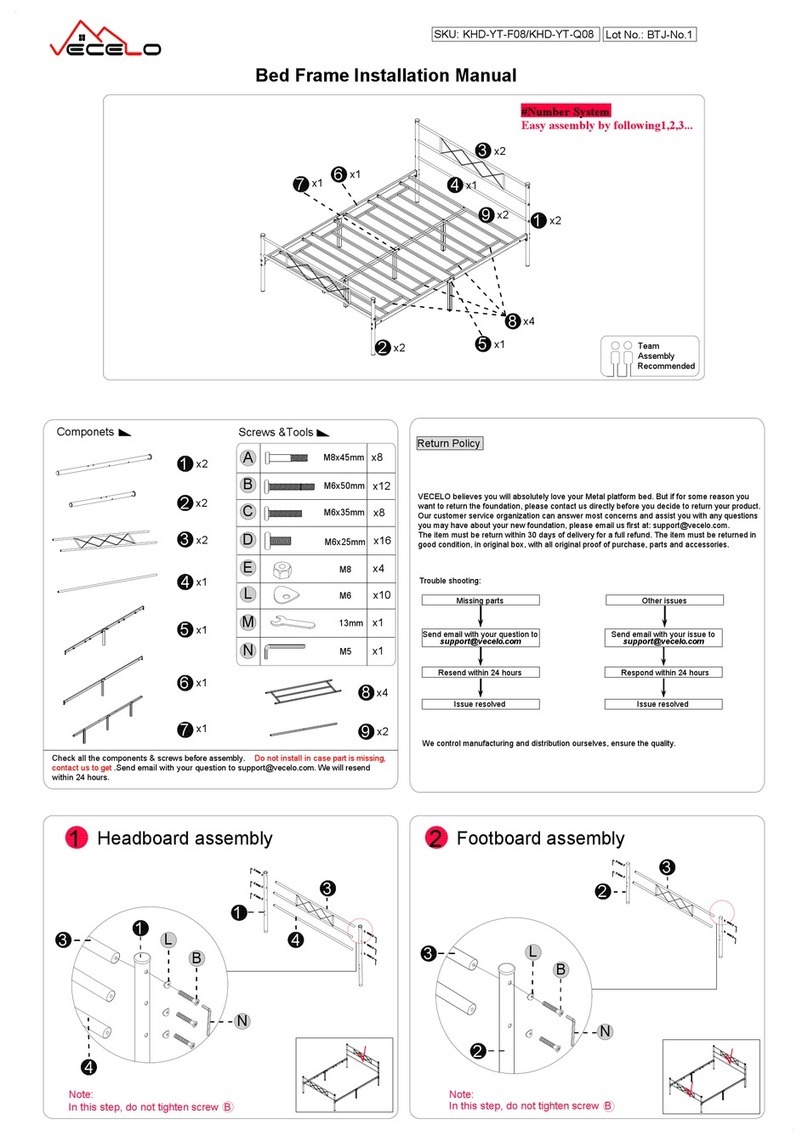
VECELO KHD-YT-F08 installation manual

VECELO

VECELO KHD-YT-F08 installation manual

Manhattan Comfort Mulberry manual

Manhattan Comfort

Manhattan Comfort Mulberry manual

TCC BELITE operating instructions

TCC

TCC BELITE operating instructions

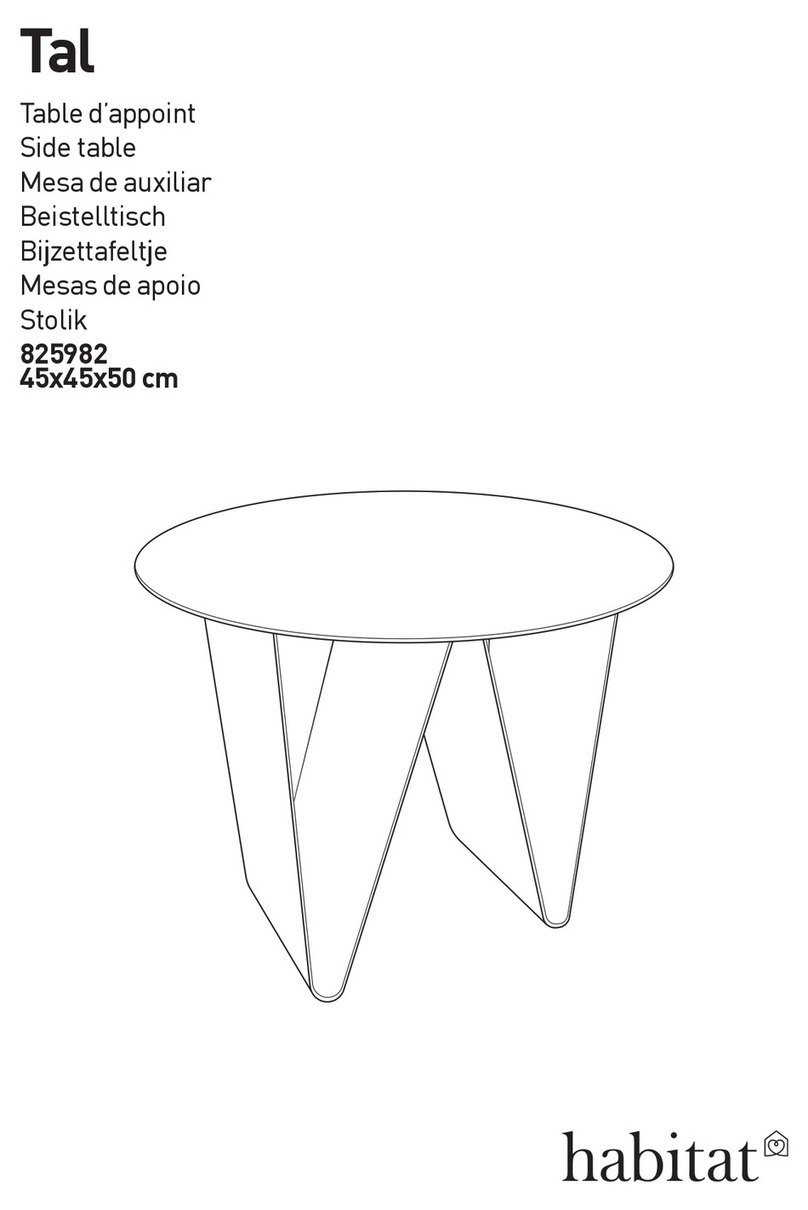
Habitat Tal 825982 manual

Habitat

Habitat Tal 825982 manual

manuals.online logo
manuals.online logoBrands
  • About & Mission
  • Contact us
  • Privacy Policy
  • Terms and Conditions

Copyright 2025 Manuals.Online. All Rights Reserved.