manuals.online logo
Brands
  1. Home
  2. •
  3. Brands
  4. •
  5. Teknion
  6. •
  7. Indoor Furnishing
  8. •
  9. Teknion HWBWBD User manual

Teknion HWBWBD User manual

Double-Sided Rectangular Worksurface w/Square Corners (HWBWBD), Double-Sided Rectangular Worksurface
w/Rounded Corners (HWBWJD), Double-Sided Frame (HWBFYD), Double-Sided Base Link(HWBFBD) and
No Spine Screen Cover Plate (HWBFTV)
Section:
Description: Page No:
Date:
Rev. No: 0
FRAME DOUBLE-SIDED HAB
HEIGHT ADJUSTABLE BENCH
Feb 2022 1 of 21
HABH_112
height-adjustable bench
Installation Guides
A1
B2
B1
C1
C10
D1
E
F1
F2
G
Part and Product Identification
Section:
Description: Page No:
Date:
Rev. No: 0
FRAME DOUBLE-SIDED HAB
HEIGHT ADJUSTABLE BENCH
Feb 2022 2 of 21
HABH_112
height-adjustable bench
Installation Guides
A - Worksurface
A1 - Double-Sided
Worksurface
(HWBWBD) x1
OR
A2 - Double-Sided Worksurface
w/Radius Corners
(HWBWJD) x1
B - Worksurface Frame
(N01-5703-X) x2
B1 - Leg Mount Bracket
(N09-9873-X) x4
B2 - Reinforcement Bar for
Worksurface
(A16-9104) x4
B4 - #10 x 0.875" LG. Screw,
Quad.Pan Washer
(E07-0077) x56
C - Leg Kit Bifma Range
(N01-5918) x2
C1 - Leg L/R
(N01-4852) x4
C2 - Keypad,
hiSpace Table
(D06-4276) x2
C4 -Right- Angle
Connector
Cable, 1m Lg
(D06-4277) x4
C5 - Cable Clamp
(B02-0558) x20
C6 -5x25mm
Wood Screw
(E01-1415) x4
C7 -3x20mm
Wood Screw
(E01-1416) x6
C3 - Control Box
w/Anti Collision
(D06-4275) x2
C8 -3.5x15mm
Wood Screw
(E01-1417) x20
C9 -3m Power
Cord
(D06-4136) x2
C10 -Cam Handle
(N09-9814) x4
D - Frame Connecting
Kit, DS (X01-4011-X)
D1 -Frame Connecting Tube
Assm. DS
(N01-4877-X) x2
D2 -M8x25mm
Flat SHS
(E01-1410) x4
E -Leveler, M6 x 54mm Long
(D06-4291) x8
B3 - Worksurface Installation
Alignment Kit
(HWBWJD) x1
F3 - M6 x 16mm Screw
(E01-1409) x4
F - Double-Sided
Base Link
(HWBFBD) x1
F2 - Base Link Cover
(a16-8726) x4
F1 - Base Link
(A16-8730) x1
G - No Spine Screen Cover Plate
(HWBFTV) x1
Double-Sided Frame (HWBFYD) x1
STEP 2: Attach the Leg Mount Brackets to both Worksurfaces and secure with provided
screws.
STEP 1: Place both Worksurfaces upside down on the ground with pilot holes facing up and
align with eachother as shown.
Section:
Description: Page No:
Date:
PLACE AND ALIGN WORKSURFACES ATTACH LEG MOUNT BRACKETS
HABH_112
3 of 21
Feb 2022
FRAME DOUBLE-SIDED HAB
HEIGHT ADJUSTABLE BENCH
height-adjustable bench
Installation Guides
A1
B1
B4
NOTE: Do not over tighten
NOTE: Worksurfaces upside down
Section:
Description: Page No:
Date:
ATTACH REINFORCEMENT BARS
Feb 2022 4 of 21
HABH_112
FRAME DOUBLE-SIDED HAB
HEIGHT ADJUSTABLE BENCH
height-adjustable bench
Installation Guides
STEP 3: Attach the Reinforcement Bars to the Worksurfaces and secure in place with provided screws.
B2
B4
NOTE: Do not over tighten
STEP 5: Push Legs towards the outer side of each Worksurface.STEP 4: Attach Legs to the Leg Mounts by lining up with holes. Brackets should face towards
the back of each Worksurface.
Section:
Description: Page No:
Date:
ATTACH LEGS TO BRACKET SECURE LEGS - 1
HABH_112
5 of 21
Feb 2022
FRAME DOUBLE-SIDED HAB
HEIGHT ADJUSTABLE BENCH
height-adjustable bench
Installation Guides
NOTE: Make sure
brackets are facing towards
each other as shown here.
C1
STEP 7: Insert Pins as shown to lock Cam Handles and secure Legs.STEP 6: Install Cam Handles into Brackets and turn towards Leg to lock.
Section:
Description: Page No:
Date:
SECURE LEGS TO BRACKET - 2 SECURE LEGS TO BRACKET - 3
HABH_112
6 of 21
Feb 2022
FRAME DOUBLE-SIDED HAB
HEIGHT ADJUSTABLE BENCH
height-adjustable bench
Installation Guides
C10
Section:
Description: Page No:
Date:
ATTACH LEVELERS TO LEGS
Feb 2022 7 of 21
HABH_112
FRAME DOUBLE-SIDED HAB
HEIGHT ADJUSTABLE BENCH
height-adjustable bench
Installation Guides
STEP 8: Attach Levelers to Legs as shown. Fasten by rotating clockwise.
E
STEP 10: Place the alignment brackets as shown.STEP 9: Attach the Frame Connecting Tube to the Brackets on the Leg Assembly.
Section:
Description: Page No:
Date:
ATTACH CONNECTING TUBES INSERT ALIGNMENT KIT
HABH_112
8 of 21
Feb 2022
FRAME DOUBLE-SIDED HAB
HEIGHT ADJUSTABLE BENCH
height-adjustable bench
Installation Guides
NOTE: Connecting Tubes
should have holes facing
each other as shown.
D1
B3
STEP 12: Secure the Frame Connecting Tubes.STEP 11: Use the Alignment Brackets to ensure the correct distance between Worksurfaces.
Section:
Description: Page No:
Date:
ALIGN BOTH WORKSURFACES SECURE FRAME CONNECTING TUBES
HABH_112
9 of 21
Feb 2022
FRAME DOUBLE-SIDED HAB
HEIGHT ADJUSTABLE BENCH
height-adjustable bench
Installation Guides
3"
3"
NOTE: Make sure the
distance between
Worksurfaces is equal
on both ends.
D2
Section:
Description: Page No:
Date:
CHECK WORKSURFACE ALIGNMENT
Feb 2022 10 of 21
HABH_112
FRAME DOUBLE-SIDED HAB
HEIGHT ADJUSTABLE BENCH
height-adjustable bench
Installation Guides
STEP 13: Ensure the Space between Worksurfaces (X) remains equal throughout and that the sides of both worksurfaces (Y direction) line up. Loosen up screws for adjustment if
necessary.
XY
Section:
Description: Page No:
Date: Feb 2022 11 of 21
HABH_112
FRAME DOUBLE-SIDED HAB
HEIGHT ADJUSTABLE BENCH
height-adjustable bench
Installation Guides
STEP 14: Attach the Control Box to each Worksurface and secure using provided screws. If Felt Cover Cable Organizer is specified refer to guide HABH_317 before installing the Control Box
C3
NOTE: Do not over tighten
C6
NOTE: If Felt Cover Cable Organizer is specified
refer to guide HABH_317 before installing the
Control Box
Section:
Description: Page No:
Date:
ATTACH CONNECTOR
Feb 2022 12 of 21
HABH_112
FRAME DOUBLE-SIDED HAB
HEIGHT ADJUSTABLE BENCH
height-adjustable bench
Installation Guides
STEP 15: Attach Control Boxes to Legs using the Connector Cables as shown.
C1
C4
C4
Section:
Description: Page No:
Date:
ATTACH SWITCHES AND POWER CORD
Feb 2022 13 of 21
HABH_112
FRAME DOUBLE-SIDED HAB
HEIGHT ADJUSTABLE BENCH
height-adjustable bench
Installation Guides
STEP 16: Secure one Keypad to Worksurface and connect it to the appropriate Control Box using attached cable. Attach Power Cords to each Control box.
C2
C7
NOTE: Do not over tighten
C9 C2
NOTE: Only Install one Switch to
avoid damage when flipping the
assembly.
Section:
Description: Page No:
Date:
SECURE LOOSE WIRE
Feb 2022 14 of 21
HABH_112
FRAME DOUBLE-SIDED HAB
HEIGHT ADJUSTABLE BENCH
height-adjustable bench
Installation Guides
STEP 17: Secure loose wire neatly to the Worksurfaces using Cable Clamps.
C8
NOTE: Do not over tighten
C5
Section:
Description: Page No:
Date:
FLIP OVER TABLE
Feb 2022 15 of 21
HABH_112
FRAME DOUBLE-SIDED HAB
HEIGHT ADJUSTABLE BENCH
height-adjustable bench
Installation Guides
STEP 18: Flip over the Table.
NOTE: Please make sure to have at
least two people for this step.
Section:
Description: Page No:
Date:
INSTALL REMAINING SWITCH
Feb 2022 16 of 21
HABH_112
FRAME DOUBLE-SIDED HAB
HEIGHT ADJUSTABLE BENCH
height-adjustable bench
Installation Guides
STEP 19: Please refer to Step 16 and Step 17 to install the remaining switch.
Section:
Description: Page No:
Date:
LINKING ASSEMBLYS: ALIGN WORKSURFACES
Feb 2022 17 of 21
HABH_112
FRAME DOUBLE-SIDED HAB
HEIGHT ADJUSTABLE BENCH
height-adjustable bench
Installation Guides
STEP 20: Bring over 2nd Assembly and Align Worksurfaces so that they are 2" apart.
2"
Section:
Description: Page No:
Date:
ROUGH LEVELING
Feb 2022 18 of 21
HABH_112
FRAME DOUBLE-SIDED HAB
HEIGHT ADJUSTABLE BENCH
height-adjustable bench
Installation Guides
STEP 21: Ensure Bench is level. Rotate Levelers as needed to adjust height. This step will be repeated after Base Link is installed.
NOTE: If the difference in floor elevation
between frames is >1-1/8" they cannot be
linked.
Level
STEP 23: Attach the Base Link Cover to the Base Link and snap in place.STEP 22: Attach Base Link to underside of Frame Connecting Tubes and Secure using
provided screws.
Section:
Description: Page No:
Date:
ATTACH BASE LINK ATTACH BASE LINK COVER
HABH_112
19 of 21
Feb 2022
FRAME DOUBLE-SIDED HAB
HEIGHT ADJUSTABLE BENCH
height-adjustable bench
Installation Guides
NOTE: Worksurfaces are hidden
for the sake of illustration.
F3
F1
F2
Section:
Description: Page No:
Date:
LEVELING BENCH - FINAL ADJUSTMENTS
Feb 2022 20 of 21
HABH_112
FRAME DOUBLE-SIDED HAB
HEIGHT ADJUSTABLE BENCH
height-adjustable bench
Installation Guides
STEP 24: Repeat Step 21 to ensure entire Bench is level for both Width and Depth.
Laser Level
NOTE: It is recommended to use a laser level tool to check
final alignment.
NOTE: The unit must be levelled at the exact location of use.

This manual suits for next models

4

Other Teknion Indoor Furnishing manuals
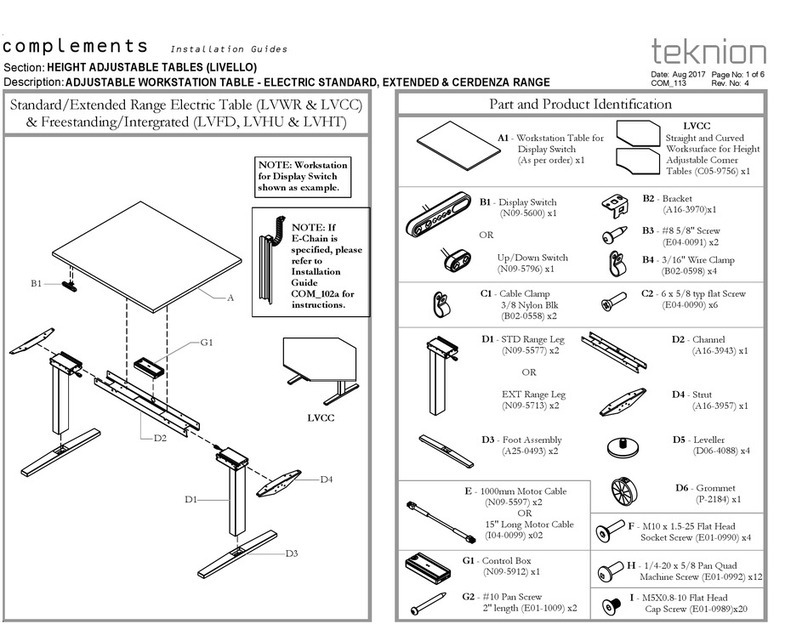
Teknion interpret WWSDC Operating and maintenance instructions
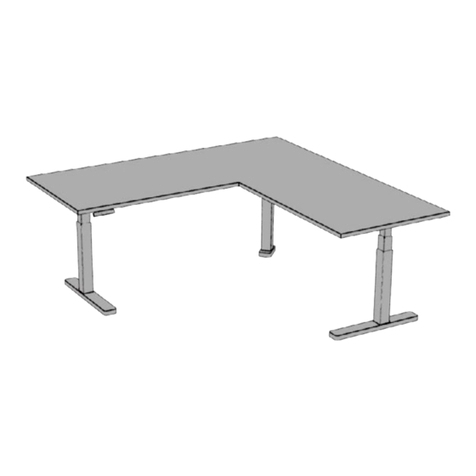
Teknion

Teknion interpret WWSDC Operating and maintenance instructions
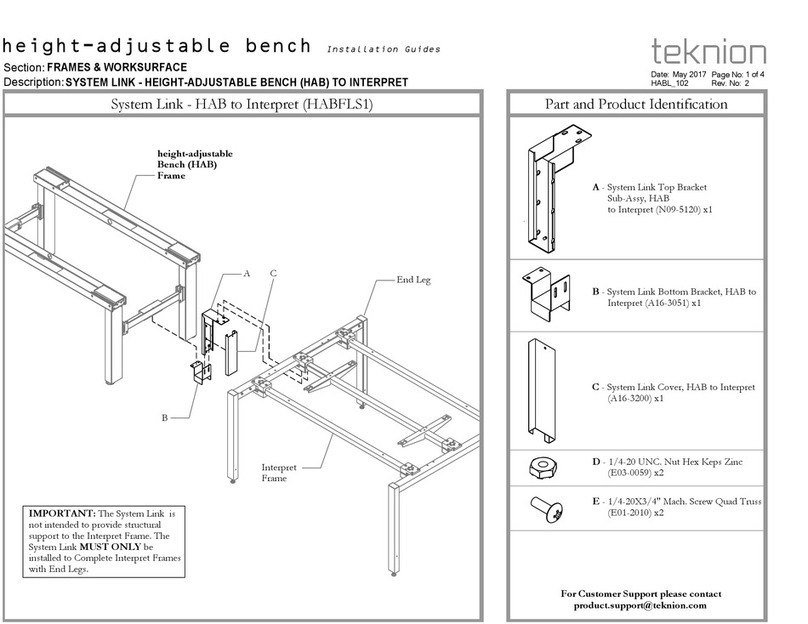
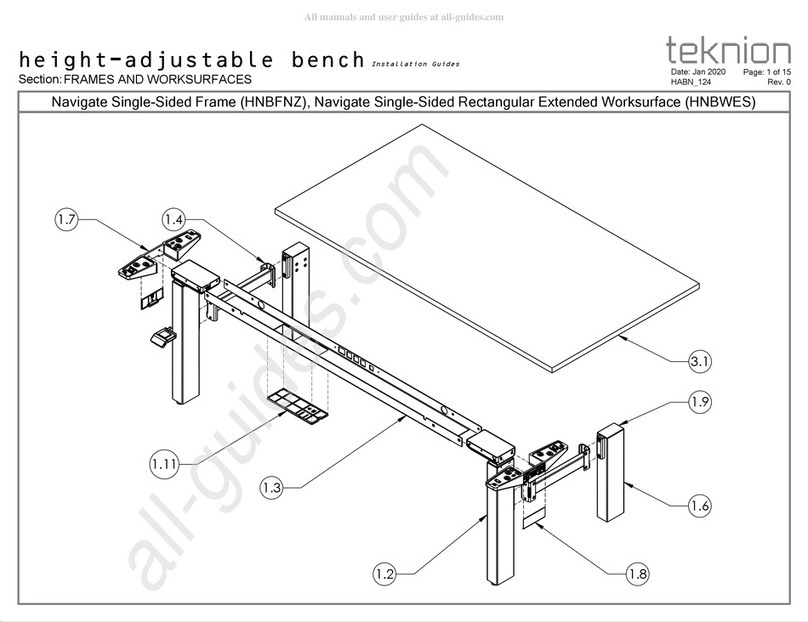
Teknion Navigate Single-Sided Frame HNBFNZ User manual

Teknion

Teknion Navigate Single-Sided Frame HNBFNZ User manual

Teknion Interpret Operating and maintenance instructions
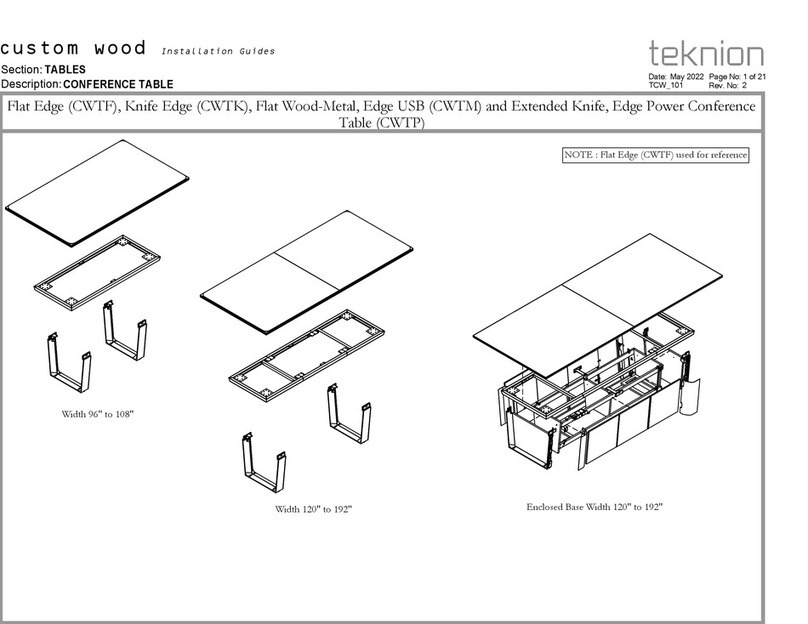
Teknion

Teknion Interpret Operating and maintenance instructions
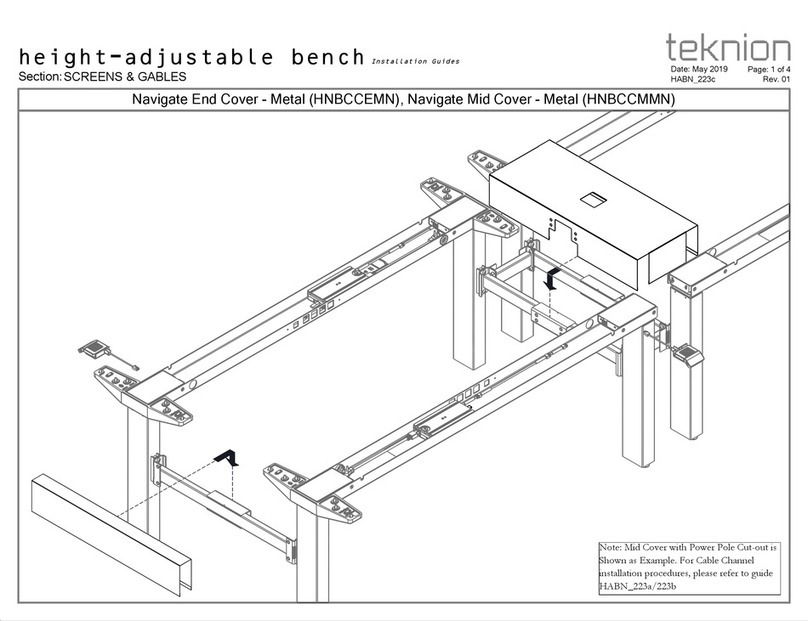
Teknion Interpret Operating and maintenance instructions

Teknion

Teknion Interpret Operating and maintenance instructions
Teknion Complements Series Operating and maintenance instructions

Teknion

Teknion Complements Series Operating and maintenance instructions

Teknion complements LIVELLO Operating and maintenance instructions

Teknion

Teknion complements LIVELLO Operating and maintenance instructions

Teknion Custom wood CWCT Series Operating and maintenance instructions

Teknion

Teknion Custom wood CWCT Series Operating and maintenance instructions

Teknion HABCCMML Operating and maintenance instructions

Teknion

Teknion HABCCMML Operating and maintenance instructions

Teknion NUOVA CONTESSA Owner's manual

Teknion

Teknion NUOVA CONTESSA Owner's manual

Teknion Dossier Operating and maintenance instructions

Teknion

Teknion Dossier Operating and maintenance instructions

Teknion B WPA Series User manual

Teknion

Teknion B WPA Series User manual

Teknion hiSpace User manual

Teknion

Teknion hiSpace User manual

Teknion Dossier Operating and maintenance instructions

Teknion

Teknion Dossier Operating and maintenance instructions

Teknion Transit XM TWBS Operating and maintenance instructions

Teknion

Teknion Transit XM TWBS Operating and maintenance instructions

Teknion NHDS Operating and maintenance instructions

Teknion

Teknion NHDS Operating and maintenance instructions

Teknion HTWB User manual

Teknion

Teknion HTWB User manual

Teknion Interpret Operating and maintenance instructions

Teknion

Teknion Interpret Operating and maintenance instructions

Teknion Interpret User manual

Teknion

Teknion Interpret User manual

Teknion Amicus Owner's manual

Teknion

Teknion Amicus Owner's manual

Teknion Sidewise Series Operating and maintenance instructions

Teknion

Teknion Sidewise Series Operating and maintenance instructions

Teknion BCGRLB User manual

Teknion

Teknion BCGRLB User manual

Teknion COMPLEMENTS NAVIGATE TABLE - ELECTRIC Operating and maintenance instructions

Teknion

Teknion COMPLEMENTS NAVIGATE TABLE - ELECTRIC Operating and maintenance instructions

Teknion Sabrina Owner's manual

Teknion

Teknion Sabrina Owner's manual

Teknion Navigate HNBFNZ Operating and maintenance instructions
Teknion

Teknion Navigate HNBFNZ Operating and maintenance instructions
Popular Indoor Furnishing manuals by other brands

RSA Lighting QCM516SPMH specification

RSA Lighting

RSA Lighting QCM516SPMH specification

BOBOCHIC MESA CENTRO quick start guide

BOBOCHIC

BOBOCHIC MESA CENTRO quick start guide

Habitat Romain 823917 quick start guide

Habitat

Habitat Romain 823917 quick start guide

LDI Spaces Safco E-Z Sort 7749 Assembly instructions

LDI Spaces

LDI Spaces Safco E-Z Sort 7749 Assembly instructions

Kings Brand Furniture ST1726 Assembly instructions

Kings Brand Furniture

Kings Brand Furniture ST1726 Assembly instructions

Bouclair 9397634 Assembly instructions

Bouclair

Bouclair 9397634 Assembly instructions

Hodedah HI 288 Assembly instructions

Hodedah

Hodedah HI 288 Assembly instructions

Uplift Desk ACC036 quick start guide

Uplift Desk

Uplift Desk ACC036 quick start guide

Backyard Creations Shorewood M22105HD Assembly instructions

Backyard Creations

Backyard Creations Shorewood M22105HD Assembly instructions

uplifting Goanna Portable Laptop Tray Setup instructions

uplifting

uplifting Goanna Portable Laptop Tray Setup instructions

HINOMI H1Pro Assembly instruction

HINOMI

HINOMI H1Pro Assembly instruction

U-Line DOWNTOWN H-11107 manual

U-Line

U-Line DOWNTOWN H-11107 manual

Vivo DESK-V000VS instruction manual

Vivo

Vivo DESK-V000VS instruction manual

Monarch Specialties I 3139 Assembly instructions

Monarch Specialties

Monarch Specialties I 3139 Assembly instructions

BLACK RED WHITE MALTA B136-KOM2D2S Assembly

BLACK RED WHITE

BLACK RED WHITE MALTA B136-KOM2D2S Assembly

Office Star Products TEX232 Assembly instructions

Office Star Products

Office Star Products TEX232 Assembly instructions

Safavieh Furniture Takita DSK5703 quick start guide

Safavieh Furniture

Safavieh Furniture Takita DSK5703 quick start guide

Creative Play NURSERY STORYTELLERS CHAIR Assembly instructions

Creative Play

Creative Play NURSERY STORYTELLERS CHAIR Assembly instructions

manuals.online logo
manuals.online logoBrands
  • About & Mission
  • Contact us
  • Privacy Policy
  • Terms and Conditions

Copyright 2025 Manuals.Online. All Rights Reserved.