manuals.online logo
Brands
  1. Home
  2. •
  3. Brands
  4. •
  5. Teknion
  6. •
  7. Indoor Furnishing
  8. •
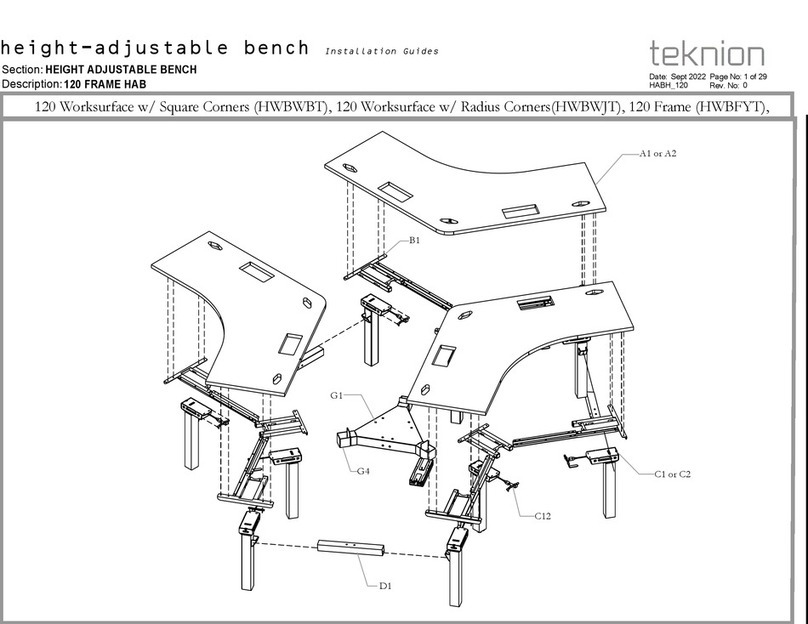
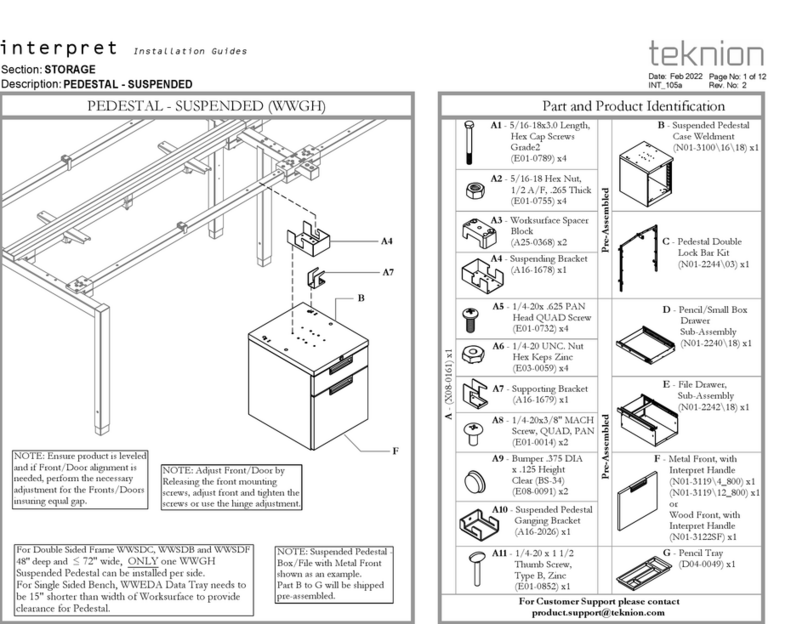
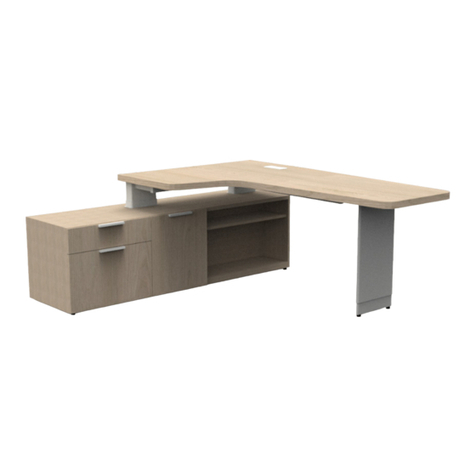
  9. Teknion B WPA Series User manual

Teknion B WPA Series User manual

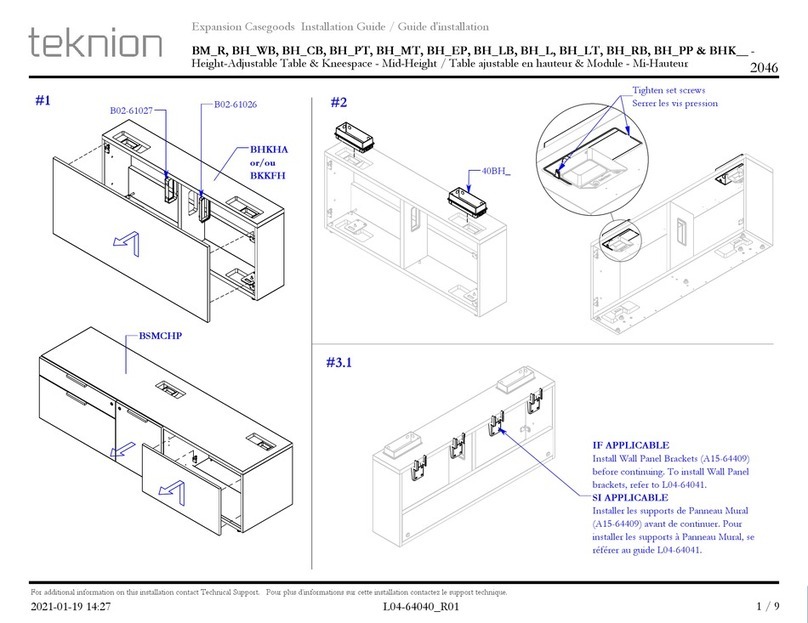
Expansion Casegoods Installation Guide / Guide d'installation
2047
2022-03-01 11:43 L04-64041_R03
Wall Panel (for mid-height products) / Panneau arrière mural (pour produits mi-hauteur)
1 / 11
B_WPA, B_WPM, B_WPL (option K)
For additional information on this installation contact Technical Support. Pour plus d'informations sur cette installation contactez le support technique.
BKWPA BKWPM BKWPL
BKWPAN
BKWPAR
Expansion Casegoods Installation Guide / Guide d'installation
2022-03-01 11:43
B_WPA, B_WPM, B_WPL (option K)
Wall Panel (for mid-height products) / Panneau arrière mural (pour produits mi-hauteur)
2 / 11
L04-64041_R03
2047
For additional information on this installation contact Technical Support. Pour plus d'informations sur cette installation contactez le support technique.
BHKHK
or/ou
BHKFH
1/4-20 x 7/8"
E01-50818
A15-64408
#10 x 7/8"
E07-0077
A15-64409
1To be done during BHK_ installation. Refer to L04-64040 installation guide.
Doit être fait durant l'installation du BHK_. Se référer au guide L04-64040.2
!
Placer les deux supports aux extémités du rangements, mais s'il y a interférence,
ils peuvent être déplacés dans les trous au centre du meuble.
Place the two brackets at the ends of the cabinet, but if there is interference,
they can be moved into the holes in the center of the cabinet.
Expansion Casegoods Installation Guide / Guide d'installation
2022-03-01 11:43
B_WPA, B_WPM, B_WPL (option K)
Wall Panel (for mid-height products) / Panneau arrière mural (pour produits mi-hauteur)
3 / 11
L04-64041_R03
2047
For additional information on this installation contact Technical Support. Pour plus d'informations sur cette installation contactez le support technique.
Storage / Rangement
Another Wall Panel / Autre panneau mural
Left / Gauche
Right / Droit
A15-64448
3 3A
Locking Plate Position according to what is next to it.
Position de la barrure en fonction de ce qui ce retrouve à côté.
A Single Wall Panel
Panneau arrière mural seul
B Next to another Wall Panel
À côté d'un autre panneau arrière mural
C Next to a storage
À côté d'un rangement
Single Wall Panel
Panneau arrière mural seul
402100
#8 x 5/8''
A15-64448
(Left / Gauche)
402100
#8 x 5/8''
A15-64448
(Right / Droit)
Expansion Casegoods Installation Guide / Guide d'installation
2022-03-01 11:43
B_WPA, B_WPM, B_WPL (option K)
Wall Panel (for mid-height products) / Panneau arrière mural (pour produits mi-hauteur)
4 / 11
L04-64041_R03
2047
For additional information on this installation contact Technical Support. Pour plus d'informations sur cette installation contactez le support technique.
Another Wall Panel /
Autre panneau arrière mural
402100
#8 x 5/8''
2mm
402100
#8 x 5/8''
A15-64448
(Right / Droit)
3B Next to another Wall Panel
À côté d’un autre panneau arrière mural
2 Leave a space of about 2mm
between the back of the Wall
Panel and the head of the screw.
Laisser un espace d'environ 2mm
entre le dos du panneau arrière
mural et la tête de la vis.
1Fix the screw in the pilot hole
of the other Wall Panel.
Fixer la vis dans le pré-trou
de l'autre panneau arrière mural.
Do not overtight
Ne pas trop serrer!
402100
#8 x 5/8''
A15-64448
(Left / Gauche)
Expansion Casegoods Installation Guide / Guide d'installation
2022-03-01 11:43
B_WPA, B_WPM, B_WPL (option K)
Wall Panel (for mid-height products) / Panneau arrière mural (pour produits mi-hauteur)
5 / 11
L04-64041_R03
2047
For additional information on this installation contact Technical Support. Pour plus d'informations sur cette installation contactez le support technique.
402100
#8 x 5/8''
3mm
402100
#8 x 5/8''
A15-64448
(Left / Gauche)
3C Next to a storage
À côté d’un rangement
4 Leave a space of about 3mm
between the back of the storage
and the head of the screw.
Laisser un espace d'environ
3mm entre le dos du rangement
et la tête de la vis.
3 Remove the locking plate and
fix the screw.
Retirer la barrure et fixer la vis.
2 Mark the place with a point
where the screw should be
installed.
Marquer d'un point l'endroit
où devra être installée la vis.
1 Use the locking plate as a guide
to find the positioning
of the screw in the back of the
storage. Install the square hole
of the locking plate in line with
the corner of the storage.
Utiliser la barrure comme
guide pour trouver le
positionnement de la vis dans le
dos du rangement. Installer le
trou carré de la barrure en ligne
avec le coin du rangement.
!Do not overtight
Ne pas trop serrer
402100
#8 x 5/8''
A15-64448
(Right / Droit)
Storage / Rangement
Expansion Casegoods Installation Guide / Guide d'installation
2047
2022-03-01 11:43
B_WPA, B_WPM, B_WPL (option K)
Wall Panel (for mid-height products) / Panneau arrière mural (pour produits mi-hauteur)
6 / 11
2047
For additional information on this installation contact Technical Support. Pour plus d'informations sur cette installation contactez le support technique.
L04-64041_R03
#14 x 3/4"
E04-50057
B02-64000
45
BKWPA
BKWPM, BKWPL
NOTE :
Three levelers of different lengths are provided for wall adjustment.
Trois niveleurs de longueurs différentes sont fournis pour l'ajustement au mur.
#14 x 3/4"
E04-50057
B02-64000
#10 x 7/8"
E07-0077 A15-64372
501627
501624
or/ou
501625
or/ou
E02-50166
Expansion Casegoods Installation Guide / Guide d'installation
2022-03-01 11:43
B_WPA, B_WPM, B_WPL (option K)
Wall Panel (for mid-height products) / Panneau arrière mural (pour produits mi-hauteur)
7 / 11
L04-64041_R03
2047
For additional information on this installation contact Technical Support. Pour plus d'informations sur cette installation contactez le support technique.
6BKWPL
BKWPM
or / ou
415109
Murakoshi 17mm 1/4-20
A15-64353+XX+09+09_
Can be installed in both ways
Peut être installé dans les 2 sens
C56-64025+13+XX
E03-50004
E04-50121
#14 x 3"
Expansion Casegoods Installation Guide / Guide d'installation
2022-03-01 11:43
B_WPA, B_WPM, B_WPL (option K)
Wall Panel (for mid-height products) / Panneau arrière mural (pour produits mi-hauteur)
8 / 11
L04-64041_R03
2047
For additional information on this installation contact Technical Support. Pour plus d'informations sur cette installation contactez le support technique.
ATTENTION ! Make sure that module is anchored to the wall prior to Wall
Panel installation. (Ref. L04-64040)
ATTENTION ! Assurez-vous que le module est ancré au mur avant
d'installer le panneau arrière mural. (Ref. L04-64040)
87
E01-50818
1/4-20 x 0.875"
Expansion Casegoods Installation Guide / Guide d'installation
2022-03-01 11:43
B_WPA, B_WPM, B_WPL (option K)
Wall Panel (for mid-height products) / Panneau arrière mural (pour produits mi-hauteur)
9 / 11
L04-64041_R03
2047
For additional information on this installation contact Technical Support. Pour plus d'informations sur cette installation contactez le support technique.
Visser pour barrer
WPA
3 Screw to lock
BK
Wall / Mur
Floor / Sol
N80-64410
Height / Hauteur
66 (1532 mm)
72 (1691mm)
1 Reculer au mur
Back to the wall
2Level the module
Niveler le module
9
Wall / Mur
10
Wall / Mur
BKWPM
BKWPL
* NOTE :
Selection and purchasing of appropriate wall mounting fasteners are the responsability of the installer.
La sélection et l'achat des fixations murales appropriées sont la responsabilité de l'installateur.
BKWPM, BKWPL
Wall / Mur
3Adjust levelers
Ajuster les niveleurs
Find wall studs and position brackets
depending on Wall Panel width.
Trouver les montants du mur et
positionner les supports selon la
largeur du panneau arrière mural.
Provided by the installer *
Fournis par l'installateur *
Expansion Casegoods Installation Guide / Guide d'installation
2022-03-01 11:43
B_WPA, B_WPM, B_WPL (option K)
Wall Panel (for mid-height products) / Panneau arrière mural (pour produits mi-hauteur)
10 / 11
L04-64041_R03
2047
For additional information on this installation contact Technical Support. Pour plus d'informations sur cette installation contactez le support technique.
12
11 BLED - Installation
4
3
2
1
Applicable only if the wall panel is next to another wall panel or a storage.
Applicable seulement si le panneau mural est juxtaposé à un autre panneau mural
ou à un rangement.
BLEDXX0S0A
Self adhesive magnetic plate
Plaque aimantée auto-adhésive
415115
Tighten set screws
Serrer les vis pression
R80-64004
MPA15-E614
A25-64005
Power Cord
Cordon d'alimentation
Another Wall Panel or Storage
Autre panneau mural ou rangement
Expansion Casegoods Installation Guide / Guide d'installation
2022-03-01 11:43
B_WPA, B_WPM, B_WPL (option K)
Wall Panel (for mid-height products) / Panneau arrière mural (pour produits mi-hauteur)
11 / 11
L04-64041_R03
2047
For additional information on this installation contact Technical Support. Pour plus d'informations sur cette installation contactez le support technique.
R80-64004+XX
R80-64003+XX
13

This manual suits for next models

7

Other Teknion Indoor Furnishing manuals
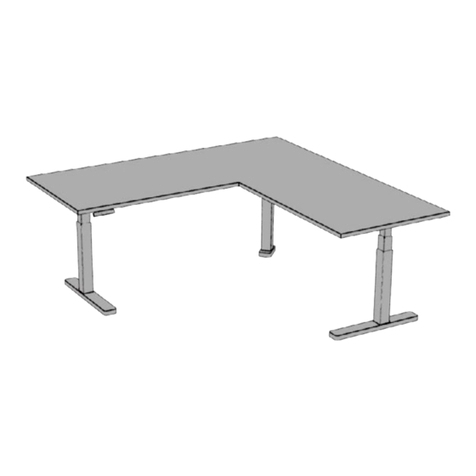
Teknion HNBCCEMS Operating and maintenance instructions

Teknion

Teknion HNBCCEMS Operating and maintenance instructions

Teknion HTWB User manual

Teknion

Teknion HTWB User manual

Teknion district WBP User manual

Teknion

Teknion district WBP User manual

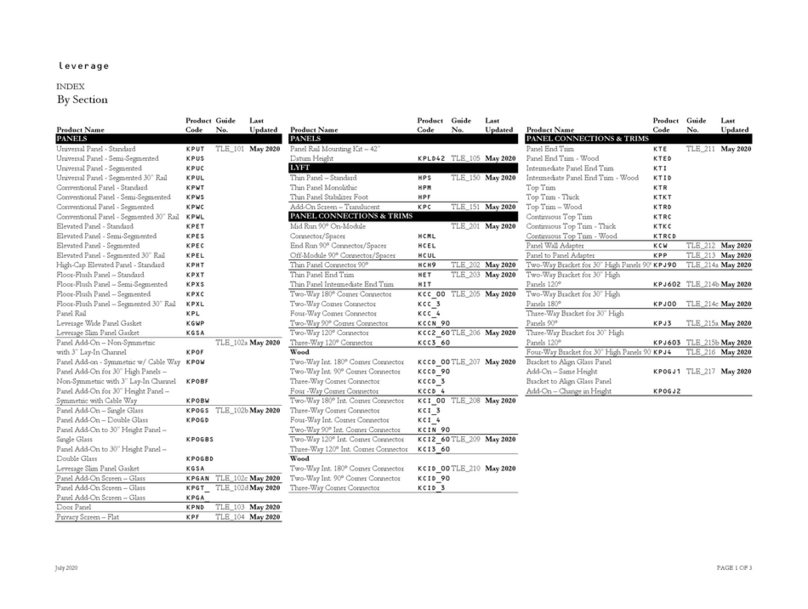
Teknion hiSpace Basic Height-Adjustable Extended Corner Complete Table... Operating and maintenance instructions
Teknion

Teknion hiSpace Basic Height-Adjustable Extended Corner Complete Table... Operating and maintenance instructions
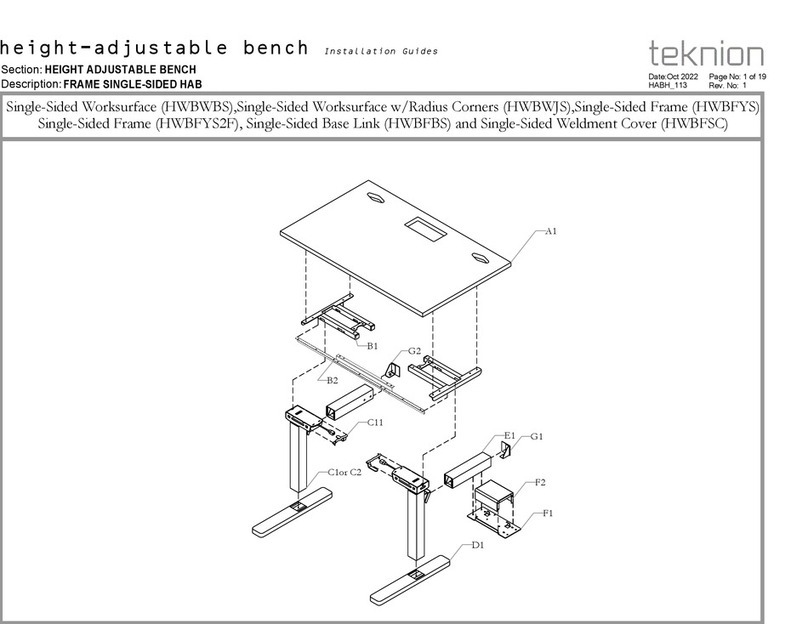
Teknion hiSpace User manual

Teknion

Teknion hiSpace User manual

Teknion interpret 120 FRAME CURVE LEG WWSTW User manual

Teknion

Teknion interpret 120 FRAME CURVE LEG WWSTW User manual

Teknion HWBLSF Operating and maintenance instructions

Teknion

Teknion HWBLSF Operating and maintenance instructions
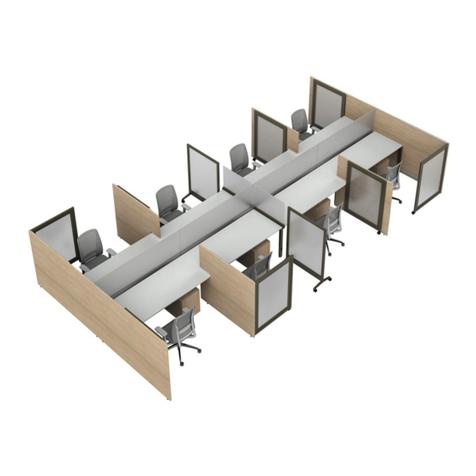
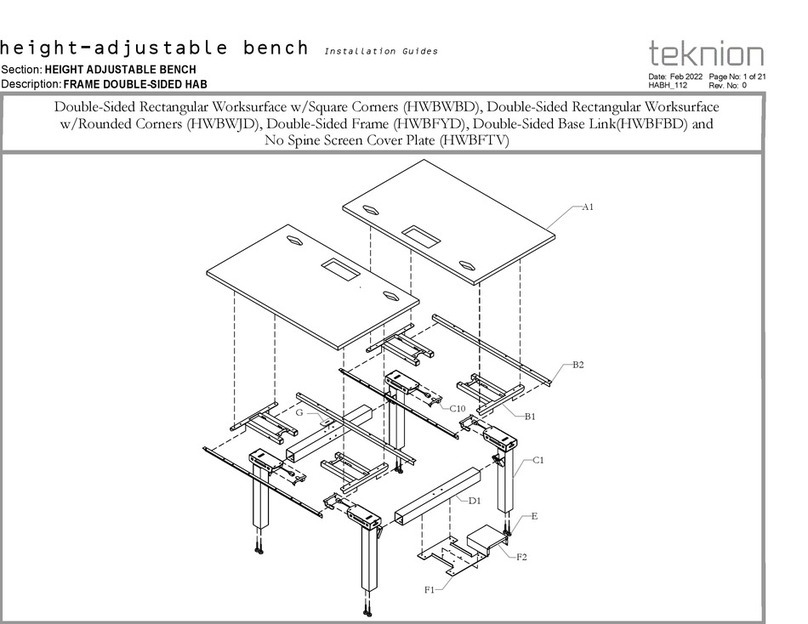
Teknion Synapse Wood Guest Chair NSYN Operating and maintenance instructions
Teknion

Teknion Synapse Wood Guest Chair NSYN Operating and maintenance instructions

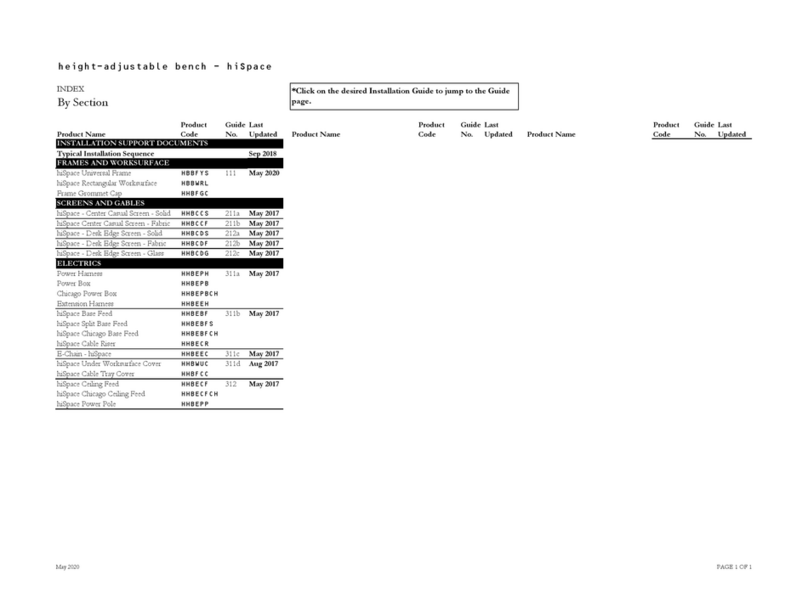
Teknion RKXD Operating and maintenance instructions
Teknion

Teknion RKXD Operating and maintenance instructions
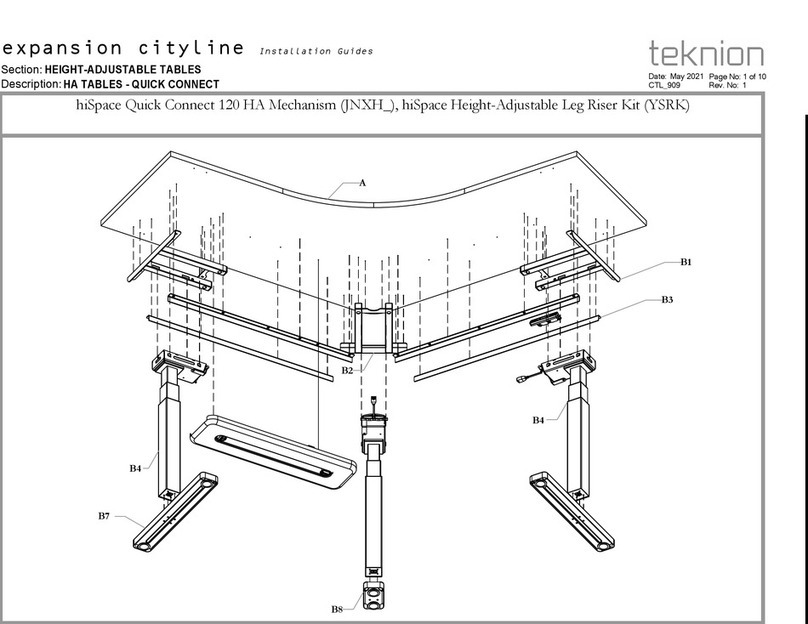
Teknion Interpret User manual

Teknion

Teknion Interpret User manual

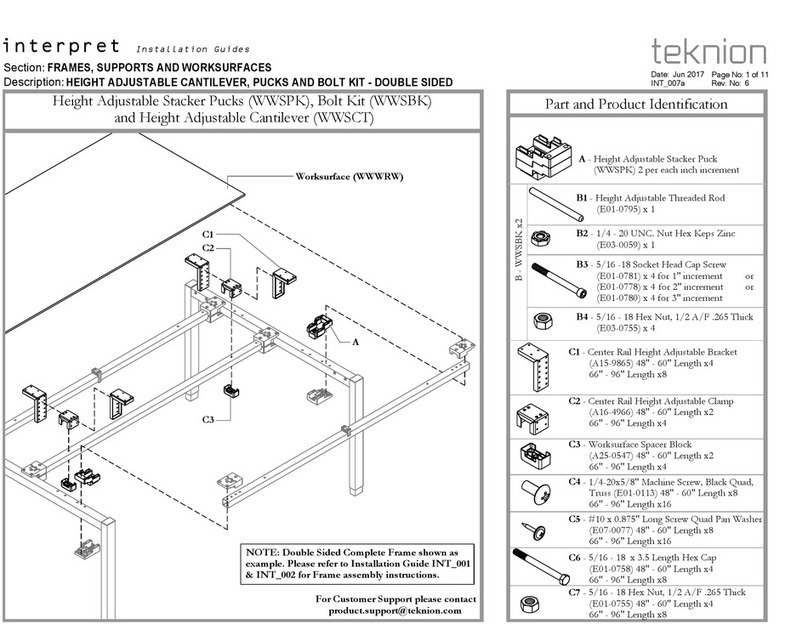
Teknion Dossier Operating and maintenance instructions
Teknion

Teknion Dossier Operating and maintenance instructions

Teknion Interpret Operating and maintenance instructions

Teknion

Teknion Interpret Operating and maintenance instructions

Teknion Marini Owner's manual

Teknion

Teknion Marini Owner's manual

Teknion BCGRLB User manual

Teknion

Teknion BCGRLB User manual

Teknion UNSF User manual

Teknion

Teknion UNSF User manual

Teknion Dossier ZJSF Operating and maintenance instructions

Teknion

Teknion Dossier ZJSF Operating and maintenance instructions

Teknion Complements hiSpace YSX Height-Adjustable Freestanding... Operating and maintenance instructions

Teknion

Teknion Complements hiSpace YSX Height-Adjustable Freestanding... Operating and maintenance instructions

Teknion Navigate Mid Gable-Solid Operating and maintenance instructions

Teknion

Teknion Navigate Mid Gable-Solid Operating and maintenance instructions

Teknion Amicus Owner's manual

Teknion

Teknion Amicus Owner's manual

Teknion District Series User manual

Teknion

Teknion District Series User manual

Teknion complements LIVELLO Operating and maintenance instructions

Teknion

Teknion complements LIVELLO Operating and maintenance instructions

Teknion Leverage User manual

Teknion

Teknion Leverage User manual

Teknion Ledge Surface & Support Kit - Without Cable... Operating and maintenance instructions

Teknion

Teknion Ledge Surface & Support Kit - Without Cable... Operating and maintenance instructions

Teknion Interpret Operating and maintenance instructions

Teknion

Teknion Interpret Operating and maintenance instructions

Popular Indoor Furnishing manuals by other brands
Argos Foley 333/7976 Assembly lnstructions

Argos

Argos Foley 333/7976 Assembly lnstructions

Kvik Tinta Assembly guideline

Kvik

Kvik Tinta Assembly guideline

Die Hausmarke 22-21 Assembly instructions

Die Hausmarke

Die Hausmarke 22-21 Assembly instructions

Hooker Furniture KINSEY 5066-8016 Assembly instruction

Hooker Furniture

Hooker Furniture KINSEY 5066-8016 Assembly instruction

Patioflare PF10030 Series Assembly instruction

Patioflare

Patioflare PF10030 Series Assembly instruction

PAIDI Fionn 131 1011 instructions

PAIDI

PAIDI Fionn 131 1011 instructions

OVE ALONSO 60 installation manual

OVE

OVE ALONSO 60 installation manual

Ameriwood 1222012PCOM manual

Ameriwood

Ameriwood 1222012PCOM manual

Wallbeds Australia AB-4a Assembly instructions

Wallbeds Australia

Wallbeds Australia AB-4a Assembly instructions

DITALIA DM-209 Assembly instructions

DITALIA

DITALIA DM-209 Assembly instructions

RACK IT PRO 01906 Assembly instructions

RACK IT PRO

RACK IT PRO 01906 Assembly instructions

SMITH SYSTEM 58020 Assembly instructions

SMITH SYSTEM

SMITH SYSTEM 58020 Assembly instructions

Star ORION ON 18-7284 manual

Star

Star ORION ON 18-7284 manual

CB2 chill Assembly manual

CB2

CB2 chill Assembly manual

Astonica 50100464 instruction manual

Astonica

Astonica 50100464 instruction manual

Ergolux PALO ALTO ELPALOAOCBA user guide

Ergolux

Ergolux PALO ALTO ELPALOAOCBA user guide

Grohe Allegro E 04180XX0 Specification sheet

Grohe

Grohe Allegro E 04180XX0 Specification sheet

Hülsta now! 4133 Assembly instructions

Hülsta

Hülsta now! 4133 Assembly instructions

manuals.online logo
manuals.online logoBrands
  • About & Mission
  • Contact us
  • Privacy Policy
  • Terms and Conditions

Copyright 2025 Manuals.Online. All Rights Reserved.