manuals.online logo
Brands
  1. Home
  2. •
  3. Brands
  4. •
  5. Teknion
  6. •
  7. Indoor Furnishing
  8. •
  9. Teknion BGATHB User manual

Teknion BGATHB User manual

E04-50002
#8 x 5/8"
/or
Utiliser ces entretoise uniquement
lorsqu'assemblé sous une
surface «D» (1po d'épaisseur)
1/4-20 x 5/8"
E01-50403
ou
N80-64063
N80-64062
A15-64270
Use these spacers only
when assembled under
a surface "D" (1in thick)
Casegoods Installation Guide / Guide d'installation
2030
2022-11-17 L04-64017_R12 1 / 9
- Height-Adj. Run-Off with Glass Top / Retour ajust.en hauteur avec surface de verreBGATHB/BGATLB
For additional information on this installation contact Technical Support. Pour plus d'informations sur cette installation contactez le support technique.
Rabattre les languettes et les visser sous la surface
Fold the tabs and screw them under the surface
Í Î !
/or
Î
N80-64062
ou
N80-64063
Casegoods Installation Guide / Guide d'installation
2022-11-17 L04-64017_R12 2 / 9
- Height-Adj. Run-Off with Glass Top / Retour ajust.en hauteur avec surface de verre 2030
BGATHB/BGATLB
For additional information on this installation contact Technical Support. Pour plus d'informations sur cette installation contactez le support technique.
E01-50083
1/4-20 x 3" !A15-64280
E01-50403
1/4-20 x 5/8"
3 3/4"
Insérer la canalisation
mais ne pas la fixer
pour l'instant.
E01-50706
M6x1.0 x 20mm
Insert the duct but do
not fix it for now.
1 3/4"
Avec Panneau mural
Sans Panneau mural
With Wall Panel
W/O Wall Panel
90°
Casegoods Installation Guide / Guide d'installation
3 / 9
2030
- Height-Adj. Run-Off with Glass Top / Retour ajust.en hauteur avec surface de verre
L04-64017_R122022-11-17
BGATHB/BGATLB
For additional information on this installation contact Technical Support. Pour plus d'informations sur cette installation contactez le support technique.
Before installing the glass panel,
be sure that the leg is at 90°
with the ground.
Avant d'installer le panneau
de verre, s'assurer que la patte
est à 90° avec le sol.
B02-50135
E04-50082
#14 x 1¼
E04-50082
#14 x 1¼
E05-50004+06
Side view / Vue de profil
60-72" -> 3x
73-90" -> 4x
Casegoods Installation Guide / Guide d'installation
- Height-Adj. Run-Off with Glass Top / Retour ajust.en hauteur avec surface de verre 2030
L04-64017_R112022-11-17 4 / 9
BGATHB/BGATLB
For additional information on this installation contact Technical Support. Pour plus d'informations sur cette installation contactez le support technique.
Avant de poser les vis pour la télécommande,
marquer et prépercer avec un forêt Ø1//8"
à l'endroit désiré sur la poutrelle.
Before installing the screws at the
#8 x 3/4" BSD
E01-0072
A15-64099
desired location for the remote control,
mark and drill Ø1/8" the beam .
B02-63028
#8 x 5/8"
E04-50002
A15-64093
E01-50091
#8 x 7/8" BSD
X80-64031
A15-64333
E01-0072
#8 x 3/4" BSD
Ç
I04-50039
I04-50037
Or/Ou
I04-50038
X80-64033
or/ou
X80-64030
Ne pas trop visser.
Do not overtighten screws.
X80-64032
A15-64327
E01-50142
#8-32 x 1/2
E03-50978
1/4-20
N80-50002
Casegoods Installation Guide / Guide d'installation
2030
2022-11-17 L04-64017_R11
- Height-Adj. Run-Off with Glass Top / Retour ajust.en hauteur avec surface de verre
5 / 9
BGATHB/BGATLB
For additional information on this installation contact Technical Support. Pour plus d'informations sur cette installation contactez le support technique.
Í
«
Orienter l'entrée de l'alimentation du côté du bureau secondaire
Choisissez la meilleure position (en fonction de la longueur de la surface).
I04-50054
I04-50036
Align the power inlet with the Secondary Desk side
Choose the best position (to depend the lenght of surface).
I04-50036
M6x1.0 x 40mm
E01-50743
I04-50035
E03-50959
M6x1.0
N80-64446
Faire une boucle et passer le câble d'alimentation
dans la rainure avant d'assembler le boîtier de
commande avec le plateau.
Make a loop and pass the power cable in
the groove before assembling the control box to the tray.
Télécommande
Alimentation
Vérin n°1
Vérin n°2
Remote Control
Power
Actuator #1
Actuator #2
Assurez-vous que la canalisation
soit bien au fond du clip
!
Make sure the lip of the tray is
well inserted in the clip
Casegoods Installation Guide / Guide d'installation
2030
2022-11-17 L04-64017_R11
- Height-Adj. Run-Off with Glass Top / Retour ajust.en hauteur avec surface de verre
6 / 9
BGATHB/BGATLB
For additional information on this installation contact Technical Support. Pour plus d'informations sur cette installation contactez le support technique.
B02-65003
E03-50978
1/4-20
N80-50002
Assurez-vous que les laguettes verrouillent
bien en place la RLPP (barre d'alimentation).
Si ce n'est pas le cas, replier légèment les
languettes et reinstaller la barre.
Make sure that the tabs lock the
RLPP (power bar) in place. If not, with
a flat screwdriver, bend lightly the tabs
and reinstall the power bar.
Utilisez ce support si un RLPP doit être installé.
Assurez-vous que la pièce n'entre pas en
conflit avec le bureau secondaire
A15-50008
Use this bracket if a RLPP must be installed
Make sure that the part does not
conflict with the secondary desk
Casegoods Installation Guide / Guide d'installation
2030
2022-11-17 L04-64017_R11
- Height-Adj. Run-Off with Glass Top / Retour ajust.en hauteur avec surface de verre
7 / 9
BGATHB/BGATLB
For additional information on this installation contact Technical Support. Pour plus d'informations sur cette installation contactez le support technique.
Fixer la canalisation avec les vis•
Attacher les câbles (position la plus élevée)•
Brancher le système•
Initialiser le système*•
Monter la surface à la position la plus élevée•
Passer les câbles tel que requis•
Les fils doivent être bien serrer avec un serre-câble en plastique et ne doivent pas bouger.
Pour bien serrer 3 fils et moins: vous devez fixer le serre-câble en plastique dans une ouverture et passer l'autre
extrémité de l'attache dans la fente sur le côté de la canalisation.Pour bien serrer 4 fils et plus: vous devez fixer le
serre-câble en plastique dans les deux ouvertures de la canalisation.
Install the duct with the screws•
Tie the cables (highest position)•
Plug the system•
Initialize the system*•
Set the surface in the highest position•
Run all cables in place•
The power cord should be tightened with plastic cable ties and it should not move.
To tighten 3 power cord and least: you must attach the plastic cable tie into an opening and pass the other end of
the plastic cable tie into the slot on the side of the canalisation.
To tighten 4 power cord and more: you must attach the plastic cable tie into the two openings of the canalisation.
placé la surface à la position la plus élevée.
suivre la procédure L04-64035.
* Pour initialiser les vérins et la télécommande,
Attacher tous les câbles à l'aide de
serre-câbles en plastique après avoir
*When fixing the N80-64045 ensure that the motor electrical
cord is not pinched by the canalisation.
desk is
see the procedure L04-64035.
Ç
* To initialize the actuators and the remote,
.
électrique ne soit pas écrasé par la canalisation.
* Lors de la fixation du N80-64045 s'assurer que le fil du moteur
at the highest position
Tie all cables with plastic cable ties
at these points when the
E01-50403
1/4-20 x 5/8"
Ð
Casegoods Installation Guide / Guide d'installation
2030
2022-11-17 L04-64017_R11
- Height-Adj. Run-Off with Glass Top / Retour ajust.en hauteur avec surface de verre
8 / 9
BGATHB/BGATLB
For additional information on this installation contact Technical Support. Pour plus d'informations sur cette installation contactez le support technique.
B10-64003
Si option passe-fil, apposer les bandes protectrice sous la surface.
Aligner le coin de la bande avec la fin du rayon au bord du trou.
If grommet option, put the adhesive protective strip under the surface.
Align the corner of the strip with the end of radius at the edge of the hole.
X80-64038
B02-64003
Casegoods Installation Guide / Guide d'installation
2022-11-17
BGATHB/BGATLB - Height-Adj. Run-Off with Glass Top / Retour ajust.en hauteur avec surface de verre
9 / 9
L04-64017_R12
2030
For additional information on this installation contact Technical Support. Pour plus d'informations sur cette installation contactez le support technique.
Retirer le papier protecteur de l’adhésif,
appuyer l’équerre contre la poutrelle
puis contre le verre.
Peel off the backing for the adhesive tape,
lean the bracket against the beam
and press on the glass for each corner.
E03-50978
1/4-20
N80-50002
Dans chacun des coins
Ç
Ç
Ç
Ç
In each of the four corners

This manual suits for next models

1

Other Teknion Indoor Furnishing manuals
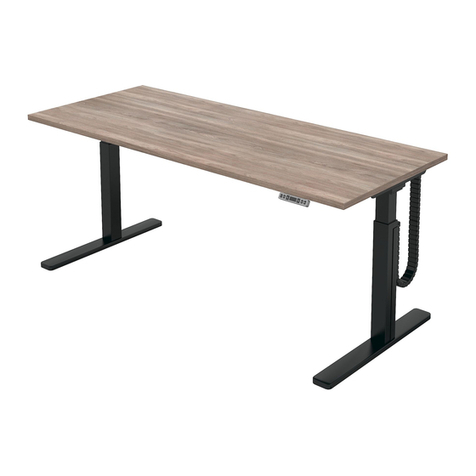
Teknion Height-adjustable bench Operating and maintenance instructions
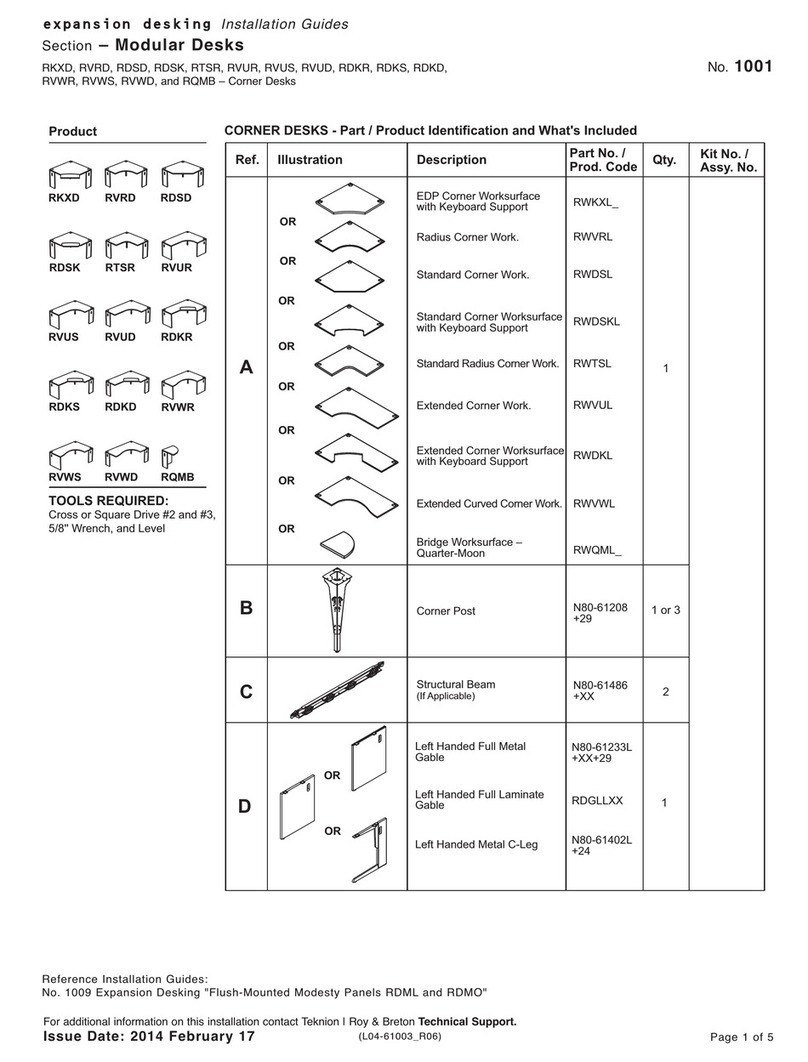
Teknion

Teknion Height-adjustable bench Operating and maintenance instructions

Teknion RKXD Operating and maintenance instructions

Teknion

Teknion RKXD Operating and maintenance instructions
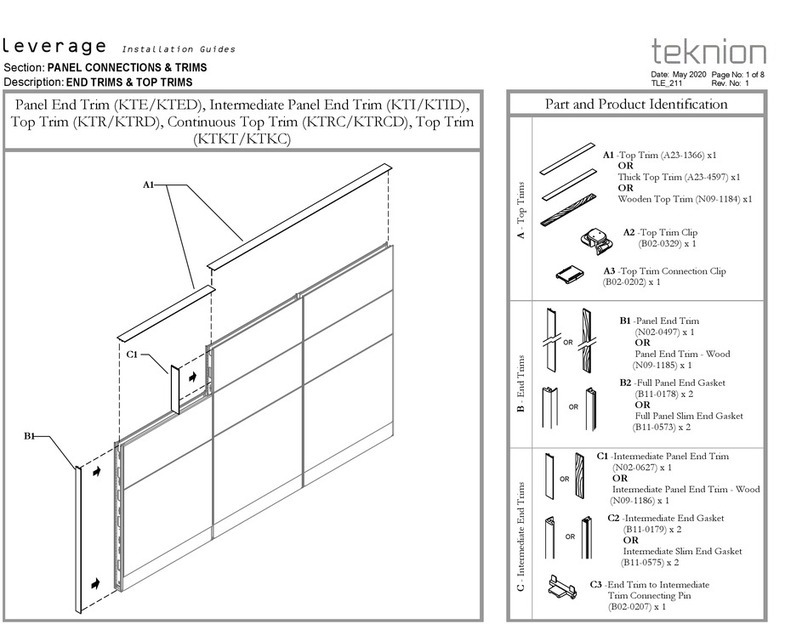
Teknion Leverage User manual

Teknion

Teknion Leverage User manual

Teknion District Series User manual

Teknion

Teknion District Series User manual
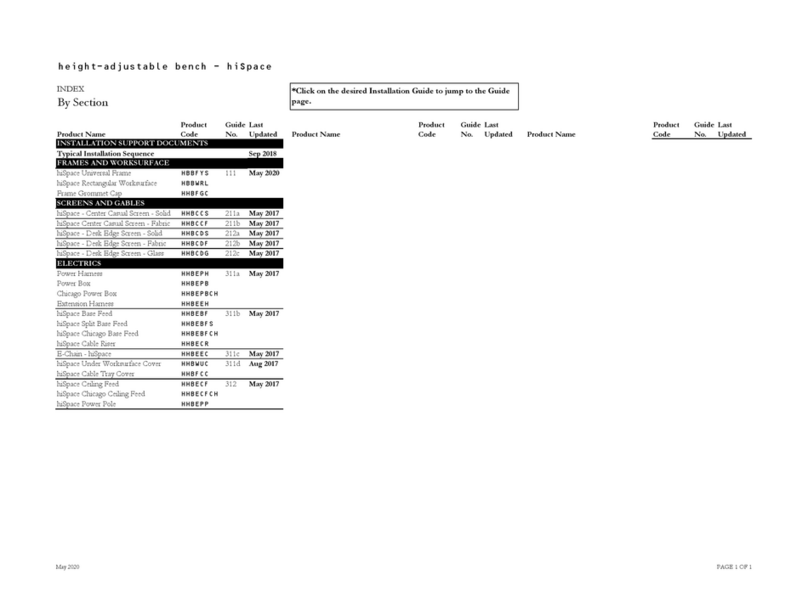
Teknion hiSpace User manual

Teknion

Teknion hiSpace User manual
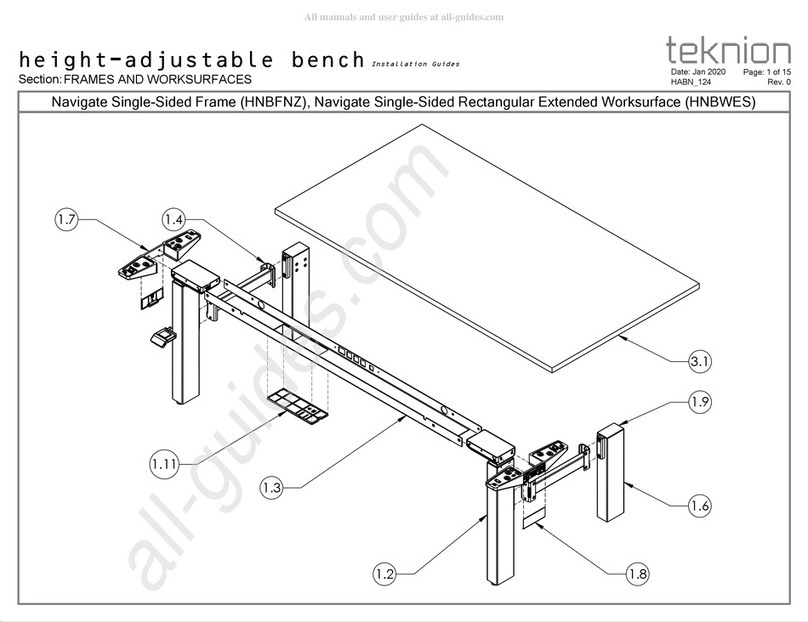
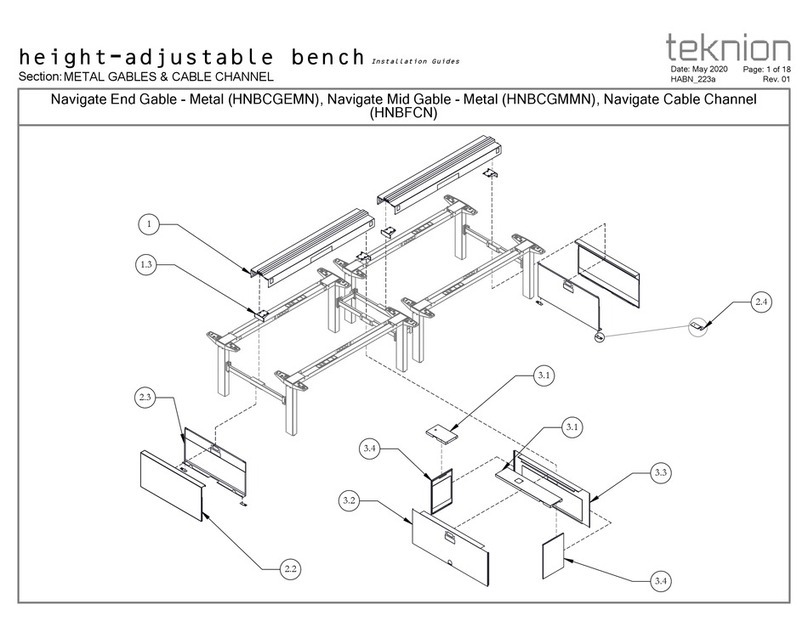
Teknion Navigate Single-Sided Frame HNBFNZ User manual
Teknion

Teknion Navigate Single-Sided Frame HNBFNZ User manual

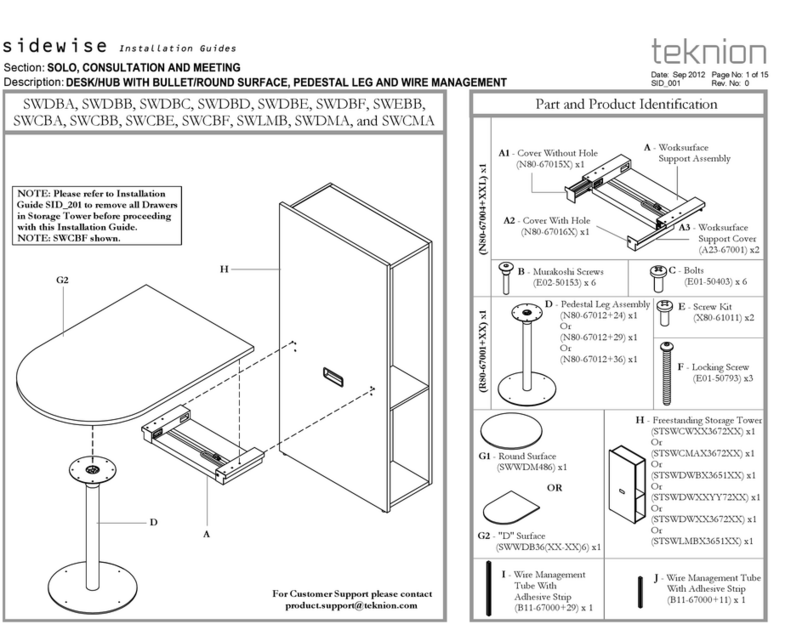
Teknion Sidewise SWDBA User manual

Teknion

Teknion Sidewise SWDBA User manual
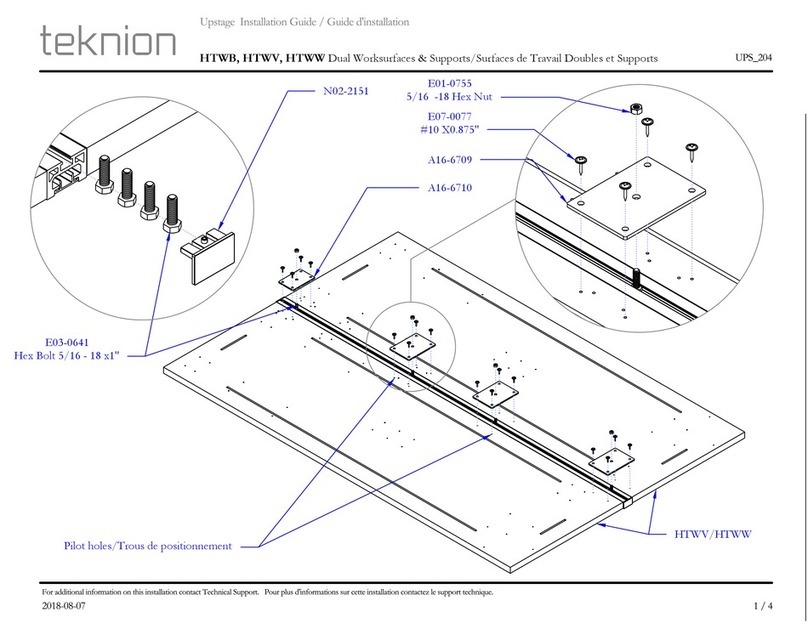
Teknion HTWB User manual

Teknion

Teknion HTWB User manual
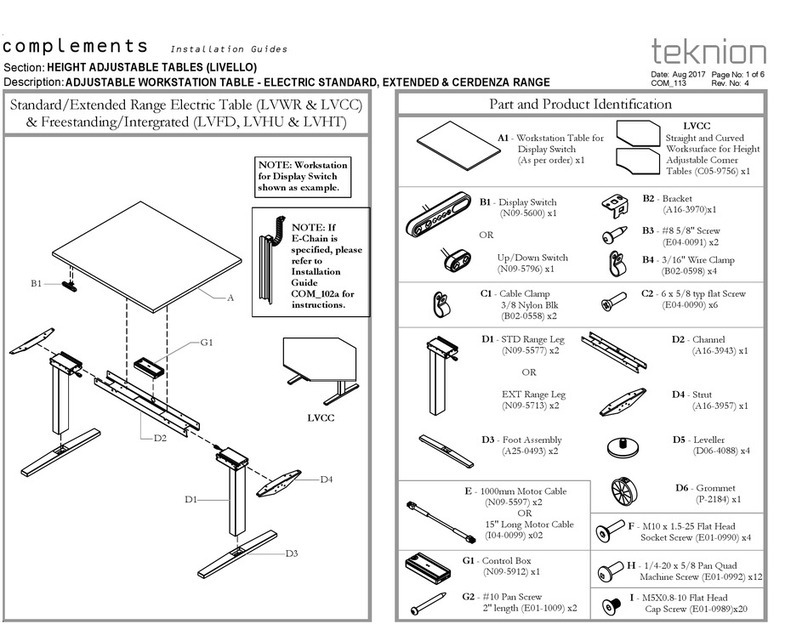
Teknion complements LIVELLO Operating and maintenance instructions

Teknion

Teknion complements LIVELLO Operating and maintenance instructions

Teknion Sabrina Owner's manual

Teknion

Teknion Sabrina Owner's manual
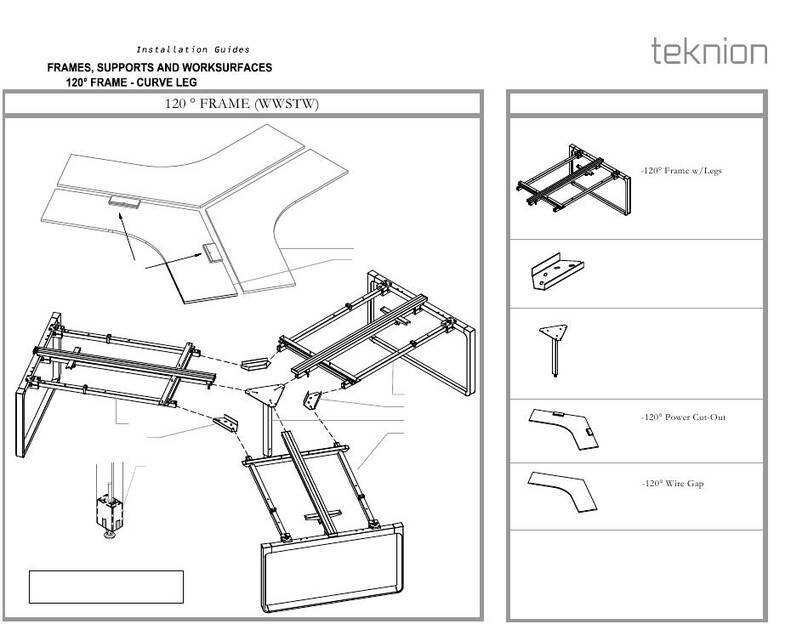
Teknion interpret 120 FRAME CURVE LEG WWSTW User manual
Teknion

Teknion interpret 120 FRAME CURVE LEG WWSTW User manual

Teknion dossier ZJNL User manual

Teknion

Teknion dossier ZJNL User manual

Teknion Livello User manual

Teknion

Teknion Livello User manual
Teknion hiSpace Basic Height-Adjustable Extended Corner Complete Table... Operating and maintenance instructions
Teknion

Teknion hiSpace Basic Height-Adjustable Extended Corner Complete Table... Operating and maintenance instructions

Teknion Emote User manual

Teknion

Teknion Emote User manual

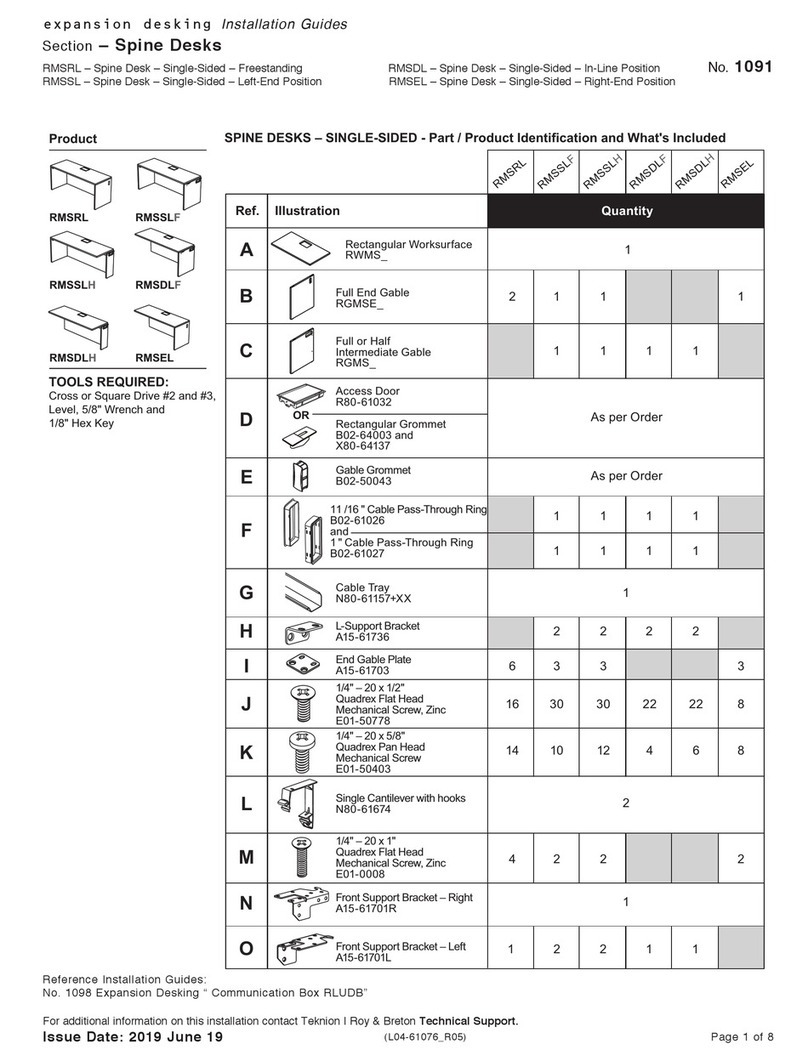
Teknion RMSRL Operating and maintenance instructions

Teknion

Teknion RMSRL Operating and maintenance instructions

Teknion nuova contessa Owner's manual

Teknion

Teknion nuova contessa Owner's manual
Teknion HWBLSF Operating and maintenance instructions
Teknion

Teknion HWBLSF Operating and maintenance instructions

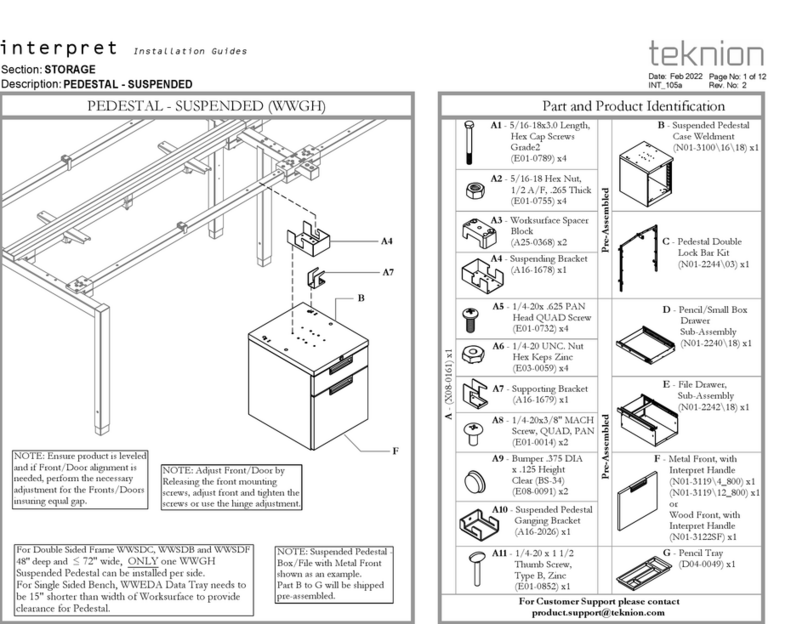
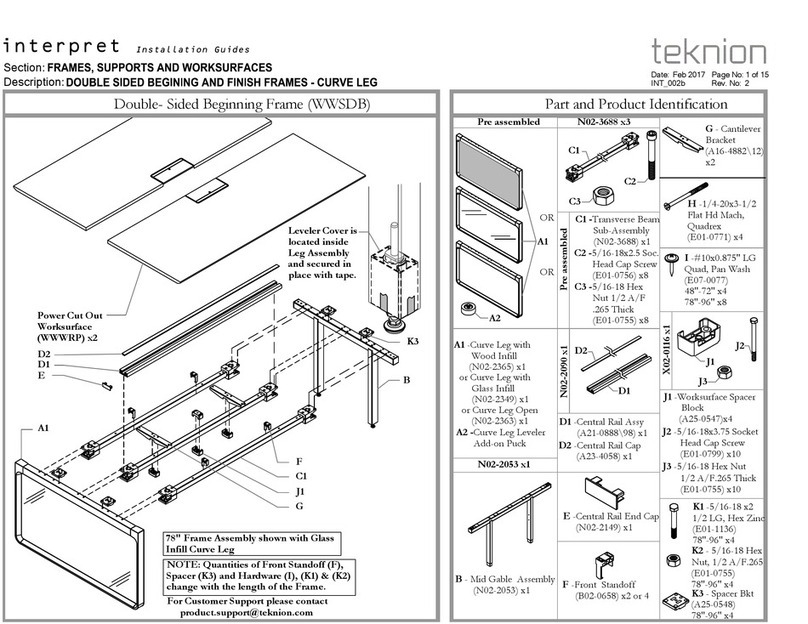
Teknion Interpret Operating and maintenance instructions

Teknion

Teknion Interpret Operating and maintenance instructions
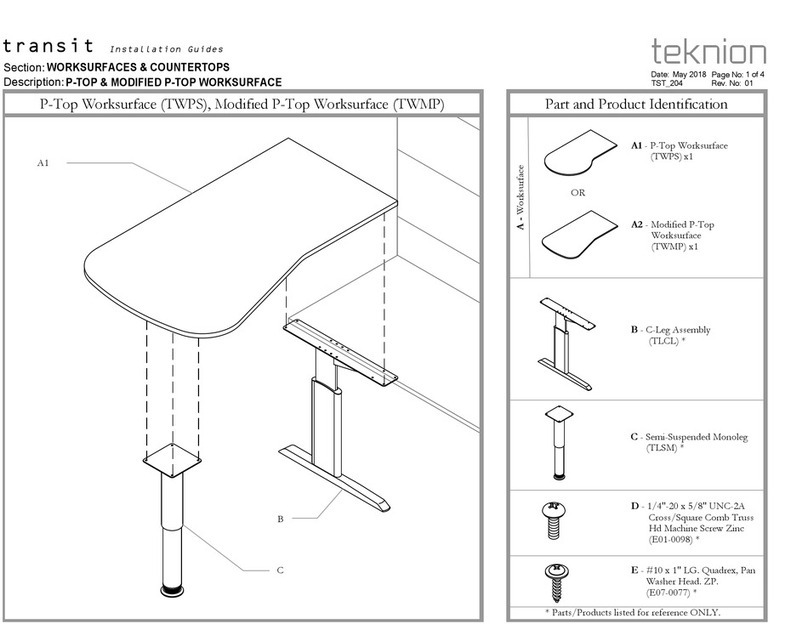
Teknion transit Operating and maintenance instructions

Teknion

Teknion transit Operating and maintenance instructions

Teknion zones Operating and maintenance instructions

Teknion

Teknion zones Operating and maintenance instructions

Teknion Complements hiSpace YSX Height-Adjustable Freestanding... Operating and maintenance instructions

Teknion

Teknion Complements hiSpace YSX Height-Adjustable Freestanding... Operating and maintenance instructions

Teknion Interpret Operating and maintenance instructions

Teknion

Teknion Interpret Operating and maintenance instructions

Teknion Interpret User manual

Teknion

Teknion Interpret User manual

Popular Indoor Furnishing manuals by other brands
modway EEI-6729 Assembly instructions

modway

modway EEI-6729 Assembly instructions
Seville Classics airLIFT OFF65869 quick start guide
Seville Classics

Seville Classics airLIFT OFF65869 quick start guide

Grandinroad Sheridan 3637 B-KDB Assembly instructions
Grandinroad

Grandinroad Sheridan 3637 B-KDB Assembly instructions

Amerimax Home Material installation instructions

Amerimax

Amerimax Home Material installation instructions

Premium Living DCTR72 Assembling Instruction

Premium Living

Premium Living DCTR72 Assembling Instruction

pardo wall beds Newline Assembly instructions

pardo

pardo wall beds Newline Assembly instructions

OYPLA Home 3948 user manual

OYPLA Home

OYPLA Home 3948 user manual

fine fixtures VDARA VD24 installation instructions
fine fixtures

fine fixtures VDARA VD24 installation instructions

Möbelix NEW ENGLAND 2QBK-LC Assembly instructions
Möbelix

Möbelix NEW ENGLAND 2QBK-LC Assembly instructions

OSP Home Furnishings BATON ROUGE BTD2937 Assembly instructions

OSP Home Furnishings

OSP Home Furnishings BATON ROUGE BTD2937 Assembly instructions

Yaheetech 611335 instruction manual

Yaheetech

Yaheetech 611335 instruction manual
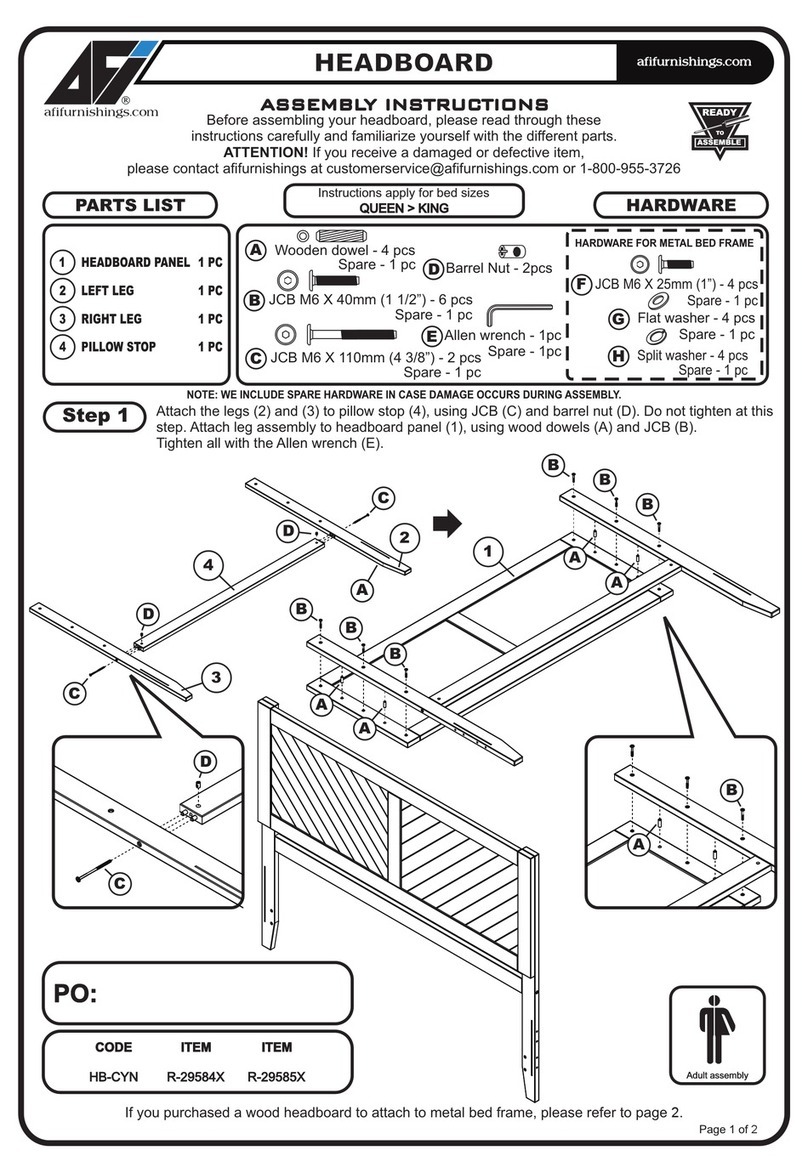
AFi HB-CYN Assembly instructions

AFi

AFi HB-CYN Assembly instructions

Next M13903 Assembly instructions

Next

Next M13903 Assembly instructions

Emmezeta AVA DD8018-4R Assembly instructions
Emmezeta

Emmezeta AVA DD8018-4R Assembly instructions

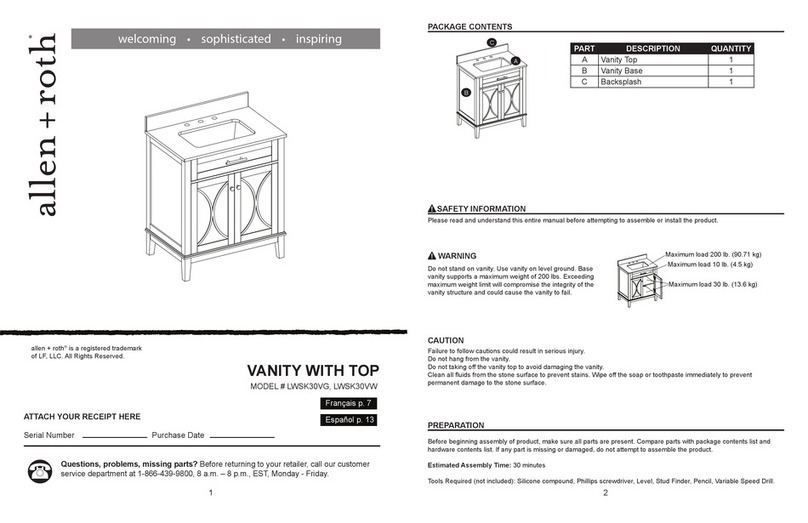
Allen + Roth LWSK30VG manual

Allen + Roth

Allen + Roth LWSK30VG manual
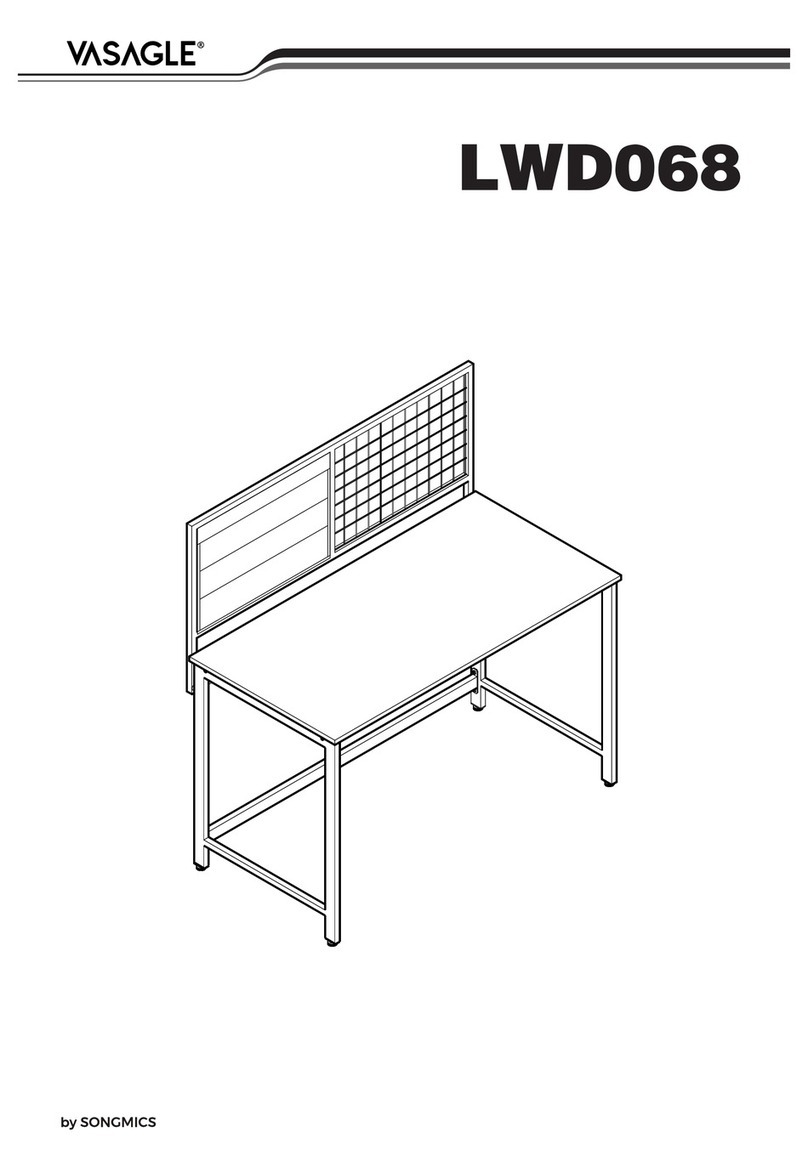
Songmics VASAGLE LWD068 Assembly instructions
Songmics

Songmics VASAGLE LWD068 Assembly instructions

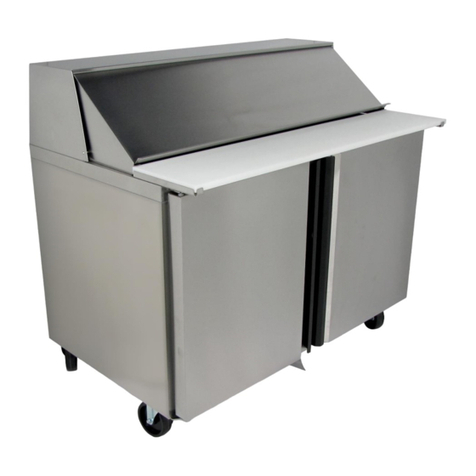
Silver King SKP4812A-ES 115V Technical manual and replacement parts list

Silver King

Silver King SKP4812A-ES 115V Technical manual and replacement parts list

Boahaus 4203 Assembly instructions

Boahaus

Boahaus 4203 Assembly instructions

manuals.online logo
manuals.online logoBrands
  • About & Mission
  • Contact us
  • Privacy Policy
  • Terms and Conditions

Copyright 2025 Manuals.Online. All Rights Reserved.