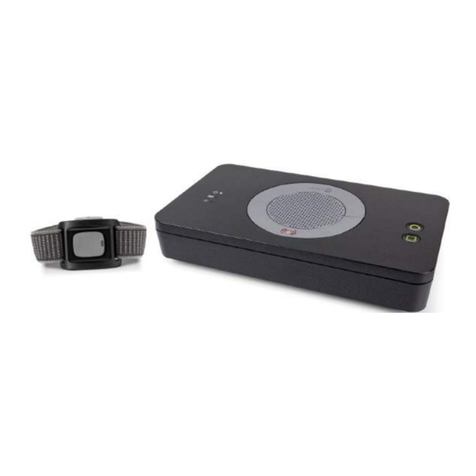
TeleCare24 TOUCH & REACH User manual

USER / INSTALLATION GUIDE
TOUCHPERSONAL PENDANTREACHAT HOME ALARM UNIT&
TELECARE

- 2 -
REN1
1.1 IMPORTANT INFORMATION1.2 UNPACKING THE REACH AT-HOME ALARM
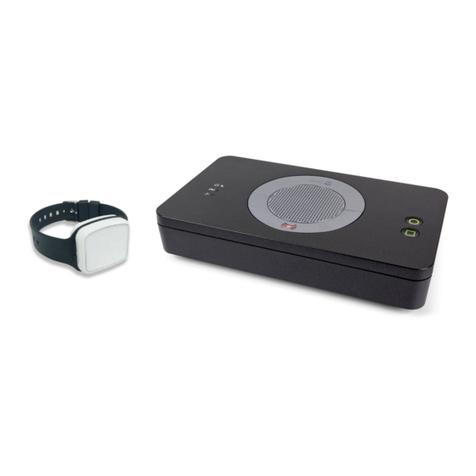
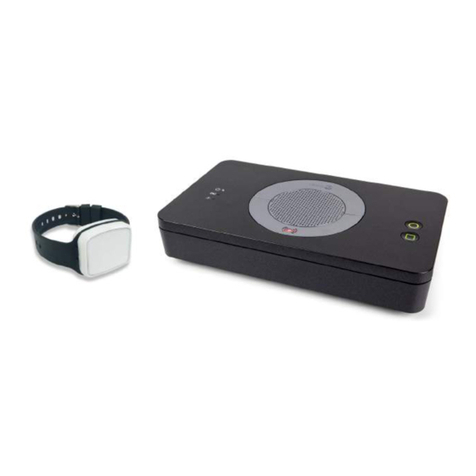
The user’s telephone MUST BE connected to the Reach TEL socket - a double adapter on the incoming line must not be used.If the user has extension telephones, care should be taken to ensure that these are also connected via the Reach TEL socket.Failure to connect the user’s telephones as described above may cause difficulties with alarm calls - if in doubt seek advice. If the user has a DECT telephone the base station MUST BE at least 2 metres away from the Reach.Failure to provide this separation may result in reduced range of personal pendants or other radio devicesAll telephone equipment has a Ringer Equivalence Number (REN) which is used to calculate the number of items that can be connected to a single telephone line.A REN of 4 is the maximum allowed on a standard UK telephone line. The Reach has a REN of 1.If the REN total of all equipment connected to a telephone line exceeds 4, the equipment may not operate correctly. With different types of equipmentthere is no guarantee of correct operation even if the REN is less than 4. Typically 1 or 2 standard telephones (REN1) can be used with the Reach.Avoid using strong detergents or polish when cleaning the Reach unit or Touch pendant.Wipe clean with a damp cloth and polish with a dry duster.The Reach At-Home Alarm is supplied with a Power Lead, a Telecom lead, a Touch pendant and a wearing kit. A stand can be fitted if the unit is being mounted upright or a connector cover if it is being placed flat. The stand/cover must be fixed with the screw provided.Reach At Home Alarm Unit(also available in white)Touch PendantWearing KitPower LeadTelecom LeadStandConnector CoverStand/Cover Screw

The Touch pendant is supplied with a kit of parts so it can be worn around the neck, clipped onto a belt or pocket, or on the wrist like a watch. First fit the chosen wearing option to the black rubber boot then push the Touch pendant inside the boot with the silver button accessible. Snap the Neck Cord apart at the safety break device and feed through the 2 holes in the rubber boot, then click together again. The neck cord must never be shortened or knotted without the safety break in place. Push the Belt Clip through the 2 slots in the rubber boot - ensure the 2 > < arrows on the clip and boot align for correct fit. The suction cup can be used with the clip option to stick the Touch pendant to a tiled wall when in the bath or shower. Push the Wrist Strap through the 2 slots in the rubber boot and adjust the strap to fit. Additional pendants and rubber boots are available separately if more than one is required.Replacement wearing kits are also available as spares. Making an Emergency Call... Simply press the Touch Pendant button once. The button will FLASH RED (( )) for several seconds to confirm a call is being made. The Reach will announce “Pendant alarm - Please wait, dialling for assistance”
1.3 THE TOUCH PERSONAL PENDANT- 3 -
The Touch pendant can be used to make an emergency call from anywhere in or around the home. The Touch pendant is waterproof but it should not be fully submerged for long periods.The Touch pendant is a life saving device; remember to advise the user to wear it at all times and keep it by their bed at night.The Touch pendant battery should last for about 3-5 years depending on use. The battery condition is checked every day, if the voltage falls and stays below preset level for 7 consecutive days a “low battery” call will automatically be sent to the Control Centre. Pendants must be returned to Tynetec for battery replacement.

1.4 CONNECTING THE REACH AT-HOME ALARM- 4 -
The Reach At-Home Alarm Unit should only be installed and programmed by trained personnel. Basic Connections... The Reach will usually be table mounted within 3 metres of a mains supply and the master telephone socket. If extension cables are used care should be taken to ensure that no one trips over the leads.Installation Procedure... 1. Unplug the user’s Telephone from the BT wall socket and plug it into the Reach TEL socket. If the user has a DECT cordless telephone, extension telephone sockets in other rooms or Broadband see sections 1.1, 1.5 and 1.6 for more information. 2. Connect the Telecom Lead between the Reach C/O socket and the BT wall socket (where the user’s telephone was originally plugged in). 3. Connect the Power Lead between the Reach SUPPLY socket and the mains electricity supply. 4. The DATA socket is only used for firmware upgrades or for the connection of hardwired inputs such as ceiling pullcords. 5. Choose the connector cover if the unit is being placed flat on the table or the stand if it is being placed in the upright position. It can also be wall mounted using the key holes on the rear. A template is provided on the carton flap to mark the wall before drilling (wall plugs ans screws not included). 6. Route the leads through the cover (or stand) and fix with the single screw provided. 7. The flexible aerial wire out the side of the unit receives signals from radio devices and must not be cut down in length or coiled up. 8. The Touch pendant is pre-learned, any additional pendants or other radio devices should be learned and tested too. 9. Perform a test call to the Control Centre to verify correct installation and programming.

1.6 REACH AND BROADBAND1.5 REACH AND EXTENSION TELEPHONES- 5 -
It is very important that all telephones in the user’s home are connected to the Reach TEL socket.This method of connection ensures that an alarm call on the Reach unit will always disconnect any other equipment that might cause connection difficulties. Broadband Service Providers will supply a filter module to plug into the telephone line to allow connection of a computer and a normal telephone. Only one filter module is required to connect the computer, telephone and Reach when configured as shown below: The Reach and the computer are connected to the filter module.The user’s telephone is plugged into the Reach TEL socket.If extension telephones are fitted they should be connected as shown in section 1.5 above.If you experience connection difficulties or noise on the Reach audio, then a poor quality filter may be the cause. Approved filter modules are available from Tynetec - Order P/No. W00409

1.8 SWITCHING THE REACH AT-HOME ALARM OFF1.7 SWITCHING THE REACH AT-HOME ALARM ON- 6 -
Connect the power lead and switch the mains supply on, the front light will flash RED / AMBER / GREEN for about 12 seconds...The Reach At-Home Alarm uses very little power and should always be left switched ON.If it necessary to switch the unit OFF, follow the procedure below: 1. Turn the mains supply off and wait for the unit to announce... 2. Press and HOLD the GREEN O button until the unit “beeps” once... 3. RELEASE the GREEN O button and the unit will announce... 4. The Reach is now switched off.The telephone plugged into the Reach will still operate when the unit is switched off.

1.9 MAKING AN EMERGENCY CALL
An emergency call can be made at any time of the day or night. 1. Press the RED ((•)) button on the Reach unit or press the Touch pendant... 2. The Reach will start to make an emergency call... 3. The call will be answered by the Control Centre and an operator will speak... 4. A two-way conversation can be held with the resident. 5. The operator will cancel the call and the front light will return to STEADY GREEN.
- 7 -The front light will go STEADY RED and the unit will announce... This message will repeat for a few seconds before the unit starts to dial.
If the operator cannot hear the caller they will still know where the call is coming from. The Touch pendant does NOT pick up voice, the microphone is in the Reach unit and is very sensitive but will not work if the caller is outside their home. The Control Centre can increase the volume if the caller has difficulty hearing.

1.10 ACCIDENTAL CALLS1.11 ANSWERING AN INCOMING TELEPHONE CALL
Advise the user not to worry if they don’t manage to cancel an accidental call - when the Control Centre answers they just need to say the call was made in accidentally. The staff will be pleased that they have talked and they will cancel the call in the normal way.
- 8 -
If an emergency call is made by accident it can be cancelled by pressing the GREEN O button once.The unit will announce “Alarm cancelled” and the front light will return to STANDBY GREEN. Please note once the Reach starts to dial, the call cannot be cancelled.The Reach can also be used to answer a normal incoming telephone call...
Table of contents
Other TeleCare24 Security System manuals
TeleCare24
TeleCare24 Doro User manual
TeleCare24
TeleCare24 Fall Alarm Plan User manual

TeleCare24
TeleCare24 Pendant Alarm Plan User manual

TeleCare24
TeleCare24 Fall Alarm Plan User manual

TeleCare24
TeleCare24 Buddi User manual

TeleCare24
TeleCare24 TeleAlarm Fall Alarm Plan User manual

TeleCare24
TeleCare24 Pendant Alarm Plan User manual