manuals.online logo
Brands
  1. Home
  2. •
  3. Brands
  4. •
  5. TELECO AUTOMATION
  6. •
  7. Receiver
  8. •
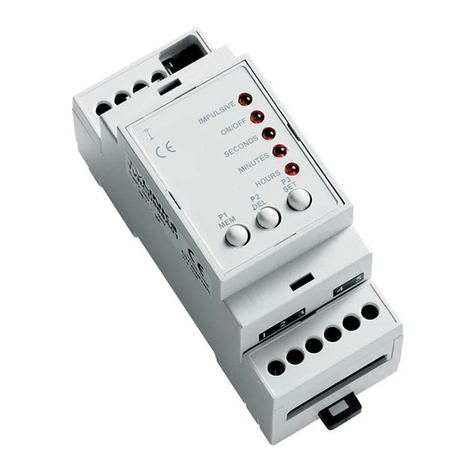
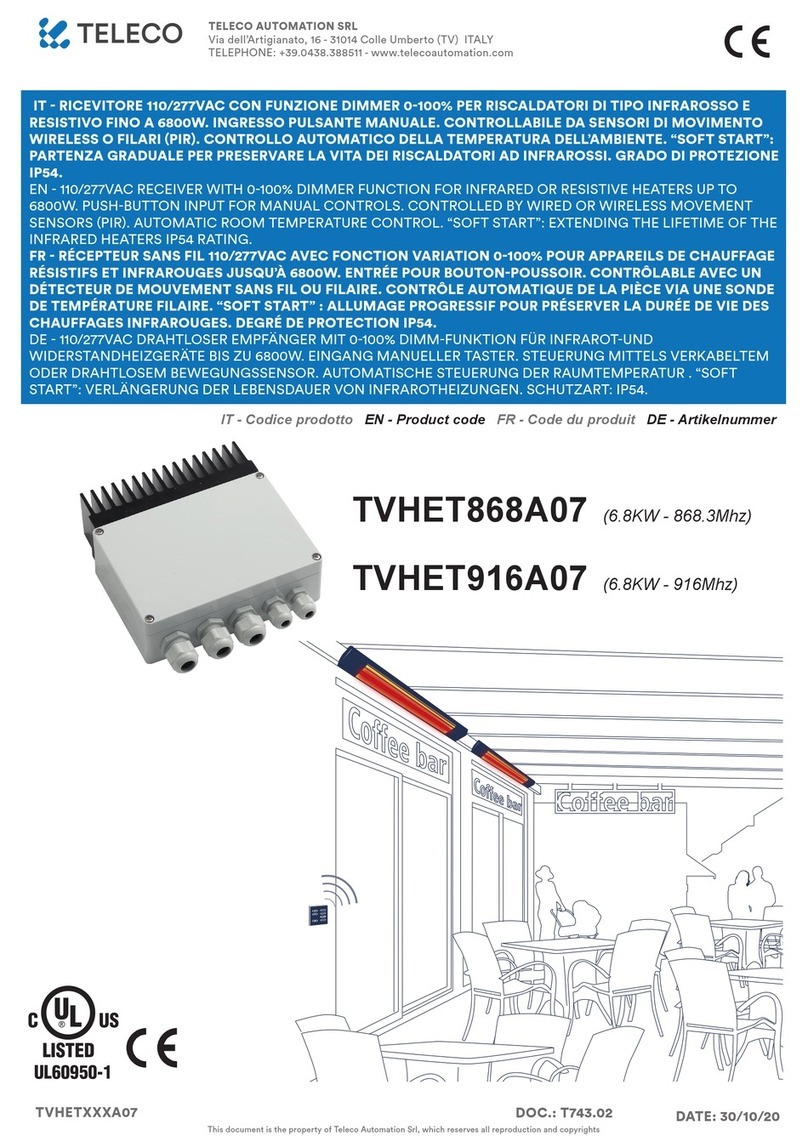
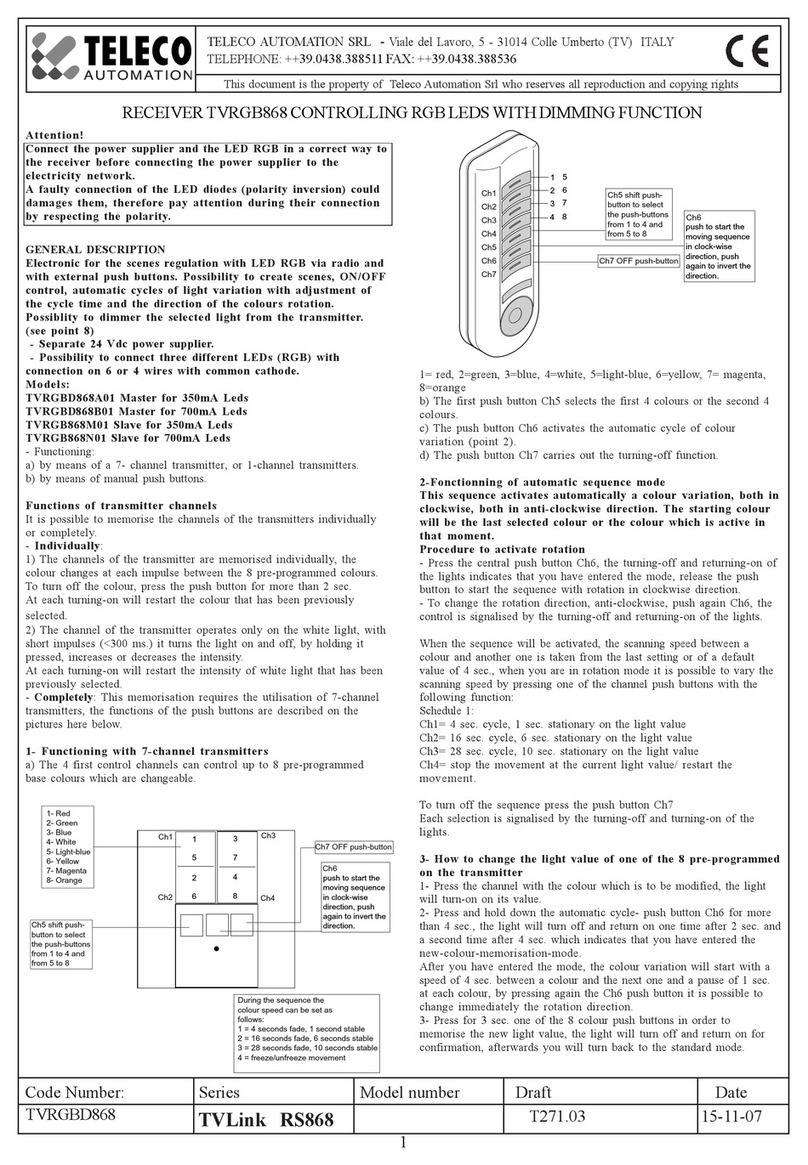
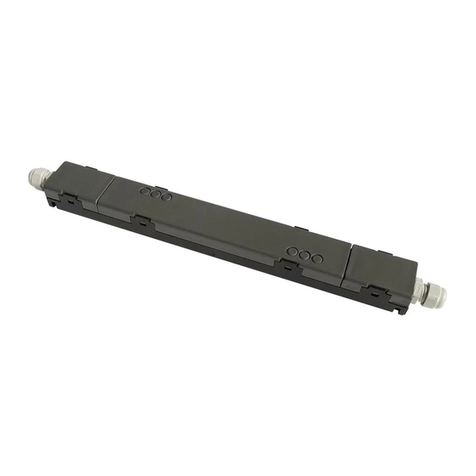
  9. TELECO AUTOMATION T474.02 User manual

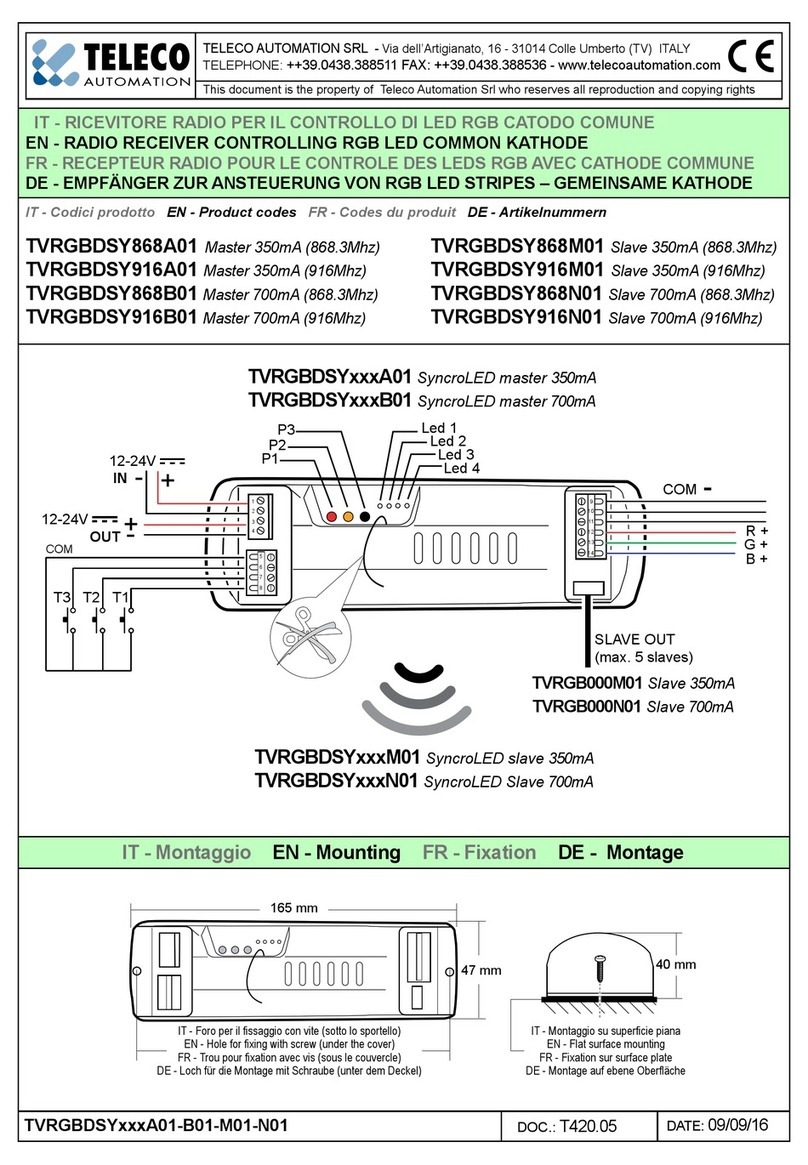
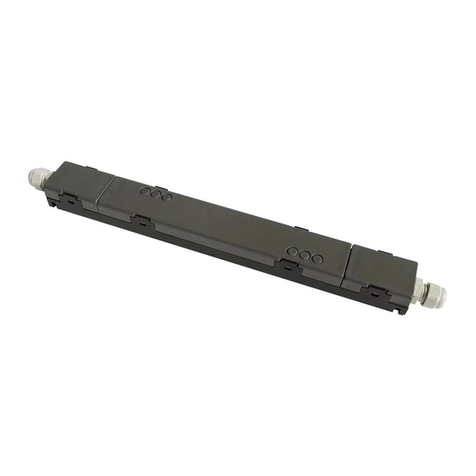
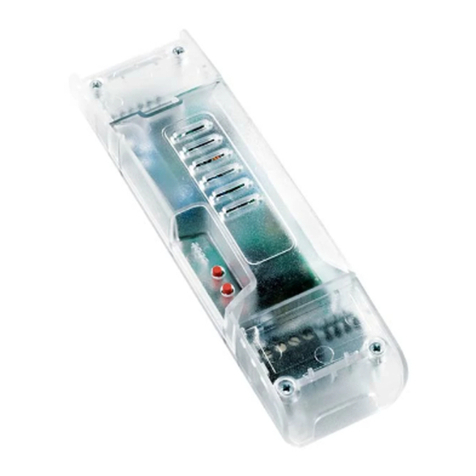
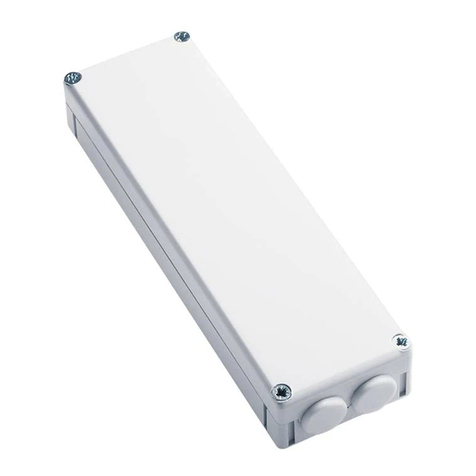
TELECO AUTOMATION T474.02 User manual

1
Code Number: Model number
WISESCENE OCTO
LN
P
RLC
LOAD
LN
P
RLC
LOAD
RLC
LOAD
P1 push-button
T474.02 29/10/2018
Led
P2 push-button
1- CONNECTIONS
power supply phase
power supply neutral
n.o. mechanical
push button
load or
dimmable
transformer
n.o. mechanical
push button
power supply phase
power supply neutral
Mode 2:
connection with mechanical
push button connected to the load
Mode 3:
connection with mechanical
push button connected to the
power supply (phase)
power supply neutral
power supply phase
Mode 1:
connection without
mechanical push button
load or
dimmable
transformer
load or
dimmable
transformer
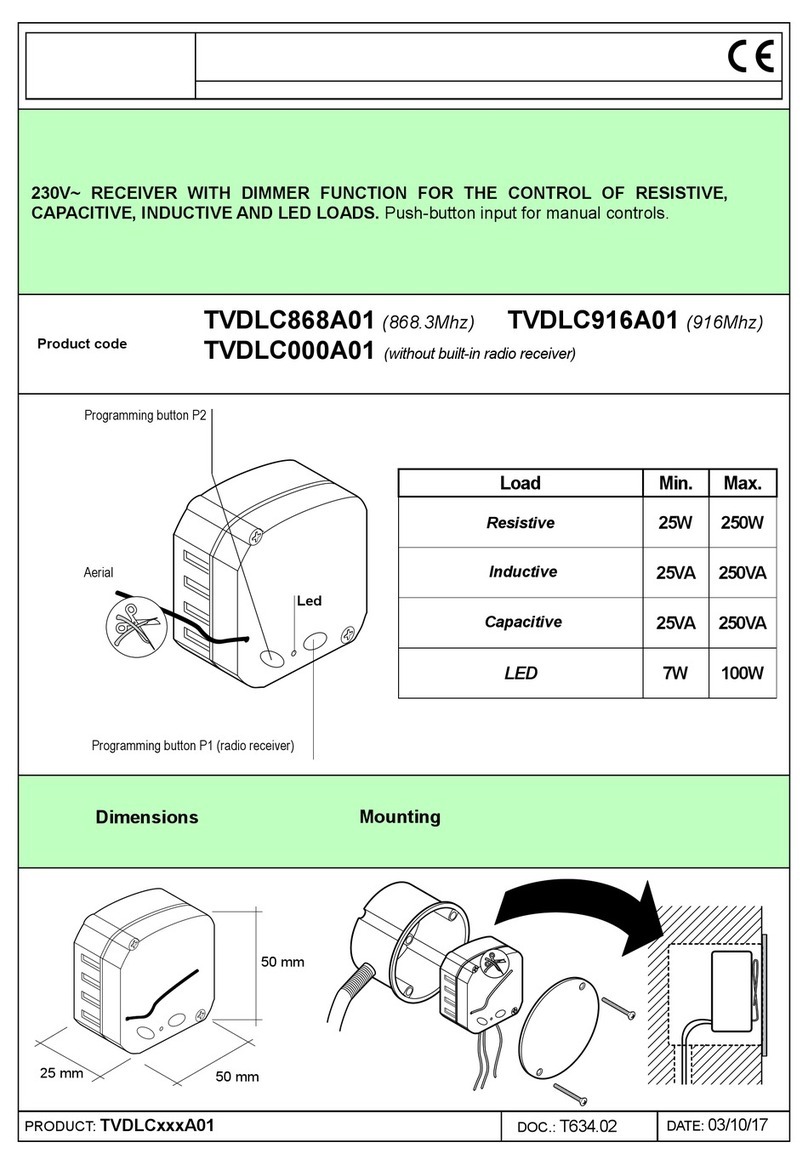
Dimmer for the manual or radio control of
resistive, inductive and capacitive loads.
Minimum power 25W
Maximum power 250W
Resisitive load
Halogen and incandescence lamps
230V: max 250W
Inductive load: max 250VA
Capacitive load:
electronic transformers: max 250VA
push-button input
load output
power supply
DIMMER RADIO RECEIVER FOR R, L, C LOADS
MR RESISTOR
Teleco Automation
Not for uorescent lamps.
2
3- Activation-deactivation memory of last value of light (light memory)
With memory function activated, by controlling the load in ON/OFF mode, at the
time of turning on the light respects the values it had before turning off.
With memory function deactivated, at the time of turning the light on the light is
set on the maximum value.
The memory function is deactivated by using the 7-channel transmitter.
Press four times and hold down the push buttons P2 of the receiver. The led
ashes and the buzzer makes a beep each time.
- the led will ash 2 times if the function will be activated;
- the led will ash 4 times if the function will be deactivated.
This function allows to set the minimum level of brightness that can be
reached by the dimmable load.
1- Regulate the minim brightness to the level desired
2- Press the push button P2 once and hold it down. The led ashes and the
buzzer makes a beep each time.
The memorization of the minimum level is indicated by 10 led ashes and
beeps.
To reactivate the minimum level of brightness to the default level, press the
push button P2 once and hold it down. The led ashes and the buzzer makes a
beep each time.
The memorization of the default level is indicated by 3 led ashes and beeps.
once and hold down
2- To program the minimum level of brightness
2.1- Special setting to control LED loads.
This setting is used to improve the control of LED loads when there is a
icker of light.
Press twice and hold down the push buttons P2 of the receiver. The led
ashes and the buzzer makes a beep each time.
- the led will ash quickly 15 times if the function will be activated;
- the led will ash slowly 3 times if the function will be deactivated.
N.B. if there is a change of load it is necessary to deactivate the “LED”
function.
P2
led
twice and hold down
4- Mechanical push button manual operation
Short impulses (<800 ms.) it turns the light on and off,
Long impulses (>800 ms.) it increases or decreases the intensity.
P2
led
P2
led
four times and hold down
3
CH1
CH2
CH3
CH4
CH5
CH6
CH7
2- During the sound, press the push-button which
has to be memorised; the memorization is indicated
by the quick ash of the led and by quick beeps.
CH1
CH2
CH3
CH4
telecomando
transmitter
1- Press the push button P1 twice and
hold it down, the led ashes and the
buzzer makes a beep each time you
press; at the end the led remains lit and
the buzzer makes a continuous sound.
P1
led
1- Press the push button P1 once
and hold it down, the led ashes
and the buzzer makes a beep each
time you press; at the end the led
remains lit and the buzzer makes a
continuous sound.
2- During the sound, press one push button,
of the 7-channel transmitter which has to be
memorized, the memorization is indicated by
the quick ash of the led and by quick beeps.
All the push-buttons of the transmitter are
automatically memorized.
once and hold
P1
led
5- TRANSMITTER MEMORIZATION
ATTENTION: The rst transmitter can only be memorized using the receiver.
In the rst 4 push buttons it is possible to memorise 4 different light intensity values.
With the push buttons CH5 and CH6 it is possible to adjust the light intensity and with push button CH7
the light will turned off.
5.1- To memorise 7-channel transmitters - Complete
available only for 7 or 42
channels transmitter
Luminosity at 100%
Luminosity at 75%
Luminosity at 50%
Luminosity at min
Dim +
Dim -
OFF: turn off the light
Luminosity at 100%
Luminosity at 75%
Luminosity at 50%
Luminosity at min
CH5 Dim +
CH6 Dim -
CH7 OFF:
turn off the light
5.2- To memorise one transmitter push-button with on/off/dimmer function
with short impulses (<800 ms.) it turns the light on and off, by holding it pressed, it increases or
decreases the intensity.
twice and hold
If you change the type of load it is necessary to reset the light intensity values
memorized in the rst 4 push-buttons of the 7-channel transmitters.
4
CH5: Dim +
CH6: Dim -
CH7: On/Off
2- During the sound, press the push-button
which has to be memorised; the memorization is
indicated by the quick ash of the led and by quick
beeps.
1- Press the push button P1 four times
and hold it down, the led ashes and the
buzzer makes a beep each time you press;
at the end the led remains lit and the buzzer
makes a continuous sound.
P1
led
2- During the sound, press the push-button
which has to be memorised; the memorization is
indicated by the quick ash of the led and by quick
beeps.
1- Press the push button P1 ve times
and hold it down, the led ashes and
the buzzer makes a beep each time you
press; at the end the led remains lit and
the buzzer makes a continuous sound.
P1
led
2- During the sound, press the push-button
which has to be memorised; the memorization
is indicated by the quick ash of the led and by
quick beeps.
1- Press the push button P1 three times
and hold it down, the led ashes and the
buzzer makes a beep each time you press;
at the end the led remains lit and the buzzer
makes a continuous sound.
P1
led
transmitter
transmitter
transmitter
5.3- To memorise one transmitter push-button with ON function
The push-button memorised with ON function turns on the light.
3 times and hold
4 times and hold
5.4- To memorise one transmitter push-button with OFF function
The push-button memorised with OFF function turns off the light.
5.5- To memorise 3 channel transmitters
The push buttons of the memorized transmitter will have the following functions: CH5 increases the level of
brightness, CH6 decreases the level of brightness, CH7 turns ON or OFF the light.
5 times and hold
5
CH1
CH2
CH3
CH4 CH7
CH1
CH2
CH3
CH4
CH5
CH6
CH7
6- To change the level of light intensity of the 4 push button of the 7-channel transmitter from receiver
This procedure allows to modify the level of brightness set in the rst 4 channels of a 7-channel transmitter
through the external mechanical push buttons of the receiver.
The procedure can also be used when a transmitter is memorized in more than one receiver, varying in every
single receiver the value of light (without setting the identifying number in every receiver).
transmitter
transmitter
adjust new light value by mechanical push-buttonpress the button to modied press and hold more than 5s
3- Press and hold down the CH7 push button
for 5 sec., during this time the load will turn
off; After 5 sec. the led ash quickly for 5 sec.
and the load will turn on at the new value.
1- Press the push button to be
modied
2- Regulate the new value with
the external mechanical push-
buttons.
6.1- To change the level of light intensity of the 4 push button of the 7-channel transmitter from transmitter
Case 1: one 7-channel transmitter memorised on one dimmer receiver
2- Hold down the CH7 push button for 5 sec.,
during this time the load will turn off;
- after 5 sec. the led 1 turns on for 5 sec. and
the load will turn on at the new value.
2- Adjust the new value with the
two push buttons Ch5 Ch6;
adjust new light value
1- Press the push button to be
modied
press the button to modied press and hold more than 5s
transmitter transmitter transmitter
6
2- Press the push button Ch5 or Ch6
of the transmitter in order to select a
dimmer.
The selected dimmer will be the one
with the turned-off light;
If the light intensity of the selected
select the receiver
1- Press and hold one of the rst
4 channels of the transmitter
concerned for 5 seconds down. The
light turning-off and turning-on.
press and hold down for 5s
3- Press the push button of the
scene which has to be modied.
The dimmer turns on at the
maximum value, while the others
remain turned-on and blocked.
press the push button to modied
CH1
CH2
CH3
CH4
CH1
CH2
CH3
CH4
5- Press the push button Ch7 OFF to exit and
memorise the new scene. The memorisation is
signalised by the turning-off and turning-on of
the charge at the memorised value.
With this operation all the other dimmers will
be unblocked and will return to the state in
point 2.
adjust new light value press the push button
CH5
CH6
CH7
In order to modify the scene
of another dimmer, repeat the
points 2-6.
6. Press the push button Ch7
OFF to exit the procedure; all
lights will turn off.
transmitter transmitter transmitter
transmitter transmitter
CH5
CH6
4- Set with the push buttons Ch5 and
Ch6 the new light value, or pushing
push button to be modify (ex. CH1)
it is possible to select the ON,
OFF(wait 3 sec for the turning off)
or Unaffected value (not working).
The passage from the OFF to the
Unaffected function is signalised by
one ash.
dimmer is above 50%, the light will turn off, otherwise if the light is lower than 50% the
light turns on and then turns off. In each dimmer is set an identication number which
corresponds to the number of pressings of the push button Ch5 (see “set the identication
number of a receiver”).
Case 2: (more receivers have memorised the same 7-channel transmitter)
In the case that several receivers have the same 7-channel transmitter memorised, and each receiver must have a
different value of light intensity, proceed with the programming of the identication number of the receiver. Once the
identication number is programmed it is possible to select the desired receiver by means of the push buttons.
To set an identication number of a receiver:
The identication number associated to the dimmer is displayed by means of the red led and green led: the ashings of
the green led represents the tens and the ashings of the red led represents the ones.
1. Press the push button P2 three times and hold it down the led ashes and the buzzer makes a beep each time you
press. Release the button.
2. After approximately one second the green led and the red led start ashing in order to indicate the identication
number associated to the receiver. For example: if the associated number is 13, the green led ashes once and the red
led ashes 3 times.
3. With a 7-channel transmitter (already memorized in the receiver) press push-button CH5 to increase the value if the
identication number or push-button CH6 to decrease it, to reach the number you want to associate to the dimmer. A
maximum of 20 identication numbers are allowed.
4. Memorize the set identication number and exit the procedure by pressing for more than 2 seconds push-button CH7,
or make a short push to exit without saving. The led will ash once.
This operation has to be done in every receiver that has the 7 channel transmitter in common.
If the procedure of
scenario changing does
not arrive to point 6, after
60 minutes the receiver
will return to normal
operation mode.
7
1- Press the push button P1 seven times and hold it down for 10sec.;
(the led ashes and the buzzer makes a beep each time you press)
the led will ash quickly and the buzzer will make quick beeps.
At the end the led remains lit and the buzzer makes a continuous sound.
Release the button.
2- During the sound, press the push-button
which has to be deleted; The led remains
lit and the buzzer makes a continuous
sound.
P3
3- During the sound press
the push-button of the new
transmitter which has to be
memorised; the memorization
is indicated by the quick ash
of the led and by quick beeps.
memorized
transmitter
memorized
transmitter
new transmitter
1- Press the push button P1 six times and
hold it down, the led ashes and the buzzer
makes a beep each time you press; at the
end the led makes a slow ash and the
buzzer makes slow beeps.
P1
led
P1
led
The new transmitter will have the same functions of the transmitter used for its memorization.
1- Press the button P3 located
inside the already memorized
transmitter. The led remains
lit and the buzzer makes a
continuous sound.(the push button
P3 is locate inside the transmitter,
see transmitter manual)
2- Within 5 seconds press a push
button of the already memorized
transmitter which has to be copy
the function. The led and the
buzzer turn off for 1 sec, and then
they turn on for 5 seconds.
8.1- TO DELETE all transmitters
8- TO DELETE a transmitter
7- To copy a function of transmitter push-button to a new transmitter
6 times and hold
7 times and hold
new transmitter
8
50 mm
50 mm25 mm
DIMENSIONS
antenna
cover
receiver
wall
area for electrical
connection
electrical
cables
embedded electrical box
- Warning
Attention
The subject appliance must be installed only by qualied technical personnel in compliance with
the standards. All connections must be rated for a single-phase power supply of 230V. For the
disconnection from the power line, use an all-pole switch with contact with an opening of at least
3,5mm. Only suitable materials for the connections must be used to guarantee insulation that
complies with current standards on the subject of electrical safety. All the necessary safety devices
are to be seen to separately. In the connection to power line and to outputs follow the indications
of line and neutral. Ground connection must be provided separately.
Technical specications
- Power supply 230V 50/60Hz +/-10%
- Minimum adjustable load 25 W
- Maximum adjustable load 250 W
- Load type R,L,C
- Frequency radio part 868.3 MHz
- Modulation FSK
- Consumption on standby 0.8W
- Cable sections in input and output max 1,5 mm2
- Internal thermic protection with auto-reset.
- Electronic control of the load status.
- Possibility to memorise up to 16 standard transmitters.
In the view of a constant development of their products,
the manufacturer reserves the right for changing technical
data and features without prior notice.
The wires must be xed by means of an additional fastening nearby the terminals; this fastening has to be done by qualied
technical personnel during the installation phase.
The manufacturer, Teleco Automation s.r.l, declares that the type of radio equipment is compliant with Directive 2014/53/EU.
The full text of the EU compliance declaration is available at the following Internet address: www.telecoautomation.com/ce.
INFORMATION TO USERS under art. 14 of the 2012/19/EU DIRECTIVE OF THE EUROPEAN PARLIAMENT AND COUNCIL
of 4 July 2012 on waste electrical and electronic equipment (WEEE). The crossed bin symbol on the equipment, or its
packaging, indicates that the product must be collected separately from other waste at the end of its useful life and not
with mixed urban waste. Please contact your municipality, or local authority, for all information regarding the waste sorting
systems available in the area. The retailer is obliged to collect the old equipment free-of-charge when the customer buys
a new equivalent equipment. This is to encourage correct recycling/disposal. Appropriate waste sorting for the subsequent
recycling,reatment and disposal in an environmentally sound way of the disused equipment avoids negative effects on the
environment or human health and favours the re-use or recycling of the equipment’s materials.
Product of Teleco Automation - Italy - www.telecoautomation.com

Other TELECO AUTOMATION Receiver manuals

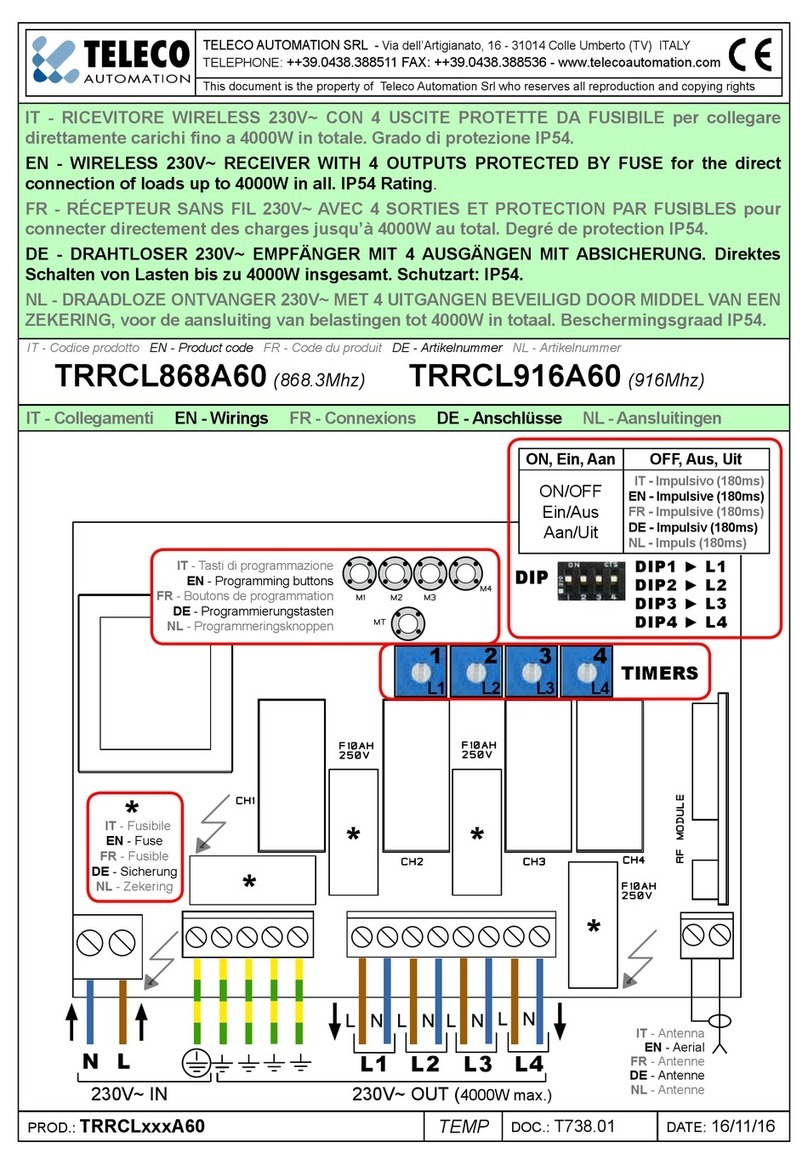
TELECO AUTOMATION TVPRS868A01 User manual

TELECO AUTOMATION

TELECO AUTOMATION TVPRS868A01 User manual

TELECO AUTOMATION TVPRS868A04B User manual

TELECO AUTOMATION

TELECO AUTOMATION TVPRS868A04B User manual

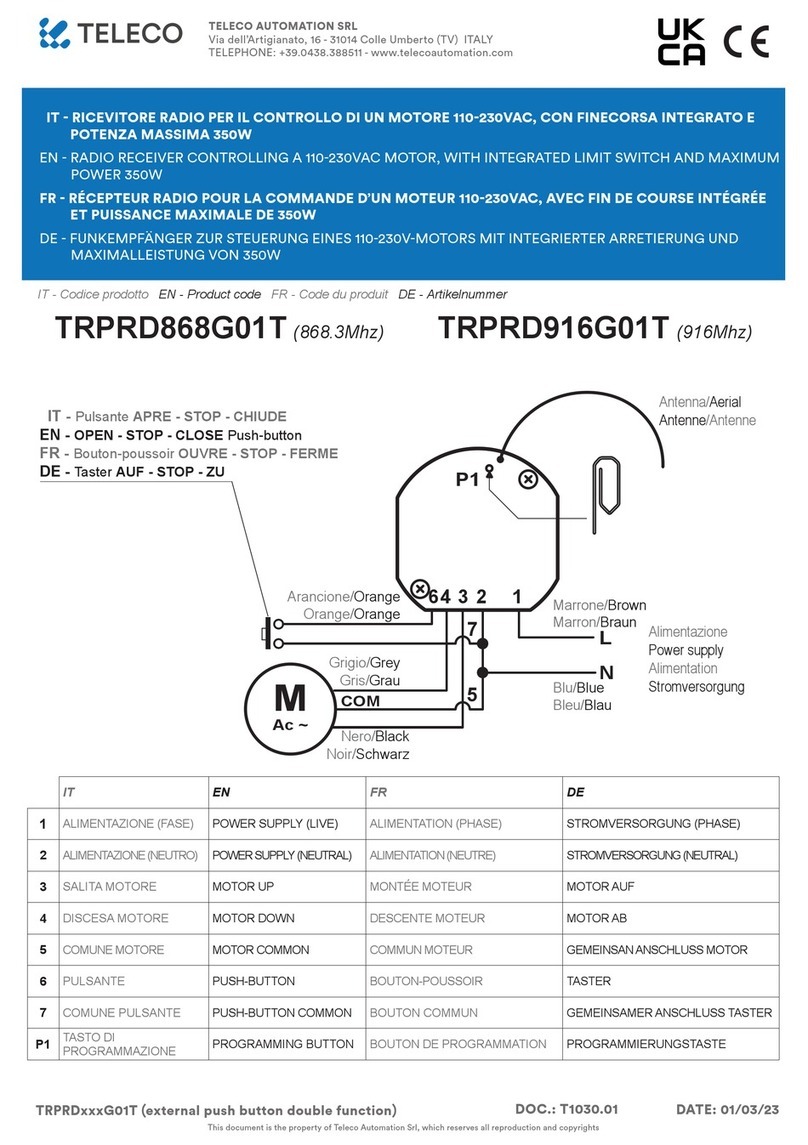
TELECO AUTOMATION TRPRD868G01T User manual

TELECO AUTOMATION

TELECO AUTOMATION TRPRD868G01T User manual

TELECO AUTOMATION TVHET A06 Series User manual

TELECO AUTOMATION

TELECO AUTOMATION TVHET A06 Series User manual

TELECO AUTOMATION TVRRL868GS02 User manual

TELECO AUTOMATION

TELECO AUTOMATION TVRRL868GS02 User manual

TELECO AUTOMATION TRRCL868A60 User manual

TELECO AUTOMATION

TELECO AUTOMATION TRRCL868A60 User manual

TELECO AUTOMATION TVSTRD868SI24G User manual

TELECO AUTOMATION

TELECO AUTOMATION TVSTRD868SI24G User manual

TELECO AUTOMATION TVRGBDSY868A01 User manual

TELECO AUTOMATION

TELECO AUTOMATION TVRGBDSY868A01 User manual

TELECO AUTOMATION TVLink RS868 User manual

TELECO AUTOMATION

TELECO AUTOMATION TVLink RS868 User manual

TELECO AUTOMATION TVHET868A07 User manual

TELECO AUTOMATION

TELECO AUTOMATION TVHET868A07 User manual

TELECO AUTOMATION TVVTL868A01 User manual

TELECO AUTOMATION

TELECO AUTOMATION TVVTL868A01 User manual

TELECO AUTOMATION TVHET868A02 User manual

TELECO AUTOMATION

TELECO AUTOMATION TVHET868A02 User manual

TELECO AUTOMATION TVLSTRD868SI24G User manual

TELECO AUTOMATION

TELECO AUTOMATION TVLSTRD868SI24G User manual

TELECO AUTOMATION TVRGBDU868NT24 User manual

TELECO AUTOMATION

TELECO AUTOMATION TVRGBDU868NT24 User manual

TELECO AUTOMATION TVHET868B01 User manual

TELECO AUTOMATION

TELECO AUTOMATION TVHET868B01 User manual

TELECO AUTOMATION TVHET868A01 User manual

TELECO AUTOMATION

TELECO AUTOMATION TVHET868A01 User manual

TELECO AUTOMATION TVRGBDU868NT24 User manual

TELECO AUTOMATION

TELECO AUTOMATION TVRGBDU868NT24 User manual

TELECO AUTOMATION TVDLC868A01 User manual

TELECO AUTOMATION

TELECO AUTOMATION TVDLC868A01 User manual

TELECO AUTOMATION TVRCD868A01 User manual

TELECO AUTOMATION

TELECO AUTOMATION TVRCD868A01 User manual

TELECO AUTOMATION TVDLC868A01 User manual

TELECO AUTOMATION

TELECO AUTOMATION TVDLC868A01 User manual

TELECO AUTOMATION TVSTRD868NT24 User manual

TELECO AUTOMATION

TELECO AUTOMATION TVSTRD868NT24 User manual

Popular Receiver manuals by other brands

Sound Storm M305A user manual

Sound Storm

Sound Storm M305A user manual

EchoStar DSB-709 FTA user manual

EchoStar

EchoStar DSB-709 FTA user manual

Motorola DCH200 user guide

Motorola

Motorola DCH200 user guide

Integra DTR-80.1 instruction manual

Integra

Integra DTR-80.1 instruction manual

Harman Kardon AVR 240 quick start guide

Harman Kardon

Harman Kardon AVR 240 quick start guide

Sharp MD-R3H Service manual

Sharp

Sharp MD-R3H Service manual

Creative Blaster Modem user guide

Creative

Creative Blaster Modem user guide

PCB Piezotronics ICP JM353B16 Installation and operating manual

PCB Piezotronics

PCB Piezotronics ICP JM353B16 Installation and operating manual

Grundig DCR 1744 CO user manual

Grundig

Grundig DCR 1744 CO user manual

Pioneer SC-LX73 operating instructions

Pioneer

Pioneer SC-LX73 operating instructions

Kathrein UFS 900sw operating manual

Kathrein

Kathrein UFS 900sw operating manual

GAMA Electronics RF120VPRDC-NIS instruction manual

GAMA Electronics

GAMA Electronics RF120VPRDC-NIS instruction manual

Sherwood Newcastle R-965 operating instructions

Sherwood

Sherwood Newcastle R-965 operating instructions

Merlin CM8002ANZ-1 quick start guide

Merlin

Merlin CM8002ANZ-1 quick start guide

Harman Kardon AVR 110 Specifications

Harman Kardon

Harman Kardon AVR 110 Specifications

Linear Access Pro AP-1 installation instructions

Linear

Linear Access Pro AP-1 installation instructions

Marantz SR8000 Specifications

Marantz

Marantz SR8000 Specifications

Listen LR-600 user manual

Listen

Listen LR-600 user manual

manuals.online logo
manuals.online logoBrands
  • About & Mission
  • Contact us
  • Privacy Policy
  • Terms and Conditions

Copyright 2025 Manuals.Online. All Rights Reserved.