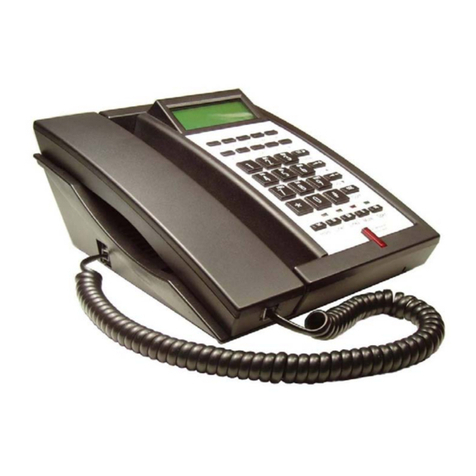
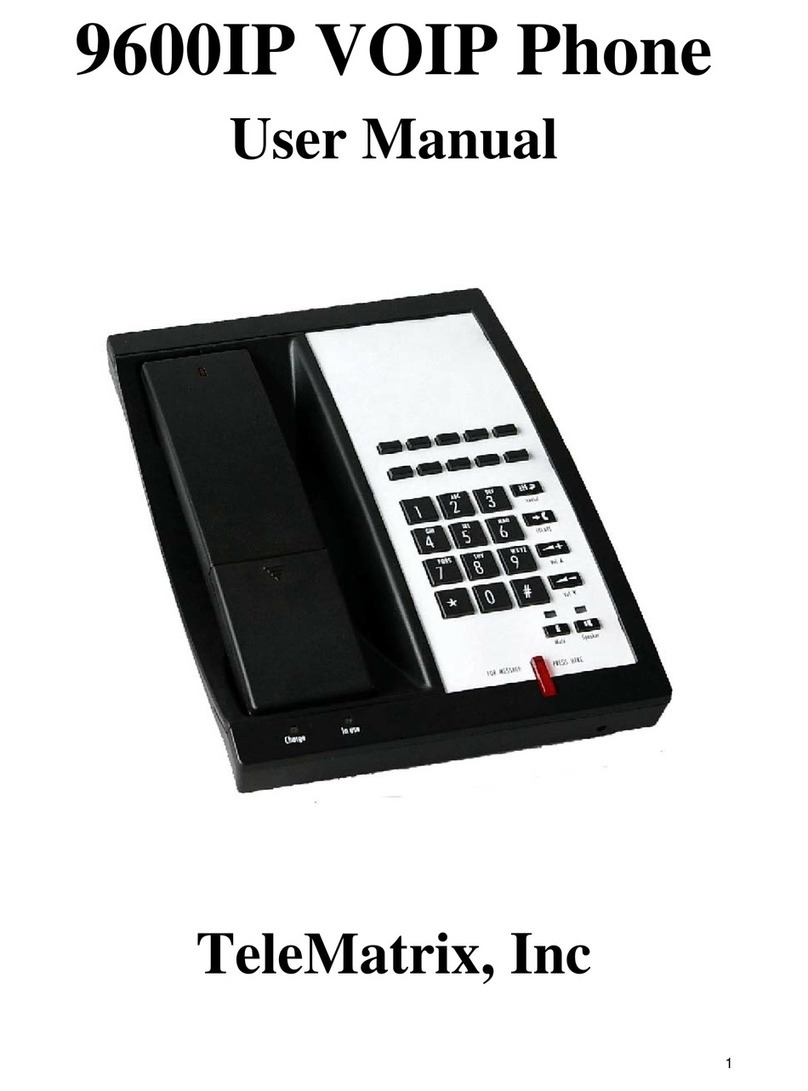
Telematrix 9602IPMWD User manual

VoIP Phone
User Manual
For model:
9602IPMWD
9602IPMWD5
9600IPMWD
9600IPMWD5
Version: V2.0

1 INTRODUCTION ..................................................................................................5
1.1 Hardware overview .................................................................................................5
1.2 Software overview ...................................................................................................5
2 PHONE MENU SETTINGS .................................................................................7
2.1 Key features ............................................................................................................7
3 THE OPERATION METHOD OF TELEPHONE .............................................
3.1 How to make a phone call? .....................................................................................
3.1.1 Basic call ..............................................................................................................9
3.1.2 Hold key................................................................................................................9
3.1.3 Volume control ....................................................................................................
3.1.4 Mute......................................................................................................................9
3.1.5 Memory key ........................................................................................................10
3.1.6 Tripartite meeting features .................................................................................10
3.1.7 Transfer ...............................................................................................................10
3.1.8 call park
...............................................................................
3.1.9 Redial ..................................................................................
3.1.10 Register the Handset .........................................................................................10
3.1.11 Toggle between Base Unit and Handset............................................................ 11
4 WEB SET.............................................................................................................. 11
4.1 Home Page.............................................................................................................11
4.2 Network Setting .....................................................................................................12
4.2.1 W
AN Setting .......................................................................................................12
4.2.1.1 Basic Setting ....................................................................................................13
4.2.1.2DHCP................................................................................................................13
4.2.1.3Static IP Setting.................................................................................................14
4.2.1.4 PPPoE Setting ..................................................................................................14
4.2.1.5 802.1x settings .................................................................................................14
4.2.1.6 LLDP settings ..................................................................................................14
4.2.2LAN Settings .......................................................................................................15
4.2.2.1 LAN Settings ...................................................................................................15
4.2.2.2 NAT..................................................................................................................16
4.3 V
oIP SETTING ......................................................................................................16
4.3.1 Primary Register .................................................................................................16
4.3.2 Audio Setting ......................................................................................................18
4.3.3 Call Feature.........................................................................................................20
4.3.4 Dial Rule .............................................................................................................22
4.3.5 Multicast Paging .................................................................................................24
4.3.6 Advanced Settings...............................................................................................25
4.4 QoS setting
.............................................................................................................25

4.5 Provisioning
...........................................................................................................26
4.6 System Settings......................................................................................................28
4.6.1 Syslog Server ......................................................................................................28
4.6.2 Time Settings ......................................................................................................29
4.6.3 User Management ...............................................................................................30
4.6.4 System Actions....................................................................................................31
4.6.5 DECT ..................................................................................................................31
5SHORTCUT KEYS .............................................................

Function
1. Support DHCP automatic distribution of IP addresses and other parameters
2. Support PPPOE agreement (ADSL, cable modem access use)
3. The program can be upgraded via HTTP, HTTPS, FTP or TFTP
4. Dynamic voice detection; comfort noise generation; voice buffer technology
5. Hold function
6. Speed dial
7. DND (Do Not Disturb), blacklist, call restriction, hotline function
8. Voicemail
9. Using a standard web browser (such as IE) for setting
10. SSH remote management function
11. Classified management for common user password and remote user password
12. Support * * code function
13. Call Waiting Feature
14. Auto answer
15. Call park
16. Call transfer
17. Tripartite conference
18. 802.1x Authentication
19. LLDP Feature
Standard and Protocols
◆IEEE802.3/802.3u10 Base T/100Base
◆PPPoE: Point to point protocol over Ethernet
◆DHCP Client and Server: Dynamic Host Configuration Protocol
◆Support
G.711a/u, G.729, G.723.1, G.722, iLBC speech encoding algorithm
◆SIP RFC3261, RFC2543
◆TCP/IP: Internet transmission control protocol
◆RTP: Real-time Transfer Protocol
◆RTCP: Real-time Control Protocol
The phone started, get Provisioning Server address by DHCP Server, then the phone LED lights flashing, and issued a
"beep beep" prompt tone, "Config ID". Through the digital keyboard input after the ID, and then enter the "#", then
the opportunity to Provisioning Server automatically load the configuration file, automatically restart after the
success; if this fails, then the opportunity to enter the default standby state, after 15s can log on; if you do not want to
download directly into the standby state # by default. If you do not complete the download, or download the
configuration file in the AutoUpdate Settings config ID no configuration parameters, will still be asked to enter
"Config ID" after the restart.
After the phone has entered the default state, you can have the phone to broadcast the IP address by pressing “**47#”.

◆VAD/CNG: can save bandwidth
◆TFTP: Trivial File Transfer Protocol
1. INTRODUCTION
This is the 9602IP network telephone user manual. Before the use of 9602IP phone, you need to make
some phone configuration for normal use. This book illustrates how to use keyboard and Web phone
service configuration page.
1.1 HARDWARE OVERVIEW
The default WAN port is a DHCP client, the user connects it to the ADSL or WAN port switch, LAN
port connects to the computer; you can use the administrator username "admin" and password "admin"
to set the login password.
Only WAN port supports POE.
1.2 SOFTWARE OVERVIEW
Network Protocol Tone
SIP v2(RFC3261)
IP/TCP/UDP/RTP/RTCP
IP/ICMP/ARP/RARP/SNTP
TFTP Client/DHCP Client/PPPOE
Client
Telnet/HTTP Server
DNS Clients
Ring Tone
Ring Back Tone
Dial Tone
Busy Tone
Phone Function
V
olume Adjustment
Speed dial key
Codec
G.711a
G.711u:
G.723.1:
G.729
G.722
iLBC
IP Assignment
IP (Static IP)
DHCP
PPPoE
V
oice Quality Security
VA D :Voice activity detection
AGC:Automatic Gain Control
AEC:Automatic Echo Cancellation
SRTP: Secure Real-time Transport
Protocol
HTTP 1.1 basic/digest authentication
for Web setup
MD5 for SIP authentication
(RFC2069/RFC2617)
QoS
QoS field

Call Function NAT Traversal
Call Hold
Call Waiting
Call forward
Caller ID
STUN
Configuration
Web Browser
Keypad
DTMF Firmware Upgrade
IN Band
RFC2833
SIP Info
TFTP
HTTP
FTP
HTTPS

2 PHONE MENU SETTINGS
Using the web configuration page: familiar with the PC user can use the method
to configure the phone. Sequentially press the "**47#" button, then the phone will
voice broadcast address IP. Directly in the browser address bar entering the
address of the IP phone can log in web page, enter the login name: admin,
password: admin
2.1 KEY FEATURES
The user can use the table below to confirm the key and hardware function.
Key function on base unit:
Key State Function / Display
Volume + Conversation Increase
the volume
Volume - Conversation Decrease
the volume
Message Dialing Listen to the voice message
LOCATE Dialing Page the handset
Speaker Conversation Toggle between handset and speakerphone
Mute Conversation Mute
Redial Dialing The last number redial and call
Hold Conversation Hold or release hold or Park key
M1~M10 Dialing Speed dial and call or secondary function
Line1 Stand-by Line1 state (only for two-line model)
Line2 Stand-by Line2 state (only for two-line model)
1 Dialing “1”
2 Dialing “2”
3 Dialing “3”
4 Dialing “4”
5 Dialing “5”
6 Dialing “6”
7 Dialing “7”
8 Dialing “8”
9 Dialing “9”
0 Dialing “0”
* Dialing “*”
# Dialing Can be used as the first number dialing out or
equivalent dial end tag
Key function on handset:
Key State Function / Display

Volume+ Conversation Increase the receiver volume
Stand-by Increase the ringer volume
Volume- Conversation Decrease the receiver volume
Stand-by Decrease the ringer volume
Line1 Stand-by Line1 state (only for two-line model)
Line2 Stand-by Line2 state (only for two-line model)
Mute Conversation Mute
Redial Dialing
The last number redial and call
Hold/Conf Conversation Hold or release hold or Park key
Two lines on hold Achieve Conference function (only for two-line model)
FNC/Flash Conversation Achieve Transfer function
Speaker Conversation Only M series supports it
1Dialing “1”, press and hold for 3s to pick up the voice message
2Dialing “2”, press and hold for 3s to dial out the number in M6
3Dialing “3”, press and hold for 3s to dial out the number in M7
4Dialing “4”, press and hold for 3s to dial out the number in M8
5Dialing “5”, press and hold for 3s to dial out the number in M9
6 Dialing “6”, press and hold for 3s to dial out the number in M10
7 Dialing “7”
8 Dialing “8”
9 Dialing “9”
0 Dialing “0”
* Dialing “*”
# Dialing
Can be used as the first number dialing out or
equivalent dial end tag

3 THE OPERATION METHOD OF TELEPHONE
3.1 HOW TO MAKE A PHONE CALL?
You could make a phone call after the phone configuration items are set up. Please check if the
cable is properly connected before use.
3.1.1 Basic call
1. Making the call by handset
After the handset is placed off-hook, dial and use “#” key as the end dialing symbol.
2. Making the call by speakerphone
After the phone is placed off-hook, dial and use “#” key as the end dialing symbol.
3.1.2 Hold Key
1. You can keep and release the call of current line. The only one line is presently in a call, the
other line must be placed on hold.
1) Place the call of one line on hold
Make sure that the call you want to keep is enabled, then press "Hold" key.
2) Release Hold
Make sure that the call is initiated, then press "Hold" key.
2. Call Park Function
Initiate the call park function, Hold key can be used as a Park key.
3.1.3 Volume Control
Press “VOL▲” to increase the volume, while press “VOL▼” to decrease the volume.

3.1.4 Mute
During the call, if you do not want to let them hear your own voice, you can press "Mute" key, so
that the other party cannot hear your voice, and you can hear the sound of other end.
3.1.5 Memory Key
In addition to serving as a storage function, but also can be used as hold, DND, transfer and
conference function. See the web call feature function set.
3.1.6 Tripartite Conference Function
If the phone is Line1 hold, line2 in the call, press the conference key, which can achieve three
party conference.
During the three party conference, the base unit and handset cannot be switched each other.
3.1.7 Transfer
The telephone is in conversation with A, A wants to call B, you can press the Transfer key, and
then call B, press the Transfer button again after B hooking off, the transfer function can be
achieved.
3.1.8 Call Park
After the call park feature is enabled, and Hold Key Active and Idle Hold Key related parameters
are configured, we can perform the function of park. This function is only applicable to the base
unit.
3.1.9 Redial
After the base unit is stand by or the handset is off-hooked, press Redial key, the last dialed
number will be dialed out to achieve the redial function.
3.1.10 Register the Handset
Place the handset into the cradle of base unit. The “Message” LED on base unit will
blink. Initiate the handset registration. The “Message” LED on handset will also begin
to blink. At that time, if the base unit and handset have found out each other, the

“Message” LED on base unit will stop blinking and the “Message” LED on handset
will also stop blinking and emit the prompt sound of successful registration.
Note: each base unit can register up to 5 handsets.
3.1.11 Toggle between Base Unit and Handset
When the base unit is in conversation, press “Line1”/“Line2” key on handset, the call will switch
over to the handset. If the handset is in conversation, press “SPEAKER” key, the call will switch
over to the base unit.
4 WEB SETTING
The IP phone and the computer are connected to the same network (LAN), open the browser, enter
the IP address of the phone, the page will request to input a username and password. Enter your
username and password to login as administrator.
4.1 HOME PAGE
Enter the user name and password, the page is shown below:

4.2 NETWORK SETTING
You can get the network information of phone in the page.
4.2.1 WAN Setting
WAN port setting page.
WAN port supports the static IP, dynamic allocation IP and PPPoE.

4.2.1.1 Basic Setting
Basic Setting
Network Mode Select the network mode of WAN port; the default is DHCP
Link mode Configure the WAN port network connection mode
Primary DNS Set the main DNS address
Secondary DNS Set the secondary DNS address
4.2.1.2 DHCP
If your local network has a DHCP server, 3302IP phone can get WAN network
information from the DHCP server.

4.2.1.3Static IP Setting
Static IP setting (WAN port network mode is set to Static IP)
Static IP Address Set static IP address
Subnet Mask Set subnet mask with static IP
Default Gateway Set the default gateway with static IP
4.2.1.4 PPPoE Setting
PPPoE Setting (Required if Network Mode is set to PPPoE)
User Account Set the PPPoE user account
Password Set the PPPoE account password
4.2.1.5 802.1x settings
802.1x settings
802.1x_Enable Enable or disable 802.1x authentication
802.1x_UserName 802.1x username
802.1x_Password 802.1x authentication password
Type Multicast/Broadcast
4.2.1.6 LLDP settings
LLDP settings
LLDP Enable Enable or disable LLDP function
Packet Interval Packet interval

Note: if the user wants to access the phone through the WAN port, then he / she must use the new
IP address to access the phone after changing IP address of WAN port.
4.2.2 LAN Settings
LAN port setting interface
4.2.2.1 LAN Settings
LAN Settings
Link Mode Configure the LAN port network connection mode
WAN/LAN Mirror Enable Whether WAN/LAN mirror mode is enabled
LAN Port Mode The mode of LAN port is Nat/Bridge/Disable

4.2.2.2 NAT
NAT
IP Address IP address of LAN port
Subnet Mask Subnet Mask
DHCP Server DHCP server is enabled or not
IP Pool Start IP address assignment start address
IP Pool End IP address assignment end address
MAX Leases Maximum release time
DNS Relay DNS relay is enabled or not
4.3 VOIP SETTING
You can get SIP account information and registration status of the phone through the page.
4.3.1 Primary Register
Configure the SIP registration information of phone in the below page.

Register Server
Use Service Enable or disable SIP registration
Display Name Set the displayed name of phone's SIP account
User Name Set the username (SIP account)
Authorization User Name Confirm the SIP account
Password Set the password of SIP account
Register Server Port Set the port No. of register server, the default is 5060
Register Server Address Set the IP address or domain name of register server
Domain Realm Set the authentication domain of server
Outbound Proxy Set the proxy server
Register Expire Set the register time in second, the default is 300s
Sip Backup Type Device backup type: Failover/Redundant
Sip Backup Server Set the address of SIP backup server

Protocol Control
MWI Subscribe
Disable: the phone prohibits MWI function. Even if it receives a
NOTIFY from server that there is a new voice mail, the phone will
not have a prompt.
Enable(Subscribe): the phone enables MWI function and will send
SUBSCRIBE. If it receives a NOTIFY from server that there is a new
voice mail, the MWI LED on phone will blink to give a prompt.
Enable(No Subscribe): the phone enables MWI function but will not
send SUBSCRIBE. If it receives a NOTIFY from server that there is
a new voice mail, the MWI LED on phone will also blink to give a
prompt.
Local SIP Port Set the No. of local SIP port. The default is 5060.
Local RTP Port Set the No. of local RTP port. The default is 20000.
Keep Alive Packet Will you keep alive packet or not?
Keep Alive Period Keep alive interval. The default is 60S.
DTMF
Select DTMF mode in 3 options: “RFC2833”, “In band” and “SIP
Info”. The default is RFC2833.
DTMF SIP INFO Mode DTMF out of band detection mode: signal=*/# or signal=10/11
DNS Type DNS type: A request, DNS SRV, NAPTR+SRV
Jitter Buffer Max The jitter buffer maximum. The default is 150.
Anonymous Call Pejection
Will the anonymous call be rejected? The default is disable (namely
no reject).
Session Switch Will the session switch be turned on?
Session Time(Min=90S) Set the session time. The default is 1800S.
Prack
Temporary recovery confirmation. Ensure the reliable transfer of
response of 1XX in SIP.
Support Update Method Supports the update method.
Rport The relocation port has penetrated NAT
Sip Transport SIP transfer protocol: UDP/TCP/TLS
Sip URI SIP call address uses SIP/SIPS
SRTP The safe real-time transfer protocol mode: Optional / Mandatory
4.3.2 Audio Setting
You can adjust the volume of microphone and handset in the page, set the codec.

Audio Setting
Sound and Volume Control
Handset
Configure the handset output volume. The control range is 1~7.
The default is 5.
Speaker
Configure the speakerphone output volume. The control range is
1~7. The default is 5.
Ring Tone Configure the ringer volume. The range is 1~7. The default is 4.
Signal Standard
The signal standard. There are 12 categories in total.
#0: Belgium; 1: China; 2: Germany; 3: Israel; 4: Japan;
#5: Holland; 6: Norway; 7: South Korea; 8: Sweden;
#9: Switzerland;10: Taiwan; 11: USA
Ringer Will the ringer be enabled?
Ringer Type
There are 11 ring tones in total for selection. The default
is Ringer1.
Codec Setting
Codec Priority1~6
Set the codec priority, there are 6 modes as follows:
lG.711a
lG.711u
lG.729
lG.723.1

l iLBC
lG.722
Packet Data Size The packet data size is 20mS by default.
IBLC 15.2k iLBC 15.2kbit/s is enabled or not. The default is disable.
G.723.1 5.3k G.723.1 5.3kbit/s is enabled or not. The default is disable.
Voice VAD/CNG
Voice VAD Enable or disable Mute detection function
CNG Enable or disable the comfortable noise.
Codec ID Settings
DTMF
Payload(RFC2833) DTMF payload. The default is 101.
4.3.3 Call Feature
You can set call feature, create the blocked list and restricted list in this page.
This manual suits for next models
3
Table of contents
Other Telematrix IP Phone manuals
Telematrix
Telematrix 3300IP User manual

Telematrix
Telematrix 3300IP MWB User manual
Telematrix
Telematrix 9600IP User manual
Telematrix
Telematrix 9700IP User manual
Telematrix
Telematrix SIP Phone Instruction Manual

Telematrix
Telematrix NDC2110S User manual

Telematrix
Telematrix MARQUIS 9600 Series User manual

Telematrix
Telematrix IP550 User manual
Telematrix
Telematrix 3300IP-TRM User manual

