manuals.online logo
Brands
  1. Home
  2. •
  3. Brands
  4. •
  5. Televes
  6. •
  7. Antenna
  8. •
  9. Televes 800 User manual

Televes 800 User manual

www.televes.com
Manual de Instrucciones
Manual de Instruções
Manuel d´instructions
User´s Manual
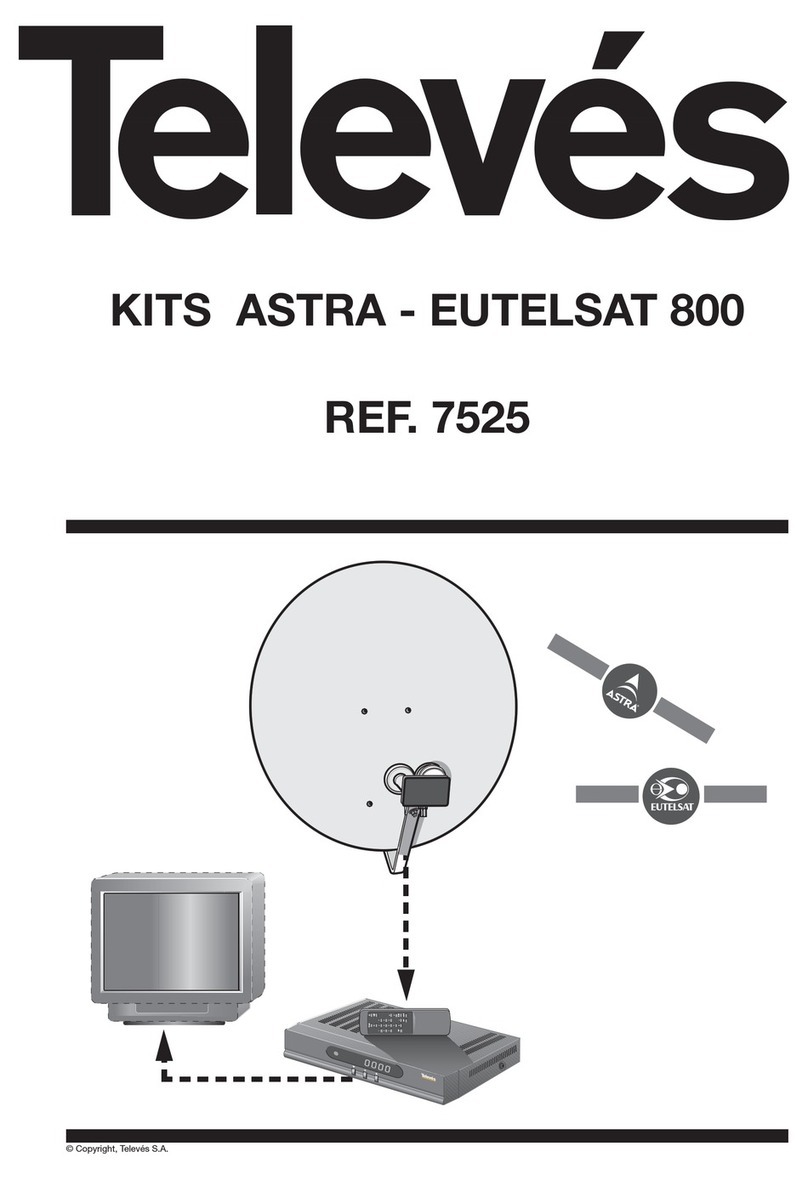
KIT ASTRA - EUTELSAT 800
3
g. 1
g. 3 g. 4
g. 2
g. 6g. 5
MONTAJE DEL DISCO / MONTAGEM DA ANTENA / MONTAGE D´ANTENNE /
DISH MOUNTING INSTRUCTIONS / MONTAGGIO DEL DISCO
4
KIT SAT 800
ES
Colocar el conversor Monoblock en el
soporte de la parábola, obedeciendo las
siguientes condiciones:
Deberá ser jado por el guia ondas co-
rrespondiente al satélite Hot Bird. Este
guía ondas está indicado en la etiqueta
del conversor (g. 10).
Gire el conversor en el sentido de las
agujas del reloj, hasta que el conector de
salida indique las 8:00 horas aprox (g.
11).
PT
Colocar LNB MONOBLOCK no respectivo
suporte de xação, obedecendo às seguin-
tes condições:
Deverá ser xado pelo guia de onda res-
peitante ao satélite Hot Bird. Este guia está
indicado na etiqueta do conversor (g. 10).
Deverá ser rodado no sentido dos pontei-
ros do relógio assinalando o conector de
saída aproximadamente as 08H (g. 11).
MONTAJE DEL LNB / MONTAGEM DO LNB /
MONTAGE DE LA TÊTÊ MONOBLOCK / MOUNTING THE LNB
g. 7 g. 8 g. 9
UBICACIÓN / LOCALIZAÇÃO / EMPLACEMENT / LOCATION / UBICACION
ES
Colocar la antena orientada hacia el Sur
en un lugar libre de obstáculos.
PT
Direccionar a antena para Sul num local li-
vre de obstáculos.
FR
Fixez l’antenne sur un emplacement dé-
gagé vers le sud.
EN
Position the antenna facing towards the
south where there are no obstacles in the
way.
g. 10 g. 11
FR
Placez la tête MONOBLOCK sur le support
de la parabole, en obéissant aux condi-
tions suivantes:
Elle devra être xée par le côté correspon-
dant au satellite Hot Bird. Une étiquette
sur la tête MONOBLOCK vous indiquera
l’endroit exact de xation de la tête (g.
10).
Elle devra être tournée dans le sens des ai-
guilles d’une montre jusqu’à ce que le con-
necteur « f » soit pointé sur 8h00 (g. 11).
EN
Place the LNB on the dish’s support, by fo-
llowing these instructions carefully:
It should be secured by the feedhorn that co-
rresponds to the Hotbird satellite.
This feedhorn is indicated on the LNB label
(g. 10).
Turn the LNB clockwise, until the output con-
nector is at the 8:00 o’clock position (g. 11).
5
CONEXIONES / LIGAÇÕES / BRANCHEMENTS / CONNECTIONS
ES
Efectúe todas los conexiones indicadas
en el dibujo.
- Conecte la salida del conversor Mono-
block y la entrada del receptor con un
cable coaxial.
- Conecte la salida TV del receptor a la
entrada AV de su TV con un euroco-
nector.
- Proceda a conectar el receptor y el TV
a la toma de red.
- Encienda el receptor y seleccione el
programa 12: Euronews.
PT
Efectuar todas as ligações expostas no des-
enho.
- Cabo coaxial para ligação do LNB ao
receptor.
- Cabo ligação Euroconector para li-
gação do Receptor (saída TV) à entrada
AV do Televisor.
- Ligar Receptor e Televisor à tomada de
rede 230 Vac.
- Ligar receptor e seleccionar o programa
12: Euronews.
FR
Placez la tête MONOBLOCK sur le support
de la parabole, en obéissant aux condi-
tions suivantes:
- Reliez la sortie de la tête monoblock
à l’entrée du démodulateur avec un
câble coaxial.
- Reliez la sortie TV du démodulateur
à l’entrée AV de la télévision avec un
cordon péritel.
- Branchez le démodulateur et la télévi-
sion à l’alimentation.
- Allumez le récepteur et sélectionnez
le programme 12: Euronews.
EN
Carry out all the connections as indicated
on the diagram:
- Connect the LNB output to the receiver’s
input using the coaxial cable.
- Connect the TV output of the receiver
to the AV input of the TV with a SCART
connector.
- Switch on the receiver and select pro-
gram 12: Euronews.
ORIENTACIÓN / ORIENTAÇÃO / ORIENTATION / ORIENTATION
ES
Comienze situando la antena parabólica
en el ángulo de elevación correspondien-
te usando para ello la escala de elevación
graduada.
El ángulo de elevación corresponde al lu-
gar de su residencia (g 13).
PT
Começar por orientar a antena com a ajuda
da escala de elevação graduada. O Ângulo
de elevação deverá corresponder à zona da
sua residência (g 13).
FR
Commencez par placer l’antenne para-
bolique à l’aide de l’échelle d’élévation
graduée. L’angle d’élévation doit corres-
pondre au lieu de votre résidence (g 13).
EN
Start by positioning the dish with the co-
rresponding elevation angle by using the
elevation scale.
The elevation angle depends on where you
live (g 13).
g. 13
VCR RS232
TV
LR
Internal F1:
T2AL 250V
MODEL NO: RSD 7118
220 - 240 V~
50/60 Hz, 25W
Made in China
VIDEO
OUT
AUDIO
OUT
L B I
IF OUT
POWER
TV OUT
A T I
g. 12
6
KIT SAT 800
FINALMENTE... / FINALMENTE ... / AJUSTEMENT FINAL ... / FINALLY ...
ES
Coloque la antena de forma que el brazo de
sujección del conversor apunte al sur. Gire la
antena hacia el este (hacia su izquierda) hasta
que aparezca en la pantalla del TV el progra-
ma Euronews (g 14).
Para conseguirlo siga estos pasos:
- La orientación exacta es 13° hacia el este.
- El movimiento de la antena deberá ser lento
y sin sacudidas.
- Si no consigue captar la señal del satélite,
modique ligeramente el ángulo de eleva-
ción y vuelva a mover de nuevo la antena (g
15).
PT
Actuar sobre a orientação de azimute da
antena, sentido Oeste para Este, até apa-
recer imagem do programa Euronews (g
14).
Este movimento de orientação azimutal
deverá ter em conta o seguinte:
- O ponto de orientação exacto é 13º este.
- O movimento deverá ser lento e paciente
sempre sem movimentos bruscos.
- Se mesmo assim não consegue receber
o sinal de satélite, modique um pouco
o ângulo de elevação e volte a mover a
antena (g.15).
FR
Placez la parabole de façon à ce que le
bras de support de tête vise le sud. Faîtes
pivoter la parabole vers l’est (sur votre
gauche) jusqu’à voir apparaître la chaîne
ES
Una vez que haya captado el programa
Euronews, la antena estará bien orienta-
da. Ahora puede proceder al ajuste nal
de su instalación:
- Seleccione el programa 376 en el recep-
tor: “CNN Int.”. Si no aparece ninguna
imagen, gire el conversor Monoblock
sobre su soporte hasta conseguir ver la
imagen.
- Vuelva a seleccionar el prograna nº 12
para comprobar que aun se recibe.
La instalación está terminada.
PT
Captado o programa Euronews, signica
que está encontrada a orientação da ante-
na, devendo-se proceder ao aperto nal da
mesma.
- Seleccionar no receptor de satélite o Pro-
grama 376: “CNN Int.”. No caso de o recep-
tor assinalar ausência de imagem rodar
ligeiramente o LNB monobloco sobre o su-
porte até conseguir visualizar a imagem.
- Colocar no receptor o Programa 12, conr-
mando o “Euronews”.
A instalação está concluída.
FR
Lorsque vous captez la chaîne Euronews,
l’antenne est bien orientée. Vous pouvez
à présent procéder à l’ajustement nal de
votre installation:
- Sélectionnez le programme 376 sur le
démodulateur : “CNN Int.”. Si vous ne
captez pas d’image, faîtes pivoter la tête
monoblock sur son support jusqu’à re-
cevoir la chaîne.
- Revenez sur la chaîne 12 pour conrmer
la bonne réception.
L’installation est terminée.
EN
Once you receive the programme Eurone-
ws, the dish has been correctly orientated.
Now you can proceed onto the nal insta-
llation adjustment:
- Select programme 376 on the receiver:
“CNN Int.”. If you do not see anything on
the screen, rotate the LNB until some-
thing appears.
- Select programme 12 again to check that
you are still receiving it.
You have nished the installation.
6,2°
SAT 2
(Astra 19,2° E)
SAT 1
(Hot Bird 13° E)
A 1
A 2
g. 14 g. 15
Euronews (g 14).
Pour ce faire suivez les indications sui-
vantes :
- Le point exact sera 13° vers l’est.
- Le mouvement devra être eectué len-
tement et sans secousse.
- Si vous ne parvenez pas à capter le
signal, modiez légèrement l’angle
d’inclinaison et faîtes pivoter à nouveau
la parabole (g 15).
EN
Place the dish so that the LNB arm points to
the south. Rotate the dish towards the east
(to your left) until the programme Eurone-
ws appears on the TV screen (g 14).
To do so, follow these instructions:
- The exact orientation is 13º east.
- The dish should be rotated slowly and ca-
refully, with no sudden movements.
- If you cannot receive the satellite signal,
change the elevation angle slightly and
try moving the dish again (g 15).
7
Bordeaux
Tolouse Marseille Nice
Lyon
La Rochele
Nantes Besancon
Strasbourg
Paris
Brest
Lille
Nevers
Caen
Limoges
Rennes
Pau
Tours
Chalon
Perpignan
viedo
Santiago Bilbao
Palencia
Zaragoza
Salamanca
Cáceres
Madrid
Ciudad Real Valencia
Murcia
Granada
Sevilla
Faro
Lisboa
Porto
Viana Barcelona
Mallorca
Ceuta
Coimbra
Tenerife
Las Palmas
Plymouth
Cardiff
Brighton
London
Cambridge
Manchester
Liverpool
Newcastle
Glasgow
Fort Willian
Aberdeen
Tongue
Dublin
Belfast
Béal an Atha
Cork
Traighlí
Lerwick
Fishguard
Edinburgh
Kingston upon Hull
Birmingham
Londonderry
31°
32°
33°
34°
35°
36°
37°
39°
38°
40°
41°
43°
42°
44°
Elevation
43° 45°
45°
25°
26°
27°
28°
29°
30°
24°
23°
22°
44°
HOT BIRD 13ºE

Other Televes Antenna manuals

Televes 144110 User manual

Televes

Televes 144110 User manual

Televes INNOVA BOSS MIX User manual

Televes

Televes INNOVA BOSS MIX User manual

Televes Offset 830 Series User manual

Televes

Televes Offset 830 Series User manual

Televes DAT 790 HD BOSS LR User manual

Televes

Televes DAT 790 HD BOSS LR User manual

Televes TFORCE 108380 User manual

Televes

Televes TFORCE 108380 User manual

Televes InnovaBoss 130201 User manual

Televes

Televes InnovaBoss 130201 User manual

Televes TRINOVA BOSS User manual

Televes

Televes TRINOVA BOSS User manual

Televes INNOVA BOSS User manual

Televes

Televes INNOVA BOSS User manual

Televes 650 User manual

Televes

Televes 650 User manual

Televes Omni-Nova Boss User manual

Televes

Televes Omni-Nova Boss User manual

Televes 108320 User manual

Televes

Televes 108320 User manual

Televes 149481 Guide

Televes

Televes 149481 Guide

Televes Diginova Boss User manual

Televes

Televes Diginova Boss User manual

Televes DINOVA T-Force BOSS MIX User manual

Televes

Televes DINOVA T-Force BOSS MIX User manual

Televes 106501 User manual

Televes

Televes 106501 User manual

Televes DATBOSSMIX LR User manual

Televes

Televes DATBOSSMIX LR User manual

Televes DINOVA BOSS User manual

Televes

Televes DINOVA BOSS User manual

Televes BEXIA User manual

Televes

Televes BEXIA User manual

Televes MATV User manual

Televes

Televes MATV User manual

Televes DATBOSSLR 149783 User manual

Televes

Televes DATBOSSLR 149783 User manual

Televes 149981 User manual

Televes

Televes 149981 User manual

Televes DIGINOVA BOSS 144141 User manual

Televes

Televes DIGINOVA BOSS 144141 User manual

Televes CAMPNOVA BOSS User manual

Televes

Televes CAMPNOVA BOSS User manual

Televes Ellipse User manual

Televes

Televes Ellipse User manual

Popular Antenna manuals by other brands

Hirschmann AUTA 4000 F 457 L installation instructions

Hirschmann

Hirschmann AUTA 4000 F 457 L installation instructions

LevelOne WAN-9180 Quick installation guide

LevelOne

LevelOne WAN-9180 Quick installation guide

Sailor 150 FleetBroadband installation manual

Sailor

Sailor 150 FleetBroadband installation manual

THOMSON ANT1538 operating instructions

THOMSON

THOMSON ANT1538 operating instructions

Opek BS-150 quick start guide

Opek

Opek BS-150 quick start guide

Labgear LABHG140 quick start guide

Labgear

Labgear LABHG140 quick start guide

Matsing MS-MBA-2-L2 instruction manual

Matsing

Matsing MS-MBA-2-L2 instruction manual

WADE Antenna, Inc. J275D-*-K instruction sheet

WADE Antenna, Inc.

WADE Antenna, Inc. J275D-*-K instruction sheet

Intellian i3 Install and user manual

Intellian

Intellian i3 Install and user manual

PNI LED 2000 quick start guide

PNI

PNI LED 2000 quick start guide

Carel boss Assembly procedure

Carel

Carel boss Assembly procedure

Kathrein CAS 90ws/HD manual

Kathrein

Kathrein CAS 90ws/HD manual

COBHAM Sea Tel quick start guide

COBHAM

COBHAM Sea Tel quick start guide

Telex hy-gain 25FM instruction manual

Telex

Telex hy-gain 25FM instruction manual

Hughes AN8-098P installation guide

Hughes

Hughes AN8-098P installation guide

Poynting OMNI-293 user guide

Poynting

Poynting OMNI-293 user guide

Schwaiger ZA 8960 013 USER GUIDE AND SAFETY INSTRUCTIONS

Schwaiger

Schwaiger ZA 8960 013 USER GUIDE AND SAFETY INSTRUCTIONS

Chameleon Antenna CHA LEFS 4010 Operator's manual

Chameleon Antenna

Chameleon Antenna CHA LEFS 4010 Operator's manual

manuals.online logo
manuals.online logoBrands
  • About & Mission
  • Contact us
  • Privacy Policy
  • Terms and Conditions

Copyright 2025 Manuals.Online. All Rights Reserved.