Telos DESKTOP DIRECTOR 2101 User manual
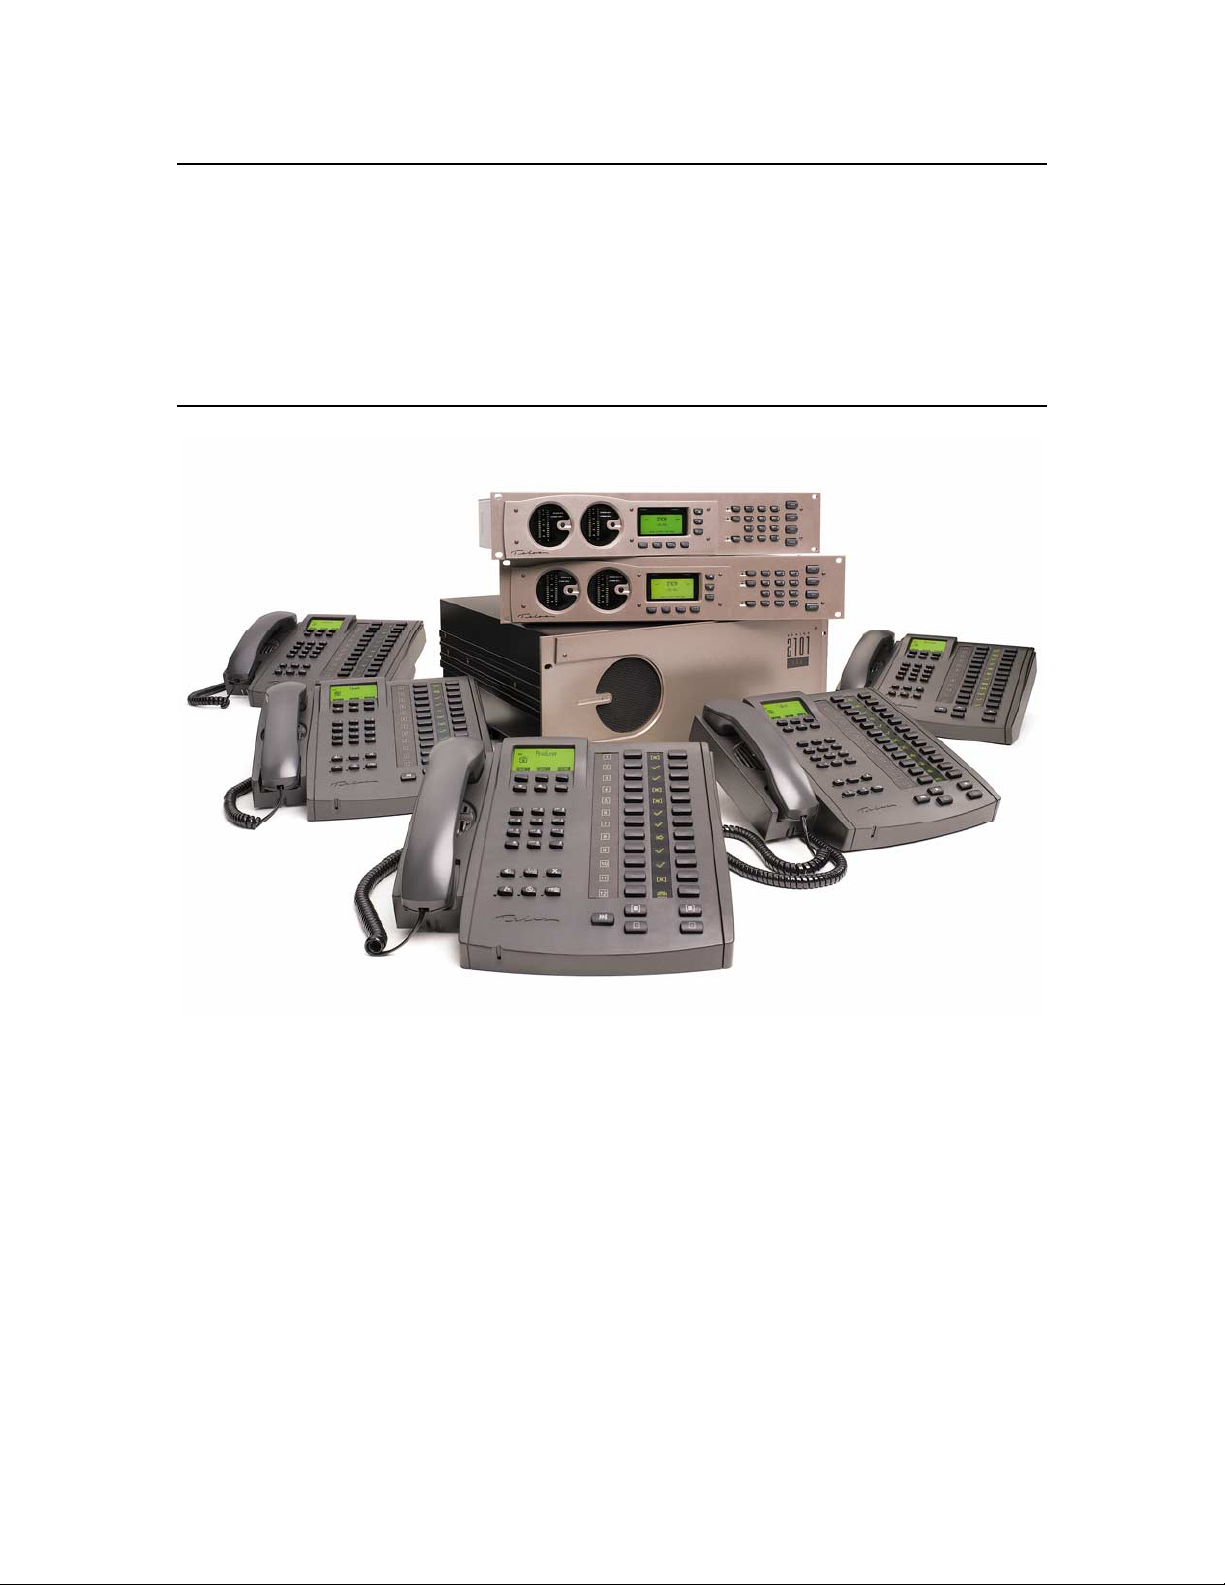
TELOS SERIES 2101
Advanced All Digital Multi-line Multi-studio Broadcast Telephone System
USER’S MANUAL VOLUME 3
Part V – The Telos Desktop Director
PART VI – Troubleshooting & Technical Information, Warranty Statement
PART VII – Appendices
Manual Version 2.0
For software release package 2.0 and later
13 July, 2005

TELOS SERIES 2101
Advanced All Digital Multi-line Multi-studio Broadcast
Telephone System
USER’S MANUAL
PART V
The Telos Desktop Director
V 2.0c

TELOS 2101 USER’S MANUAL
This blank page is intentional.

TELOS 2101 USER’S MANUAL
PART V
THE TELOS DESKTOP DIRECTOR
V-III
TABLE OF CONTENTS
Tables of contents Part V
Tables of contents Part V...................................................................................................................... III
1DESKTOP DIRECTOR ™-INSTALLATION.................................................................................. 1
1.1 DESKTOP DIRECTOR™ASSEMBLY.................................................................................................. 1
2DESKTOP DIRECTOR™- GENERAL DESCRIPTION OF OPERATION................................. 3
2.1 DESKTOP DIRECTOR™LCD SCREEN &MENU NAVIGATION BUTTONS.......................................... 3
2.1.1 MENU NAVIGATION .................................................................................................................... 3
2.1.2 CHANGING FROM PRODUCER TO TALENT MODE.......................................................................... 4
2.1.3 JOINING A “SHOW”...................................................................................................................... 4
2.1.4 VOLUME MENUS ......................................................................................................................... 5
2.2 STATUS SYMBOL™ICONS &WHAT THEY MEAN ........................................................................... 6
2.3 BUTTONS......................................................................................................................................... 9
2.3.1 LINE CONTROL BUTTONS ............................................................................................................ 9
2.3.2 TELEPHONE MODE BUTTONS .................................................................................................... 11
2.3.3 USER FUNCTION BUTTONS – .................................................................................................... 12
2.4 THE CONSOLE DIRECTOR .............................................................................................................. 13
3TELOS DESKTOP DIRECTOR™ PRODUCER MODE - GUIDE FOR CALL SCREENERS15
3.1 DESKTOP DIRECTOR™LCD SCREEN &MENU NAVIGATION BUTTONS........................................ 15
3.1.1 MENU NAVIGATION .................................................................................................................. 15
3.1.2 CHANGING FROM TALENT TO PRODUCER MODE ......................................................................... 16
3.1.3 JOINING A “SHOW”.................................................................................................................... 16
3.1.4 VOLUME MENUS ....................................................................................................................... 17
3.2 STATUS SYMBOL™ICONS &WHAT THEY MEAN ......................................................................... 18
3.3 BUTTONS....................................................................................................................................... 20
3.3.1 LINE CONTROL BUTTONS .......................................................................................................... 21
3.3.2 TELEPHONE MODE BUTTONS .................................................................................................... 23
3.3.3 User Function Buttons –..............................................................................................................23
4TELOS DESKTOP DIRECTOR™- GUIDE FOR TALENT (COPY AND DISTRIBUTE TO
YOUR STAFF) ........................................................................................................................................... 27
4.1 INTRODUCTION TO THE DESKTOP DIRECTOR™............................................................................. 27
4.2 STATUS SYMBOL™ ICONS &WHAT THEY MEAN............................................................. 27
4.3 DESKTOP DIRECTOR™ DISPLAY OPERATION- TALENT MODE ......................................... 30
4.3.1 LCD DISPLAY SCREEN AND MENU NAVIGATION BUTTONS......................................................... 30
4.3.2 CHANGING FROM PRODUCER TO TALENT MODE........................................................................ 30
4.3.3 JOINING A “SHOW”.................................................................................................................... 31
4.3.4 VOLUME MENUS ....................................................................................................................... 32
4.4 DESKTOP DIRECTOR™ BUTTONS –TALENT MODE ............................................................. 33
4.4.1 LINE BUTTONS-.......................................................................................................................... 33
4.4.2 USER FUNCTION BUTTONS – ..................................................................................................... 34
4.4.3 PLACING CALLERS ON-AIR –SINGLE CALLER........................................................................... 35
4.4.4 PLACING MULTIPLE CALLERS ON-AIR –USING LOCK MODE .................................................... 35
4.4.5 DROPPING CALLS OFF-AIR........................................................................................................ 36
4.5 USING AS ATELEPHONE......................................................................................................... 36

TELOS 2101 USER’S MANUAL
This page intentionally left blank

TELOS 2101 USER’S MANUAL
PART V
THE TELOS DESKTOP DIRECTOR
V-1
SECTION 1 – DESKTOP DIRECTOR INSTALLATION
1Desktop Director ™-Installation
The 2101 Studio Interface has 2 Desktop Director™ ports located in slot F. The
system can be expanded by adding a second interface card (Telos part # 1701-
00022) to slot F, allowing for a maximum of 8 Desktop Directors. Power for a total
of 2 Desktop Directors is provided by the Studio Interface. Each port supports 1
Desktop Director™ directly. A second Desktop Director can be added to each port
(for a total of 4 per interface) using a Desktop Director Power Supply Kit (part
number 2091-00001) available from your Telos Dealer. Each power supply kit
allows one additional Desktop Director. A power supply is also required for any
Desktop Director located more than 250 feet (75 meters) from the Studio Interface.
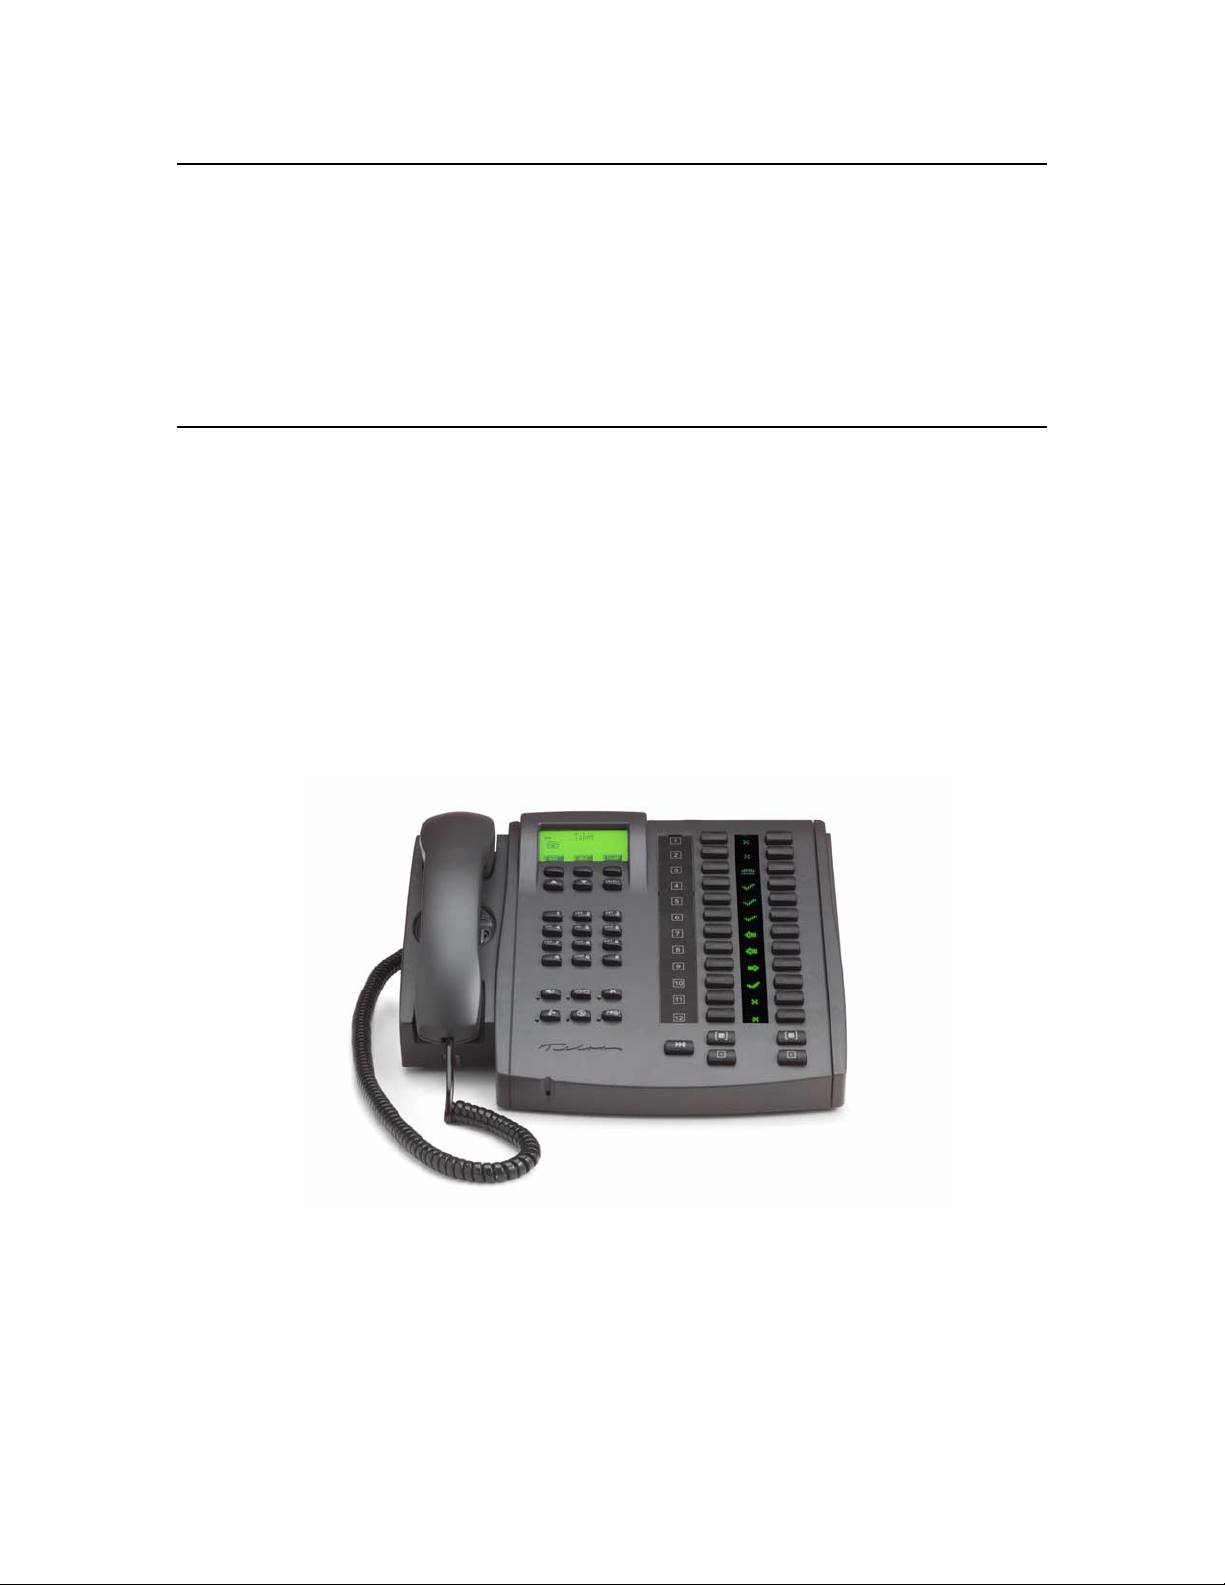
The Telos Series 2101 Desktop Director (Telos part # 2001-00071) and Telos Series
2101 Extended Desktop Director (Telos part # 2001-00072) are similar units. The
difference is that the Extended Desktop Director has 4 columns of line buttons
whereas the Desktop Director has 2 columns of lines buttons. The extra buttons on
the Extended Desktop Director allow it to control 24 lines with 2 hybrids or to
control 12 lines with 4 hybrids. Unless we specify otherwise, the following
instructions apply to both types of Desktop Directors.
Telos also supplies “Console Director” electronic assemblies to a number of console
manufacturers. The Console Director does not include the telephone feature, just on
air control functions – it acts much like a Desktop Director in “Talent” mode (line
control mode). Also, Two Console Directors with special software can emulate the 4-
hybrid or 24 line functionality of the “Extended” Desktop Director (see below).
For details on the wiring between the Desktop Director and the 2101 Studio Interface
see Volume 2, Part IV, Section 1.3.2.
1.1 Desktop Director™ Assembly
Wire assembly
This should be fairly self explanatory. The black “curly cord” plugs into the handset.
The other end of this cord should be plugged into the small 4 position/4 pin modular
(RJ-22 style) jack near the front left of the unit. This jack is identified with a picture
of a telephone handset and is the jack closer to the front of the Director. The second
jack at this location can be used to directly connect a telephone headset and is
identified with a picture of a headset. Route these cables through the small slots to
the left so they do not interfere with the unit sitting flat on the table.
h
HOT TIP!
We have tested, and recommend, the Plantronics model P51- U10P "Supra Polaris noise-
canceling unamplified monaural" or model P61- U10P "Supra Polaris noise- canceling
unamplified binaural " headsets for direct connection to the Desktop Director. For the name
of your nearest Plantronics dealer contact them at 831 426- 5868 or www.plantronics.com.
Other headsets can be used, however an external amplifier/interface would be required
between Desktop Director’s handset jack and the handset to interface to the headset.

TELOS 2101 USER’S MANUAL
PART V
THE TELOS DESKTOP DIRECTOR
V-2
SECTION 1 – DESKTOP DIRECTOR INSTALLATION
When the headset is attached, it will automatically mute the microphone of the
handset to prevent extraneous noise. Disconnecting the “quick-connect” inline
connector on the headset cable will re-enable the handset microphone.
Line Designation Strip
The Desktop Director ships with several pre-cut paper “designation strips” to allow
labeling the lines of the Director. Choose one and fill out the line numbers if desired
(we suggest a “Sharpie extra fine point” or similar fine point indelible marker). Place
the paper strip on the director and then cover with the clear plastic protector, inserting
the plastic tabs in the slots on the Director to hold it in place. Should you decide to
change things later, simply lift one end of the plastic and slide out the strip.
Mounting Options
The Desktop Director legs can be mounted in an alternative “upright” orientation. To
do so, remove the legs by removing the two Phillips head screws on each leg. The
legs can then be mounted in the alternative orientation using the same screws.
The Desktop Director can be mounted on a wall or other vertical surface. First
remove the legs by removing the two Phillips head screws on each leg. The unit can
then be hung from two screws on 5 inch (127 mm) centers. Care should be taken that
the screws do not protrude more than 1/8 inch (3 mm) from the mounting surface.
TELOS 2101 USER’S MANUAL
PART V
THE TELOS DESKTOP DIRECTOR
V-3
SECTION 2 – DESKTOP DIRECTOR: GENERAL DESCRIPTION OF OPERATION
2Desktop Director™- General description of operation
The Telos Desktop Director™ acts as a studio telephone while at the same time acts
as a control surface for putting lines on either of the Telos System 2101’s built-in
hybrids. The Desktop Director™ has two modes of operation – Producer (Screener)
mode and Talent (on-air control) mode. This section gives general information while
sections 3 and 4 give complete details on using the Desktop Director™ in Producer
(screener) and Talent modes (on-air control), respectively.
Those sections should be duplicated and distributed for your staff to read.
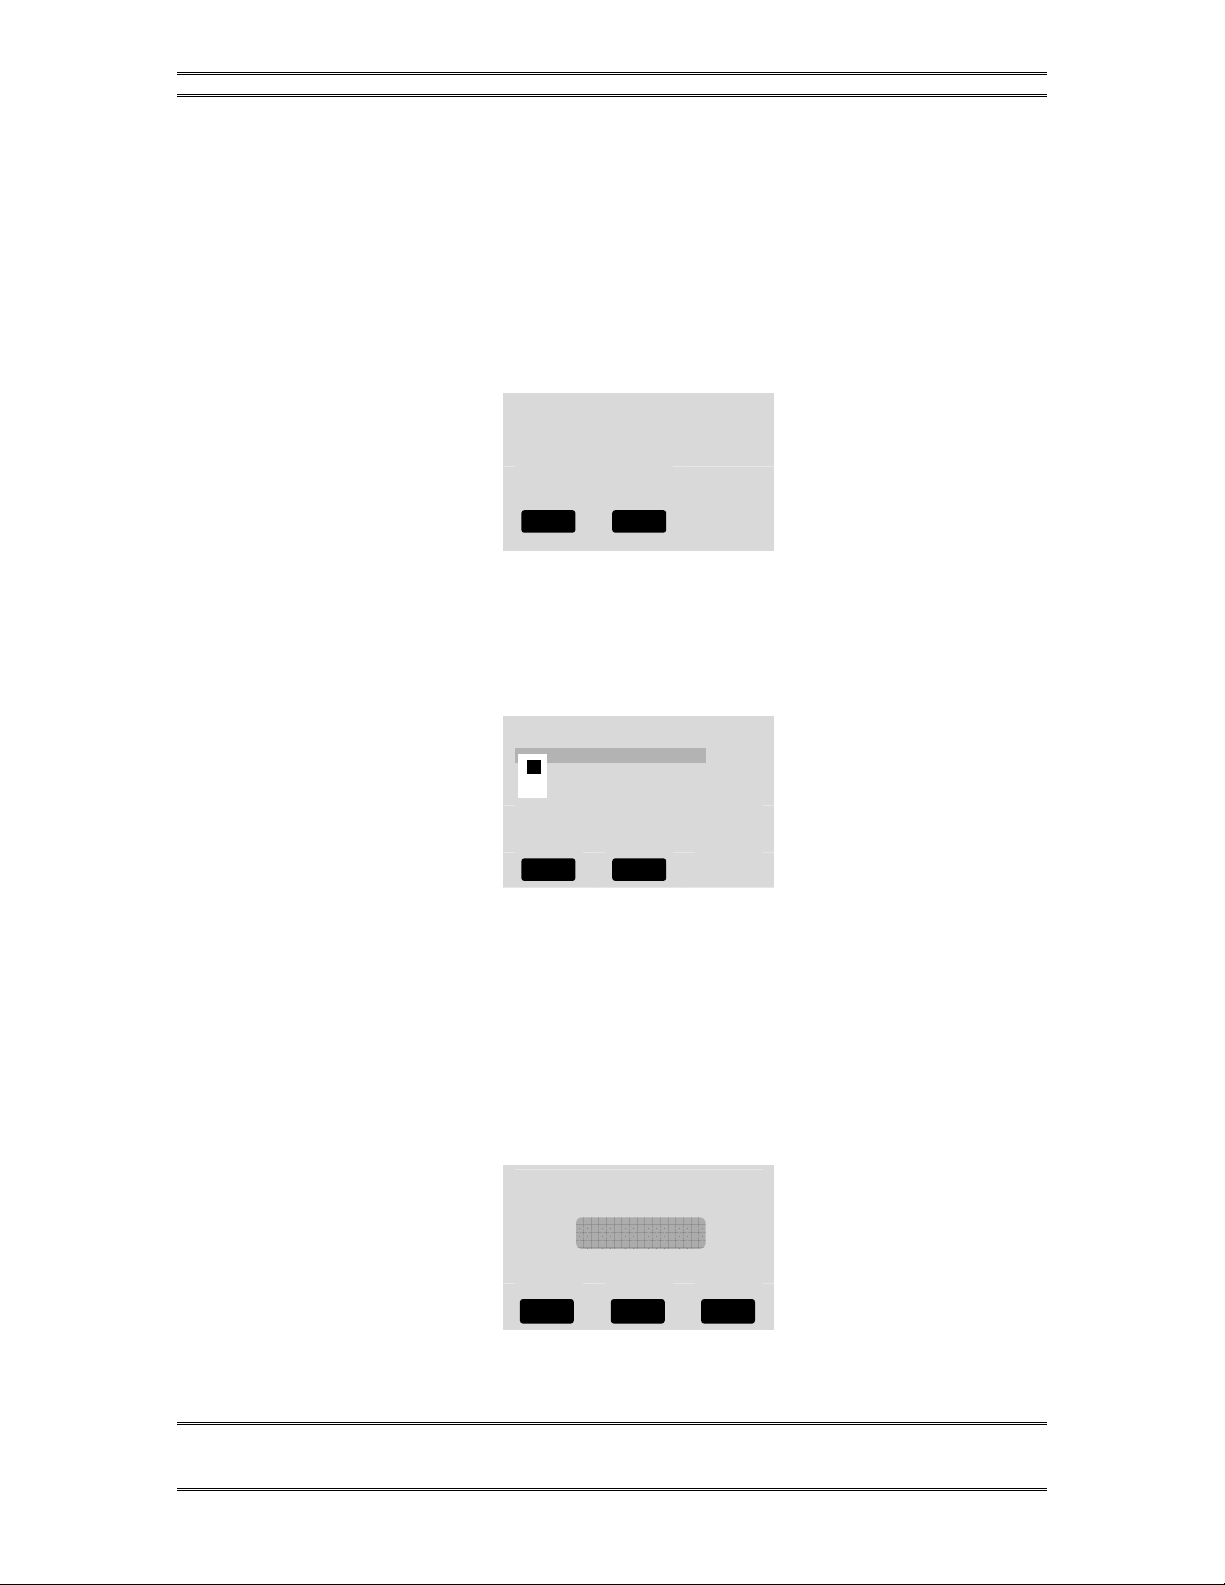
2.1 Desktop Director™ LCD Screen & Menu Navigation Buttons
The LCD status is used for general status information and for configuring the
Desktop Director™. Items can be selected and changed using the 6 buttons
immediately below the LCD screen. The buttons in the row immediately below the
LCD screen are “soft buttons”. The function of these buttons will be indicated on the
bottom row of the screen.
Producer
DD1 Show
The default Desktop Director LCD Screen
w
IMPORTANT!
Since certain functions work differently in “Talent” versus “Producer” mode it is
important that your staff understand that there are two modes, and how to switch
between them. They must also understand the concept of joining a “Show”
configuration. This is covered below and again in sections 3 and 4.
2.1.1 Menu Navigation
The LCD screen and menu navigation buttons are used to set volume settings, LCD
screen backlight and contrast, and to select the “show” and “Director’s mode” for a
particular Desktop Director™. The function of the three “soft keys” immediately
below the LCD screen will vary depending on context, and will always be displayed
on the screen. In most cases, the center soft key offers context sensitive HELP and
the left softkey offers a BACK function. The BACK function takes you back to the
default screen without saving unconfirmed changes.
The 6& 5buttons scroll through the options in a menu while the Select button
chooses a menu selection or confirms an entry. In the volume menus 6decreases the
MODE HELP VOLUME
TELOS 2101 USER’S MANUAL
PART V
THE TELOS DESKTOP DIRECTOR
V-4
SECTION 2 – DESKTOP DIRECTOR: GENERAL DESCRIPTION OF OPERATION
volume while 5increases it. The change in volume takes place immediately.
Pressing the Desktop Director’s Select button will permanently store this setting.
2.1.2 Changing from Producer to Talent mode
At any given time each Desktop Director™ is in either Producer or Talent mode.
This can be changed at any time for each Director in the system. Producer mode can
be thought of as “Screener phone” mode while Talent mode can be thought of as “on-
air control” mode. As discussed earlier, the function of certain buttons is different in
these two modes. To change from Producer mode to Talent mode:
•Press the soft key button below the word MODE. You should now see a
screen that looks similar to the following.
Configuration Menu
Í
Choose Show
Director ‘s Mode
Contrast
•Now press the 6twice. The words Director’s Mode should be highlighted by
a grey cursor bar and the black text will change to white.
•Now press the SELECT button
•You will now see a screen that looks like:
ENTER <= or => TO CHANGE
Producer
•Press 6or 5to change the setting. Note that the little switch on left of the
screen moves up or down as you change the setting.
•Press SELECT to confirm your choice or just press the soft key below the
word BACK to return the main menu without the change taking effect.
2.1.3 Joining a “Show”
One of the advantages of the System 2101 is that multiple line configurations are
possible. Management of Show Configurations” is done on the hub and is covered in
Part III of this manual. Therefore, a Desktop Director must join a “Show”, which
then configures which lines and numbers are active on that Desktop Director. The
usual scenario is as follows:
1) A Desktop Director in the studio to be used for the show is put in Talent mode
and is then used to choose the Show Configuration to be used. Typically this
would be done by the “board operator” for the show, although it also could be
done by the Talent.
BACK HELP
BACK HELP
TELOS 2101 USER’S MANUAL
PART V
THE TELOS DESKTOP DIRECTOR
V-5
SECTION 2 – DESKTOP DIRECTOR: GENERAL DESCRIPTION OF OPERATION
2) Using the Desktop Director to be used for screening the screener then chooses
the same Show Configuration.
3) The show goes on.
4) At the start of the next show, steps 1 through 3 are repeated.
To choose a Show Configuration simply proceed as follows:
•Press the soft key button below the word MODE. You should now see a
screen that looks similar to the following.
Configuration Menu
Í
Choose Show
Director’s Mode
Contrast
•Now press the 6once. The words Choose Show should be highlighted by a
grey cursor bar and the black text will change to white.
•Now press the SELECT button
•You will now see a screen that looks like:
Choose Show
AM Talk in the Morning
Rock’n Bill and Bob Show
Wendy in the wee hours
Dayline w/ Ned Hoppel
•Press 6or 5to change the setting. Note that the little switch on left of the
screen moves up or down as you change the setting.
Press SELECT to confirm your choice or just press the soft key below the word
BACK to return the main menu without the change taking effect.
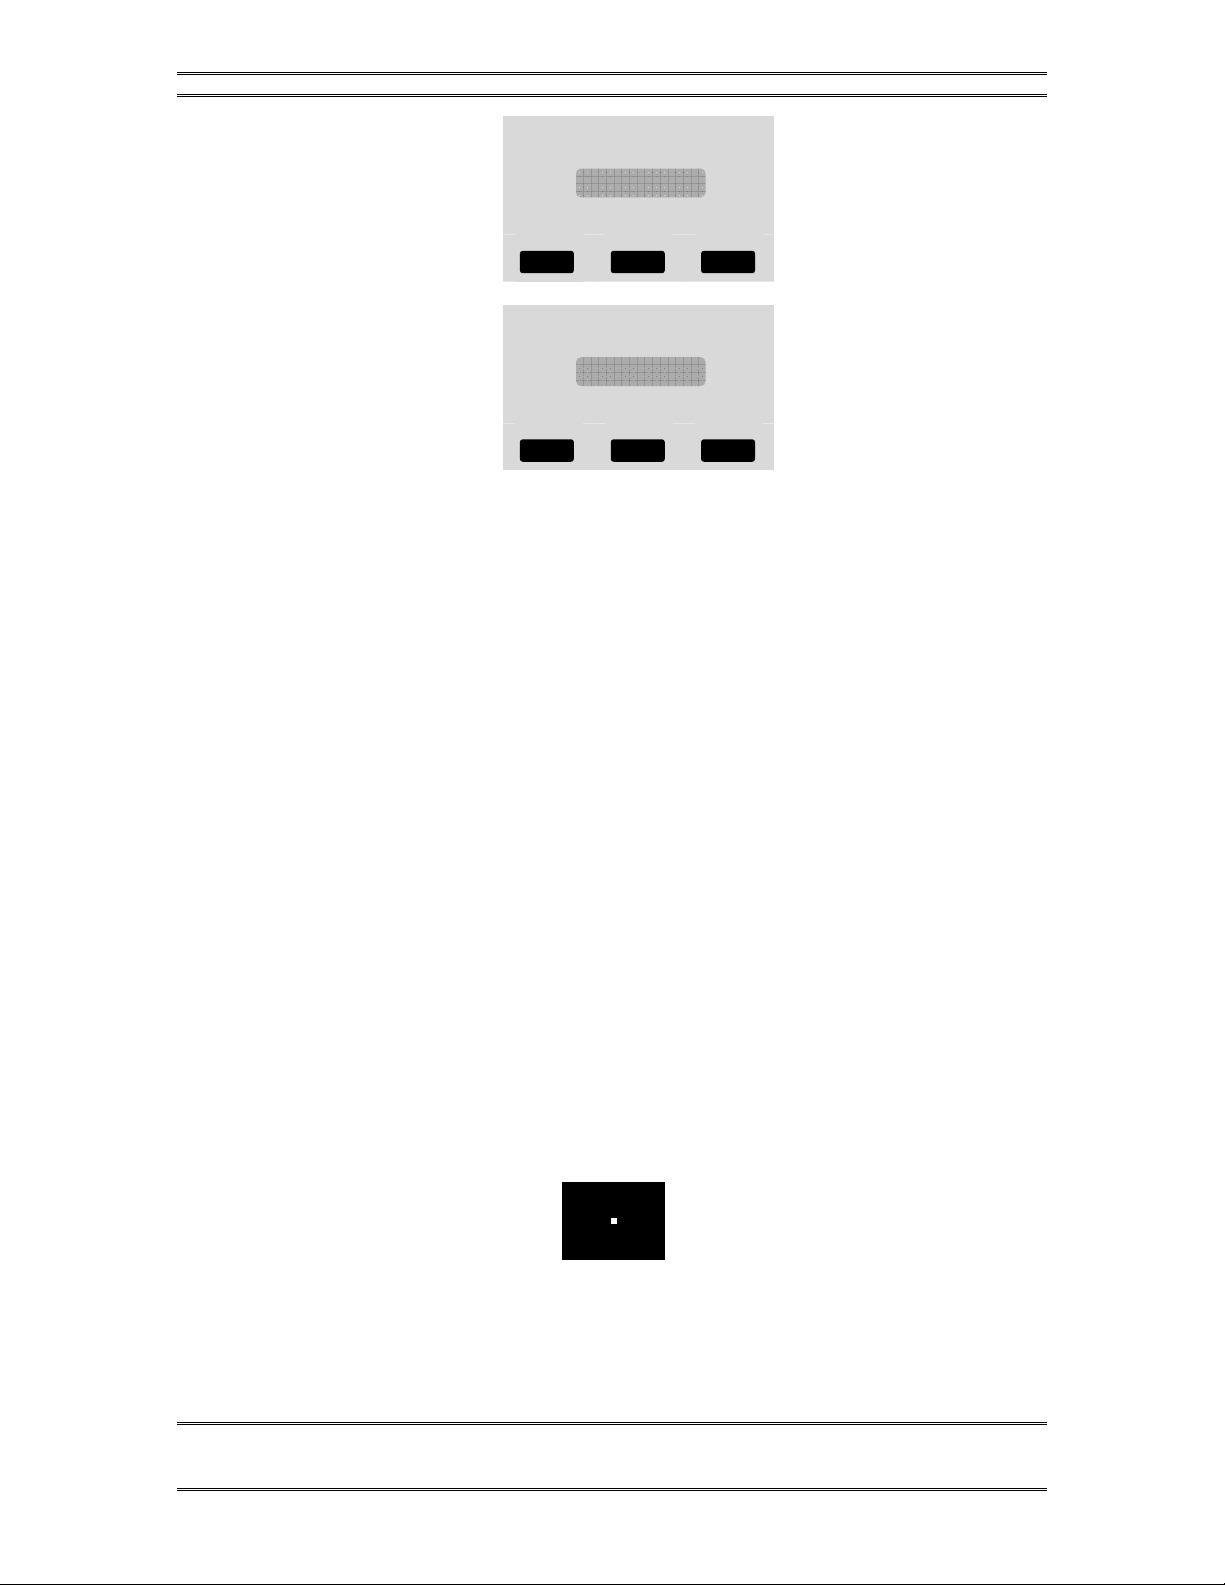
2.1.4 Volume Menus
Pressing the soft key button below the word VOLUME will display one of the
following screens. Pressing that soft key repeatedly will cycle through the following
screens.
Speaker Volume
-IIIIIIIIIIIIIIIIIIIIIII+
6DOWN 5UP
BACK HELP HANDSET
BACK HELP
BACK HELP
TELOS 2101 USER’S MANUAL
PART V
THE TELOS DESKTOP DIRECTOR
V-6
SECTION 2 – DESKTOP DIRECTOR: GENERAL DESCRIPTION OF OPERATION
Handset Volume
-IIIIIIIIIIIIIIIIIIIIIII+
6DOWN 5UP
Ringer Volume
-IIIIIIIIIIIIIIIIIIIIIII+
6DOWN 5UP
Pressing 6will decrease, while pressing 5will increase the volume level for the
item displayed. The change will take place immediately and confirmation is not
required. Pressing the soft key button under the word BACK or the SELECT button
will return you to the main screen. The following volume levels can each be
individually adjusted:
•Handset
This sets the level of the caller on the handset. If you are using a headset attached
to the Desktop Director this will adjust the level in the headset as well.
•Ringer
This adjusts the volume of the ringer. Note that the ringer will usually be turned
off whenever a microphone channel is on. See Part IV for information on the
ringer mute input.
•Speaker
This adjusts the level of the built in speaker for the Desktop Director’s hands-free
option.
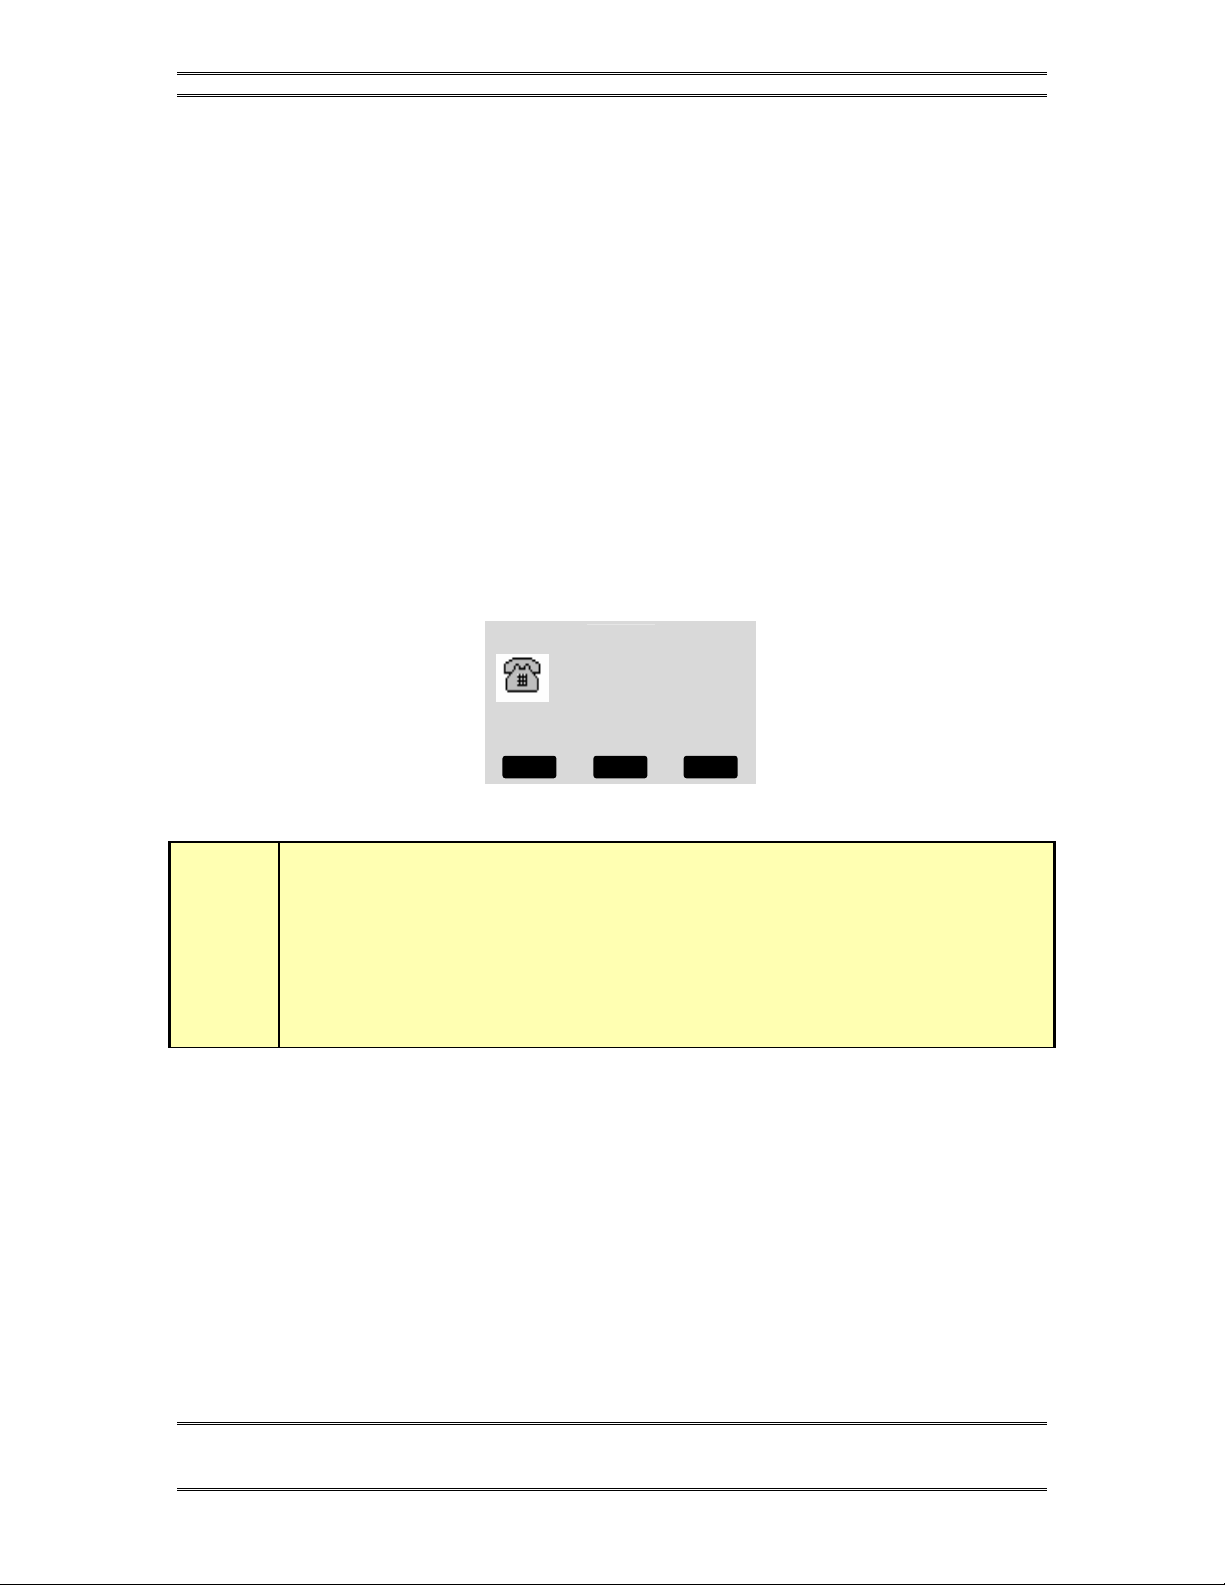
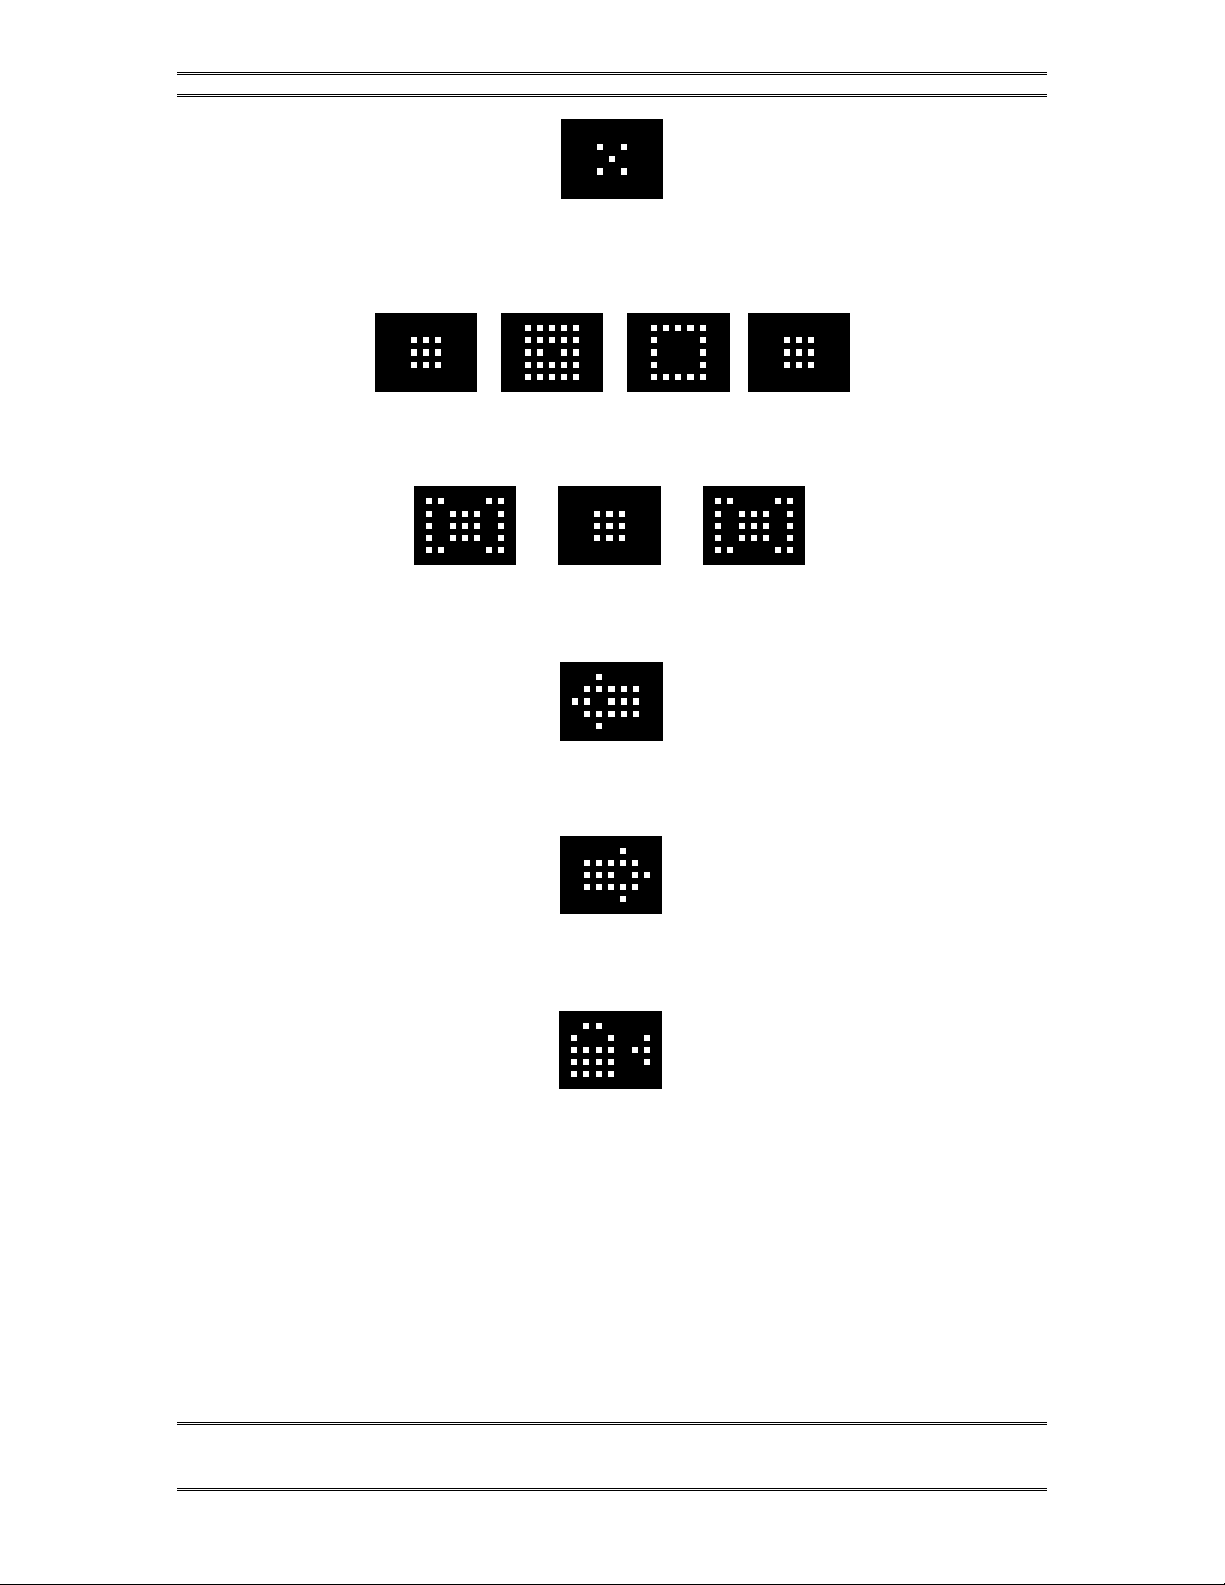
2.2 Status Symbol™ Icons & What They Mean
The Desktop Director™ breaks new ground in broadcast telephone control surfaces
with the use of easy to understand Status Symbol™ Icons displayed on the LCD
matrixes located between the two rows of line selectors. In most cases the meaning of
each symbol is easily and effortless understood without study. However, to be
complete, here is what each symbol (or sequence) means.
This line is on-hook ready for incoming or outgoing calls (Idle)
BACK HELP RINGER
BACK HELP SPEAKER
TELOS 2101 USER’S MANUAL
PART V
THE TELOS DESKTOP DIRECTOR
V-7
SECTION 2 – DESKTOP DIRECTOR: GENERAL DESCRIPTION OF OPERATION
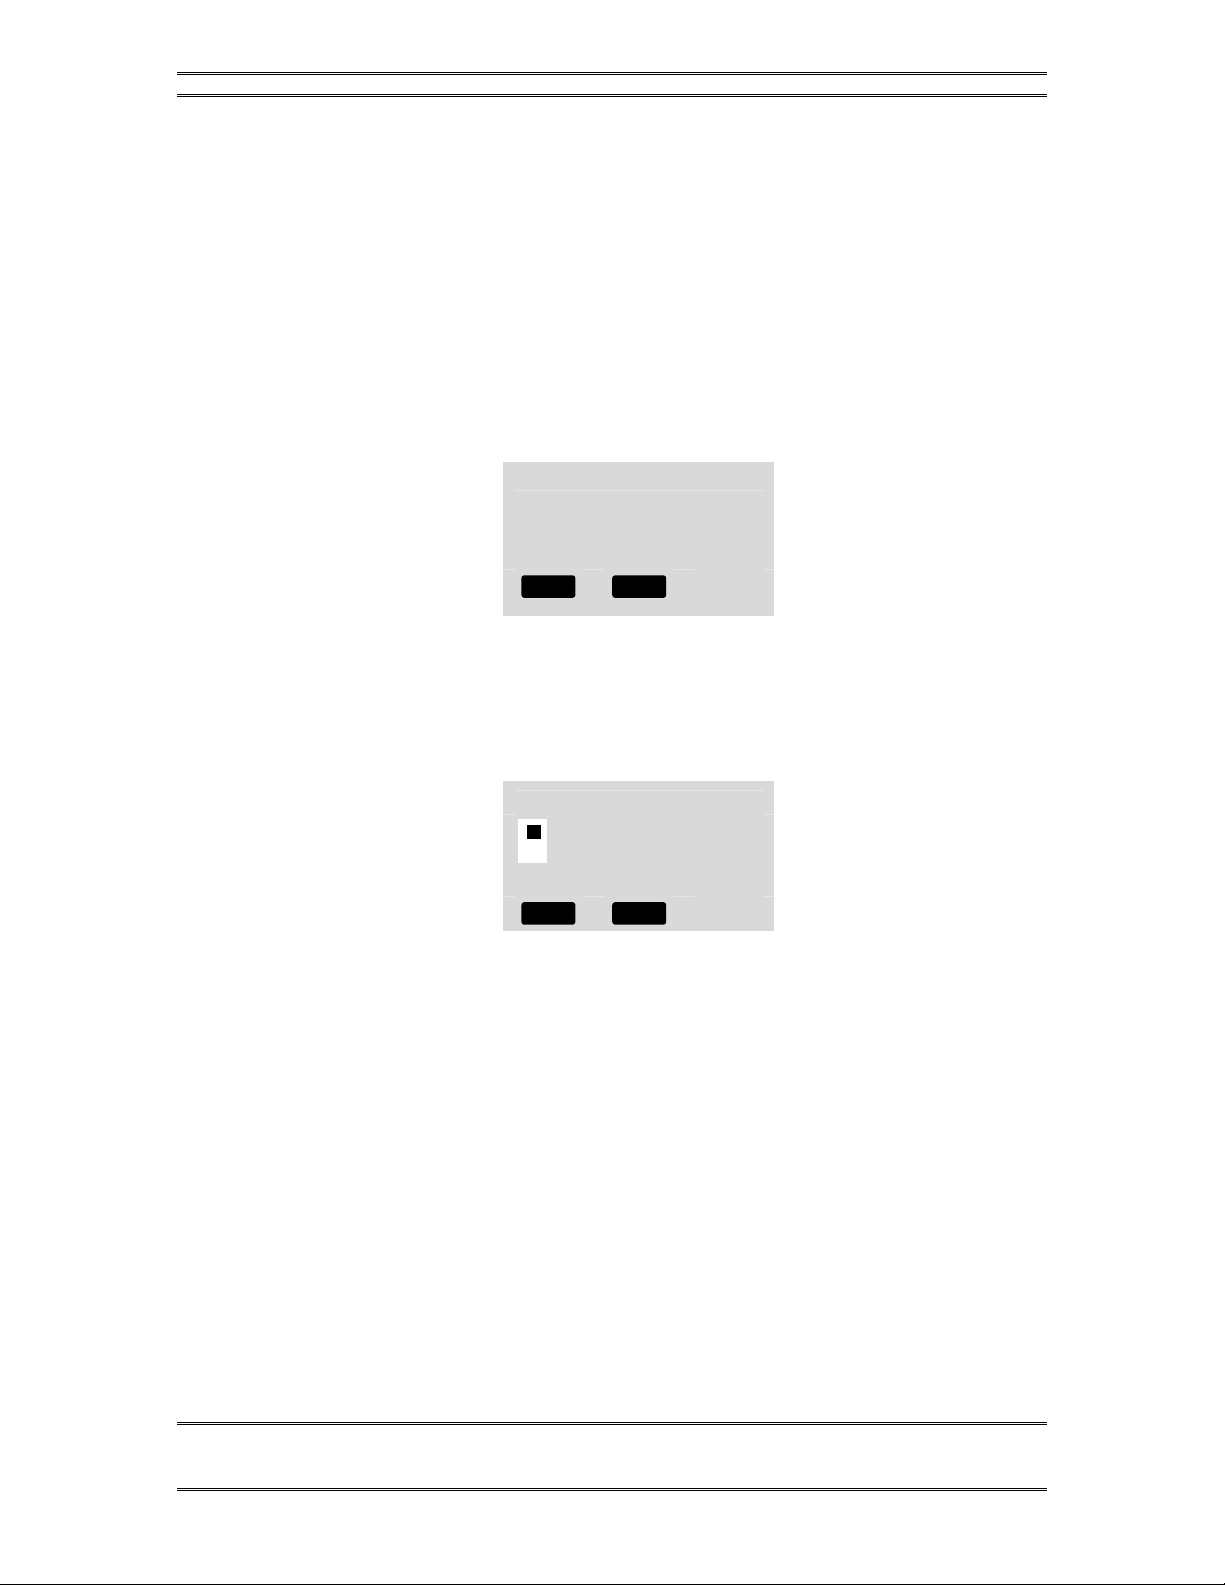
A shared line is in use by another studio. Or, the number of lines in use by all
current studios exceeds the maximum lines in the system.
Line is ringing
Call is on hold
Call is On-Air – Caller 1 Fader
Call is On-Air – Caller 2 Fader
Call is On-Air & Locked – Caller 1 Fader.
Call is in locked mode and cannot be dropped or placed on hold. To unlock, push
button to the left of this ICON.

TELOS 2101 USER’S MANUAL
PART V
THE TELOS DESKTOP DIRECTOR
V-8
SECTION 2 – DESKTOP DIRECTOR: GENERAL DESCRIPTION OF OPERATION
Call is On-Air & Locked – Caller 2 Fader.
Call is in locked mode and cannot be dropped or placed on hold. To unlock, push
the button to the Right of this ICON.
Screened hold - Call is on hold and has been screened.
Call is on hold, has been screened, and is Next.
Press Next button to put this line On-Air
Block All Mode.
Press X Button to cancel
Handset Mode.
Call is on the handset
Speakerphone Mode.
Call is on the speakerphone

TELOS 2101 USER’S MANUAL
PART V
THE TELOS DESKTOP DIRECTOR
V-9
SECTION 2 – DESKTOP DIRECTOR: GENERAL DESCRIPTION OF OPERATION
Line is unassigned in the current Show Configuration
2.3 Buttons
The functions of most of the buttons are self-evident. Again, we have used easy to
understand symbols wherever possible. A brief explanation of the buttons follows:
w
IMPORTANT!
Since certain functions work differently in “Talent” versus “Producer” mode it is
important that your staff understand that there are two modes, and how to switch
between them. This is covered at the beginning of this section (see menu navigation)
and again in sections 3 and 4.
2.3.1 Line Control Buttons
Line buttons-
These work differently depending if the Desktop Director™ is in Talent or Producer
mode.
In Talent mode each line has 2 buttons, the left row for Caller 1 (or whatever you
choose to label the fader for hybrid 1) and right row called Caller 2. Pressing a line
button places the caller on that line on-air on the corresponding hybrid.
w
IMPORTANT TIP!
When using the Extended Desktop Director there will be either:
1) Four Hybrids. In this case, there will be one column of line buttons for each hybrid.
2) More than 12 lines. Lines 1- 12 will be available on the first 2 columns while lines
13 and higher will be available on the third and fourth columns. In this case the first
row and third row will correspond to the “Left” ("caller 1") hybrid and the second and
fourth column will represent the “Right” ("caller 2") hybrid.
Pressing a Line button when caller is already on-air locks the caller. To unlock press
that Line button a third time.
The handset, speakerphone and hybrid 1 are mutually exclusive in Talent mode. If
the handset is picked up, or the LED next to the speakerphone button is illuminated,
the Left row of buttons will control the line to be used on the telephone. The right
row of buttons will continue to control the caller 2 hybrid as usual. To place a caller
currently on the handset on the air, press either the left (caller 1 hybrid) or right
(caller 2 hybrid).
TELOS 2101 USER’S MANUAL
PART V
THE TELOS DESKTOP DIRECTOR
V-10
SECTION 2 – DESKTOP DIRECTOR: GENERAL DESCRIPTION OF OPERATION
In Producer mode the left row of buttons is used to answer calls on the handset (or
headset). Pressing a left Line button during a call on the handset, or in hands free
mode, locks the caller. To unlock press that Line button a third time.
The right row of buttons is used to select which call on screened hold. For more
details on how screened hold works, see the section on the Next button, below.
Hold & Drop
(Hold) and (Drop) - You know what these do! In Talent mode these affect
only the corresponding bank of buttons above them. A locked line will not be
affected unless you unlock it first (by pushing the corresponding LINE button). All
unlocked lines in that column will be dropped.
In Producer mode the left hold button is normal hold while the right hold button
places a caller on “screened hold”. For more details on how screened hold works, see
the section on the Next button, below. This right-hand hold button may be replaced
by with a keycap labeled with a check mark if the Desktop Director in question
will be used primarily for screening.
Next
(Next) button- This button works differently in Producer versus Talent mode.
In Talent mode this button will direct the call designated by the screener as NEXT to
Caller 1 hybrid. When NEXT is pressed, any unlocked caller on the Caller 1 Hybrid
will be dropped. It is also possible to program the system to put these callers on hold,
see “Hold on Next” feature, programmed as part of the Show Configuration.
If a Call Screener is used, s/he may place a call on screened hold (see above) and the
check mark will be displayed. This indicates the caller has been checked by the
screener, and s/he is ready to go on air.
Call placed on screened hold in this manner are queued up from first selected to the
last one selected by the Screener. The NEXT caller line Status Symbol™ is
represented by a blinking check mark. This queue of screened callers is accessed by
this button. See “In Producer Mode”, below, for more information.
If no call is currently on Screened Hold, the line which has been ringing longest will
be selected instead. If no line is ringing, the line on hold the longest will be selected.
Note that if the handset is off-hook the caller will be directed to the handset, using the
same priorities outlined above.
In Producer mode this button will select the line which has been ringing longest. If
no line is ringing, it selects the line that has been on (standard) hold longest.
When NEXT is pressed, any unlocked caller will be dropped. It is also possible to
configure the system to put the caller on hold instead It is also possible to program
the system to put these callers on hold, see “Hold on Next” feature, programmed as
part of the Show Configuration.
Block All
(Block All) - Pressing this key will clear all lines with the only exceptions being
lines on-air, on the handset, lines on hold, and lines pre-designated (as part of the
TELOS 2101 USER’S MANUAL
PART V
THE TELOS DESKTOP DIRECTOR
V-11
SECTION 2 – DESKTOP DIRECTOR: GENERAL DESCRIPTION OF OPERATION
Show Configuration) not to be part of the busy-all-group (such as direct dial-in lines
such as the studio hotline). This allows you to prevent early callers from getting in on
contests until after the operator has made the announcement and turned off Block All.
Unlocked lines on-air, lines on hold, and lines on screened hold will be dropped.
Those lines will then be blocked from accepting any calls (in most cases the caller
will get a busy signal, but this will not always be true depending on your
configuration) and the Busy All Status Symbol™ will be displayed.
Pressing again will clear the lines and allow incoming calls (in some
configurations callers attempting to call while you are in the Busy All state will hear
ringing. In that case the system will answer and drop those callers when you cancel
busy all mode).
h
HOT TIP!
As you may know, there have been several lawsuits regarding to the “fairness” of radio
contests. By consistently activating the Busy All feature before announcing a contest
your staff will reduce the liability for the station.
2.3.2 Telephone Mode Buttons
Dial pad buttons
These are used for dialing out, as with any telephone. They remain active during a
call for use accessing voice mail and other services.
t
DEEP TECH NOTE!
The DTMF “Touch Tones” used by telephones can easily be decoded by technical
types. When dialing over the hybrid, do not enter private numbers or email
passwords without first turning off the hybrid's audio on your console or this private
information will be broadcast.
Speaker phone button
(Speaker phone) – This button places a call that is on the handset onto this
Desktop Director’s built-in speaker phone. If the handset is on-hook this button
places any line on hybrid 1 (the left column) on the speaker phone.
Mute button
(Mute) – This button mutes the handset microphone and hands free microphone
on the Desktop Director™. The LED beside this button will light to indicate that

TELOS 2101 USER’S MANUAL
PART V
THE TELOS DESKTOP DIRECTOR
V-12
SECTION 2 – DESKTOP DIRECTOR: GENERAL DESCRIPTION OF OPERATION
these microphones are muted. Pressing this button again will cancel the muting
function.
Transfer button
(Transfer) – This button invokes the “transfer” function. While connected to a
line, pressing this button will return dial tone. You can then dial in the regular
fashion. Once dialing is complete, you can press this button a second time to connect
the two parties, or you can wait for the called party to answer and announce the call
(the first party will be on hold while you are dialing and talking to the called party).
In the latter case, you would press this button a second time after you have finished
talking to the called party, and wish to connect the two parties.
If you hang up before pressing the transfer button a second time the transfer will be
aborted, leaving the original party on hold.
Note that for the duration of the transferred call two trunks will be used.
2.3.3 User Function Buttons –
These buttons can be used for control of equipment external to the Telos phone
system. For instance, the button may used to control your obscenity delay dump,
etc.
For details on the electrical characteristics of these outputs, please see Part IV.
(user button) – This button controls an output on the parallel control port. This
output will go low for the duration that the button is pressed. This output can control
equipment external to the 2101 such as the “delay dump” input on an obscenity delay
unit.
(Record Control) – This button is used in conjunction with an external
recording device to easily capture conversations with callers.
This is intended to control an external recording device to easily capture
conversations from callers.
It operates the external equipment by pulsing the “Record Start” (pin 3) and “Record
Stop” (pin 4) outputs of the Parallel Control port. These pins are pulsed for
approximately 1 second. For details on the electrical characteristics of these outputs,
please see Vol. 2 , Part IV, Section 1.6.1.
Pressing the button once when nobody is on-air, “arms” the recording feature (LED
blinking).
Once armed, placing a caller on either of the two hybrids starts the recorder
automatically (LED solid). If no caller is on either hybrid, the “Record Stop” output
will be pulsed to stop the recorder and the system will re enter the “armed” state.
Pressing the button, once when somebody is on air, starts the recorder (LED solid)
immediately instead of entering the armed state.
While recording (LED solid), pressing the button stops the recorder and puts the
system back in the armed state (LED blinking).
When in armed state (LED blinking), pressing the button cancels the recording
feature.

TELOS 2101 USER’S MANUAL
PART V
THE TELOS DESKTOP DIRECTOR
V-13
SECTION 2 – DESKTOP DIRECTOR: GENERAL DESCRIPTION OF OPERATION
2.4 The Console Director
Telos provides electronic sub-assemblies to a number of console manufacturers,
allowing them to sell a console mounted control surface compatible with the
TWOx12 and Series 2101. The “Console Director” works very much like the
Desktop Director in TALENT mode.
A special software version permits two Console Directors to act like the Extended
Desktop Director (e.g. to access 12 lines with 4 hybrids or 24 lines with 2 hybrids).
A diagram of the Console Director and its function is shown below:

TELOS 2101 USER’S MANUAL
PART V
THE TELOS DESKTOP DIRECTOR
V-14
SECTION 2 – DESKTOP DIRECTOR: GENERAL DESCRIPTION OF OPERATION
Line Buttons
Caller 1
on-air
line
controls
Line Buttons
Caller 2
on-air
line
controls
Hold
Buttons
Places any
unlocked calls
in that column
on hold.
Drop
Buttons
Drops any
unlocked calls
in that
column.
Block
All
Causes
lines to
become
"blocked"
(engaged)
to incoming
callers.
Next
Places
the next
caller on
Caller 1
Fader.
Telos Console Director
TM
(Telos Electronics Package 0320-0000)
Operator's Guide
St at us Sy mb ols
For additional information see Desktop Director Guide for Talent in the User's Manual
[] []
⎥
88
*#
DTMF Dial Pad
for dialing
r
Telos Electronic Package 0320-0000 is distributed as
part of complete assemblies available from major
console manufacturers.
- The Console Director operates in Talent Mode only.
-For use with T elos TWOx12 and Series 2101 only.
-Console Directors are connected to the T elos
interface in the same manner as the Telos Desktop
Director, see Vol 2, Part IV, Section 1.3.2.
Other manuals for DESKTOP DIRECTOR 2101
2
This manual suits for next models
1
Table of contents
Other Telos Telephone System manuals


