manuals.online logo
Brands
  1. Home
  2. •
  3. Brands
  4. •
  5. Tentipi
  6. •
  7. Tent
  8. •
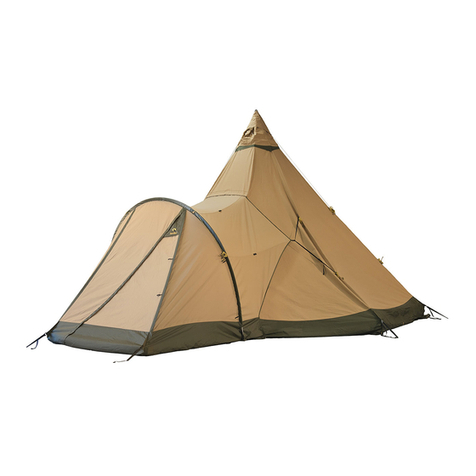
  9. Tentipi Olivin 2 User manual

Tentipi Olivin 2 User manual

www.tentipi.com
Before using the product, please read “Care instructions, hints and advice” at tentipi.com/support
* Packing bag
* Canvas
2. Pull out the measuring tape and put a tent peg by the
marking.
4. Spread the Nordic tipi out and pull the ground rings over
the tent pegs. Push the pegs all the way down. In addition,
read “Peg and stake guide” at tentipi.com/support.
6. Locate the cap at the top of the Nordic tipi and put the
central pole inside it. Raise the Nordic tipi by pushing the
central pole upwards.
1. Use a tent peg to pin down the mounting cross where
the centre of the Nordic tipi is to be.
3. Use the mounting cross and the measuring tape to
position six pegs symmetrically in a circle.
5. Assemble the central pole.
7. Place the central pole in the centre of the tent. Close
the door and tighten the ground straps all the way round.
Adjust them till you are satised.
Pitching your Olivin 2 Nordic tipi
* Central pole
* Tent pegs
* Mounting cross
* Measuring tape
In an emergency, it is possible to make a small open re in both Olivin cp and Olivin light. A microstove can be used in Olivin cp if the canvas is
protected from contact with the hot chimney. When an inner tent has been mounted, neither a re nor a stove can be used.
www.tentipi.com
A
B
Before using the product, please read “Care instructions, hints and advice” at tentipi.com/support
Attach the inner tent to the three fastening points at the top
of the Nordic tipi (A) that are not already being used for the
ventilation system’s regulating cords.
The snow ap can be folded outwards and then the oor
tensioners will be under the outer tent canvas.
If you want to have the snow ap folded inwards under the
oor, pull the oor tensioners through the openings in the
outer tent canvas. The openings can be fastened with Velcro
(on newer tents).
Stretch the inner tent oor by tightening the oor tensioners
from the outside of the tent.
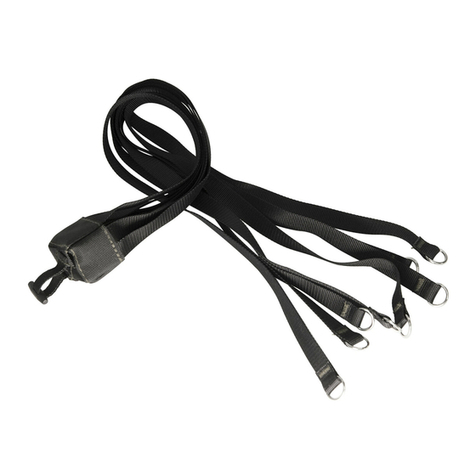
Attach the bottom of the inner tent by putting the toggle
on the outer tent’s ground straps through the O-ring on the
inner tent’s oor tensioners.
Then pull the ventilation system’s regulating cords through
the buttonhole band at the top of the inner tent (B). Pull the
cords in from the outside.
Then pitch the inner tent together with the outer tent as
described in 1–7. Put the central pole on the reinforced area
in the centre of the oor.
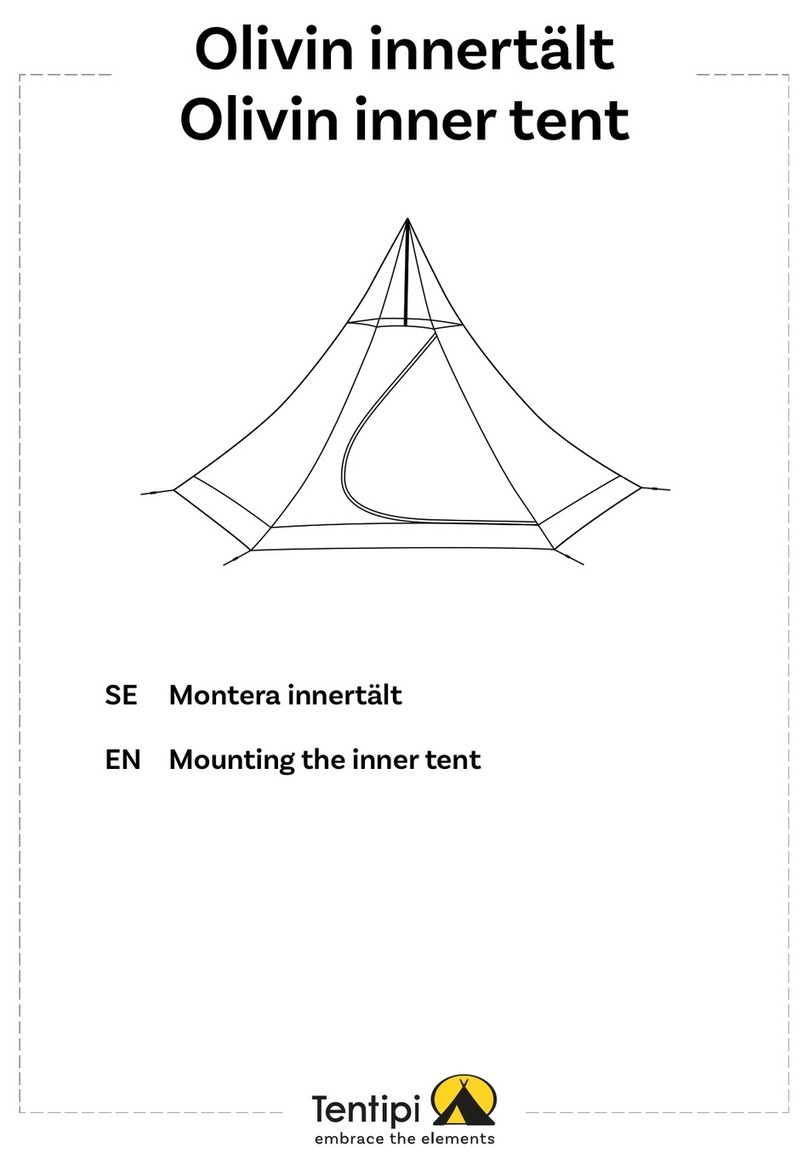
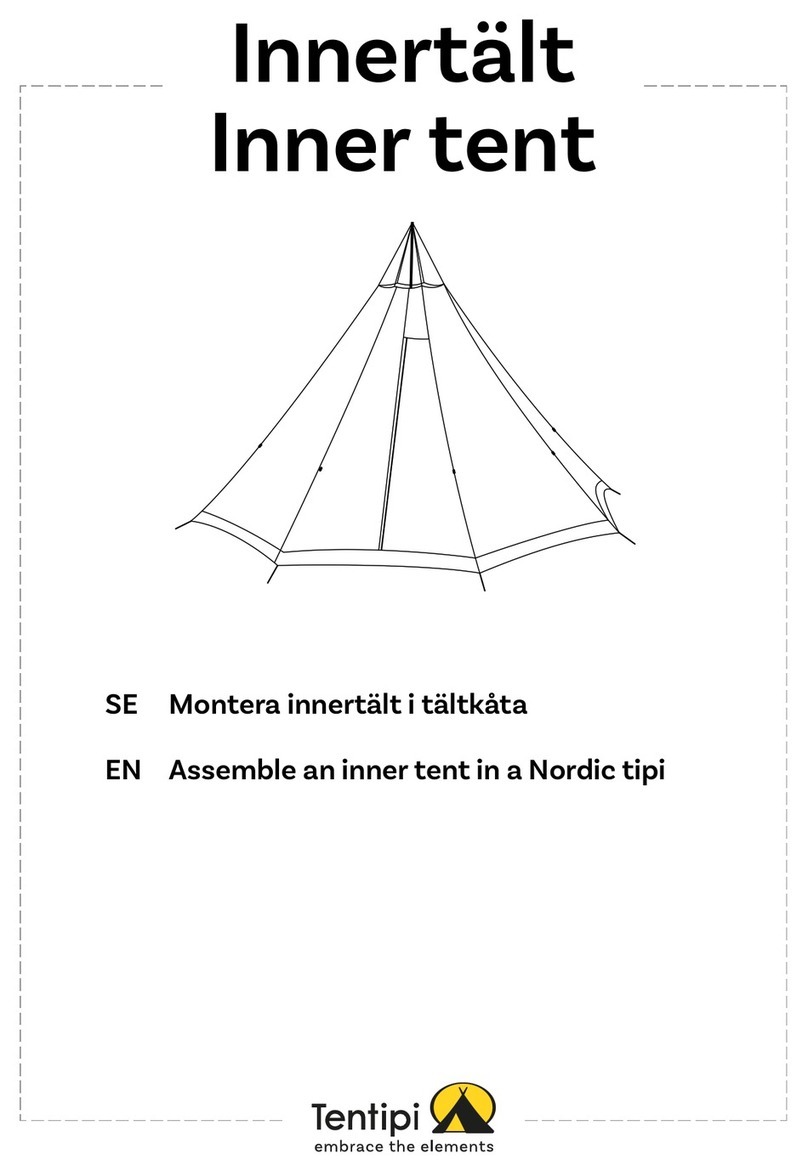
Mounting the inner tent
The inner tent is attached to the outer tent before the Nordic tipi is pitched. Make sure the doors are positioned in line with each other.
Neither a re nor a stove can be used in Olivin when
an inner tent is mounted.
www.tentipi.com
A
B
Before using the product, please read “Care instructions, hints and advice” at tentipi.com/support
Then pull the ventilation system’s regulating cords through
the buttonhole band at the top of the inner tent (B). Pull the
cords in from the outside.
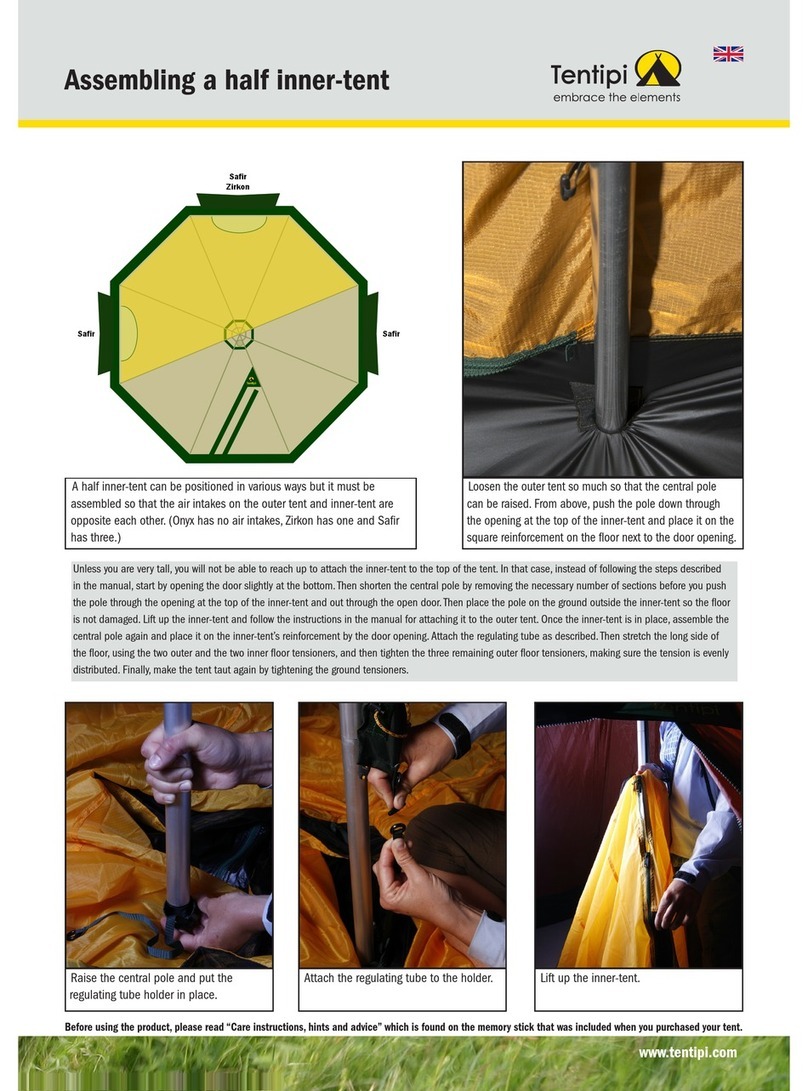
A half inner tent is attached to the outer tent before the Nordic tipi is pitched. Make sure the doors are positioned in line with each other.
Attach the inner tent to the three fastening points at the top
of the Nordic tipi (A) that are not already being used for the
ventilation system’s regulating cords.
Stretch the half inner tent’s oor by tightening the oor
tensioners from outside the tent.
Then pitch the inner tent together with the outer tent as
described in 1–7. Put the central pole on the reinforced area
inside the half inner tent.
Attach the bottom of the inner tent in four places by putting
the toggle on the outer tent’s ground straps through the
O-ring on the inner tent’s oor tensioners.
The snow ap can be folded outwards and then the oor
tensioners will be under the outer tent canvas.
If you want to have the snow ap folded inwards under the
oor, pull the oor tensioners through the openings in the
outer tent canvas. The openings can be fastened with Velcro
(on newer tents).
Mounting a half inner tent
Neither a re nor a stove can be used in Olivin when
an inner tent is mounted.
www.tentipi.com
Before using the product, please read “Care instructions, hints and advice” at tentipi.com/support
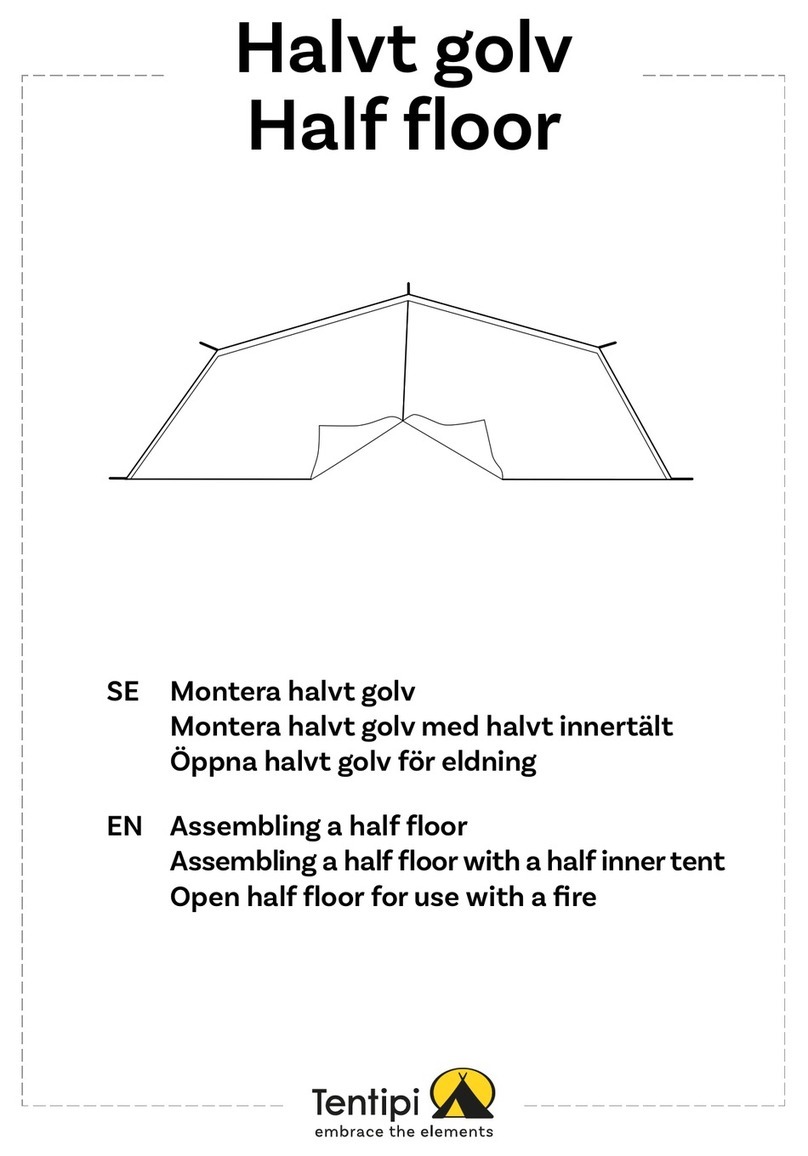
One third of the oor can be removed to make space for
shoes by the entrance or so as to be able to use a re/stove
in the Nordic tipi (see the instructions regarding use of
re/stove under “Pitching Olivin 2”). The oor sections are
fastened together with Velcro.
This is how to get the removable part of the oor by the
door: There is a oor tensioner by the seam with Velcro.
Lead the oor tensioner out through the opening in the outer
tent canvas to the left of the door.
To prevent water or insects from entering the tent, the
snow ap must be folded inwards under the oor. The oor
tensioners must then be pulled through the openings in the
outer tent canvas.
Pull the O-ring on the ground tensioner over the toggle on
the outer tent’s ground strap. Do the same with the next
three ground tensioners, working clockwise.
Mounting a oor
Stretch the oor by tightening the oor tensioners from
outside the tent.
Loosen all the ground straps so the central pole can be
lifted up. Pull the oor under the pole and then lower it in
place in the middle of the oor. Fasten the last two oor
tensioners.

Other Tentipi Tent manuals

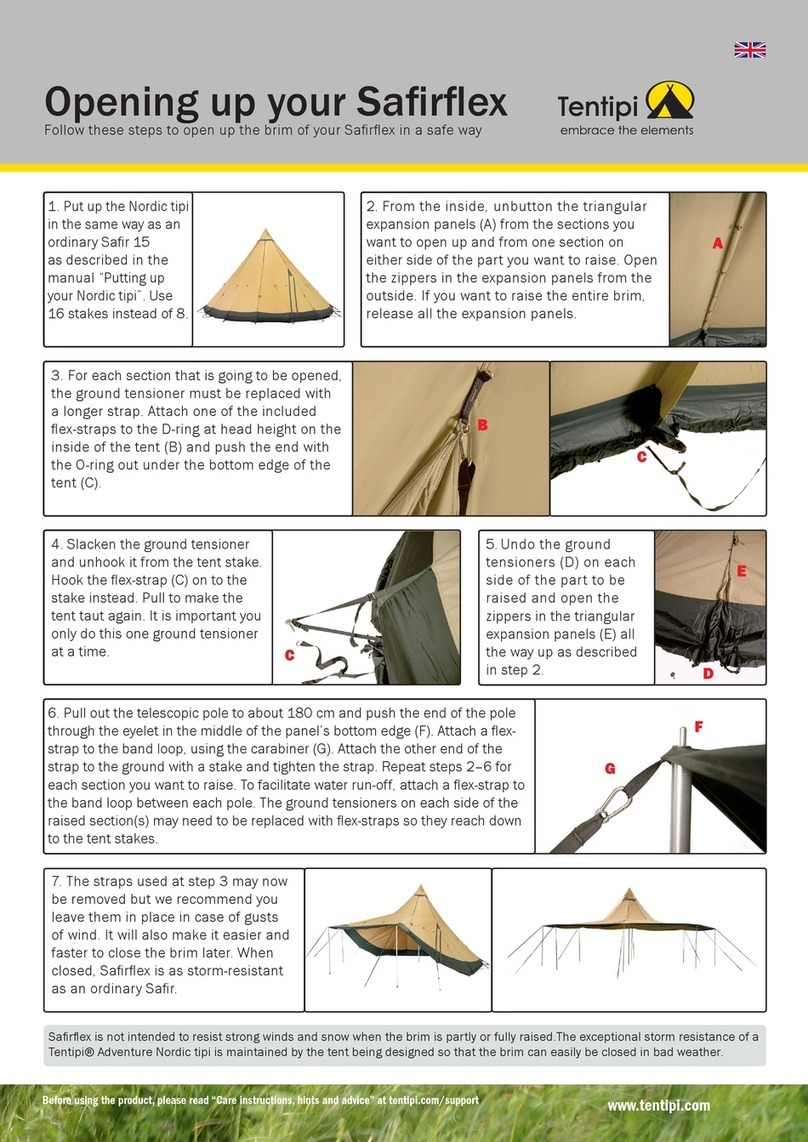
Tentipi Safirflex User manual

Tentipi

Tentipi Safirflex User manual

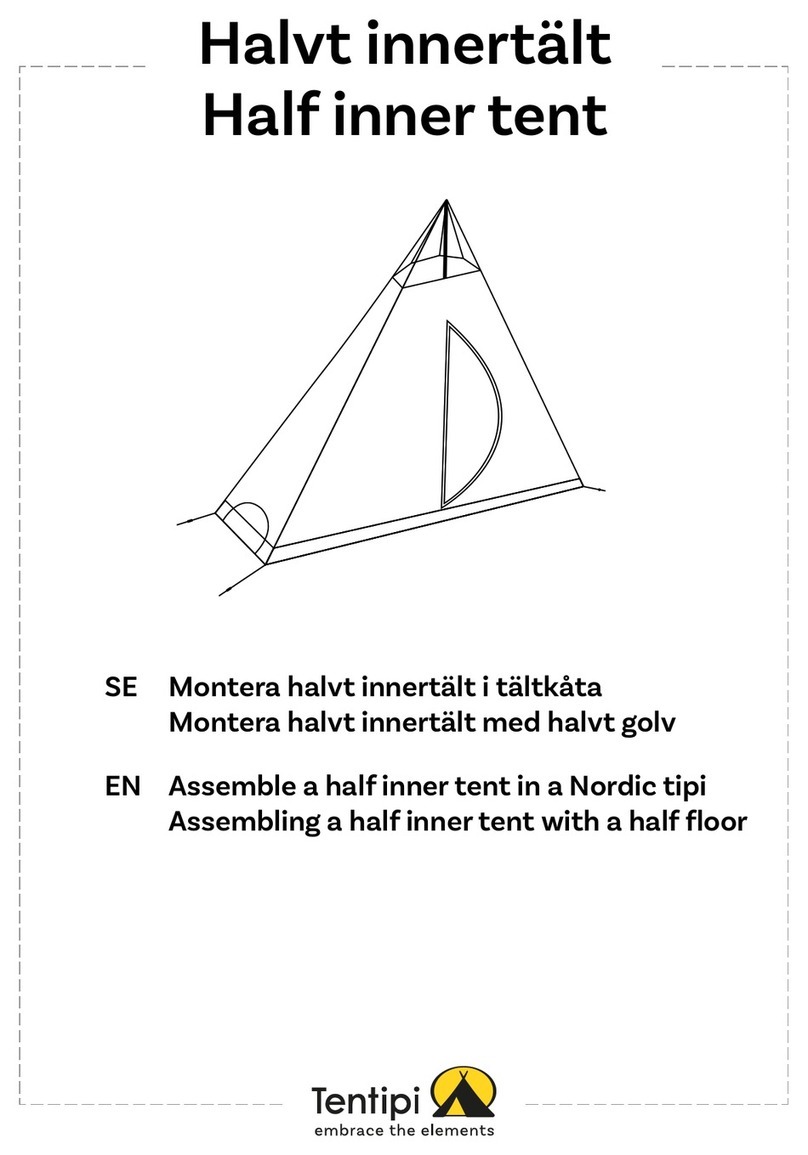
Tentipi Half inner-tent Programming manual

Tentipi

Tentipi Half inner-tent Programming manual

Tentipi Comfort 2 30102 Guide

Tentipi

Tentipi Comfort 2 30102 Guide

Tentipi Adventure 5 User manual

Tentipi

Tentipi Adventure 5 User manual

Tentipi Comfort 7 12170 User manual

Tentipi

Tentipi Comfort 7 12170 User manual

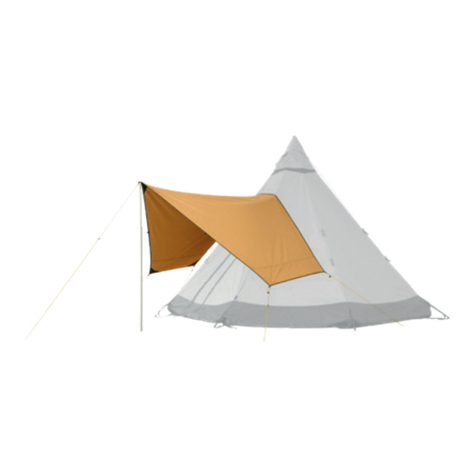
Tentipi Porch User manual

Tentipi

Tentipi Porch User manual

Tentipi Base 5 12310 Operation instructions

Tentipi

Tentipi Base 5 12310 Operation instructions

Tentipi Nordic Tipi User guide

Tentipi

Tentipi Nordic Tipi User guide

Tentipi IT Solo pitching kit User manual

Tentipi

Tentipi IT Solo pitching kit User manual

Tentipi Tarp Comfort cp 11702 User manual

Tentipi

Tentipi Tarp Comfort cp 11702 User manual

Tentipi Safirflex Nordic tipi User manual

Tentipi

Tentipi Safirflex Nordic tipi User manual

Tentipi Nordic tipi Guide

Tentipi

Tentipi Nordic tipi Guide

Tentipi Comfort 9 11999 User manual

Tentipi

Tentipi Comfort 9 11999 User manual

Popular Tent manuals by other brands

Vango SIGMA 300 Pitching instructions

Vango

Vango SIGMA 300 Pitching instructions

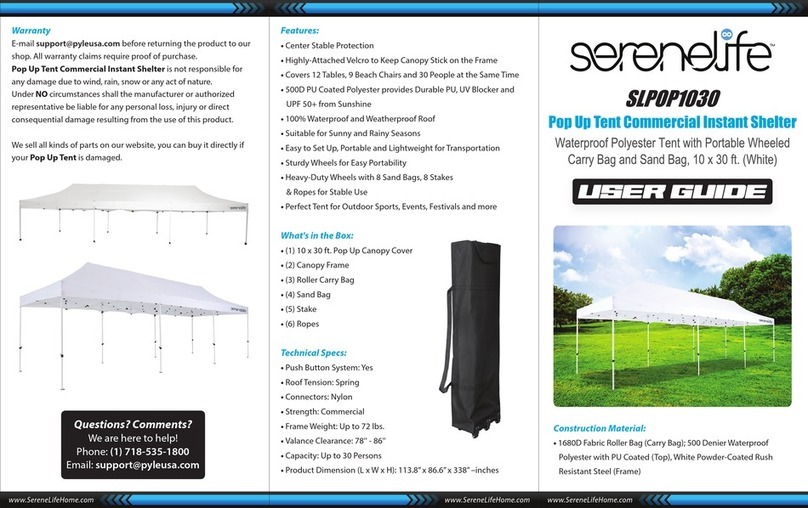
SereneLife SLPOP1030 user guide

SereneLife

SereneLife SLPOP1030 user guide

weinor Kubata Replacement instructions

weinor

weinor Kubata Replacement instructions

Dancover PRO EventZone 9m Series manual

Dancover

Dancover PRO EventZone 9m Series manual

Coleman CHALET 9 CV 10600B Setup instructions

Coleman

Coleman CHALET 9 CV 10600B Setup instructions

23zero OSPREY 270 user manual

23zero

23zero OSPREY 270 user manual

Sojag Castel owner's manual

Sojag

Sojag Castel owner's manual

Eureka Tundraline Assembling instructions

Eureka

Eureka Tundraline Assembling instructions

Vaude POWER LIZARD SUL 1-2P user manual

Vaude

Vaude POWER LIZARD SUL 1-2P user manual

ShadeLab Kumo Assembly manual

ShadeLab

ShadeLab Kumo Assembly manual

Palram solid LENA 1.4x0.9 How to assemble

Palram

Palram solid LENA 1.4x0.9 How to assemble

Kampa Brean 4 AIR operating manual

Kampa

Kampa Brean 4 AIR operating manual

MSR WING user manual

MSR

MSR WING user manual

TENTCO BUSH SHELTER manual

TENTCO

TENTCO BUSH SHELTER manual

skandika outdoor VANCOUVER Setup Instruction

skandika outdoor

skandika outdoor VANCOUVER Setup Instruction

TAMBU 20210301 manual

TAMBU

TAMBU 20210301 manual

Kayoba 955-029 operating instructions

Kayoba

Kayoba 955-029 operating instructions

Jack Wolfskin Exolight II manual

Jack Wolfskin

Jack Wolfskin Exolight II manual

manuals.online logo
manuals.online logoBrands
  • About & Mission
  • Contact us
  • Privacy Policy
  • Terms and Conditions

Copyright 2025 Manuals.Online. All Rights Reserved.