3Commissioning
10
Operation via mains unit is therefore recommended. An appropriate
USB cable can also be purchased as an accessory.
Only for testo 160 E and testo 160 THE:
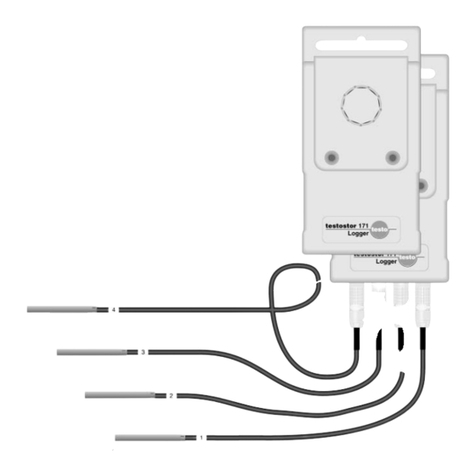
The external probes must be connected
logging into the Cloud
for the first time. If an additional probe is to be connected at a later
stage, the data logger must first be logged out of the Cloud. The
external probe can then be connected and the data logger logged in
again.
3.3 Logging into the Testo Cloud
You need an account for the Testo Cloud. If you have not yet set this
up, please sign up at https://www.museum.saveris.net.
For your new testo 160 WiFi data logger to be able to connect to your account
in the Testo Cloud, it requires the three following pieces of information at
minimum:
1. The ID of your account in the Cloud. You will find this in your account under
the menu item Configuration - Account ID.
2. The network name of your WLAN (SSID), which the WiFi data logger will use
to connect to the internet.
3. The password for this network.
Storage of this information on the WiFi data logger is called “Configuring the
WiFi data logger". Four different options are available for this process.
3.3.1 Configuration via the Setup assistant
The Setup assistant in the web interface of the Testo Cloud is provided to
assist you when you take your first steps with commissioning the testo 160. It
can help you with logging in WiFi data loggers.
To be able to carry out the configuration, you need to be logged into
the web interface at https://www.museum.saveris.net.
- Click on the symbol above the menu bar.
The Setup assistant launches and assists you with the configuration.
Follow the instructions there.
