manuals.online logo
Brands
  1. Home
  2. •
  3. Brands
  4. •
  5. TFA
  6. •
  7. Weather Station
  8. •
  9. TFA AMBIENTE II User manual

TFA AMBIENTE II User manual

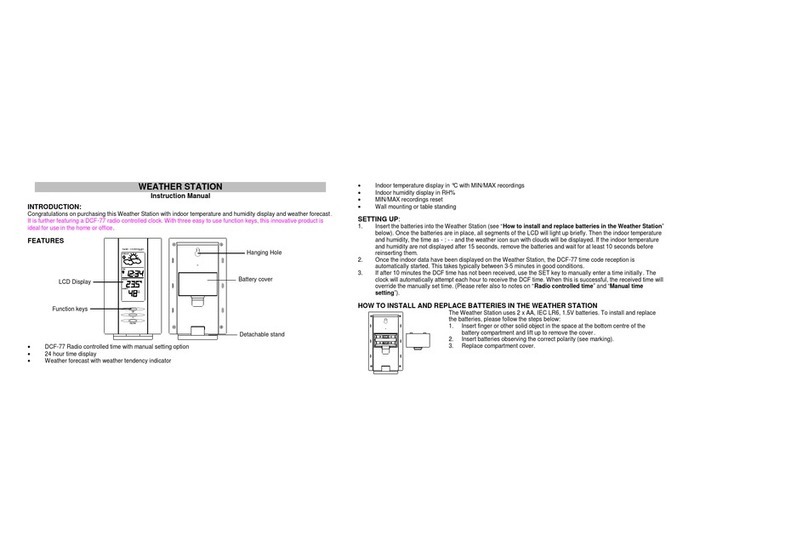
Features:
lRadiocontrolledtime with manualsettingoption
lWeather ForecastwithSunny,SlightlyCloudy,Cloudy, RainyandCloudBurst.
l433MHz RF receivingfrequency.
lMaximumthree selectableRFchannels withwireless ThermoSensor.
(One Wireless ThermoSensor Included)
lTransmissionrange:30meters (openarea ).
lMeasuringrange:
Indoor temperature : 0°C~ +50°C
Humidity:20% ~99%
Outdoor temperature : -20°C ~ +50°C
lTemperature Alert function.
lMax/MinMemoryforHumidity,IndoorandOutdoor Temperature.
lMoon Phase Display.
lHigh Tide, Medium Tide andLow Tide Indication.
lLow-batteryindicator forOutdoorRemoteSensor.
lPerpetualCalendar Up toYear 2069.
l12/24Hour time displayselectable.
lDayof weekin8LanguagesSelectable.
lWall Mountor Table Stand Selectable.
lBattery:
MainUnit :DC 1.5 V AAsize x2pcs
Thermo SensorUnit:DC1.5VAAsize x2 pcs
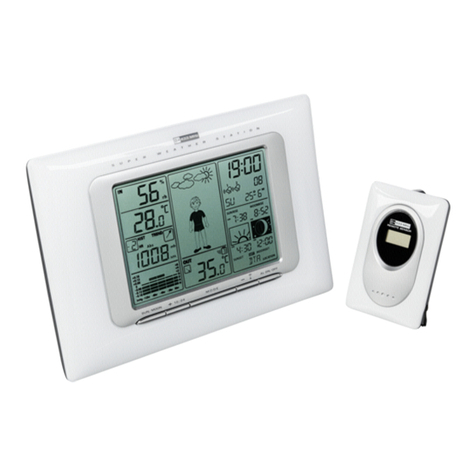
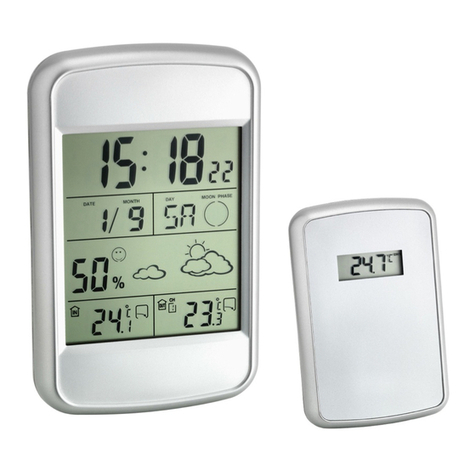
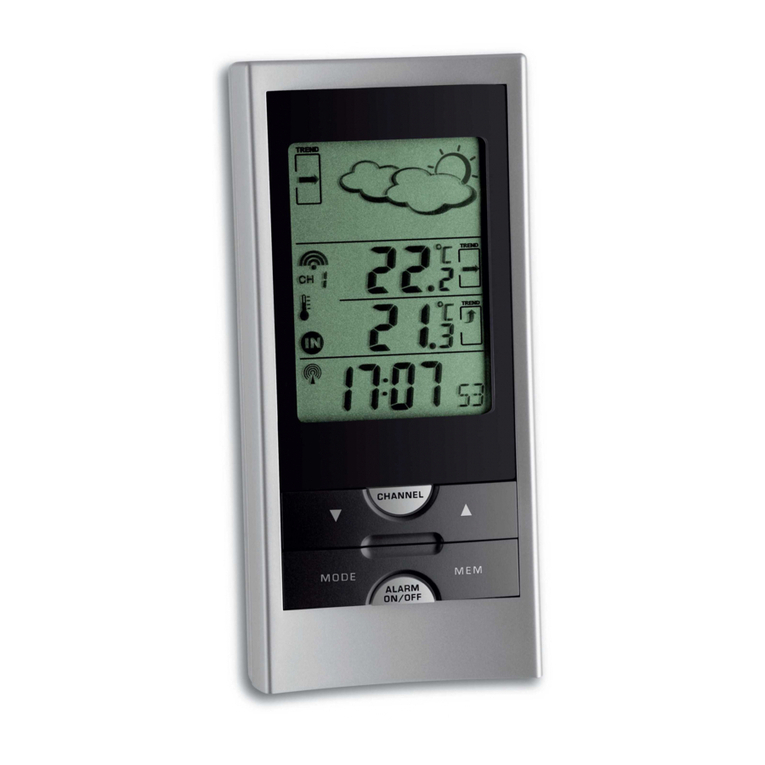
MainUnitAppearance
Part A- LCD
A1: WeatherForecastA2: Barometer Pressure Trend
A3: Outdoor Temperature A4: Outdoor TemperatureTrend.
A5: Indoor Temperature. A6: Indoor Humidity
A7: MoonPhase & Tide Indication.A8:Radio ControlledTimeDisplay
Part B- Buttons
B1: “MODE/SET” buttonB2:“SNOOZE” button.
B3: ”ALARM ON/OFF” buttonB4: “MAX/MIN” button
B5: “ALERT”buttonB6:“WEATHER“ button
B7: “+(12/24)” buttonB8:“- (°C/°F)” button
B9: “HOLD ” buttonB10: ”CHANNEL” button
B11:“RESET” button
Part C- Structure
C1: Wall MountHole C2:.BatteryCompartment
C3: Stand
ThermoSensor UnitAppearance.
D1: Outdoor Temperature D2: TransmissionIndicationLED
D3: “°C/°F” button D4: Channel SelectingSwitch
D5: “TX” buttonD6: WallMountHole
D7: BatteryCompartment
Set Up:
ŸInsert batteries.
ŸUsea pintopressthe RESET(B11) button
Radio Controlled Clock:
lTheclockautomaticallystarts scanningthe RF433MHz signal to registernew
Thermo SensorUnitafter newbatteries inserted.Afterregisterednewchannels or
press “CHANNEL”button (B10)tostopscanning,the clock will thenscan the
DCFtime signal( “ ” flashes onthe LCD). Buttons willnot functionwhile
scanningforDCF or Thermo sensor’ssignalunless theyarewell receivedor
stoppedmanually.
lTheclockautomaticallyscansthe time signalat 3.00a.m. everyday to maintain
accurate timing.For failed reception, scanningstops (“ ” ontheLCD
disappear ) andrepeats again at 4.00a.m. 5.00a.m. and6.00a.m.
lTheclockmanuallyscans the DCF time signalbyholding“ - ” button(B8) for
3 seconds. For failedreception, scanningstops. (“ ” onthe LCD disappear ).
lPress “HOLD ”button(B9) tostopscanningwhen receivingDCF time signal.
“ ” flashes indicatenowis receivingDCF time signal
“ ” turns onindicate signalreceived successfully
Manual TimeSetting:
lHold “MODE/SET” button (B1)for3secondstoenterClock/Calendar setting
Mode .
lPress “+”(B7) or“-” (B8) buttons toadjust the settingandpress“MODE/SET”
button (B1)toconfirm eachsetting.
lThesettingsequence isshown as follow: Hour, Minutes, Second,Year,
Month/Daysequence, Month, Day,Time Zone, Day-of-weeklanguage.
l8 languages canbe selectedin Day-of-week, theyare: German,English, Russian,
Denmark,Dutch, ItalianSpanish and French,. The languages andtheir selected
abbreviations foreachdayof the weekare shownin the followingtable.
Language
Sunday
Monday Tuesday Wednesday
Thursday
Friday Saturday
German, GE SO MO DI MI DO FR SA
English,EN SU MO TU WE TH FR SA
Russian, RU BC NH BT CP HT NT CY
Denmark, DA
SO MA TI ON TO FR LO
Dutch, NE ZO MA DI WO DO VR ZA
Italian, IT DO LU MA ME GI VE SA
Spanish, ES DO LU MA MI JU VI SA
French, FR DI LU MA ME JE VE SA
lThezone isusedforthe countries where canreceivethe DCFsignalbutthetime
zoneis differentfromthe Germantime.
lWhenthe countrytime isfaster thanthe Germantime for1hr,thezone should be
setto1. Thenthe clockwill automaticallyset1hour fasterfromthesignaltime
received.
lTheTime SettingMode will automaticallyexitin5seconds withoutany
adjustment.
l“DST”is shown ontheLCD ifit is inDaylight SavingTime mode
12/24 HourDisplaymode:
ŸPress “+(12/24)” button(B7) toselect 12or24hours mode.
Snooze AlarmClockFunction:
lPress “MODE/SET”button (B1)toselect toview:
TimeDate/Month/WeekdayAlarmTime (“ “Shownonthe LCD)
lWhenviewingtheAlarm Time, hold“MODE/SET” button(B1)for3seconds to
enterAlarm Time setting. Press “ +” (B7) or“-” (B8) buttonstoadjustthe alarm
time.
lPress “ALARM ON/OFF” button(B3)to switchalarm onoroff. If itison,
“”shownon the LCD.
lWhenAlarming, press “SNOOZE/LIGHT” button(B2)to activatethe snooze
alarm. Snoozesalarmsnoozes for5minutes, thenitalarms again.
lPress anybuttontostopthe snooze alarm.
WeatherForecast Function:
lAfterBatteries inserted, or holding“WEATHER” button(B6)for 3seconds,
weather iconFlash(LCD-A1).Enter the current weather pressing“ + “ (B7) or “-
“(B8) buttons. Press “MODE/SET” (B1) buttonto confirmthe setting. The
weather forecast maynot beaccurate if the currentweather enteredisnot correct.
lTotally5different weather inthe weatherforecast.
“ ” means Sunny .
“”means SlightlyCloudy.
“ ” means Cloudy.
“ ” means Rainy
“”means Cloudburst.
lIf there is anyinconsistencyof weatherforecastbetweenLocal WeatherStation
andthis unit, the Local Weather Station's forecast shouldprevail. We willnot held
responsible foranytrouble thatmaycome updue to wrongforecastingfromthis
unit.
lThetrendpointerdisplayedonthe LCD indicatesthe trend oftheBarometric
pressure.
“” indicates the barometric pressure trendis increasing.
“” indicates the barometric pressure trendis steady.
“” indicates the barometric pressure trendis decreasing.
Maximum/MinimumIndoor/Outdoor Temperature and Humidity Recording
Function:
lPress “MAX/MIN” button(B4)toshowthe maximum recordedIndoor /Outdoor
Temperature andHumidity.
“”is shown onthe LCD
lPress “MAX/MIN” button(B4)againtoshowthe minimumrecorded
Indoor/Outdoor TemperatureandHumidity.
“”is shown onthe LCD.
lHold “MAX/MIN” button (B4) for3 seconds toclearthe recordedmaximum and
minimum reading.
Thermometer:
lPress “-(°C /°F)”button(B8) toselectIndoor/Outdoor TemperatureinCelsius
mode/Fahrenheit mode.
OutdoorThermoSensorUnit RegistrationProcedure:
lThemainunitautomaticallystarts receivingtransmissionfromOutdoor Thermo
Sensor foroutdoortemperature afternewbatteries are inserted.
lThethermosensorwill automaticallytransmittemperaturetothemainunitafter
batteries inserted. Batteries compartment (D7) ofthermo sensoris locatingbehind
the backcover, unscrews toopen.
lFor havingmore thanone externaltransmitter(Maximum3), select the Channel,
CH1, CH2 orCH3toensureeachthermosensor istransmittingdifference channel
before insertingbatteries.The channelselect switch (D4) isat the backofthe
thermosensor.
lPress “ TX“ button(D5) onthe thermo sensorunittotransmittemperature to the
mainunitmanually. The mainunitgives a “beep” sound if it receivedthe
temperature.
Display outdoortemperature:
lPress “ CHANNEL”button (B2)toview the 3Channels’temperature. The
sequence is shown as follow:
Press Press Press
“CHANNEL”button “CHANNEL” button “CHANNEL” button
Displaythe three
channels alternatively
lHold “ CHANNEL” button (B2)for3seconds tocancelunusedchannel manually.
It will automaticallyregistera newchannelagain if anewchannel is received.
If there is no temperature displayedinexistingchannel( “ - - . –“ isdisplayedon
the LCD), hold“CHANNEL”button(B2) for3seconds to cancel thatchannel
andwouldreceive thechannelagain ( “Beep” sound canbe heard.). Then, press
“ TX“ button(D5) onthe thermosensorunit totransmitsignal tothe mainunit
manually
lThetrendpointerdisplayedonthe LCD indicatesthe trend oftheoutdoor
temperature.
“ ”indicatesthe outdoor temperature is increasing.
“ ”indicates the outdoor temperature is steady.
“ ” indicates the outdoor temperature is decreasing.
lPress “°C/°F”button(D3), onthe ThermoSensor unit, to selectThermoSensor
displayedinCelsius mode or Fahrenheitmode.
lTheOperatingtemperature rangeof theThermo Sensor Unit:
-20°C~+ 50°C
TemperatureAlertfunction:
lHold “ ALERT” button(B5) for 3secondstoenter TemperatureAlertsetting,
Temperature’s digits flash.
lPress “+” (B7) or“-” (B8) buttontoselectIndoor orOutdoor CH1, CH2 and CH3
temperature alert. Press “ALERT“buttontoconfirmthe setting.
lPress “+” (B7) or“-” (B8) buttontosettheupper ” ” andlower “ ”limit of
the temperature. Press “ALERT“button(B5) toconfirm the setting.
lPress “ALERT” button(B5) toset the TemperatureAlert functionon oroff (“ ”
appears onthe LCD if this functionis on).
Moon Phase andTide Indication
TheMoonPhase of eachdayis shownontheLCD.
A:NewMoonB: WaxingCrescentC:FirstQuarter
D:WaxingGibbous E: Full MoonF: WaningGibbous
G:Last QuarterH: WaningCrescent
Tide Status :
H:High Tide M:MediumTide L:Low Tide
Low batteries indicator:
ŸLow batteryicon“ “ appear atoutdoortemperature row inparticular channel
indicatingtheexternaltransmitterof the channelinlowbatterystatus.The
batteries shouldbe replaced.
Note:
lUseapintopress the resetbutton(B11)ifthe Unitdoesnotwork properly.
lAvoid placingthe clock nearinterferencesources/metal frames suchascomputer
or TVsets.
lThe clock losesits time information whenthe battery is removed.
lButtons willnotfunctionwhile scanningfor DCF time signalorthermosensor’s
signal unless they are wellreceivedor stoppedmanually.
lAll SettingMode willautomatically exit in5seconds withoutany adjustment.

This manual suits for next models

1

Other TFA Weather Station manuals

TFA AXIS 35.1079 User manual

TFA

TFA AXIS 35.1079 User manual

TFA 60.4521 User manual

TFA

TFA 60.4521 User manual

TFA 30.5042 User manual

TFA

TFA 30.5042 User manual

TFA 35.1094 User manual

TFA

TFA 35.1094 User manual

TFA WeatherHub 30.3312.02 User manual

TFA

TFA WeatherHub 30.3312.02 User manual

TFA SKY User manual

TFA

TFA SKY User manual

TFA KLIMA GUARD User manual

TFA

TFA KLIMA GUARD User manual

TFA SPRING User manual

TFA

TFA SPRING User manual

TFA 30.3029 User manual

TFA

TFA 30.3029 User manual

TFA 35.1121 IT Square Plus User manual

TFA

TFA 35.1121 IT Square Plus User manual

TFA 30.3054 User manual

TFA

TFA 30.3054 User manual

TFA 35.1090 IMAGE User manual

TFA

TFA 35.1090 IMAGE User manual

TFA MODUS PLUS User manual

TFA

TFA MODUS PLUS User manual

TFA 35.1130 User manual

TFA

TFA 35.1130 User manual

TFA 35.1133 User manual

TFA

TFA 35.1133 User manual

TFA Sigma Plus 35.1063 User manual

TFA

TFA Sigma Plus 35.1063 User manual

TFA 35.1117.IT User manual

TFA

TFA 35.1117.IT User manual

TFA Stratos User manual

TFA

TFA Stratos User manual

TFA 35.1102 User manual

TFA

TFA 35.1102 User manual

TFA 35.1077 User manual

TFA

TFA 35.1077 User manual

TFA 35.1087 User manual

TFA

TFA 35.1087 User manual

TFA QUADRO User manual

TFA

TFA QUADRO User manual

TFA 35.1019 User manual

TFA

TFA 35.1019 User manual

TFA 35.1149 User manual

TFA

TFA 35.1149 User manual

Popular Weather Station manuals by other brands

ACU-RITE 02045W instruction manual

ACU-RITE

ACU-RITE 02045W instruction manual

SOMFY P03 operating instructions

SOMFY

SOMFY P03 operating instructions

IROX Mete-On 1 Short guide to starting-up

IROX

IROX Mete-On 1 Short guide to starting-up

La Crosse Technology T85647 manual

La Crosse Technology

La Crosse Technology T85647 manual

UPM WS1200 owner's manual

UPM

UPM WS1200 owner's manual

digi-tech 4-LD3030 user manual

digi-tech

digi-tech 4-LD3030 user manual

Oregon Scientific JW103 user manual

Oregon Scientific

Oregon Scientific JW103 user manual

RST IQ889 instruction manual

RST

RST IQ889 instruction manual

La Crosse Technology V30 Faqs

La Crosse Technology

La Crosse Technology V30 Faqs

Alecto WS-1100 user manual

Alecto

Alecto WS-1100 user manual

Sencor SWS 12500 user manual

Sencor

Sencor SWS 12500 user manual

La Crosse Technology ED31411 Quick setup guide

La Crosse Technology

La Crosse Technology ED31411 Quick setup guide

ECOWITT WH31 manual

ECOWITT

ECOWITT WH31 manual

DAVIS Rain Collector II installation manual

DAVIS

DAVIS Rain Collector II installation manual

Tycon Systems ProWeatherStation TP3000WC Operation manual

Tycon Systems

Tycon Systems ProWeatherStation TP3000WC Operation manual

Oregon Scientific RMR132HG user manual

Oregon Scientific

Oregon Scientific RMR132HG user manual

Honeywell TE653ELW - Portable Barometric Weather... user manual

Honeywell

Honeywell TE653ELW - Portable Barometric Weather... user manual

Progres 06730001 manual

Progres

Progres 06730001 manual

manuals.online logo
manuals.online logoBrands
  • About & Mission
  • Contact us
  • Privacy Policy
  • Terms and Conditions

Copyright 2025 Manuals.Online. All Rights Reserved.