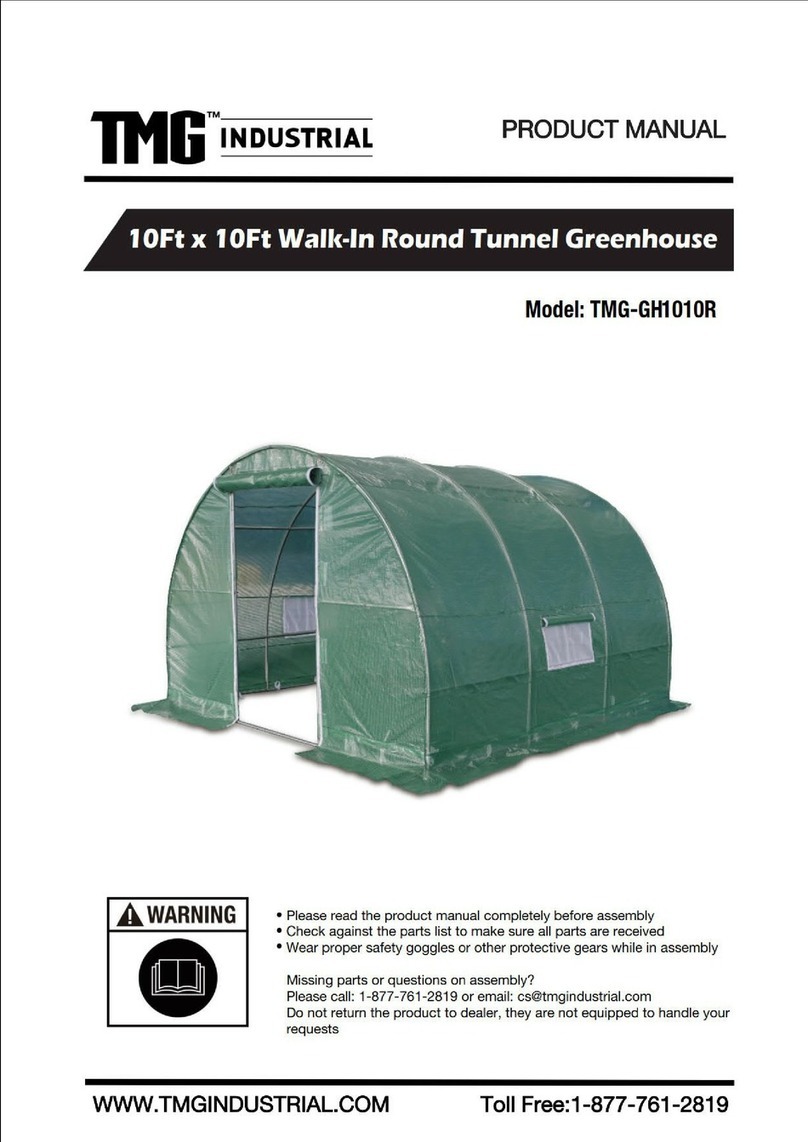
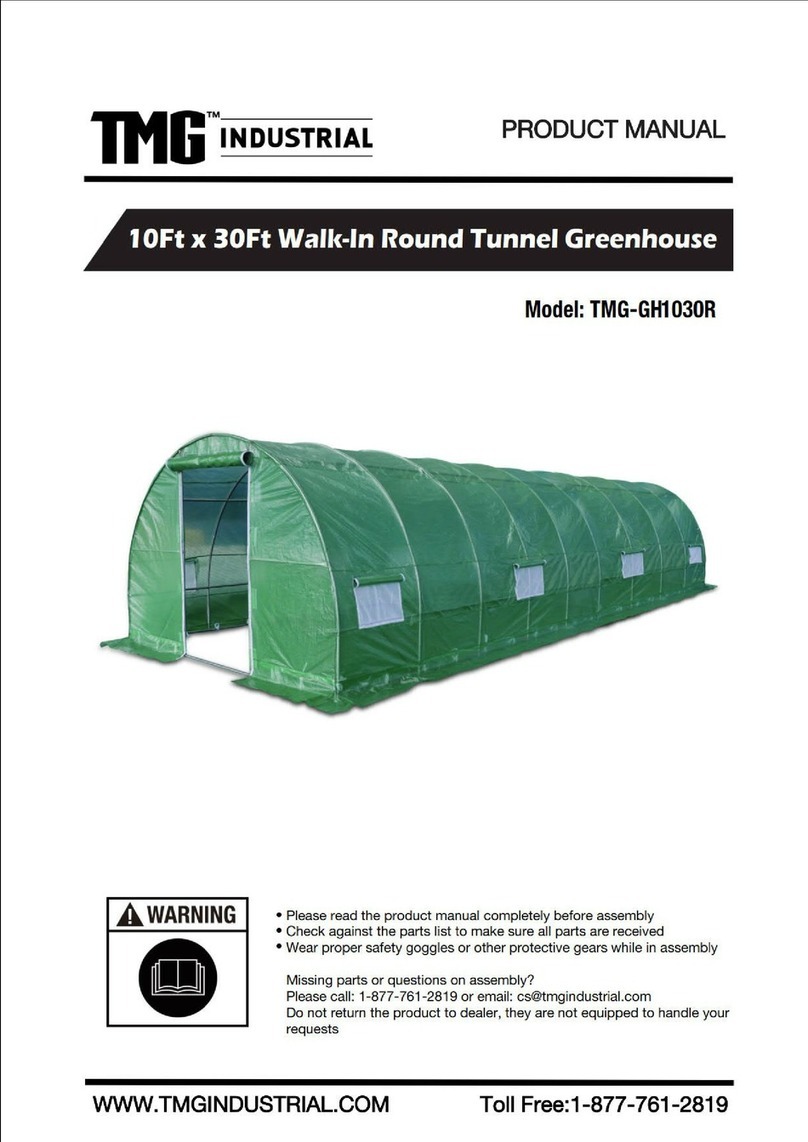
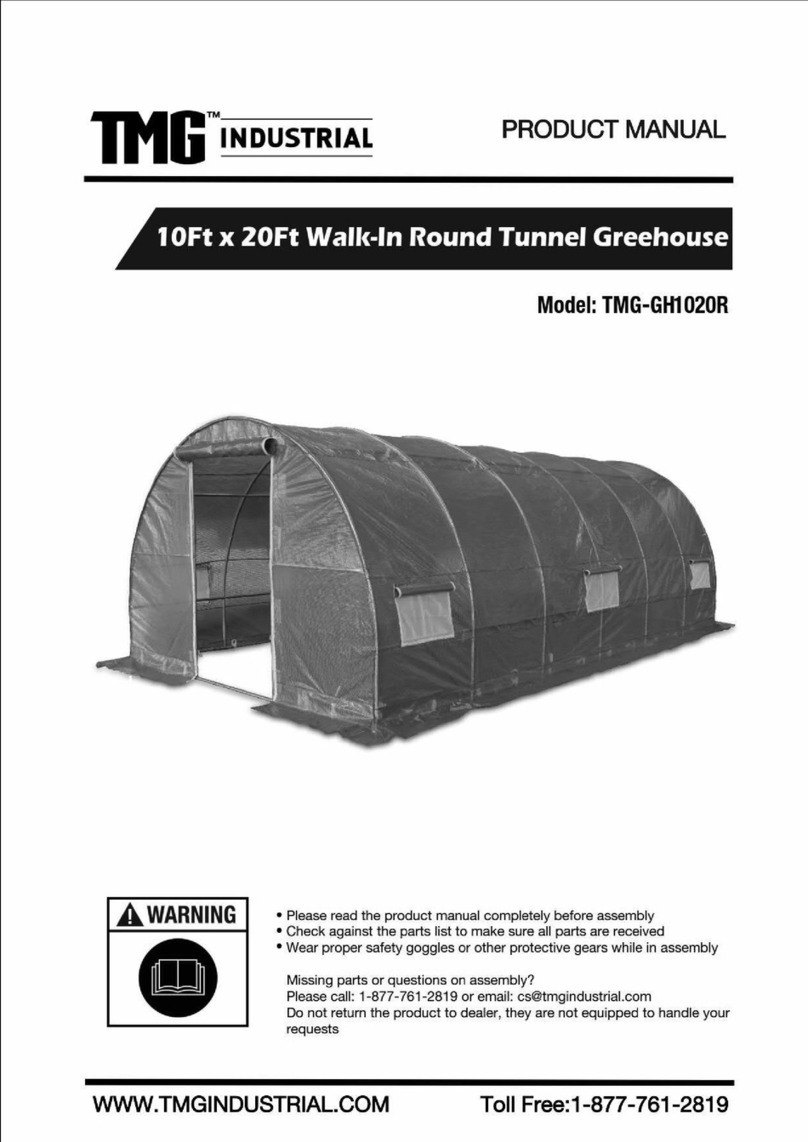
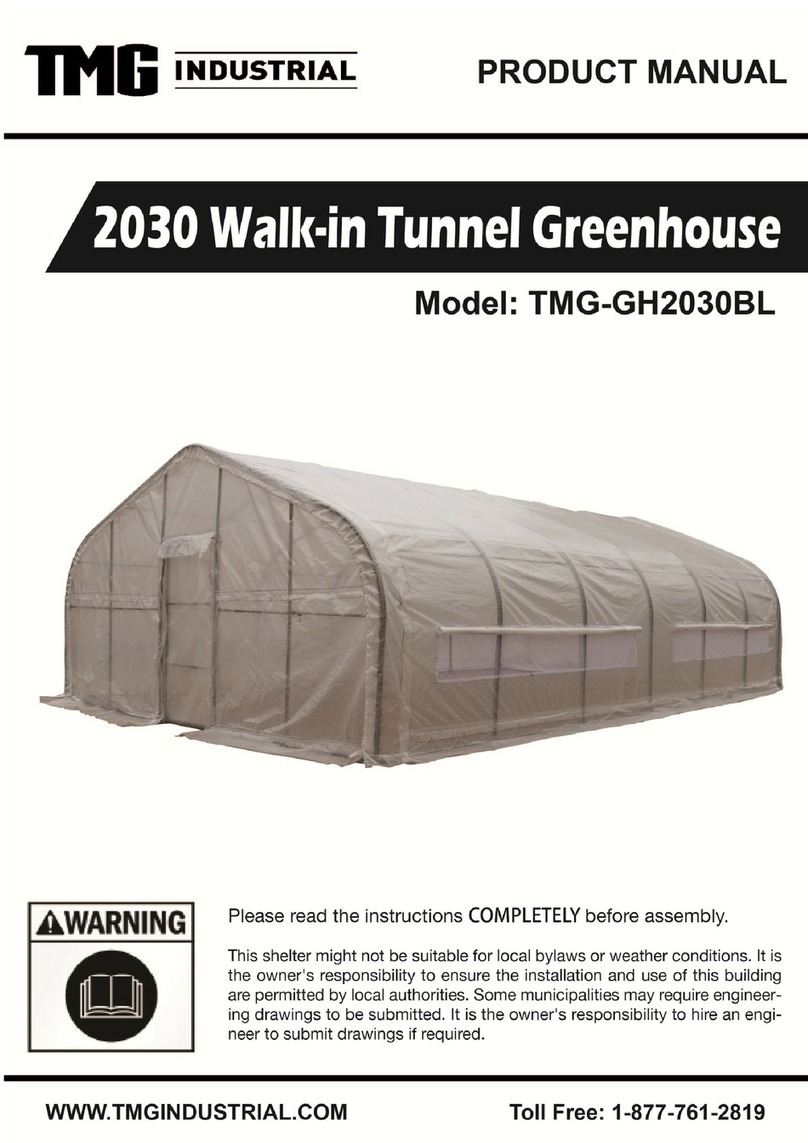
TMG TMG-GHD3060 User manual

▶W W W . T M G I N D U ST R I A L . C O M P 0 / 20 T o l l F r e e : 1 - 877-761-2819

▶W W W . T M G I N D U ST R I A L . C O M P 1 / 20 T o l l F r e e : 1 - 877-761-2819
Main specifications
Assembly size : W9.15 x L18.2 x H3.66 (m) / W30 x L60 x H12 (ft)
Shoulder height : H1.6 (m) / 5ft
Door : W2.2 x H2 (m) / 7.2 x 6.6 (ft)
Prior to assembly
Please read the instructions carefully before installation. It is important to follow your
local safety regulations and industry standards during installation. Regulations may
include but are not limited to :
Safety helmets, protective eyewear, and clothing
Safety harnesses for all elevated workers
Proper ladder, cage, and safety operation
Check all components and parts before installation. All parts are marked with a part
number, please refer to the parts list to make sure you have all parts.
Choose a day with low or no wind to install, assembly is hard in heavy wind. Do not
make any alterations to the structure. Do not hang any weights on the frame during
installation, including parts. We are not responsible for any damages or injuries caused by
inappropriate installation, unauthorized modifications or extreme weather.
This building is not intended for human occupancy.
It is recommended to tape or add foam/rubber on the frame where joints connect and
where it touches the cover. This will help extend the life span of the cover.
Read the following item list carefully and count the number of items to ensure that all
parts are included prior to setup.

▶W W W . T M G I N D U ST R I A L . C O M P 2 / 20 T o l l F r e e : 1 - 877-761-2819
TMG-GHD3060 Part List
Part
code
Graphical
Description
Length
Qty
1
Peak arch tube
φ58xL1370mm
15
2
Upper rafter tube
φ58xL1780mm
26
2A
Upper rafter tube
(front and rear trusses)
φ58xL1780mm
4
3
Lower rafter tube
φ58xL1990mm
26
3A
Lower rafter tube
(front and rear trusses)
φ58xL1990mm
4
4
Shoulder tube
φ58xL1956mm
26
4A
Shoulder tube
(front and rear trusses)
φ58xL1956mm
4
5
Roof purlin
(horizontal tube)
φ42xL1340mm
98
6
Base plate
L150mm
30
6A
Expansion bolt
φ14x100mm
110
7
Base plate
L150mm
8
8
Vertical tubes
L1487mm
4
8A
Vertical tubes
L872mm
4
9
Tubes support
L570mm
2
9L
Door left lower vertical
tubes
L1487mm
2
9A
Door left upper vertical
tubes
L1682mm
2

▶W W W . T M G I N D U ST R I A L . C O M P 3 / 20 T o l l F r e e : 1 - 877-761-2819
9R
Door right lower vertical
tubes
L1487mm
2
9B
Door right upper vertical
tubes
L1682mm
2
9C
Connector tube
L120mm
8
10
Door cross tubes
φ42xL1552mm
4
10A
Door cross tubes
L1689mm
4
10B
Door frame cross pull
tube
L2154mm
2
11
Ceiling cross bar
φ42xL1987mm
13
12
Door frame column tube
L1978mm
4
12L
Door frame column left
tube
L1978mm
2
12R
Door frame column
right tube
L1978mm
2
13
Door horizontal tube
L990mm
16
14
Reed groove
L2000mm
97
14A
Clip spring
L2000mm
100
14B
Connecting piece
L95mm
8
15
Film rolling machine
guide tube
φ25xL1430mm
2
15A
Film rolling machine
guide tube
φ25xL1650mm
2
15B
Film rolling machine
guide tube
φ25xL1993mm
2
16
Roll film tube
L1993mm
18

▶W W W . T M G I N D U ST R I A L . C O M P 4 / 20 T o l l F r e e : 1 - 877-761-2819
16A
Roll film tube
φ25xL820mm
2
16B
Roll film tube
L1995mm
18
16C
Roll film tube
L550mm
2
16D
Connecting rod
L100mm
18
17
Door buckle
L150mm
8
18
Film rolling machine
L220mm
2
18A
Film rolling machine
L200mm
2
19
Eight clip spring
L120mm
28
20
Pressure film carrier
L80mm
60
21
Half round head bolt
M6x50mm
32
22
Self locking bolt
and nuts
M10x80mm
105
23
Self locking bolt
and nuts
M8x70mm
240
24
Hex bolt and nuts
M10x70mm
32
25
Hex bolt and nuts
M10x30mm
38
26
Hex bolt and nuts
M10x120mm
2
26A
Hex bolt and nuts
M8x80mm
2
26B
Hex bolt and nuts
M6x35mm
4
27
Self tapping screw
#12x25mm
543

▶W W W . T M G I N D U ST R I A L . C O M P 5 / 20 T o l l F r e e : 1 - 877-761-2819
27A
Half round head bolt
M6x12mm
36
28
Self tapping screw
#12x35mm
144
29
Square plug
W30mm
16
30
Round plug
φ25mm
12
31
Braided rope
φ8xL200m
1
32
Top cover film
W14.5xL19m
1
32A
Front and rear door
film(black and white
film)
W4.5xL9.5m
2
32B
Top cover film
(black and white film)
W7.3xL19m
2
33
Adhesive tape
(10m)
10
34
Socket wrench
(8mm)
1
35
Hex wrench
(4mm)
1
35A
Hex wrench
(5mm)
1
36
Board
(not included)
150x15x2000mm
44

▶W W W . T M G I N D U ST R I A L . C O M P 6 / 20 T o l l F r e e : 1 - 877-761-2819
Installation steps
Step 1 : Review the whole structure and choose the proper installation site.
Mark the ground in the final building location with a line showing the positions of base
plates, front doors. All lines should be drawn from center to center of all base plate tubes.
Diagonal line X must be equal to Y.
Installation diagram of expansion bolt.
No.
Part
Qty
No.
Part
Qty
6
30
7
8
6A
106

▶W W W . T M G I N D U ST R I A L . C O M P 7 / 20 T o l l F r e e : 1 - 877-761-2819
Step 2 : Assemble all trusses.
Install front and rear trusses.
No.
Part
Qty
No.
Part
Qty
1
1x2
4A
2x2
2A
2x2
23
12x2
3A
2x2

▶W W W . T M G I N D U ST R I A L . C O M P 8 / 20 T o l l F r e e : 1 - 877-761-2819
Install (13) middle trusses.
No.
Part
Qty
No.
Part
Qty
1
1x13
11
1x13
2
2x13
23
12x13
3
2x13
25
2x13
4
2x13

▶W W W . T M G I N D U ST R I A L . C O M P 9 / 20 T o l l F r e e : 1 - 877-761-2819
Lay down all (15) trusses on the ground when the assembly is all completed and
before moving to next step, and then wrap (#33) around the sharp points of the
joint to avoid friction between the fabric and the interface, resulting in fabric
damage.
No.
Part
Qty
33
4

▶W W W . TM G I N D US T R I A L. C O M P 10/20 T o l l F r e e : 1 - 877-761-2819
Step 3 : Put up all trusses.
Put up the truss, use hex bolt (#23) to secure the truss to the base plates.
Connect all purlins, and then wrap (#33) around the sharp points.
No.
Part
Qty
No.
Part
Qty
5
98
23
60
22
105
33
6

▶W W W . TM G I N D US T R I A L. C O M P 11/20 T o l l F r e e : 1 - 877-761-2819
Step 4 : Install front and rear trusses.
No.
Part
Qty
No.
Part
Qty
8
2x2
10B
1x2
8A
2x2
12
2x2
9L
1x2
12L
1x2
9R
1x2
12R
1x2
9A
1x2
13
8x2
9B
1x2
21
16x2
9C
4x2
24
16x2
10
2x2
25
6x2
10A
2x2
29
8x2

▶W W W . TM G I N D US T R I A L. C O M P 12/20 T o l l F r e e : 1 - 877-761-2819
Step 5 : Install boards (#36) and reed groove (#14).
No.
Part
Qty
No.
Part
Qty
14
97
28
144
14B
8
36
44
27
455

▶W W W . TM G I N D US T R I A L. C O M P 13/20 T o l l F r e e : 1 - 877-761-2819
Step 6 : Install front and rear film.
Lift the film (#32A) and fix the film with a clip spring (#14A) from top to bottom.
Cut the door film as shown.
No.
Part
Qty
No.
Part
Qty
14A
24x2
27
24x2
17
4x2
32A
1x2

▶W W W . TM G I N D US T R I A L. C O M P 14/20 T o l l F r e e : 1 - 877-761-2819
Step 7: Install top cover film.
When you are ready to install the roof cover, unpack the cover and position it
parallel to the building frame on one side. the cover must be pulled over the top of
the truss frame without being snagged or stressed on any frame members. tighten
the film evenly to eliminate wrinkles and make the film flat and smooth. Do not
over-tighten during the adjustment process, otherwise it will cause unnecessary
damage. At this time, you can install a clip spring (#14A) to fix the film.
Install inner film.
No.
Part
Qty
14A
26
32
1

▶W W W . TM G I N D US T R I A L. C O M P 15/20 T o l l F r e e : 1 - 877-761-2819
Install black and white film.
No.
Part
Qty
14A
9
32B
2

▶W W W . TM G I N D US T R I A L. C O M P 16/20 T o l l F r e e : 1 - 877-761-2819
Continue to install the inner film.
No.
Part
Qty
14A
17

▶W W W . TM G I N D US T R I A L. C O M P 17/20 T o l l F r e e : 1 - 877-761-2819
Step 8 : Install roll film system.
Install the roll film tube(#16,#16A) and (#16B,#16C), add a round plug (#30) at
the end. the film (#32) is wound on a roll film tube (#16,#16A), the film (#32B) is
wound on a roll film tube (#16B,#16C), and clamped with a pressure film carrier
(#20).
No.
Part
Qty
No.
Part
Qty
16
18
20
60
16A
2
27
36
16B
18
27A
36
16C
2
30
4
16D
18

▶W W W . TM G I N D US T R I A L. C O M P 18/20 T o l l F r e e : 1 - 877-761-2819
A round plug (#30) is put on both ends of the film rolling machine guide tube
(#15A,#16), and the guide tube is mounted on the support with a hex bolt (#26A),
and it is required to swing freely. The film rolling machine (#18A) drives the roll
film tube (#16C,#16D) to be raised and lowered horizontally and flexibly without
jamming.
No.
Part
Qty
No.
Part
Qty
6A
4
26A
2
9
2
26B
4
15A
2
27
4
15B
2
30
4
18A
2

▶W W W . TM G I N D US T R I A L. C O M P 19/20 T o l l F r e e : 1 - 877-761-2819
A round plug (#30) is put on both ends of the film rolling machine guide tube (#15),
and the guide tube is mounted on the frame with a hex bolt (#26), and it is required to
swing freely. The film rolling machine (#18) drives the roll film tube (#16,#16A) to
be raised and lowered horizontally and flexibly without jamming.
Install the eight clip spring (#19) and fasten the braided rope (#31).
No.
Part
Qty
No.
Part
Qty
15
2
26
2
18
2
30
4
19
28
31
1
Table of contents
Other TMG Greenhouse Kit manuals