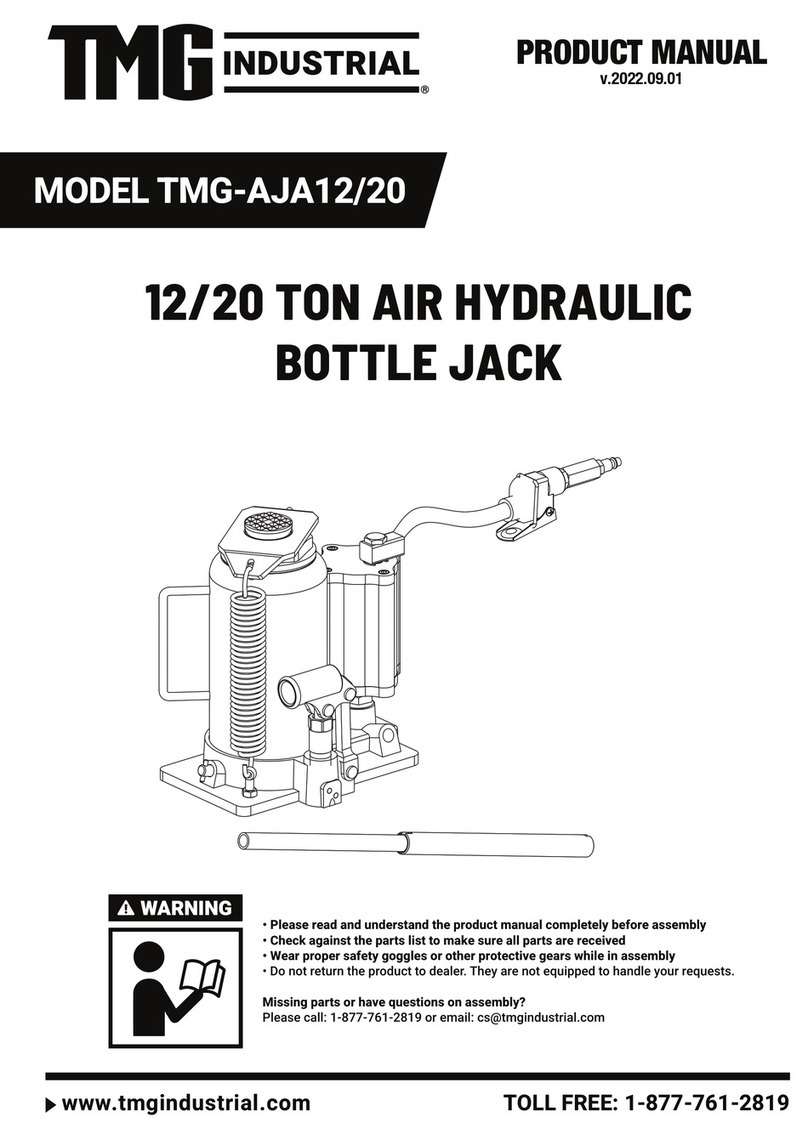
TMG TMG-AJA30 User manual

►www.tmgindustrial.com 1/6 TOLL FREE:1-877-761-2819
OPERATION
LIFTING
1.
Assemble 2 pc. Handle, ensure that spring clips align with slots.
2.
Secure the load to prevent inadvertent shifting and movement.
3.
Position the jack near desired lift point.
4.
Close the release valve by turning it clockwise until it is firmly closed.
CAUTION: USE THE HANDLE PROVIDED WITH THIS PRODUCT OR AN AUTHORIZED REPLACEMENT HANDLE TO
ENSURE PROPER RELEASE VALVE OPERATION DO NOT USE AN EXTENDER ON THE AIR HOSE NOR THE OPERATING
HANDLE. WHEN USING TO LIFT VEHICLE LIFT ONLY ON THE MANUFACTURER’S RECOMMENDED LIFT POINT AND IN
ACCORDANCE WITH THE PUBLISHED GUIDELINES IN YOUR VEHICLE OWNERS MANUAL ALWAYS USE JACK STANDS
TO SUPPORT THE LOAD IMMEDIATELY AFTER LIFTING.
5.
Insert and secure handle into handle sleeve. Pump handle or squeeze the lift control valve until saddle contacts load.
To end air operation, simply release the grip on the lift control valve. NEVER WIRE, CLAMP OR OTHERWISE DISABLE
THE LIFT CONTROL VALVE TO FUNCTION BY ANY MEANS OTHER THAN BY USING THE OPERATOR’S HAND.
6.
Raise load to desired height, then immediately transfer the load to appropriately-rated support devices such as jack
stands.
⚠WARNING
THIS IS A LIFTING DEVICE ONLY. IT IS DESIGNED TO LIFT PART OF THE TOTAL VEHICLE (ONE WHEEL OR AXLE)
ALWAYS WEAR SAFETY GLASSES WHEN USING THIS EQUIPMENT CENTER LOAD ON SADDLE BEFORE LIFTING. NEVER
WORK ON, UNDER OR AROUND LOAD UNTIL IT IS PROPERLY SUPPORTED. TRANSFER THE LOAD IMMEDIATELY TO
APPROPRIATE LYRATED JACK STANDS. DO NOT USE THIS PRODUCT FOR ANY PURPUSE OTHER THAN THAT FOR
WHICH IT WAS INTENDED. IT IS OWNER’S RESPONSIBILITY TO KEEP LABELS AND INSTRUCTIONAL MATERIAL
LEGIBLE AND AVAILABLE. REPLACEMENT LABELS AND MANUALS ARE AVAILABLE FROM THE MANUFACTURER.
FAILURE TO NEED THESE AND ALL OTHER WARNINGS PERTAINING TO THIS PRODUCT CAN RESULTING IN DEATH,
PERSONAL IN JURY OR PROPERTY DAMAGE.
LOWERING
1.
Raise load enough to carefully remove jack stands.
2.
Insert handle onto release valve and slowly turn handle counterclockwise, but no more than 1/2 turn. If load fails to
lower. Carefully transfer the load to
3.
another lifting device and jack stands. Carefully remove affected jack, and then the jack stands. Lower the load, again
by slowly turning the release valve no more than 1/2 turn.
⚠WARNING
BE SURE ALL TOOLS AND PERSONNEL ARE CLEAR BEFORE LOWERING LOAD, DANGEROUS DYNAMIC SHOCK LOADS
ARE CREATED BY QUICKLY OPENING AND CLOSING THE RELEASE VALVE AS THE LOAD IS BEING LOWERED. THE
RESULTING OVERLOAD MAY CAUSE HYDRAULIC SYSTEM FAILURE WHICH COULD CAUSE SEVERE PERSONAL IN JURY
AND / OR PROPERTY DAMAGE.
4.
After removing jack from under the load, push ram and handle sleeve down to reduce exposure to rust and
contamination.

►www.tmgindustrial.com 2/6 TOLL FREE:1-877-761-2819
MAINTENANCE
Important: Use only a good grade hydraulic jack oil. Avoid mixing different types of fluid and NEVER use brake fluid,
turbine oil, transmission fluid, motor oil or glycerin. Improper fluid can cause premature failure of the jack and the
potential for sudden and immediate loss of load.
ADDING OIL
1.
With saddle fully lowered and pump piston fully depressed, set jack in its upright, level position. Remove oil filler plug.
2.
Fill until oil is level with the filler plug hole, re-install oil filler plug.
CHANGING OIL
For best performance and longest life, replace the complete fluid supply at least once per year.
1.
With saddle fully lowered and pump piston fully depressed, remove the oil filler plug.
2.
Lay the jack on its side and drain the fluid into a suitable container.
Note: Dispose of hydraulic fluid in accordance with local regulations.
3.
Fill with good quality jack oil. Reinstall oil filler plug. We recommend Mobil DTE13 or equivalent.
LUBRICATION
1. A coating of light lubricating oil to pivot points, axles and hinges will help to prevent rust and assure that wheels,
casters and pump assemblies move freely.
2. Periodically check the pump piston and ram for signs of rust or corrosion. Clean as needed and wipe with an oily
cloth.
NEVER USE SANDPAPER OR ABRASIVE MATERIAL ON THESE SURFACES.
3. When not in use, store the jack with pump piston and ram fully retracted.
TROUBLESHOOTING
SYMPTOM
POSSIBLE CAUSES
CORRECTIVE ACTION
Jack will not lift load
Release valve not tightly closed
Overload condition
Air supply inadequate
Ensure release valve lightly closed
Remedy overload condition
Ensure adequate air supply
Jack bleeds off after lift
Release valve lightly closed
Overload condition
Hydraulic unit malfunction
Ensure release valve tightly closed
Remedy overload condition
Contact seller
Jack will not lower after unloading
Reservoir overfilled
Linkages binding
Drain fluid to proper level
Clean and lubricate moving parts
Poor lift performance
Fluid lever low
Air trapped in system
Ensure proper fluid level
With ram fully retracted, remove oil
filler plug to let pressurized air
escape, reinstall oil filler plug
Will not lift to full extension
Fluid level low
Ensure proper fluid level

►www.tmgindustrial.com 5/6 TOLL FREE:1-877-761-2819
NO.
DESCRIPTION
QTY
NO.
DESCRIPTION
QTY
1.1
Hose connector
1
19
Release valve seal
1
1.2
Connecting nut
1
20
Steel ball 6.35
1
1.3
Air filter
1
21
Pin
1
1.4
“O” ring 18*24
1
22
Valve spring
2
1.5
Connector
1
23
Filler plug
1
1.6
Valve body
1
24
Screw
2
1.7
Spring
1
25
Plug screw
1
1.8
Packing
1
26
Plug washer
1
1.9
Throttle
1
27
Overload valve screw
1
1.10
“O” ring 3*1.6
1
28
Safety valve spring
1
1.11
“O” ring 18*2.4
1
29
Overload tapering valve
1
1.12
Nut
1
30
Filter net
2
1.13
Lever
1
31
Spring washer 8
2
1.14
Lever rin
1
32
Nut 8
2
1.15
Hose connector
1
33
Bolt M8*35
2
1.16
Hose band
2
34
Base
1
2
Air hose
1
35
Plug screw
4
3
Connector
1
36
Cylinder bottom seal
1
4
Air pump
1
37
Reservoir
1
5
Handle upper
1
38
Packing
1
6
Handle lower
1
39
Cylinder
1
7
Plunger
1
40
Steel ball retainer
2
8
Shaft pin
3
41
Cylinder top seal
1
9
Cotter pin
3
42
“O” ring
1
10
Pump plunger
1
43
Top nut
1
11
Pump plunger retainer
1
44
Extension screw
1
12
“O” ring
1
45
“O” ring
1
13
Dust proof ring
1
46
“O” ring returner
1
14
Pump reservoir
1
47
Ram header
1
15
Copper washer
1
48
Ram
1
16
Steel bass 6
6
49
spring
2
17
Plunger convecting rod
1
50
Spring plate
2
18
Release valve screw
1

►www.tmgindustrial.com 6/6 TOLL FREE:1-877-761-2819
NO
PARTS NAME
QTY
1-1
TUVE CONNECTOR
1
1-2
“O”RING 10*1.8
2
1-3
REMOVABLE BASE
1
1-4
SPLIT WASHER
1
2
HEX-SOCKET SCREW
3
3
COVER
1
4
WASHER
2
5
AIR PUMP BODY
1
6
SPRING WASHER
3
7
SEAL
2
8
“O” RING 63.5*3.55
2
9
SQUARE RING
1
10
PISTON
1
11
NUT M5
1
12
BLOCK
1
13
PLUNGER
1
14
SPRING
1
15
NUT
1
16
PACKING GUIDE
1
17
NL RETAINER
1
18
“Y” SEAL
1
19
COVER
1
20
ADJUSTING NUT
1
21
PLUNGER COVER
1
AIR MOTOR
This manual suits for next models
1
Table of contents
Other TMG Jack manuals
Popular Jack manuals by other brands

Torin BIG RED
Torin BIG RED TH810002 owner's manual

Harbor Freight Tools
Harbor Freight Tools Pittsburgh 56736 owner's manual

Tronair
Tronair 02-7802C0111 Operation & service manual

Torin
Torin BIG RED T83014 owner's manual

MecVel
MecVel HT-HR Series Handbook

Tronair
Tronair 02-1032C0111 Operation & service manual