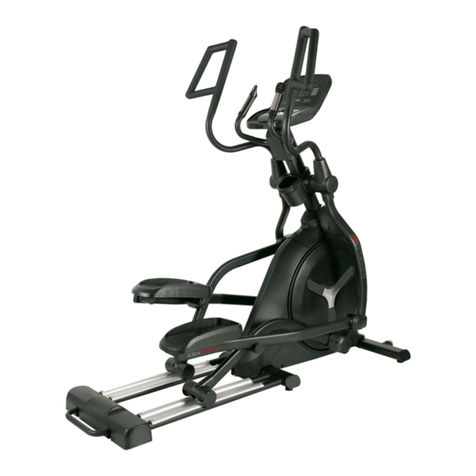
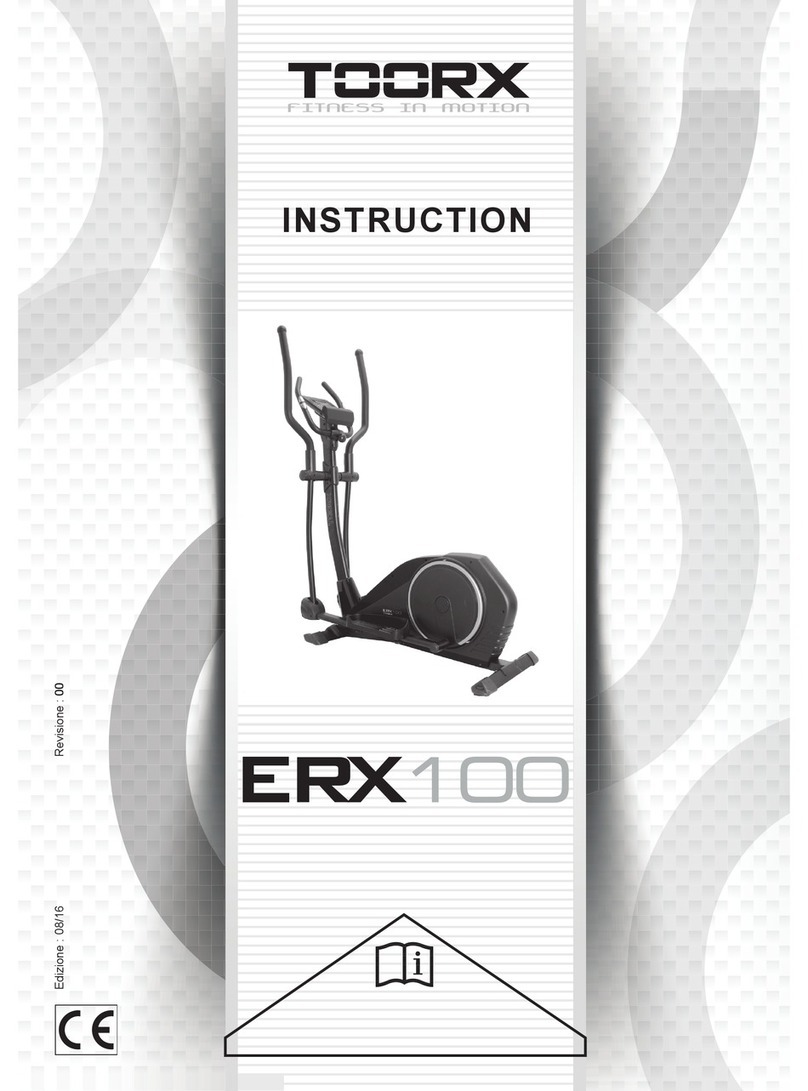
TOORX ERX80 User manual

Edizione : Revisione : 00
INSTRUCTION
08/16 00

Exploded View :
1
2
3
4
5
3
678
5
9
10
11
17L
13
14L
16 15
14R
15
16
29L
29R
191120 21
21 22
23
24
25 26
23 22 21
24
25 26
21 20 1119
27L
27R
28R
28L
17R
31
32 33
33
31 32
32
36
34
18
37L 37R
38L
38R
39
40
41
42
43L
45
44
3526
30
35
26
48L
49L
48R
2635
45
42
43R 44
35
26
30
35
50
51
52
49R
35
50
53
53
51
52
51
52
54
54
59
46L
46R
55
56
55
21
57
22 58
21
58 22
21
54
59
59
57
5655
47L
47R
69 70 73
72
12
71
62
63
64
60
61
62
60 61
67 66
65
68
34
34
34
74
11
11
74
11

PARTS LIST
NO.
Description
QTY
NO.
Description
QTY
1
Computer
1
39
Tension cable
1
2
Trunk wire 1
1
40
Main frame
1
3
End cap Φ31*26
2
41
Front cover
1
4
The middle handlebar
1
42
Bolt M8*45
4
5
Foam grip Φ23*500
2
43L/R
Pedal (Right &left)
2
6
Handle pulse withΦ25 Tube
2
44
Connecting rod
2
7
Screw ST4.0*19
2
45
Bolt M8*75
2
8
Washer d6*Φ12*1
2
46L/R
Rod cover
2
9
Handle pulse wire
1
47L/R
Rod cover
2
10
Screw M8*25
2
48L/R
End cap with PT80*40 Tube
1
11
Spring Washer d8
10
49L/R
Front/Rear Stabilizer
2
12
Grommet Φ12*11
1
50
Bolt M8*55*25*S14
4
13
Screw ST4.2*19
9
51
Washer d5*Φ13*1
4
14L/R
Handle bar
2
52
Screw ST4.2*25
4
15
End cap
2
53
Adjustable end cap PT80*40Tube
2
16
Sponge tube Φ30*630
2
54
Space
4
17L/R
Decoration cover
1
55
Nylon Nut M10*1.25
2
18
Bolt ST4.2*25
1
56
Washer d10*Φ32*2
2
19
Bolt M8*16
2
57
Pedal connecting
2
20
Washer d8*Φ32*2
2
58
Short spacer
2
21
Alloy wrap 2
8
59
Screw M5*10
4
22
Arc washer d19*Φ25*0.3
4
60
Screw M4*12
2
23
Spacer
2
61
Washer d4*Φ12*1
2
24
Bolt M8*43
4
62
Bolt M10*55
2
25
Arc washer d8*Φ20*2*R16
4
63
Washer d10*Φ20*2
2
26
Nylon Nut M8
10
64
Nylon Nut M10
2
27L/R
Swing rod
2
65
Control tension
1
28L/R
swing rod cover (R/L )
2
66
Arc washer d5*Φ20*R30*1.5
1
29L/R
swing rod cover (R/L)
2
67
Screw M5*55
1
30
Screw ST4.2*16
10
68
Trunk wire 2
1
31
Handle bar post
1
69
Tool S13-14-15
1
32
spacer
2
70
Tool S12-14
1
33
Alloy wrap 1
4
71
Tool S17-19
1
34
Bolt M8*20*S14
6
72
Tool S5
1
35
Washer d8*Φ16*1.5
10
73
Tool S6
1
36
Arc washer d8*Φ20*2*R30
2
74
Washer d8*Φ25*2.0
4
37L/R
The cover with handle bar (R/L)
2
38L/R
The cover with handle bar (R/L)
2

Step 1 :
40
49R
35
50
49L
35
50 50
a. Secure front stabilizer and rear stabilizer (49L/R) to main frame(40) with bolt(50)
and washer(35).

Step 2 :
40
31
41
65
39
2
68
74
34
11
34 36
34
11
34
74
a. Insert front cover (41) into handle bar post (31).
b. Connect trunk wire 1(2) with trunk wire 2(68)
c. Connect well the control tension ( 65 ) with the tension wire ( 39)
d. Secure handle bar post(31) to main frame(40) with bolt(34), washes(74) and
arc washers(36)

Step 3:
31
191120
20 1119
45
44
3526
2635
45
56
55
5655
44
27R
27L
40
57
57
a. Secure swing rod (27L/R) with handle bar post (31) with bolts (19), washers (11)
and nuts (20).
b, Attach Pedal connecting (57) to main frame (40) with nylon nut (55) and
washer (56)
c. Secure Connecting rod (44) to swing rod (27 L/R) with bolts(45), washers(35)
and nuts(26).

Step 4:
42
43R
35
26
42
35
26
44
44
37L
37R
30
38L 38R 30
59
46L
46R
59
59
59
47L
47R
57
57
43L
a. Secure pedal (43 L/R) to connecting rod (44) with bolts (42) and nuts (26).
b. Attach handle bar cover (37 L/R) and handle bar cover (38 L/R) to connecting rod
(44) with screws (30);
c. Then attach rod cover (46L/R) and rod cover (47L/R) to connecting rod (57) with
screws (59).

Step 5:
14L 14R
24
25 26
24
25 26
27L
27R
28R
28L
29L 29R
a. Secure handle bar (14L/R) to swing rod (27L/R) with bolts (24), arc washers (25)
and nuts (26).
b. Attach swing rod cover (29 L/R) and swing rod cover (28L/R) to swing rod
(27L/R).

Step 6:
17L
13
17R
18
9
10
11
4
31
2
1
60
61
a. Secure middle handle bar (4) to handle bar post (31) with screws (10) and spring
washers (11).
b. Connect computer wire (1) with trunk wire 1(2), then secure computer (1) to
handle bar post(30) with screw(60) and washers (61).
c.Attach decoration cover (17 L/R) to handle bar post (31), then secure it with screws
(13) and (18).
d. Insert the plug of handle pulse wire (9) into the hole on the back of computer.
e. Assembly finished

MONITOR WITH BODYFAT&PULSE RECOVERY
INSTRUCTION MANUAL
BUTTONS
1. MODE
Press this button to changeover display or choose the window needs to be set.
2. RECOVERY / UP
i. In setting status, press this button to increase setting value in relevant flashing window for TIME,
DIST, CAL and TEMP(℃or ℉)
ii. In non-exercise or non-setting status, press this button to enter/exit pulse recovery function.
3. DOWN
In setting status, press this button to decrease setting value in relevant flashing window for TIME, DIST,
CAL and TEMP(℃or ℉)
4. RESET/GO
i. In setting status, press this button to reset the value in relevant flashing window for TIME, DIST
and CAL.
ii. In parameters setting status for body fat, press this button to enter body fat test.
iii. In monitor status, hold this button for 3 seconds to reset all value to zero.
5. BODYFAT
In non-exercise status, press this button to enter/exit body fat parameters set-up.
FUNCTIONS
1.SPEED/BODYFAT RATIO/RPM(IF HAVE)
i. Display instantaneous speed and the range is 0.0~99.9KM/H.Or,if the monitor showing M,the
range will be 0.0~99.9MILE/H.The max. pickup signal is 1500rpm.
ii. Display current repetition per minute(RPM) during exercise. It reflects the pedal frequency. The
range is 0~1500 rate per minute. (IF HAVE)
iii. Display Body fat ratio.
2.TIME/BMI
i. Count the total time from exercise start to the end and the range is 0 ~ 99M59S.
ii. Exercise time can be set in advance, when it approaches the preset time, the monitor will alarm 10
seconds. The maximum pre-set time is 99 minutes.
iii. Display Body Mass Index (BMI).
3.DISTANCE/BMR
i. Count the total distance from exercise start to the end and the range is 0.00 ~ 9.99 ~ 99.9KM. Or,if
the meter showing M,the range will be 0.00 ~ 9.99 ~ 99.9 MILE.
ii. Exercise distance can be set in advance, when it approaches the preset distance, the monitor will
alarm 10 seconds. The maximum pre-set distance is 99.9KM or MILE(if the monitor showing M).
iii. Display Basal Metabolic Rate(BMR).
4. CALORIES/TEMPERATURE
i. Count the total calories consumed from exercise start to the end and the range is 0.0 ~ 99.9 ~
999KCAL.
ii. The calorie value can be set in advance, when it approaches the preset calorie, the monitor will
alarm 10 seconds.
iii. Display room temperature(TEMP).
5. PULSE
i. Hold the pulse sensor and read your heart rate per minute. The range is 40 ~ 240bpm.
ii. It will display “P”to pause the pulse test if there is no pulse signal over 60 seconds. You can press
UP or DOWN to enter the pulse test again.
6. WHEEL DIAMETER
NO.00171

The wheel perimeter has been set according to client’s requirements.
7. ALARM
The monitor will “Beep” when press “MODE” “RECOVERY/UP” “DOWN”, RESET/GO or
“BODYFAT” buttons.
8. AUTO ON/OFF & AUTO START/STOP
i. Without any signal of exercise or operation for 8 minutes, the power will turn off automatically and
all the memory will be cleared off except body fat parameters and temperature.
ii. Once receive exercise or operation signal, the monitor will turn on automatically.
OPERATION
1. SET
Press MODE to choose the display window that needs to be pre-set, and the value in relevant window will
flash. Then press UP/DOWN to increase/decrease the value to reach your want alarm time, alarm distance,
or alarm calorie. Hold UP/DOWN to increase/decrease the value rapidly. Press RESET to reset value in
relevant flashing window.
2. PULSE RATE
Before measuring your pulse rate, press any button to change “P”into “”in the window, then enter pulse
mode. Please place both your palms on the contact pads and the monitor will show your current heart beat
rate in beats per minute (BPM) on the LCD after 3~4 seconds.
Remark: During the process of pulse measurement, because of the contact jamming, the measurement
value may be higher than the virtual pulse rate during the first 2~3 seconds, then will return to normal
level. The measurement value cannot be regarded as the basis of medical treatment.
3. PULSE RECOVERY
In non-setting and non-exercising status, first test your pulse as above mentioned. Then press
RECEOVERY/UP to enter pulse recovery function. The display will show 1 minute count-down as well as
your pulse rate. Hold on the pulse sensor until it counts down to zero. Then, it will pop up your pulse
recovery level from F1 to F6, that is, from the fastest recovery to slowest. The fastest recovery F1 show
the best. Press RECOVERY/UP again to exit pulse recovery function.
4. BODYFAT, BMI & BMR
In non-exercising status, press BODYFAT to enter body fat parameters settings. You can set from the
below sequence: exerciser No.( 1 ~ 8 ), weight( KG ), height( CM ), age ( YEAR ), gender. But, if the
meter showing M, the weight will show “lb”,while height will show “in”.Press MODE to proceed to next
parameter setting. Press RECOVERY/UP to increase the setting value while press DOWN to decrease.
When you finish setting, hold the pulse sensor and press RESET/GO. Then the display will show your
body fat in 6 seconds.
Press BODYFAT again to exit body fat test.
Remark:
i. During parameters setting, it will exit body fat test automatically if detects no operation signal over
10 seconds.
ii. During body fat test, it will display Er.1 if sense no test target over 10 seconds.
5. AUDIO AMPLIFIERAND SPEAKER [ IF HAVE ]
Connect the audio input plug to the audio player, the turn on the audio switch that in right side of the
computer. In that case, the audio can be in play.
BODYFAT CONTRAST
Gender/Age
Underweight
Healthy
Slightly Overweight
Overweight
Obese
Male/ ≤30
< 14%
14%~20%
20.1%~25%
25.1%~35%
> 35%
Male/ > 30
< 17%
17%~23%
23.1%~28%
28.1%~38%
> 38%
Female/≤30
< 17%
17%~24%
24.1%~30%
30.1%~40%
> 40%
Female/ > 30
< 20%
20%~27%
27.1%~33%
33.1%~43%
> 43%
BATTERY REPLACE
When the display becomes dim or illegible, remove the battery and replace with SIZE AAA UM4 R03.

GARLANDO SPA
Via Regione Piemonte, 32 - Zona Industriale D1
15068 - Pozzolo Formigaro (AL) - Italy
www.toorx.it - info@toorx.it
Table of contents
Other TOORX Elliptical Trainer manuals
Popular Elliptical Trainer manuals by other brands

Keys Fitness
Keys Fitness KF-E4.0 owner's manual

Joy Sport
Joy Sport C60 user manual

NordicTrack
NordicTrack SE 5i user manual

ICON Health & Fitness
ICON Health & Fitness Pro-Form Endurance 420 E user manual

Precor
Precor Experience Series 800 line EFX Service manual

FREE MOTION
FREE MOTION 510 Rear Drive user manual