TOSO Mytec 01 User manual

Turn
90 degree
ROLLER BLIND
Mytec 01
R-11708
Instruction Manual
Thank you for purchasing TOSO product. To ensure safe use of this product,
please read the following thoroughly and keep this manual stored.
Attention all distribution dealers / construction services
This manual has been designed and written for our customers to properly use
our products, with explanations, warnings and cautions.
Please make sure to provide this to your customer.
Caution
Lower a screen completely, and remove tapes
placed on Roller Pipe and Screen. Those tapes
are to ensure the screen to stay on Roller Pipe
properly during transportation.
1) This product is intended for indoor use.
Please do not use it for exterior purposes.
2) Please do not lubricate the moving parts of this product.
3) Please do not hang nor dangle from this product.
This may damage the product or cause for it fall down.
4) When there is strong wind, please either close the window
or have the screen completely rolled up.
5) Please do not use it around open flames.
6) Do not detach a Roller Pipe from a Set Bar, if not necessary.
Tape
Note for Installation
1) Screws provided are for xylem only. Do not use on materials other than xylem.
2) Install a product as instructed with necessary quantity of brackets.
If not the product may fall or it may not roll up properly.
3) Install a product horizontally. If not, the product may not roll up properly.
Installed horizontally
using enough brackets
in correct position. Not horizontal
Bracket position
not correct
GOOD
BAD BAD
GOOD
BAD
BAD
GOOD
Note for Operation
1) Make sure to place a Pull Ball in the center
of a Weight Bar. If not the product may not
roll up properly.
2) Pull a Pull Ball straight down when operating.
If not the product may not roll up properly.
3) Do not operate a Roller Blind by screen
or Roller Pipe. This may cause mechanical
damage to the product.
Center Not center
Straight down Not straight down
Overall View and Part Names
Bracket Set Bar
Side
Holder
Left
Screen
Weight
Bar
Cap
Roller Pipe
Weight Bar
Side Holder Right
Stop Controller
Pull Ball for
Wrapped-in Weight Bar
Pull Cord
Pull Ball
Pull Ball Set
*Not attached
when delivered.
Pull Grip Set
*Optional
Side Holder size varies depending on screen thickness and product height.
Stop Controller is installed for assembled Mytec 01 wider than 600 mm.
(If product width is less than 600 mm, Stop Controller is not inset.)
1) Screws provided are for xylem only. Do not use on other than xylem.
2) Install a product as instructed with necessary quantity of brackets. If not
the product may fall or it may not roll up properly.
3) Install a product horizontally. If not, the product may not roll up properly.
Pull Ball Set, Pull Ball for Wrapped in Weight Bar and Pull Grip Set are not attached
when delivered. Follow an instruction to attach on a product.
Make sure to attach Pull Ball or Grip
in the center of a weight bar.
Attention
Pull Grip has front and back.
Face the Grip curving out to indoor side.
Ceiling Attachment
Install inside of a window frame.
Wall Attachment
Install on a wall or outside of
a window frame.
Installation Method
Detaching Roller Screen
Components
Please keep a winder stored with this manual for future use.
Bracket Temporal
Positioning Tape
Fixing Screw Misalign FixingTape Winder
Installation Type
Product Weight
3 KG (Example of a product Width 2,000mm and Height 2,000mm)
Components
Component Product Width 300 ~ 1400 mm 1410 ~ 2000 mm
Bracket
Fixing Screw
Misalign Fixing Tape
2 Pieces
2 Pieces
1 Piece 1 Piece
3 Piece
3 Piece
Installation and Detaching
Caution
Caution
Weight Bar
in center
Inset
Stopper
P. 3
P. 2
P. 1
Bracket
Hook
Bracket
Hook
Set Bar
Ceiling Attachment Wall Attachment
4 ~ 7 cm 4 ~ 7 cm
(1)
(2)
(1)
(2)
Inset and turn
90 degree
Pull Grip Body
*Make sure to attach
facing correct side.
Weight Bar
Weight
Bar Cap
Inset and turn
90 degree
Pull Ball Body
Weight Bar
Weight
Bar Cap
Stopper
Mytec 01
Mytec 01
Pull Ball
Inset a Stopper under a Weight Bar, and fix the
Stopper by turning it for 90 degree.
Adjust cord length if necessary.
Pull Ball for Wrapped in Weight Bar
Remove a Weight Bar Cap and install Pull Ball
Body on a Weight Bar. Slide and place the
body in the center of the Weight Bar. When
sliding the body, be careful not to damage a
screen.
Inset a Stopper under the Pull Ball Body, and
fix the Stopper by turning it for 90 degree.
Attach the Weight Bar Cap.
Adjust cord length if necessary.
Pull Grip Set
Remove a Weight Bar Cap and install Pull Grip
Body on a Weight Bar. Slide and place
the body in the center of the Weight Bar. When
sliding the body, be careful not to damage a
screen.
1)
2)
1)
2)
3)
4)
1)
Inset a Stopper under the Pull Grip
Body, and fix the Stopper by turning it for 90
degree.
Attach the Weight Bar Cap.
2)
3)
Position brackets approx 4 to 7 cm inward
from both ends. Place the third bracket
between the brackets in even distance.
Install brackets using screws. Use
Temporal Positioning Tape if necessary.
Hook a Set Bar on Brackets and push in
until it is firmly fixed.
Pull out (2) a Set Bar from a bracket while
pressing Release knob (1).
1)
2)
3)

Caution
Caution
How to Operate
Attention
1) Operate a product by pulling straight down a Pull Ball. Make sure to place the Pull
Ball in the center of a Weight Bar. If the Pull Ball is not attached in the center, it may
cause improper rolling of a screen.
2) Do not dangle from a Roller Blind. The product may fall down.
Lowering a Screen
Draw down and release.
The screen stops where released.
Raising a Screen
Draw down a little (approx 3 ~ 4 cm),
and loosen.
The Screen rises and stops in turn.
Fixing Over Run
When a Screen is pulled too hard, the Screen may run over.
To fix the over run, turn a Roller Pipe manually by hand.
How to use a Stop Controller
Stop Controller is installed for Mytec and Mytec Washable width larger than 600mm.
Generally a Roller Blind stops when its Screen is rolled up thoroughly. By using a Stop
Controller, a Roller Blind stops at desired level.
Stop Controller is effective to align screen elevation especially for continuous windows
installing multiple Roller Blinds.
Stop Level Setting
Do not lower or raise a Screen by rotating
a product itself and Roller Screen.
Roll Up Speed Adjustment
Roll Up Speed is set as our standard when delivered.
Do not make radical change in its speed.
1) Roll up a screen thoroughly. If Stop
Controller is set to stop the screen
at certain level, reset and roll up the
screen thoroughly.
2) Pull down the screen for 10 cm and stop.
3) Turn Side Holder to set at OPEN,
detach the roll screen body.
Caution
Detach a Roll Screen body slowly
by handling with both hands.
4) Fit a Winder onto a Black knob on
left side of Roller Pipe. Adjust roll
up speed by following below.
Caution
Winder does not turn if not pulled to unlock direction as illustrated.
Do not turn more than twice at once.
Hold a winder securely especially while pulling to unlock direction. If a winder
is released while pulled to unlock direction, a roller pipe blows off the winder,
and it may cause accidents or injuries.
Faster Roll Up
Turn the winder 1 ~ 2 times clockwise
while pulling the winder as directed and
unlocking the speed.
Slower Roll Up
While unlocking the speed by pulling the winder, half-turn the winder
clockwise, then turn 1 ~ 2 times counterclockwise.
Roll up a Screen thoroughly.
Find a Stop Controller Dial on a Side Holder
Right. Turn the Dial to far side (clockwise), and
lower a Screen until desired level. (Level for the
Screen to naturally stop at) Turn the Dial
counterclockwise to raise the Screen level.
Try operating the Roller Blind, if stopping level is
not fixed, make adjustments by turning the Dial.
1)
2)
3)
Fixing improper rolled up screen
When a screen is not rolled up properly, it may cause damages to the screen or the product.
TOSO Roller Blinds are inspected and adjusted to operate properly when delivered, however
if a roller blind rolls improperly, follow below instruction.
What is Improper Rolling?
1) Screen edge is misaligned.
2) Screen edge touches a Side Holder.
3) Weight Bar is not horizontal.
How to fix Improper Rolling?
Make sure a product is installed correctly.
Is a product installed horizontally?
Are brackets placed at correct at position?
Is a Pull Ball attached at the center of a
Weight Bar?
1)
1)
2)
3)
Lower a screen by pulling a ball straight
down and stop. Lower 3 ~ 4 cm more and
release the screen (The screen naturally
rises).
Repeat the instruction 2 for 2 ~ 3 times.
If the products still rolls up improperly, use
included Misalign Fixture Tape. Refer
Misalign Fixture Tape for its instruction.
2)
3)
4)
Troubleshooting
1) When a roller blind doesn't rolls up, or it rolls up too slowly.
Spring built in a roller blind may be reset. Refer page 5 of this instruction
manual, and follow "Faster Roll Up" under a term "Roll Up Speed Adjustment."
Caution
Do not disassemble or self-remodel a mechanism built-in a roller pipe.
2) When a screen doesn't lower.
Check a Side Holder Left, and confirm a dial is closed. If a dial is open, a
roller blind is not operable.
Cleaning
Use a mop or a duster to clean a product.
If necessary, use wet cloth to wipe a screen. Screen may change its color if wet,
even only with water.
If Washable Screen, refer separate Instruction Manual for Washable Screen.
Disposal of Packing Material
Follow local waste management law.
Roller Pipe Turn
manually
Ceiling Attachment Wall Attachment
Stop Controller Dial
Lower screen
Raise screen
Ceiling Attachment Wall Attachment
Pull down
for approx
10cm
p. 4
Set at
OPEN
Detach
roll screen
Winder
Red Part
While pulling
Turn clockwise
While
pulling
While pulling
Half-turn
clockwise
Turn counter-
clockwise
(1)
(2) Pull out a roll
screen from
Side Holder Right
(3)
Keep the screen at 10 cm rolled out,
place the roller pipe into side holders.
First place right end into a Side Holder
Right.
Secondly, inset left side into a Side
Holder Left showing Red Part.
After both ends are inset, turn a Dial
on left side to CLOSE.
Test the roller blind a few times, and
make sure it operates as adjusted.
Repeat instruction 2) ~ 6) until it operates
at desired speed.
5)
6)
7)
5-1)
5-2)
5-3)
5-1) Inset into Side Holder
Left
5-2) Inset Black Knob into
Side Holder, showing Red Part
5-3) Turn and
close Dial
1)
2)
3)
2) Brackets are
placed in correct
positions.
3) Place Pull Ball in the
center of a weight bar.
1) Install horizontally.
Pull a Pull Ball
straight down to operate.
Mytec 01 Mytec 01 Mytec 01
P. 6
P. 5
Other TOSO Window Blind manuals
TOSO
TOSO Shiori 25 Cord Twin User manual
TOSO
TOSO Design Blind 50 Drum Type User manual
TOSO
TOSO DUAL 100 User manual
TOSO
TOSO Mytec 01 Loop Double Type User manual
TOSO
TOSO Shiori 25 Cord Single User manual

TOSO
TOSO SHIORI 25 User manual
TOSO
TOSO Shiori 25 Drum Twin User manual
TOSO
TOSO Mytec 01 Loop Double Type User manual
Popular Window Blind manuals by other brands
3 Day Blinds
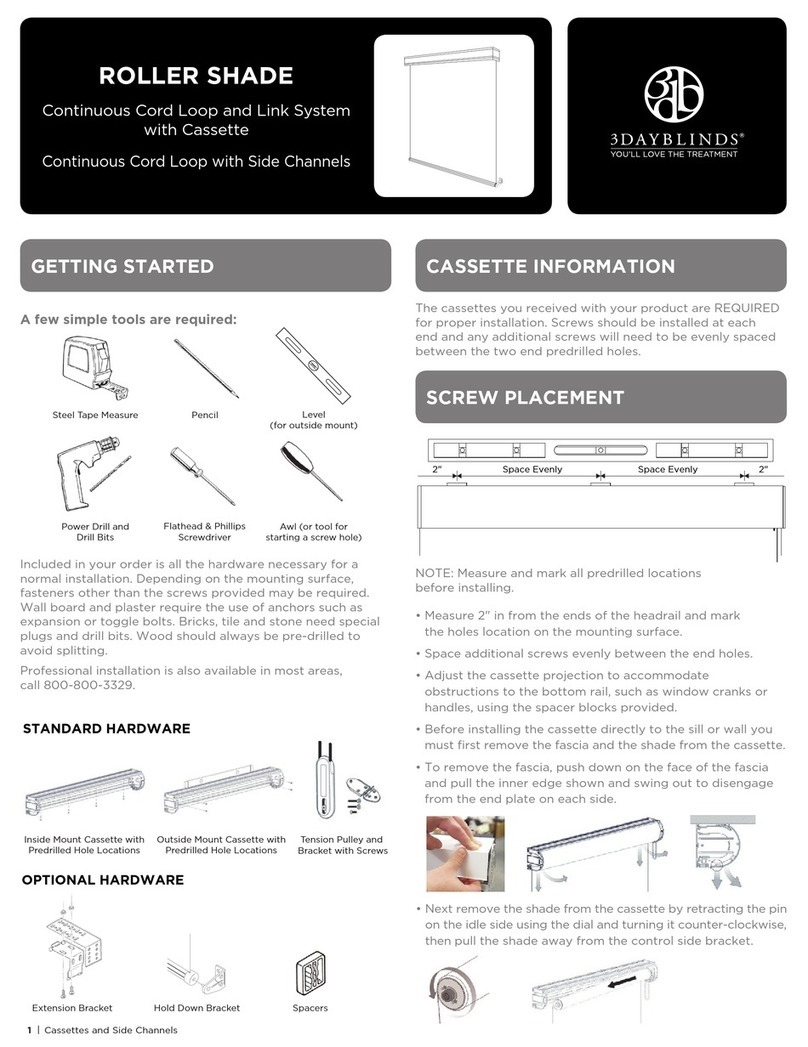
3 Day Blinds ROLLER SHADE Getting started
Lotus & Windoware
Lotus & Windoware Cordless 1” Mini Blind Installation & maintenance instructions
Velux
Velux Solar SSS Important information
SOMFY
SOMFY J4 WT Short installation guide
Motion
Motion CM-08 manual
Roma
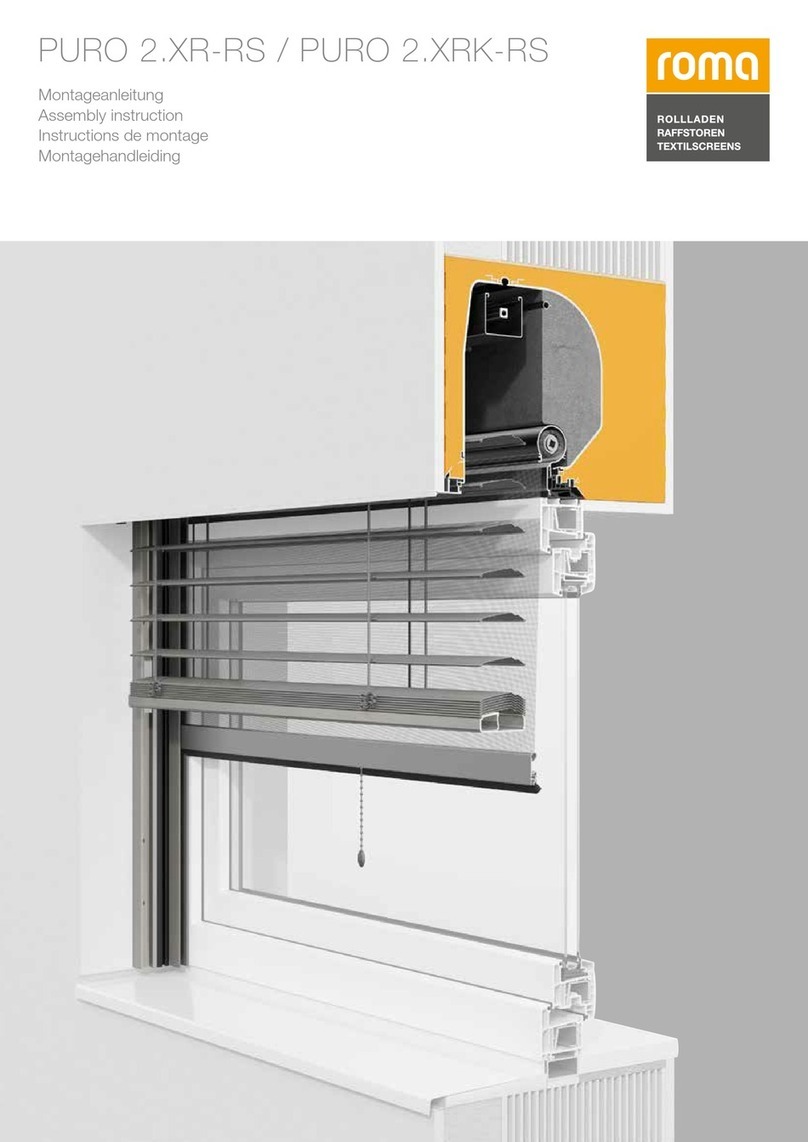
Roma PURO 2.XR-RS Assembly instruction
