8
Register online at www.towerhousewares.co.uk for your FREE extended guarantee.
3USINGYOURAPPLIANCE
Note: Assemble the frying basket handles and
ensure they are secure correctly before use.
1. Fit each element and control panel into
place. The elements slot into place in the oil
tanks and are exposed in the oil.
2. Fill the oil tanks to the appropriate level.
The oil tanks are clearly marked with the
Minimum and Maximum oil levels; do not
attempt to fry with less than the minimum
level as this could cause damage and
overheating to the unit.
3. Do not over ll the oil tanks as this could
cause the oil to spill when the food is
placed in the tank to cook.
4. Turn the temperature controls to the ‘Min’
position and plug into the mains power
supply socket and switch on the socket.
5. Caution: Do not plug both elements into the
same power socket using a plug adaptor.
6. Turn the temperature controls clockwise to
the required temperature and the red power
light and green ready light will illuminate.
This indicates that the unit is now on and
heating the oil.
7. Allow the oil to reach the required
temperature before placing any food in
the oil. This is indicated by the ready light,
which will go out when the oil has reached
the required temperature.
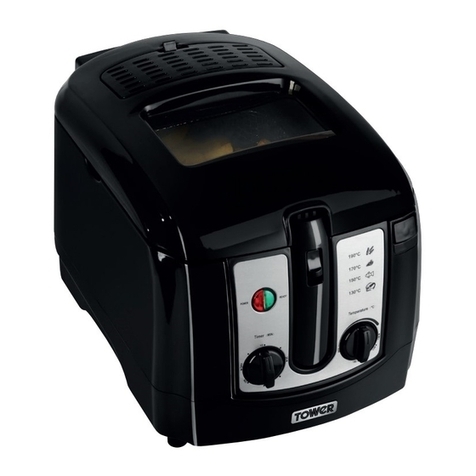
PowerandReadylights:
The red power indicators will stay on during use.
The green ready light will cycle on and off as
the thermostat cycles to maintain the correct
temperature.
TemperatureControlDials:
Each fryer functions independently. There is a
temperature dial on each control panel, allowing
you to cook two different foods at once, at
different temperatures. Each fryer has power and
heating indicator lights, so you know when each
has reached the correct temperature.
The temperature control dials allow the
temperature to be set to the type of food that
you are cooking. The temperature ranges that
can be achieved are 130°C to 190°C for perfect
results every time.
Note: Never use the temperature control dial to
switch the appliance off. Always switch off at the
wall socket and unplug.
Removablehandles:
To assemble the frying basket handles, squeeze
the metal rods of the handles together and
position each end within the slots of the holder
in the basket. With these in place, work the rods
into the vertical grips to secure the handle in
place.
Simply reverse this procedure to remove this
handle for cleaning and storage.
Viewingwindows:
Coat the inner face of the viewing windows
with oil to prevent condensation forming and to
enable cooking process to be checked.
