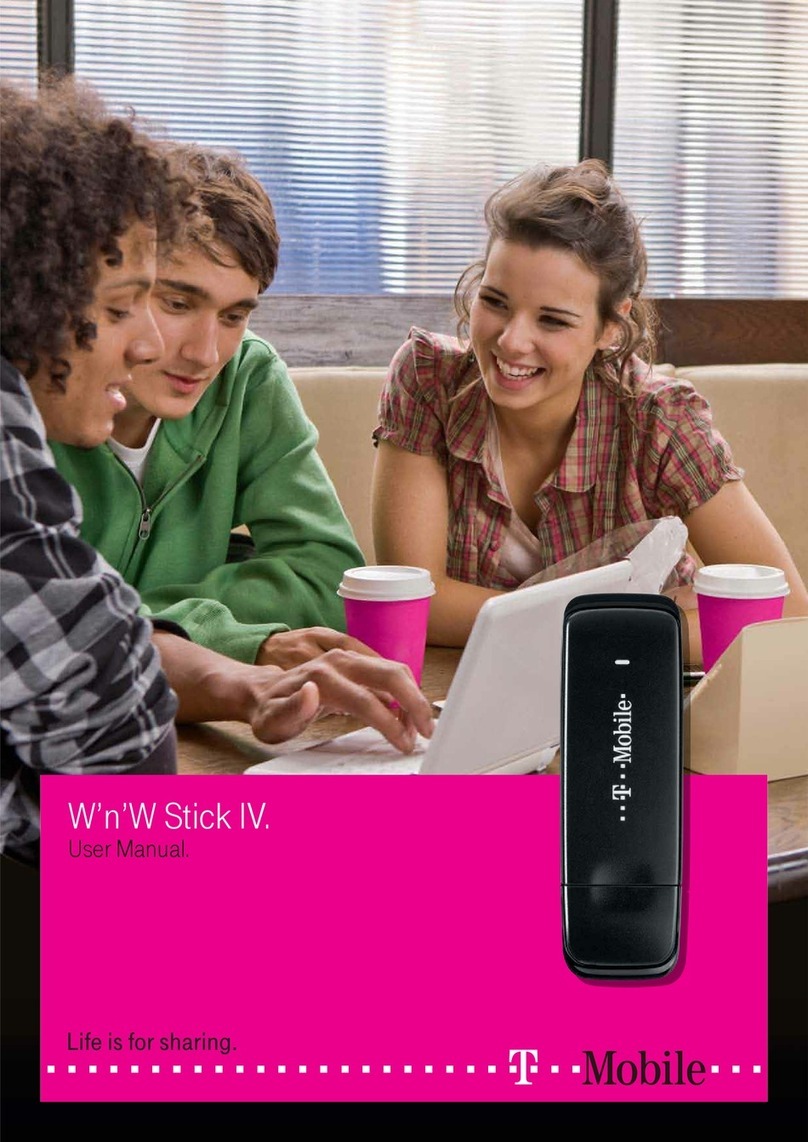
TPG USB E1762 User manual

TPG MOBILE BROADBAND
QUICK SETUP GUIDE
TPG USB E1762 Modem

TPG MOBILE BROADBAND QUICK SETUP GUIDE
Thank you for choosing TPG Mobile Broadband and USB E1762 modem.
This User Guide provides step by step instructions that will take you through the setup
process to get started.
Content:
1. Getting to know your USB E1762 modem
2. Installing USB E1762 modem
3. Installing TPG Mobile Broadband Connection software (For Windows XP)
4. Installing TPG Mobile Broadband Connection software (For Mac OSX)
5. Your rst connection to TPG Mobile Broadband
6. Using the Software and USB E1762 modem
7. Checking your data usage online
TPG MOBILE BROADBAND QUICK SETUP GUIDE
SIMPLE STEPS TO GET CONNECTED

TPG MOBILE BROADBAND QUICK SETUP GUIDE 1
1. Getting to Know Your USB Modem
1. USB Interface – It connects the E1762 Modem to the USB Port of your PC.
2. SIM/Micro SIM Card Holder – Insert your TPG Mobile Broadband SIM or
Micro SIM here.
3. Micro SDCard Slot – This holds the Micro SD card (optional, not pro-
vided by TPG).
4. External Antenna Connection - Connect an external antenna
(optional, not provided by TPG) to boost your reception.
5. Indicator Light - Indicates the status of the USB modem.
Indicator Light Staus
Colour Status Meaning
Green Blinking twice every 3 seconds. The USB modem is on
Green Blinking once every 3 seconds. 2G network (GPRS network
- Weak coverage strength/slow speeds).
Blue Blinking once every 3 seconds. 3G network (UMTS network
- Good coverage strength/fast speeds).
Green On 2G network (GPRS network
- Weak coverage strength/slow speeds).
Blue On 3G network (WCDMA network
- Good coverage strength/fast speeds.
Cyan On 3G+ network (HSDPA network
- Strong coverage strength/super fast speeds.
No colour O The USB modem is removed.
TPG MOBILE BROADBAND QUICK SETUP GUIDE
SIMPLE STEPS TO GET CONNECTED 1

TPG MOBILE BROADBAND QUICK SETUP GUIDE 2
2
TPG MOBILE BROADBAND QUICK SETUP GUIDE
SIMPLE STEPS TO GET CONNECTED
2. Installing USB Modem
NOTE: YOU MUST ACTIVATE THE SIM CARD BEFORE PROCEEDING TO THE NEXT STEP.
SIM ACTIVATION STEPS:
Step 1: Go to www.tpg.com.au/account
Step 2: Login with your Mobile Number or Customer ID and Password (Mobile Number and Customer
ID can be found in the Welcome Letter with SIM card attached. Password is what you nominated
during registration.)
Step 3: Choose “Mobile Broadband Service”
Step 4: Click on the ‘SIM Activation’ button
Step 5: Click on ‘Activate SIM now’
After you’ve completed the activation steps above, please allow up to 24 hours for your activation
request to be processed.
2.1. Insert the TPG SIM/Micro SIM card into the card holder. Make sure the SIM is properly inserted.
2.2. Power on your PC before connecting the USB modem with the PC. Otherwise the normal installation may
be aected.
Method 1: Plug the E1762 Modem into the USB interface of the PC. OR

TPG MOBILE BROADBAND QUICK SETUP GUIDE 3
Method 2: Connect the E1762 to a PC using the USB extension cable (included in the USB Modem pack).
2
TPG MOBILE BROADBAND QUICK SETUP GUIDE
SIMPLE STEPS TO GET CONNECTED
2.3. Follow the relevant steps below to install the TPG Mobile Broadband Software.
Optional Step: Insert the Micro SD card into the USB modem, as shown in the following gure.
Do not remove the Micro SD and the SIM/Micro SIM card when they are being used. Removing cards during
an operation may damage the cards as well as the device, and data stored on the cards may be corrupted.
Note: Micro SD card is an optional accessory
and is not provided by TPG in the package.

TPG MOBILE BROADBAND QUICK SETUP GUIDE 4
3
TPG MOBILE BROADBAND QUICK SETUP GUIDE
SIMPLE STEPS TO GET CONNECTED
3. Installing TPG Mobile Broadband connection software
(Windows XP)
Note: The steps for installing the TPG Mobile Broadband software depends on the operating system (OS)
installed on your PC. The following sections primarily take Windows XP as an example.
Once you plug in your USB modem to your computer, the OS automatically detects and recognises new
hardware and starts the installation wizard. The Auto Play window will follow up and please click on Run
AutoRun. exe.
If the software does not respond automatically, go to “My Computer”. Click on the disk drive labeled “Wireless
BB”, and then double-click on “AutoRun.exe”, to start the installation program.

TPG MOBILE BROADBAND QUICK SETUP GUIDE 5
3
TPG MOBILE BROADBAND QUICK SETUP GUIDE
SIMPLE STEPS TO GET CONNECTED
For Windows Vista and Windows 7 from this point another window named User Account Control might
appear asking to Allow the Data Card Setup and please click on Yes and then the Setup Software will run.
!
3.1. Choose Next and then click
continue to proceed
3.2. Please read software Licence
Agreement, and click I Agree
to proceed.

TPG MOBILE BROADBAND QUICK SETUP GUIDE 6
TPG MOBILE BROADBAND QUICK SETUP GUIDE
SIMPLE STEPS TO GET CONNECTED 3
3.3. Leave the installation directory unchanged. The software will start to install, and a progress screen
will be displayed.
3.4. Once the software and drivers have installed, click Finish.
3.5. Your computer will use the software installed to congure your USB modem. Please wait until the software
tells you it is nished. An information balloon will pop up from your System Tray area to conrm “Found New
Hardware”. Your new hardware is installed and ready to use”. This process may take several minutes.
If you are a Windows user then go to Section 5 and ignore Section 4 (Apple OSX).

TPG MOBILE BROADBAND QUICK SETUP GUIDE 7
TPG MOBILE BROADBAND QUICK SETUP GUIDE
SIMPLE STEPS TO GET CONNECTED 4
4. Installing TPG Mobile Broadband connection software
(Apple OSX)
Once you plug in your USB modem to your computer, the OS automatically detects and recognises new
hardware allowing you to start the software installation.
4.1. Double-click on “Wireless Broadband”, to start the installation program
4.2. The installation wizard will open, click Continue to proceed.

TPG MOBILE BROADBAND QUICK SETUP GUIDE 8
TPG MOBILE BROADBAND QUICK SETUP GUIDE
SIMPLE STEPS TO GET CONNECTED 4
4.3. Please read software licence agreement, and click Continue to proceed.
4.4. If you agree to the terms of the software license agreement, click Agree to proceed.
4.5. Click Install to perform a standard installation of the software, or Change Install Location if you wish to
change the default installation directory.

TPG MOBILE BROADBAND QUICK SETUP GUIDE 9
TPG MOBILE BROADBAND QUICK SETUP GUIDE
SIMPLE STEPS TO GET CONNECTED 4
4.5. Click Install to perform a standard installation of the software, or Change Install Location if you wish to
change the default installation directory.
4.6. You will be prompted for an administrator password to allow the software to be installed. Enter the
password you use to log onto this computer. Click OK to proceed.
4.7. Once the software was installed, you see the message “The installation was successful.” Click Close to nish.

TPG MOBILE BROADBAND QUICK SETUP GUIDE 10
TPG MOBILE BROADBAND QUICK SETUP GUIDE
SIMPLE STEPS TO GET CONNECTED 5
5. Your rst connection to TPG Mobile Broadband
5.1. After the USB modem is installed, the TPG Mobile Broadband connection software is launched
automatically.
Note: Every time the E1762 USB modem is connected to the PC, the management program is launched
automatically. If the software does not start, please click on the Wireless Broadband icon on your desktop.
5.2. Enter SP code ‘TPG’. You need to only enter this once when you rst time launch the software.
5.3. In the TPG Mobile
Broadband connection
software window, click
Connect when you see
the signal strength icon.
5.4. Open your Web browser.
CONGRATULATIONS.
You are now setup and ready to surf the internet with TPG Mobile Broadband service.

TPG MOBILE BROADBAND QUICK SETUP GUIDE 11
TPG MOBILE BROADBAND QUICK SETUP GUIDE
SIMPLE STEPS TO GET CONNECTED 6
6. Using the software and USB E1762 modem
Checking Status
Once plugged in, the USB E1762 Modem will immediately search for our network.
The information in the bottom left corner of the software indicates signal strength (the more bars, the better!)
and which network you are connected to a GPRS, UMTS or HSDPA network.
If you only pick up a 2G (GPRS) signal when connected to the Internet, try moving locations to improve your
connection. Like any mobile device, physical location and barriers (walls, basement) can aect signal strength
and consequently your internet speeds.
Disconnecting Your USB Modem
Windows:
When you have nished browsing the internet it is important that you unplug your USB correctly.
• Double-click in the notication area. Then the Unplug or Eject Hardware dialog box appears.
• Select the corresponding hardware and then click Stop.
• When the message “It is safe to remove the device” appears, remove the USB Stick.
Apple OSX:
You can click Disconnect; close the software, or simply remove the USB Modem.

TPG MOBILE BROADBAND QUICK SETUP GUIDE 12
TPG MOBILE BROADBAND QUICK SETUP GUIDE
SIMPLE STEPS TO GET CONNECTED 7
7. Checking your Data Usage online
Use Your Account to monitor your data usage and avoid excess charges.
Remember: Excess data rates will apply once you have reached your plan’s included monthly data allowance.
7.1. Login to your TPG account - You can monitor your usage during by visiting http://tpg.com.au/ and
logging in with your Customer ID and Password. Customer ID can be found in the Welcome Letter with SIM
card attached. Password is what you nominated during registration.
7.2. Under TPG Mobile Broadband Services, click on “View All Mobile Broadband Service Accounts” then
“Mobile Broadband Usage”.
Other manuals for USB E1762
1
Table of contents
Other TPG Modem manuals
TPG
TPG HG658 User manual
TPG
TPG USB E1762 User manual
TPG
TPG HG532D User manual
TPG
TPG FRITZ! 7490 User manual
TPG
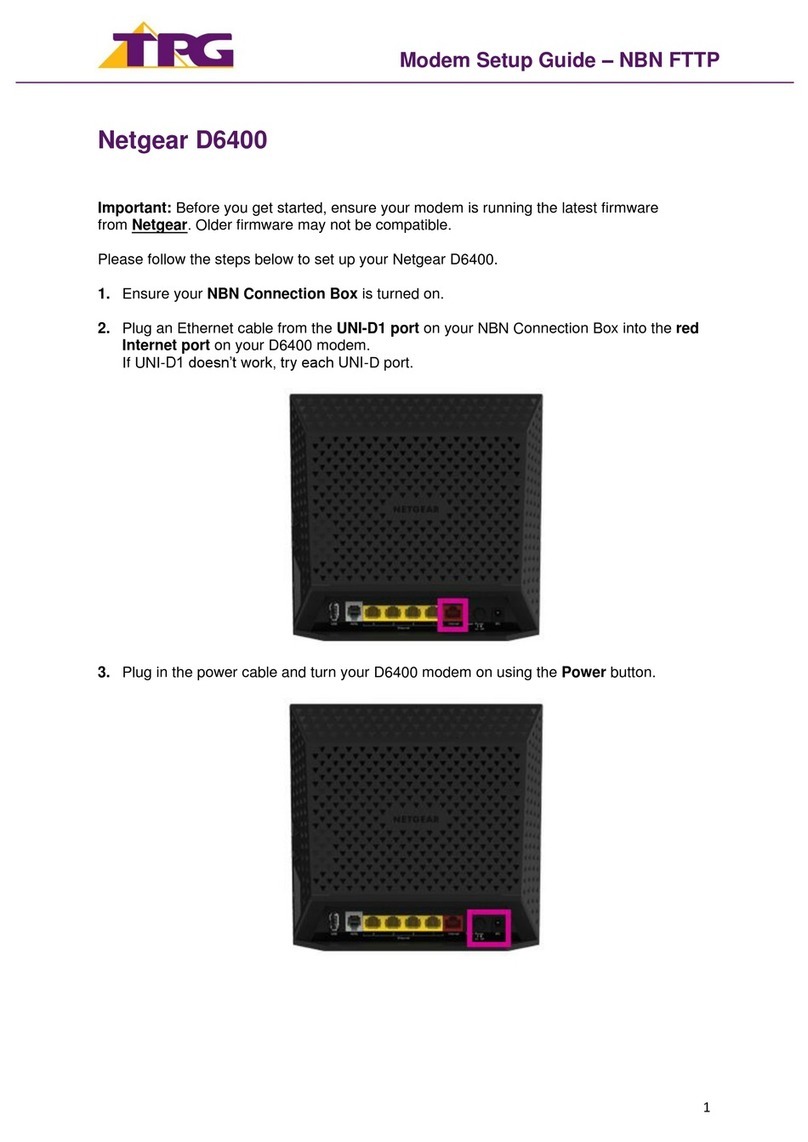
TPG Netgear D6400 User manual
TPG
TPG Netgear Nighthawk RAX120 User manual

TPG
TPG VR600v User manual
TPG
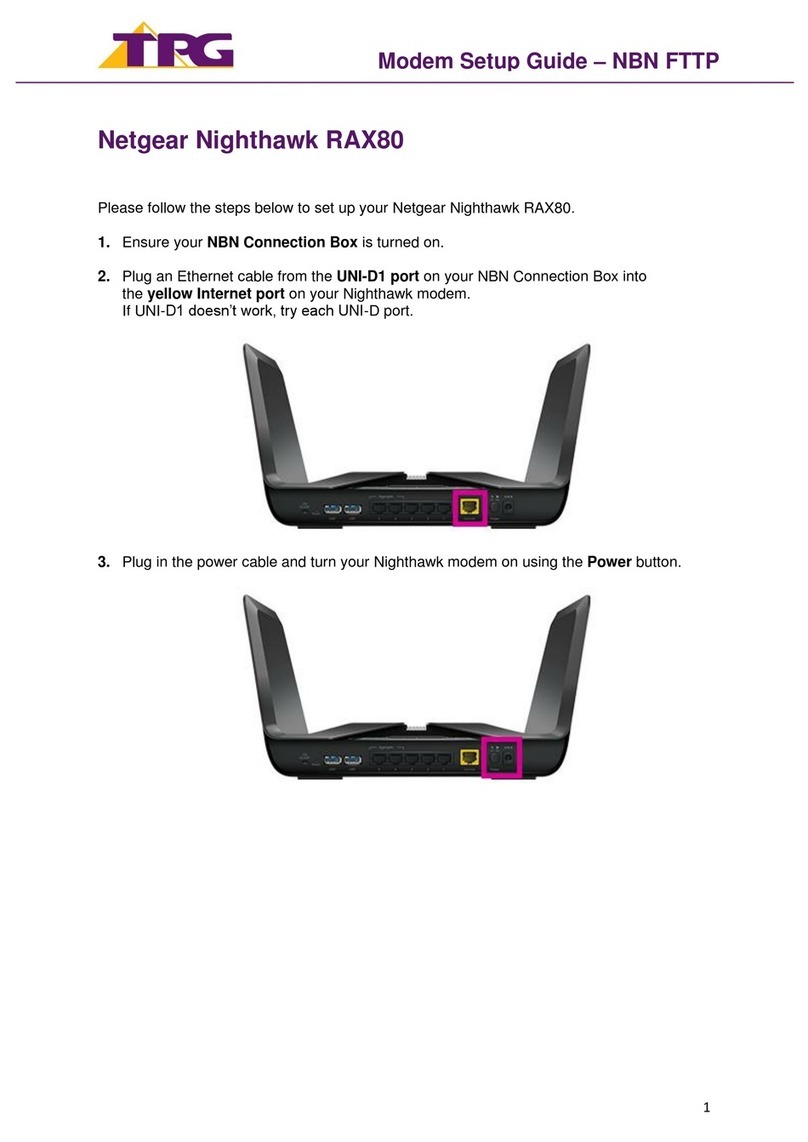
TPG Netgear Nighthawk RAX80 User manual
TPG
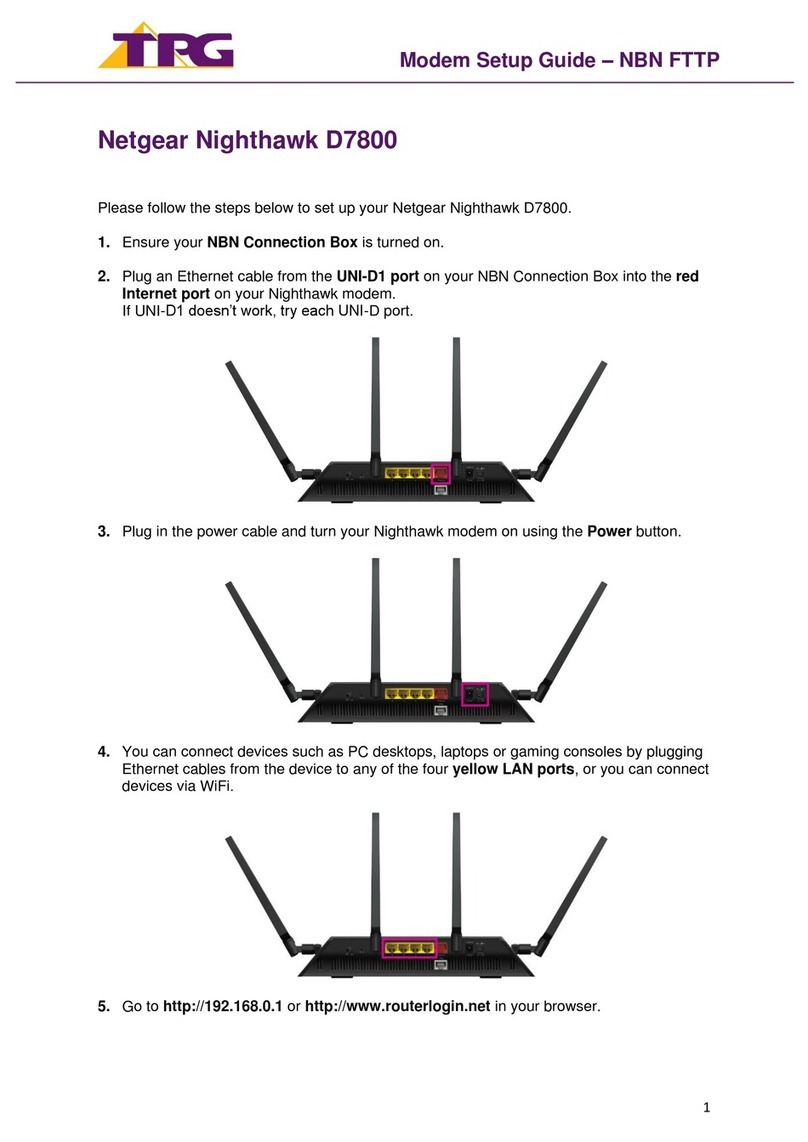
TPG Netgear Nighthawk D7800 User manual

TPG
TPG HG658 User manual
