Transition Networks SESPM1040-541-LT-xx Quick Start Guide
33783 Rev. C https://www.transition.com Page 2of 2
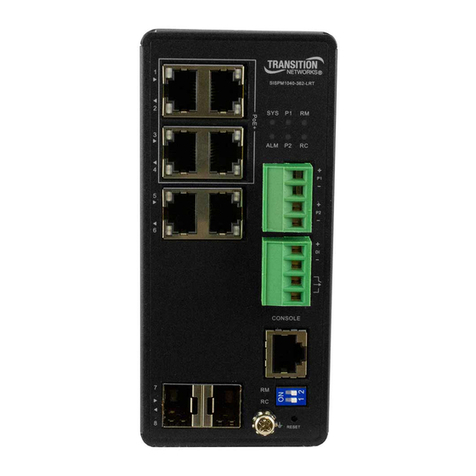
NFC Pre-Configuration:You can configure the switch directly in the box and unpack the box contents later at the
install location. 1. Open the packing box. 2. Configure each switch using the Mobile App on an NFC-enabled smart
device.
3. Select the saved configuration. 4. Move the device closely over the NFC target on the front cover of the switch.
5. Hit TAP AND GO. Defaults are IP Address: 192.168.1.10, User Name: admin, and Password: admin.
Basic Installation Steps
1. Pre-configure switch(es) using NFC, BLE, CLI or GUI. Note the BLE MAC address. See the Install Guide.
2. Attach switch to pole or wall. If pole mounting, see the SESPM-4P-PMB Kit Option Install Guide.
3. For –DC and –PD versions, attach ground wire. See the Install Guide. If using any optional modules, install them now.
4. Connect data to switch: a) Run Ethernet cable thru cable glands and insert into port 5, or b) run fiber cable(s) thru
wire glands and route via optional fiber management; insert SFP into SFP cage and connect fiber to SFP.
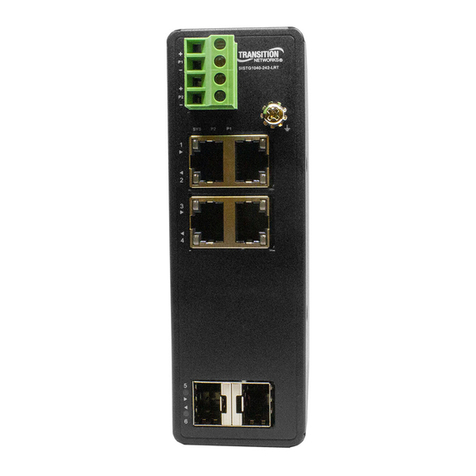
5. Connect Powered Devices to switch; run Ethernet cable from switch PSE ports 1-4 to devices to be connected and
powered. Note if connecting multiple 90W devices, we recommend those devices be connected to ports separated
from each other (e.g., ports 1 and 3, or ports 1 and 4, or ports 2 and 4, or ports 2 and 3).
6. Tighten wire gland nuts and plug unused holes with provided hole plugs to maintain NEMA/IP rating and Warranty.
7. Connect power to the switch; the three models are powered differently:
-AC: Power to the AC is via a built-in 12-foot 16 AWG power cable with a 3-prong plug. AC input can be hardwired
into AC mains via customer supplied conduit /connectors. Plug into approved AC outlet using supplied AC power
cord. If hard wiring, cut off power connector and connect to junction box (if allowed); run cable thru conduit and
hardwire to junction box (if code requires).
-DC: Route the DC power cable thru the designated Power Wire gland. Connect the green ground wire to the Ground
Post in upper right corner of enclosure. Connect DC wires to DC Power Terminal Block in upper left corner of
enclosure. The switch is reverse polarity protected. Local earth ground must be provided. Do not add any large
(>100 µH) common mode chokes; they may interfere with the inrush current limiting function of the switch.
-PD: Can be powered using PoE from an –AC or –DC Version, or from a –DC version using Parallel Copper/Fiber
(Composite) Cable, or from a DC Power Supply. Power to the -PD via an external PSE must classify with IEEE 802.3bt
Type 4 Class 8 devices. If powering via PoE, connect an Ethernet cable from the PSE to the PD Port 5. Local earth
ground must be provided. The Auxiliary 12V power port has a 2-position bare wire terminal block with screw
retention up to 12AWG wire size. Attach PoE cable from power source thru cable gland and into port 5; if using
parallel fiber/power (composite) cable, run low voltage DC power cable thru cable gland and connect to terminal
block on switch.
8. Close switch door and lock enclosure using hex driver or tool.
Parallel Copper/Fiber (Composite) Cable: Splice DC cable to Ethernet cable stub, plug stub into a PSE port on -AC or
-DC switch, then connect wires to screw terminals on the hybrid connector (polarity agnostic) on the -DC or -PD. Ground
the same as for the -DC version; ground post tied to earth ground close to the switch. To terminate the power cable,
use the screw terminal block on the DC input module or the PD Aux board in the switch.
Defaults: IP = 192.168.1.10. Login = admin/admin. Console port = 23. Bits per second = 115200, Data bits = 8, Parity =
None. Stop bits = 1. Flow control = None.
Boot Process: After power up the switch can take about 1-½ minutes to boot; the LEDs light after about 1-½ minutes.
LED Indicators: LEDs display with the switch door open: PoE activity, link activity, system readiness and power and BLE
pairing information per the Install Guide. This info can also be accessed via the web UI, Console port, or Mobile App
when the switch door is closed. Troubleshooting: Use BLE app, Console Port or Web UI to troubleshoot the switch.
Contact Us: Tech Support: 24-hours: US & Canada: 1-800-260-1312; Int’l: 00-1-952-941-7600. Main Office: tel: +1.952.941.7600 |
toll free: 1.800.526.9267 | fax: 952.941.2322. sales@transition.com | techsupport@transition.com | customerservice@transition.com
