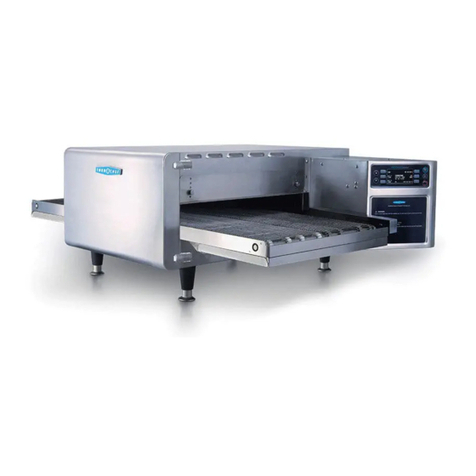
Operational Differences
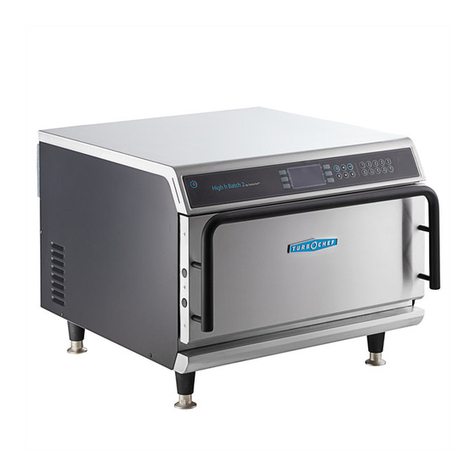
There is no difference between the HhB and the HhB 2 in
cooking performance or standard operation (e.g., turning the
oven on, selecting a recipe, etc.). The differences detailed
below affect installation and non-standard operation only.
For detailed installation and operating instructions, see the
owner’s and service manuals.
Accessing Test Mode
The original HhB required the operator to simultaneously
press and hold the Down and Right arrow keys for 3 seconds
to access Test Mode. On the HhB 2, Test Mode can be
accessed by simply holding the Right arrow key for 1 second.
Accessing Edit Mode
The original HhB required the operator to simultaneously
press and hold the Up and Down arrow keys for 1 second to
access Edit Mode. On the HhB 2, Edit Mode can be accessed
by simply holding the Up arrow key for 1 second.
Accessing the Options Menu
The original HhB required the operator to simultaneously
press and hold the top-left and top-right soft keys for 5
seconds to access the Options Menu. On the HhB 2, the
Options Menu can be accessed by holding either the top-left
or top-right soft key for 1 second.
Number Keys
When editing a recipe or oven serial number, the original
HhB required the operator to press and hold the Up or
Down key to scroll through available characters. The HhB 2
utilizes the alpha-numeric keypad for editing the group
name, recipe name, cook time, and event settings in Edit
Mode, as well as the serial number in Test Mode.
Smart Card Reader Location
The original HhB smart card reader was located near the
front-right oven leg. To better accommodate oven stacking,
the HhB 2 smart card reader is located to the left of the
keypad. See Figures 5 and 6, adjacent.
High-Limit Reset Button Location
The original HhB high-limit reset button was located near
the front-right oven leg. To better accommodate oven
stacking, the HhB 2 high-limit reset button is located on
the back panel. See Figure 5, adjacent and Figure 4, page 1.
Oven Leg Removal for Stacking
Due to the location of the drain pan, smart card reader, and
high-limit reset button, the original HhB oven required the
oven legs to remain attached at all times. The HhB 2 oven
can be stacked with the legs either attached or removed.
NOTE: Kit number HHB-3229 must be used to ensure
proper and safe stacking.
NOTE: If stacking ovens on a cart, the legs must remain on
the bottom oven, utilizing kit number HHB-8206.
Figure 5: Original HhB Smart Card Reader and
High-Limit Reset Button Location
Smart card reader
High-limit
reset button
Figure 6: HhB 2 Smart Card Reader Location
DOC-1201 (A) / Page 2 of 5
Smart card
reader
HhB/HhB 2 Comparison Outline
