manuals.online logo
Brands
  1. Home
  2. •
  3. Brands
  4. •
  5. TVILUM
  6. •
  7. Indoor Furnishing
  8. •
  9. TVILUM Canterbury 5Ft Bed 532/6662 User manual

TVILUM Canterbury 5Ft Bed 532/6662 User manual

Canterbury - 5Ft Bed
Assembly Instructions - Please keep for future reference
Dimensions
Width - 171.6cm
Depth - 212.8cm
Height - 110cm
Important – Please read these instructions fully before starting assembly
If you need help or have damaged or missing parts, call the Customer Helpline:
Argos = 0345 6400800
532/6662
71943 Version A Date 10/06/2016
1
Safety and Care Advice
Important – Please read these instructions fully before starting assembly
Note: if required the next
page can be cut out and used
as reference throughout the
assembly. Keep this page with
these instructions for future
reference.
Care and maintenance
• We do not
recommend the use
of power drivers for
inserting screws, as
this could damage
the unit. Only use hand screw
drivers.
• Check you have all the
components and tools listed on
the following pages.
• Remove all fittings from the
plastic bags and separate them
into their groups.
• Keep children and animals
away from the work area, small
parts could choke if swallowed.
• Make sure you have enough
space to lay out the parts before
starting.
• During assembly, do not stand
or put weight on the product,
this could cause damage.
• Assemble the item as close
to its final position (in the same
room) as possible.
• Assemble on a soft level
surface to avoid damaging the
unit or your floor.
• Parts of the assembly will be
easier with 2 people.
• Only clean using a damp cloth
and mild detergent, do no use
bleach or abrasive cleaners.
• From time to time check that
there are no loose screws on
this unit.
• This product should not be
discarded with household waste.
Take to your local authority
waste disposal centre.
Components - Panels
Please check you have all the panels listed below
2
If you have damaged or missing components, call the
Customer Helpline: Argos = 0345 6400800
98008 Slats (153.6 x 200cm)
76181 Headboard (163.8 x 105cm)
C76180 Footboard (163.8 x 62cm)
76182 Top molding (171.6 x 6.6cm) x2
NB Side panel (203 x 19.7cm) x2
E
18979 Rail (202 x 6.4cm)
65842 Leg (25.1 x 6.4cm) x2
F
G
65843 Leg (18.7 x 6.4cm) x2
A
B
D
3
Please check you have all the fittings listed below
Self-adhesive Covercap x 4
Screw (M8x8,5mm) x 4
Dowel (ø8x30mm) x 18
Nut
(ø14x13mm) x 4
Bracket (61x50x37mm) x 2
Nut (M4/7x3) x 4
Screw (M6x12mm) x 4
Note: The quantities below are the correct amount to complete the assembly. In some cases more fittings
may be supplied than are required.
Allen key (4 mm) x 1
Bracket (ø7x45mm) x 4
Rail (2000 x 28 x 25mm) x 2
Bracket
(ø14x15mm) x 4
Bushing (ø8x13mm) x 4
Screw (ø6,3 x 19mm) x 16
Connector bolt (ø7x50mm) x 2 Screw (ø6,3x15mm) x 8
Wedges (90x43x15) x 1
Screw (ø3,5 x 16mm) x 1
Bolt (M6x70mm) x 4
Bushing (ø10x13mm) x 4
Screw (M4x9mm) x 4 Cam x 8
Cam bolt x 8
Components - Fittings
Ruler - Use this ruler to help correctly identify the screws
Tools required
Ruler/tape
measure
The screws length is measured from the head to the point (30mm screw shown).
Safety (620 x 14mm) x 3
10901 20209 13424
15018 15019 15020
20624 21011 21204
22021 22022 25420
25610 26060 26066
26270 26214 31643
31513 94202 97642
97653 73826 94057
01 02 03 04 05 06 07 08 09 0 100 110 120 130 140 150
01 23 45 6
Allen key (6 mm) x 1
Wrench
Cross head screwdriver
(medium & large)
Flathead screwdriver
(medium)
4
Assembly Instructions
Step 1
Step 2
Place nut in large
holes in opposite end of
side panel NB and press
dowel into hole on
the end edge.
21011
20209
Position side panel as in
picture.
Place bracket
in large holes and press
dowel into hole
on the end edge of side
panel NB .
NA
NA
NA
NA
20209
Fittings you will need for this step:
# 15018
X4 # 20209
X4
Fittings you will need for this step:
# 21011
X4 # 20209
X4
15018
33mm
33mm
Insert dowel and nut
Insert dowel and bracket
NB
NB
NB
NB
5
Assembly Instructions
Use allen key 6mm
97653 to attach bushing
22022 to footboard C .
Step 4
Step 3
Press dowel in
edge of headboard
and footboard .
Place cam in
large holes of headboard
and footboard.
Arrow facing the edge of
the panel.
C
31643
B
20209
Fittings you will need for this step:
# 31643
X8
# 20209
X8
Fittings you will need for this step:
# 22022
X4
# 97653
X1
C
B
C
Insert dowel and cam
Attach bushing
Assembly Instructions
6
Step 5
Step 6
Fittings you will need for this step:
# 15020
X4
Fittings you will need for this step:
# 31513
X8
D x 2
C
Screw the cam bolt
31513 in the top
molding D .
Cam bolts must be
screwed down flush.
Attach bracket
Attach bracket 15020 into
bushing.
Insert cam bolts
7
Assembly Instructions
Step 7
Step 8
Fittings you will need for this step:
# 97642
X1 # 20624
X4
# 15019
X4
33 mm
C
B
C
Attach side panels
Align side panel NB with
footboard C. Place
side panel ends with
dowels into the holes on
footboard C .
Insert screw 15019 to
attach side panel NB
with footboard C .
Attaching headboard
Place the headboard B
in end of side panel NB .
Install connector bolt
25610 into holes on
headboard B using the
allen key 4 mm 97642 .
NB
NB
NB
Attaching headboard
Assembly Instructions
Attach rail 73826 on
side panel NB in top
position with screw
26066 .
Place bracket 13424
with screw 26060 on
headboard Band foot-
board C.
Step 9 Fittings you will need for this step:
# 73826
X2 # 26066
X16 # 13424
X2 # 26060
X4
NB ! Slats in top position
Press dowel 20209
into hole on the edge of
Leg F.
Install connector bolt
25610 using allen key 4
mm 97642 and attach
rail E to leg F .
# 20209
X2
# 97642
X1
# 25610
X2
NA
B
C
E
F
FG
8
NB
Assembly Instructions
Step 10
9
Fittings you will need for this step:
# 73826
X2 # 26066
X16 # 13424
X2 # 26060
X4
# 20209
X2
# 97642
X1
# 25610
X2
B
C
G
G
E
E
Attach rail 73826 on
side panel NB in low
position with screw
26066 .
Place bracket 13424
with screw 26060 on
headboard Band foot-
board C.
NB ! Slats in low position
Press dowel 20209
into hole on the edge of
Leg G.
Install connector bolt
25610 using allen key 4
mm 97642 and attach
rail E to leg G .
NB
Assembly Instructions
Step 12
Step 11
10
Fittings you will need for this step:
# 26060
X4
Fittings you will need for this step:
# 26060
X4
Attach rail Ewith screw
26060 .
B
C
B
C
E
E
NB ! Slats in low position
NB ! Slats in top position
Attach rail Ewith screw
26060 .
NB
NB
Place Top molding D
onto top panel as shown.
Assembly Instructions
Attach Top molding
Step 13
11
Tighten cams.
B
C
D
NB
Attach safety bracket
with nut and
screw . Use screw
to fix on
rail .
Safety bracket ,
to avoid slats and box
mattress faling down.
Assembly Instructions
Step 14
94057
94057 21204
26214
25420
E94057
Fittings you will need for this step:
# 94057
X3 # 21204
X4 # 26214
X4
# 25420
X1
12
NB B
DC
E
Attach bushing with screw
on rail to
avoid slats faling down.
Attach slats A.
Fix covercap to
the footboard to cover
the cam holes.
Assembly Instructions
Attach covercap
NB ! Bed with slats
Step 16
Step 15
13
10901
26270 73826
A
Fittings you will need for this step:
# 10901
X4
Fittings you will need for this step:
# 26270
X4 # 22021
X4
x4
B
C
C
B
A
DD
D
D
NB
NB
Assembly Instructions
Fittings you will need for this step:
# 94202
X1
If you need help or have damaged or missing parts, call the Customer Helpline:
Argos = 0345 6400800
Assembly is complete.
Use wedges to fix solid
bottom, see assembly
instruction in bag .
Step 17
94202
14
NB ! Bed with solid
bottom

Other TVILUM Indoor Furnishing manuals

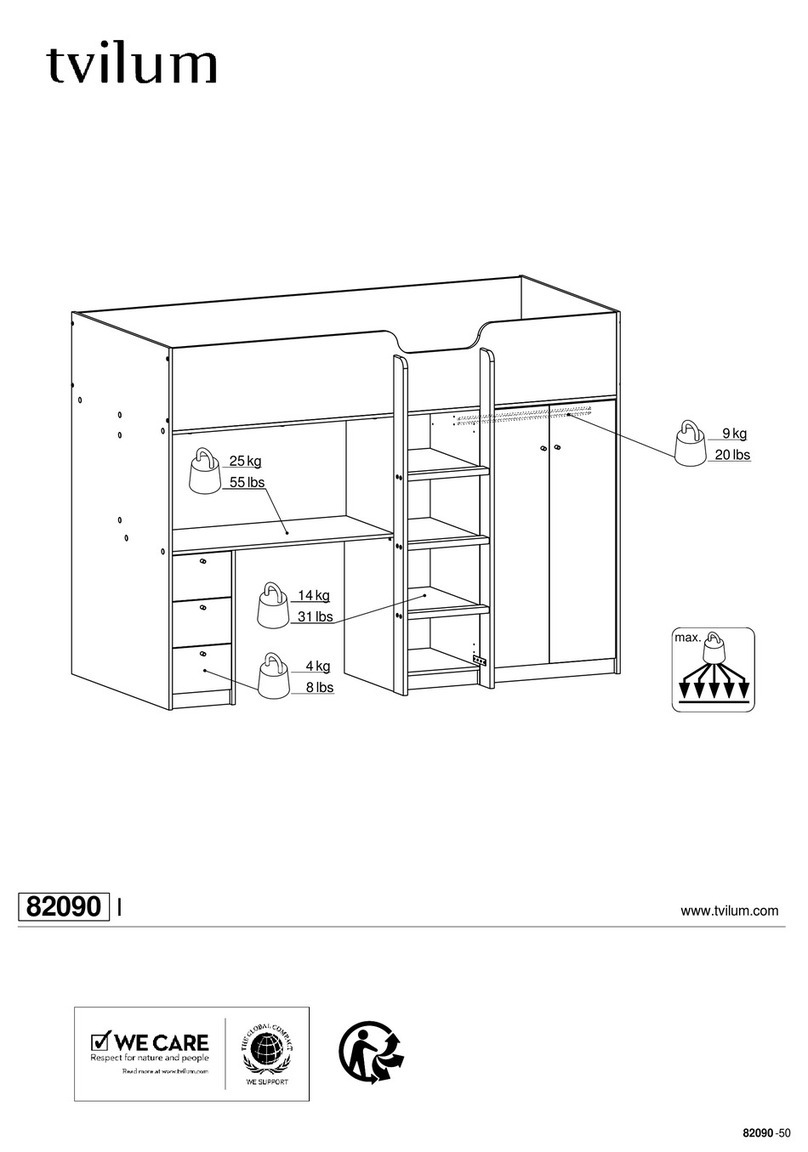
TVILUM 82090 User manual

TVILUM

TVILUM 82090 User manual

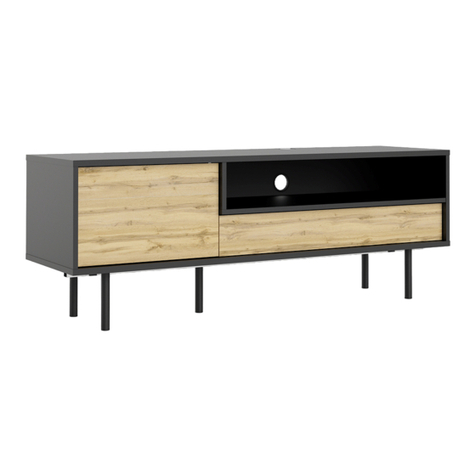
TVILUM Ravnholt Chest 9 drawers User manual

TVILUM

TVILUM Ravnholt Chest 9 drawers User manual

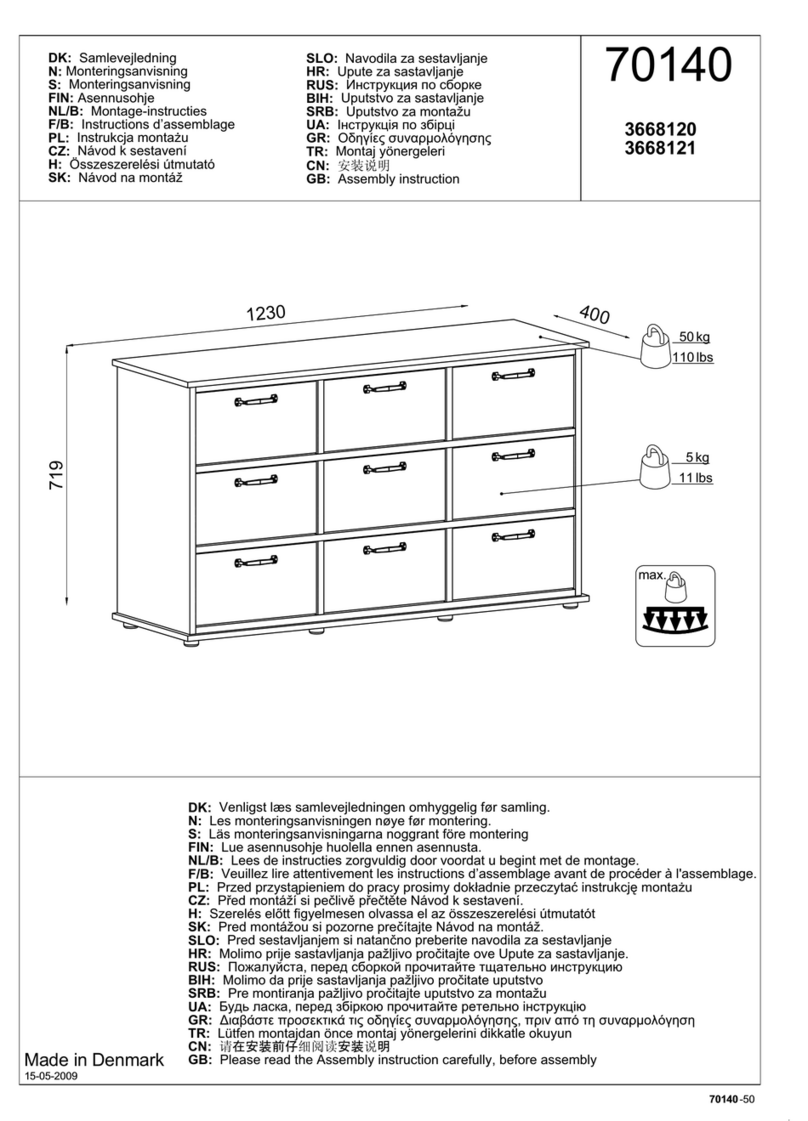
TVILUM Circo Kids 242-17-9388 User manual
TVILUM

TVILUM Circo Kids 242-17-9388 User manual

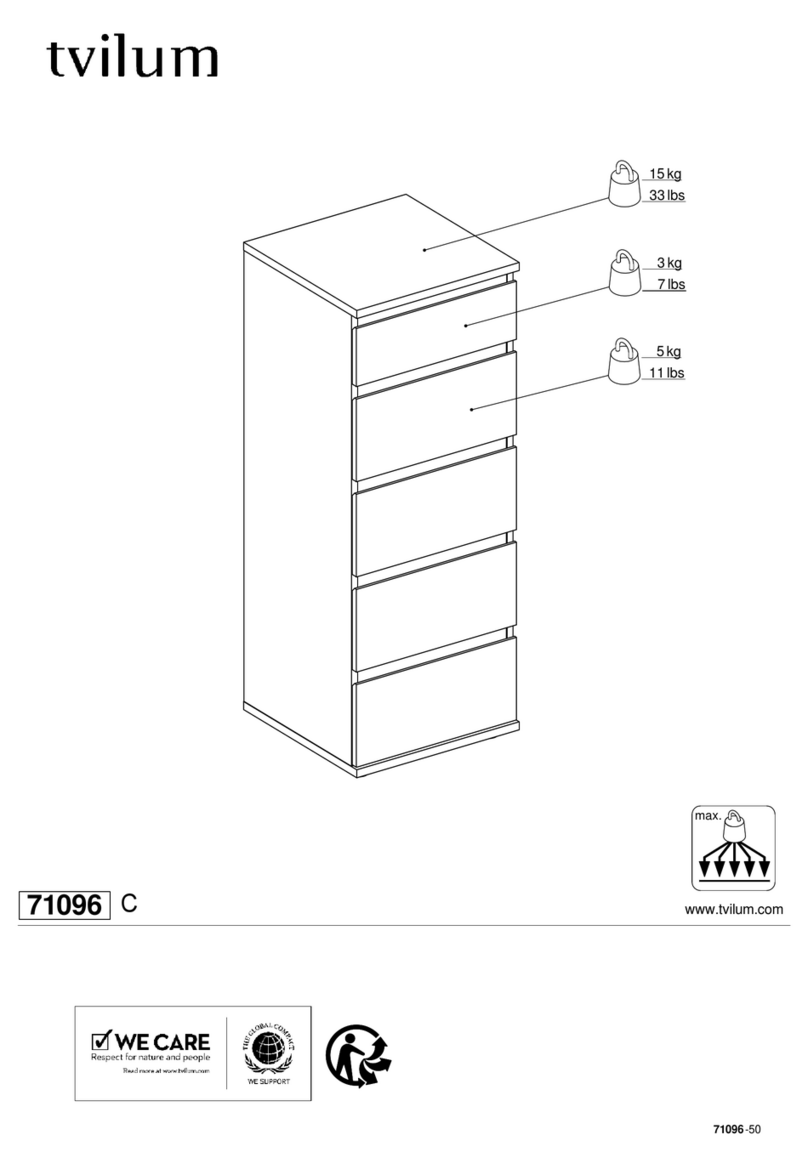
TVILUM 71096 C User manual

TVILUM

TVILUM 71096 C User manual

TVILUM 70900 B User manual

TVILUM

TVILUM 70900 B User manual
TVILUM 75323 User manual

TVILUM

TVILUM 75323 User manual

TVILUM Circo Kids User manual

TVILUM

TVILUM Circo Kids User manual

TVILUM 71530 A User manual

TVILUM

TVILUM 71530 A User manual

TVILUM 82090 User manual

TVILUM

TVILUM 82090 User manual
TVILUM 517/0571 User manual

TVILUM

TVILUM 517/0571 User manual
TVILUM 69972 User manual

TVILUM

TVILUM 69972 User manual

Popular Indoor Furnishing manuals by other brands

Bassett Inspired BP-ALDH56-W9 Assembly instructions

Bassett

Bassett Inspired BP-ALDH56-W9 Assembly instructions

Oxybul éveil & jeux IZIBUL 333281 manual

Oxybul éveil & jeux

Oxybul éveil & jeux IZIBUL 333281 manual

KODU BUFFET UH10818 Assembly instructions

KODU

KODU BUFFET UH10818 Assembly instructions

MARCKERIC ESTEFANIA 16441 Assembly instructions

MARCKERIC

MARCKERIC ESTEFANIA 16441 Assembly instructions

Hanover Portland HDR008 manual

Hanover

Hanover Portland HDR008 manual

Furinno NW889 quick start guide

Furinno

Furinno NW889 quick start guide

Beacon BABLT Series owner's manual

Beacon

Beacon BABLT Series owner's manual

Accentrics Home D004-270-485 Assembly instructions

Accentrics Home

Accentrics Home D004-270-485 Assembly instructions

Ghent LINK Hex Mounting instructions

Ghent

Ghent LINK Hex Mounting instructions

Till-Hilft 87265.310 installation instructions

Till-Hilft

Till-Hilft 87265.310 installation instructions

Vivo DESK-V201B-CH instruction manual

Vivo

Vivo DESK-V201B-CH instruction manual

American Standard 2171 installation instructions

American Standard

American Standard 2171 installation instructions

Whittier Wood Products Catalina 3311SAN Assembly & disassembly instructions

Whittier Wood Products

Whittier Wood Products Catalina 3311SAN Assembly & disassembly instructions

CONFORAMA HANA 2K3P2F So 11000624 Assembling instructions

CONFORAMA

CONFORAMA HANA 2K3P2F So 11000624 Assembling instructions

New Works FLORENCE User instructions

New Works

New Works FLORENCE User instructions

Furniture of America CM-FC609 Assembly instructions

Furniture of America

Furniture of America CM-FC609 Assembly instructions

Furniture of America CM-AC246 Assembly instructions

Furniture of America

Furniture of America CM-AC246 Assembly instructions

RTA Products Techni Mobili RTA-3527 Assembly instructions

RTA Products

RTA Products Techni Mobili RTA-3527 Assembly instructions

manuals.online logo
manuals.online logoBrands
  • About & Mission
  • Contact us
  • Privacy Policy
  • Terms and Conditions

Copyright 2025 Manuals.Online. All Rights Reserved.