Physical Characteristics
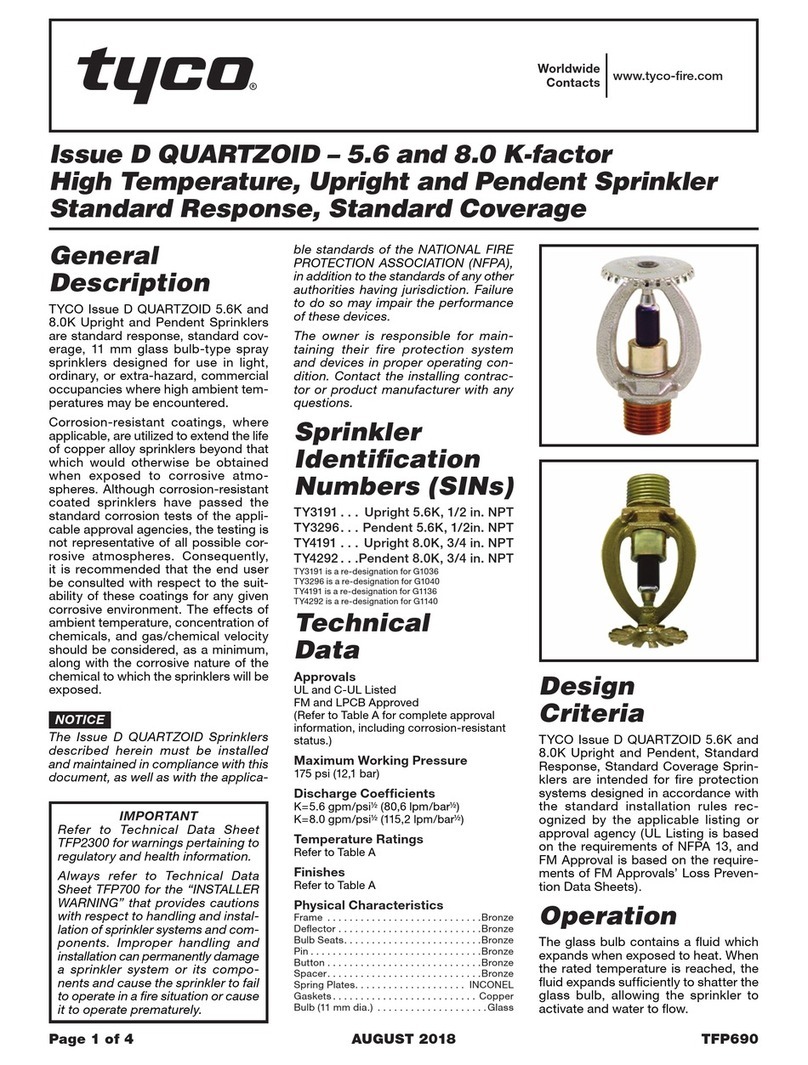
Frame............. Bronze
Button......... Brass/Copper
SealingAssembly ..........
. . . . . Beryllium Nickel w/Teflon†
Bulb...............Glass
Compression Screw . . . . . Bronze
Deflector ...........Copper
Shield.......... PlatedSteel
Operation
The glass Bulb contains a fluid which
expands when exposed to heat. When
the rated temperature is reached, the
fluid expands sufficiently to shatter the
glass Bulb, allowing the sprinkler to
activate and water to flow.
Design
Criteria
The Series TY-FRB Pendent and Up-
right Intermediate Level Sprinklers are
intended for fire protection systems
designed in accordance with the
standard installation rules recognized
by the applicable Listing or Approval
agency (e.g., UL Listing is based on
the requirements of NFPA 13, and FM
Approval is based on the requirements
of FM’s Loss Prevention Data Sheets).
Installation
The Series TY-FRB Sprinklers must be
installed in accordance with the follow-
ing instructions:
NOTES
Do not install any bulb type sprinkler if
the bulb is cracked or there is a loss of
liquid from the bulb. With the sprinkler
held horizontally, a small air bubble
should be present. The diameter of the
air bubble is approximately 1/16 inch
(1,6 mm) for the 135°F/57°C to 3/32
inch (2,4 mm) for the 286°F/141°C
temperature ratings.
A leak tight 1/2 inch NPT sprinkler joint
should be obtained with a torque of 7
to 14 ft.lbs. (9,5 to 19,0 Nm). A maxi-
mum of 21 ft. lbs. (28,5 Nm) of torque
may be used to install sprinklers with
1/2 NPT connections. A leak tight 3/4
inch NPT sprinkler joint should be ob-
tained with a torque of 10 to 20 ft.lbs.
(13,4 to 26,8 Nm). A maximum of 30
ft.lbs. (40,7 Nm) of torque is to be used
to install sprinklers with 3/4 NPT con-
nections. Higher levels of torque may
distort the sprinkler inlet and cause
leakage or impairment of the sprinkler.
— Upright Sprinklers —
The Series TY-FRB Intermediate Level
Upright Sprinklers must be installed in
accordance with the following instruc-
tions.
Step 1. With pipe thread sealant ap-
plied to the pipe threads, hand tighten
the sprinkler into the sprinkler fitting.
Step 2. Tighten the sprinkler into the
sprinkler fitting using only the W-Type
6 Sprinkler Wrench (Ref. Figure 3).
WithreferencetoFigure1or2,the
W-Type 6 Sprinkler Wrench is to be
applied to the wrench flats.
— Pendent Sprinklers —
The Series TY-FRB Intermediate Level
Pendent Sprinklers must be installed
in accordance with the following in-
structions.
Step 1. ThreadtheS2Shieldontothe
sprinkler threads with the stamped
markings toward the deflector and just
to the end of the threads. The final
assembly step is easier to accomplish
if the Shield is not disengaged by con-
tinuing to turn the Shield past the
threads.
Step 2. Roll the O-Ring over the sprin-
kler threads until it seats against the
Shield.
Step 3. With pipe thread sealant ap-
plied to the pipe threads, hand tighten
the sprinkler into the sprinkler fitting.
Step 4. Tighten the sprinkler into the
sprinkler fitting using only the W-Type
6 Sprinkler Wrench (Ref. Figure 3).
WithreferencetoFigure1or2,the
W-Type 6 Sprinkler Wrench is to be
applied to the wrench flats.
Step 5. Rotate the S2 Shield clockwise
(looking up) so that it slightly com-
presses the O-Ring between the
Shield and sprinkler fitting.
Care and
Maintenance
The Series TY-FRB Sprinklers must be
maintained and serviced in accord-
ance with the following instructions:
NOTES
Before closing a fire protection system
main control valve for maintenance
work on the fire protection system that
it controls, permission to shut down
the affected fire protection system
must be obtained from the proper
authorities and all personnel who may
be affected by this action must be no-
tified.
Sprinklers that are found to be leaking
or exhibiting visible signs of corrosion
must be replaced.
Automatic sprinklers must never be
painted, plated, coated or otherwise
altered after leaving the factory. Modi-
fied sprinklers must be replaced.
Sprinklers that have been exposed to
corrosive products of combustion, but
have not operated, should be replaced
if they cannot be completely cleaned
by wiping the sprinkler with a cloth or
by brushing it with a soft bristle brush.
Care must be exercised to avoid dam-
age to the sprinklers - before, during,
and after installation. Sprinklers dam-
aged by dropping, striking, wrench
twist/slippage, or the like, must be re-
placed. Also, replace any sprinkler that
has a cracked bulb or that has lost
liquid from its bulb. (Ref. Installation
Section).
Frequent visual inspections are rec-
ommended to be initially performed for
corrosion resistant coated sprinklers,
after the installation has been com-
pleted, to verify the integrity of the cor-
rosion resistant coating. Thereafter,
annual inspections per NFPA 25
should suffice; however, instead of in-
Page4of6 TFP356
FIGURE 3
W-TYPE 6 SPRINKLER
WRENCH
WRENCH RECESS
(END "A" USED FOR
1/2" NPT MODELS)
WRENCH RECESS
(END "B" USED FOR
3/4" NPT MODELS
