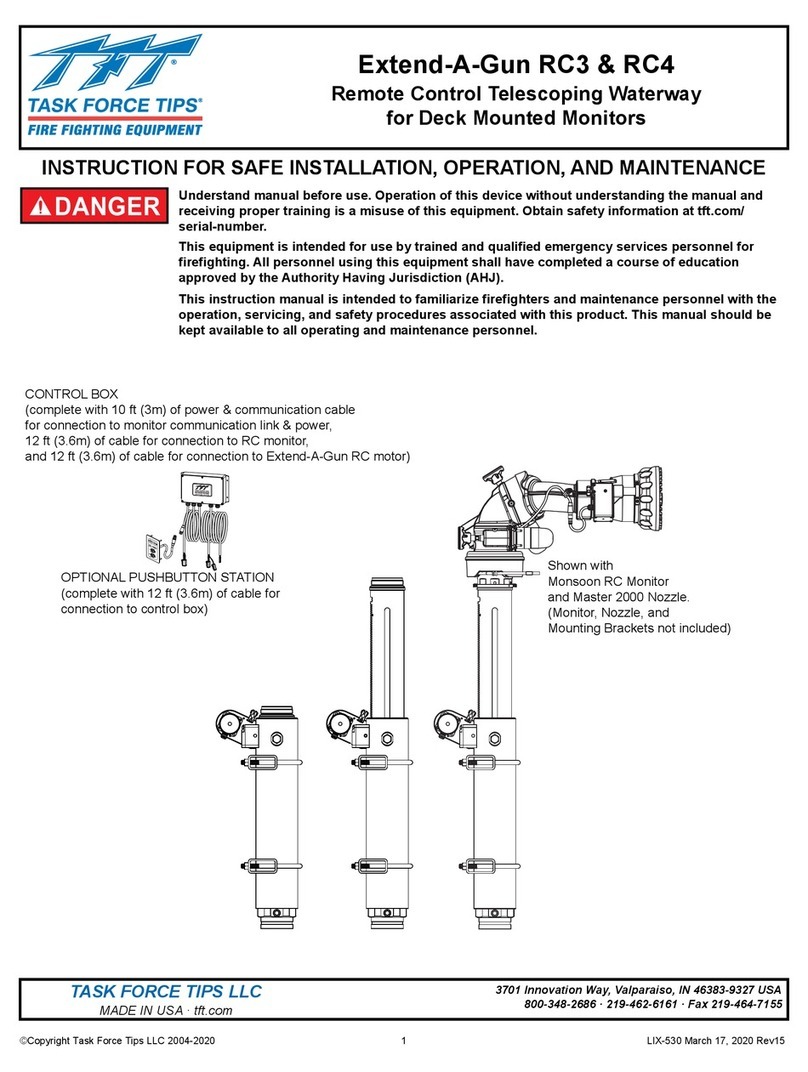
FIGURE 5
MODEL EC-HS RECESSED EC SIDEWALL
SPRINKLER ASSEMBLY WITH TWO-PIECE
13 MM TOTAL ADJUSTMENT
STYLE 20 RECESSED ESCUTCHEON
80 K-FACTOR, 1/2 INCH NPT
TFP288
Page 4 of 6
Installation
The Model EC-HS Sprinklers must
be installed in accordance with this
section.
General Instructions
Do not install any bulb type sprinkler
if the bulb is cracked or there is a loss
of liquid from the bulb. With the sprin-
kler held horizontally, a small air bub-
ble should be present. The diameter
of the air bubble is approximately 1,6
mm.
A 1/2 inch NPT sprinkler joint should
be obtained with a minimum to maxi-
mum torque of 9,5 to 19,0 Nm. Higher
levels of torque may distort the sprin-
kler inlet and cause leakage or impair-
ment of the sprinkler.
Do not attempt to make-up for insuf-
ficient adjustment in the escutcheon
plate by under- or over-tightening the
sprinkler. Re-adjust the position of the
sprinkler fitting to suit.
Series Model EC-HS Sidewall
Sprinklers
The Series Model EC-HS Sidewall
Sprinklers must be installed in accor-
dance with the following instructions.
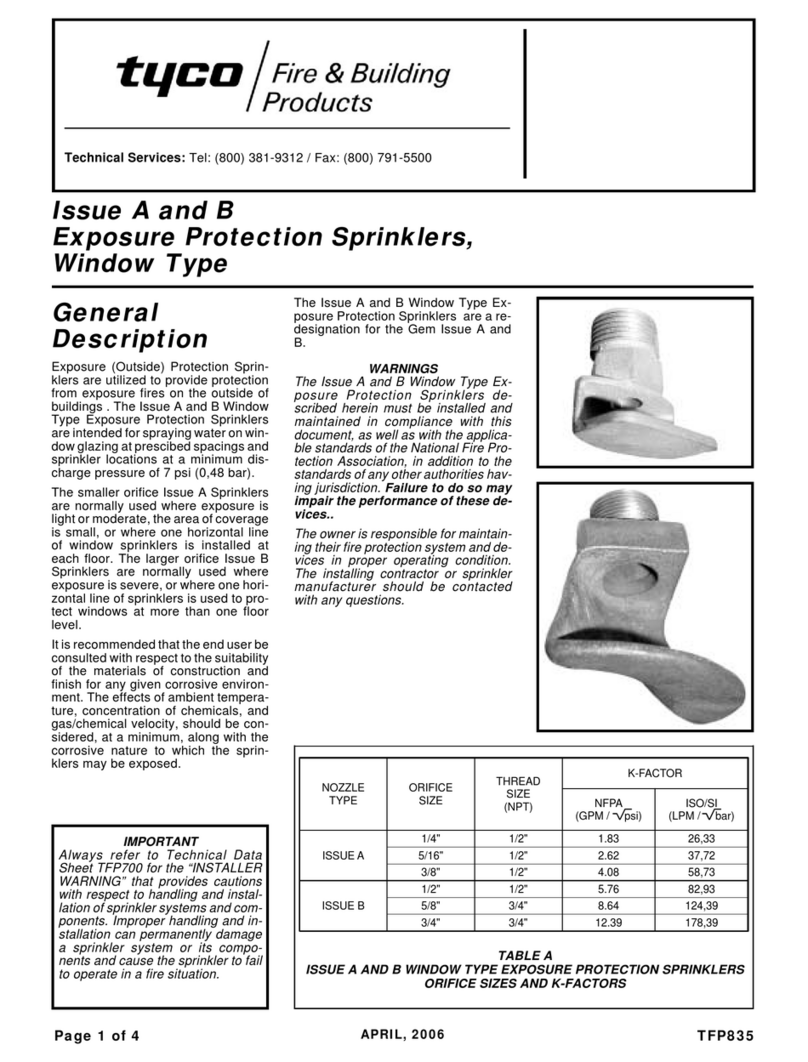
Step 1. Horizontal sidewall sprinklers
are to be installed with their center-
line perpendicular to the back wall and
parallel to the ceiling. The word “TOP”
on the deflector is to face towards the
ceiling.
Step 2. With pipe thread sealant ap-
plied to the pipe threads, hand tighten
the sprinkler into the sprinkler fitting.
Step 3. Tighten the sprinkler into the
sprinkler fitting using only the W-Type
6 Sprinkler Wrench (Ref. Figure 2).
With reference to Figures 1, the W-
Type 6 Sprinkler Wrench is to be ap-
plied to the sprinkler wrench flats.
Series Model EC-HS Recessed
Sidewall Sprinklers
The Model EC-HS Recessed Sidewall
Sprinklers must be installed in accor-
dance with the following instructions.
Step A. Horizontal sidewall sprinklers
are to be installed with their center-
line perpendicular to the back wall and
parallel to the ceiling. The word “TOP”
on the deflector is to face towards the
ceiling.
Step B. After installing the Style 10
or 20 Mounting Plate, as applicable,
over the sprinkler threads and with
pipe thread sealant applied to the pipe
threads, hand tighten the sprinkler into
the sprinkler fitting.
Step C. Tighten the sprinkler into the
sprinkler fitting using only the W-Type
7 Recessed Sprinkler Wrench (Ref.
Figure 3). With reference to Figure
1, the W-Type 7 Recessed Sprinkler
Wrench is to be applied to the sprin-
kler wrench flats.
Step D. After the wall has been in-
stalled or the finish coat has been ap-
plied, slide on the Style 10 or 20 Clo-
sure over the Model EC-HS Sprinkler
and push the Closure over the Mount-
ing Plate until its flange comes in con-
tact with the wall.
Care and
Maintenance
The Model EC-HS Sprinklers must
be maintained and serviced in accor-
dance with this section.
Before closing a fire protection sys-
tem main control valve for mainte-
nance work on the fire protection sys-
tem that it controls, permission to shut
down the affected fire protection sys-
tem must be obtained from the prop-
er authorities and all personnel who
may be affected by this action must
be notified.
The owner must assure that the sprin-
klers are not used for hanging of any
objects; otherwise, non-operation in
the event of a fire or inadvertent op-
eration may result.
Absence of an escutcheon, which is
used to cover a clearance hole, may
delay the time to sprinkler operation in
a fire situation.
Sprinklers that are found to be leaking
or exhibiting visible signs of corrosion
must be replaced.
32 mm
CLOSURE
19 mm
3 mm
PLATE
57 mm
DIA.
DIA.
MOUNTING
SURFACE
FACE OF
SPRINKLER
FITTING
MODEL
EC-HS
CLOSURE
32 mm
PLATE
13 mm
3 mm
57 mm
DIA.
DIA.
MOUNTING
SURFACE
FACE OF
SPRINKLER
FITTING
MODEL
EC-HS
FIGURE 4
MODEL EC-HS RECESSED EC SIDEWALL
SPRINKLER ASSEMBLY WITH TWO-PIECE
19 MM TOTAL ADJUSTMENT
STYLE 10 RECESSED ESCUTCHEON
80 K-FACTOR, 1/2 INCH NPT

