10 11
Lighting
The 2×2 makes use of low energy LED lighting for
all lighting sources. The 2×2’s headlight has both
high and low beam modes for maximum visibility,
both on the road and the track. On high beam, the
headlight is a 36W light, providing 2,230 lumens.
On low beam, it’s 27.6W, providing 1,220 lumens.
The rear light incorporates the tail light, brake light,
and number plate illuminating light into one unit.
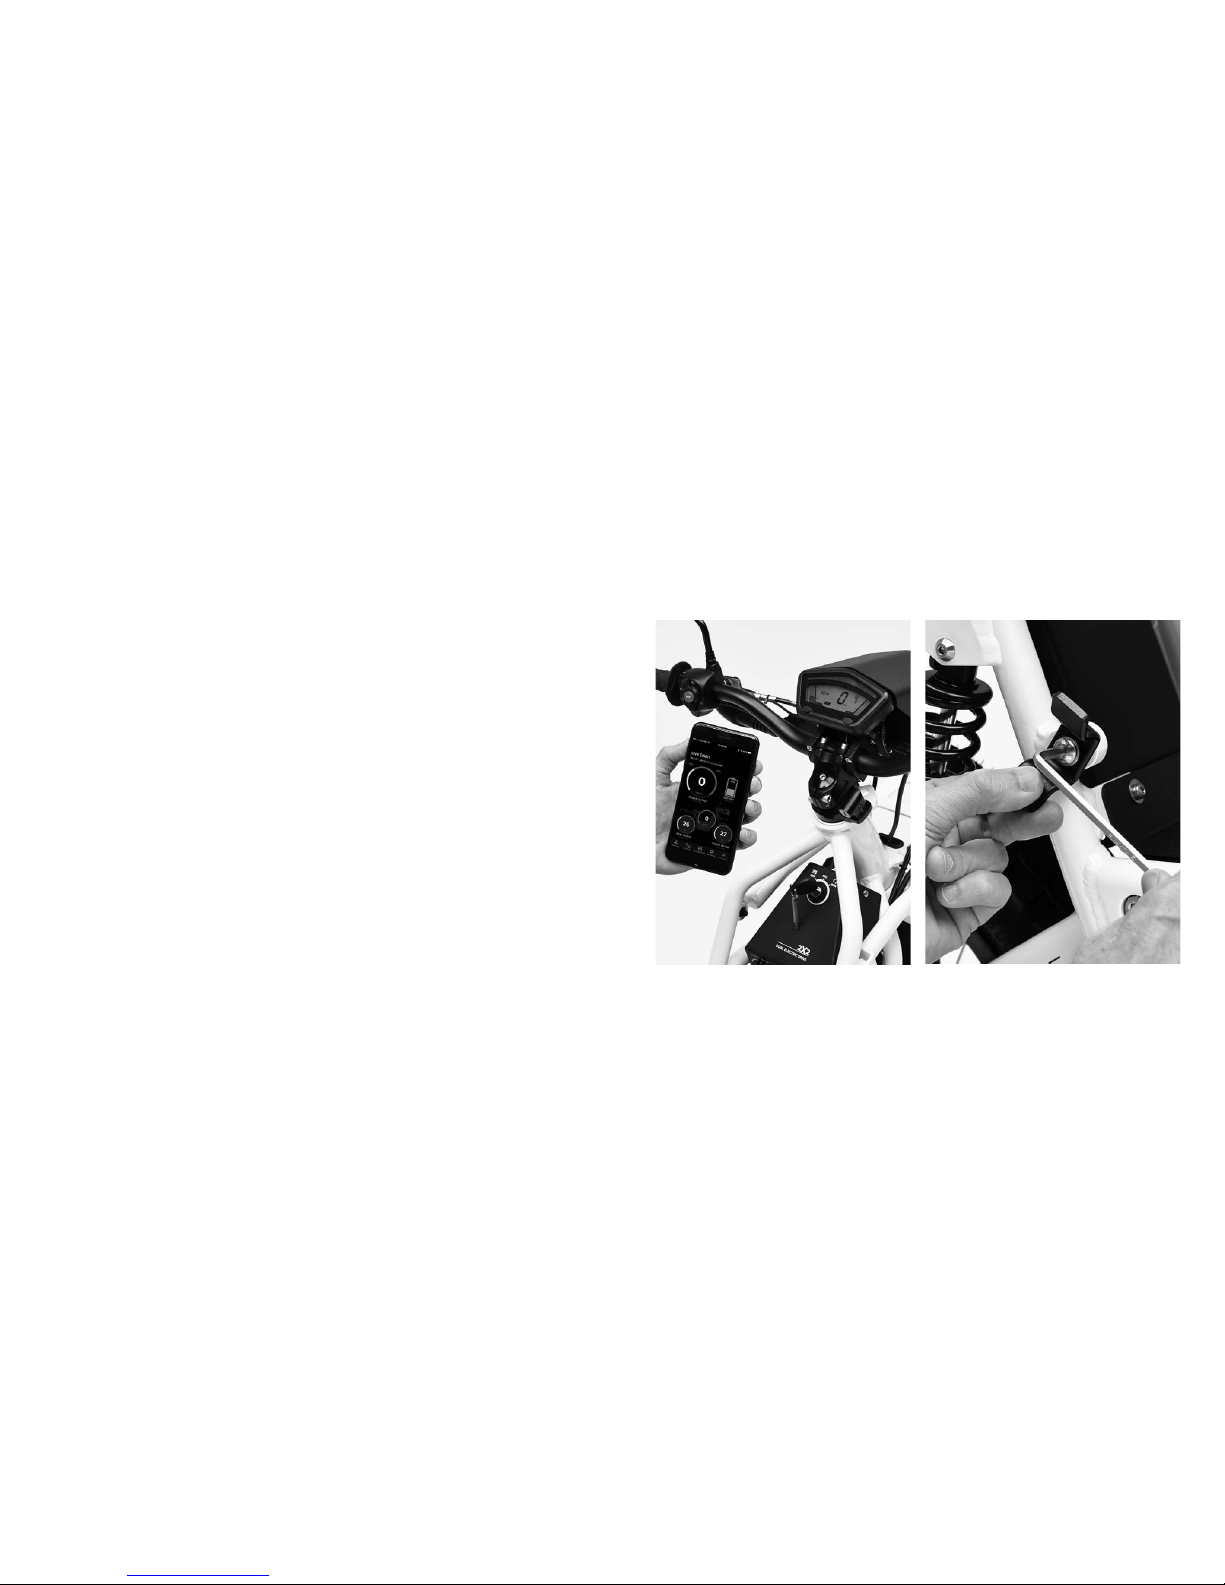
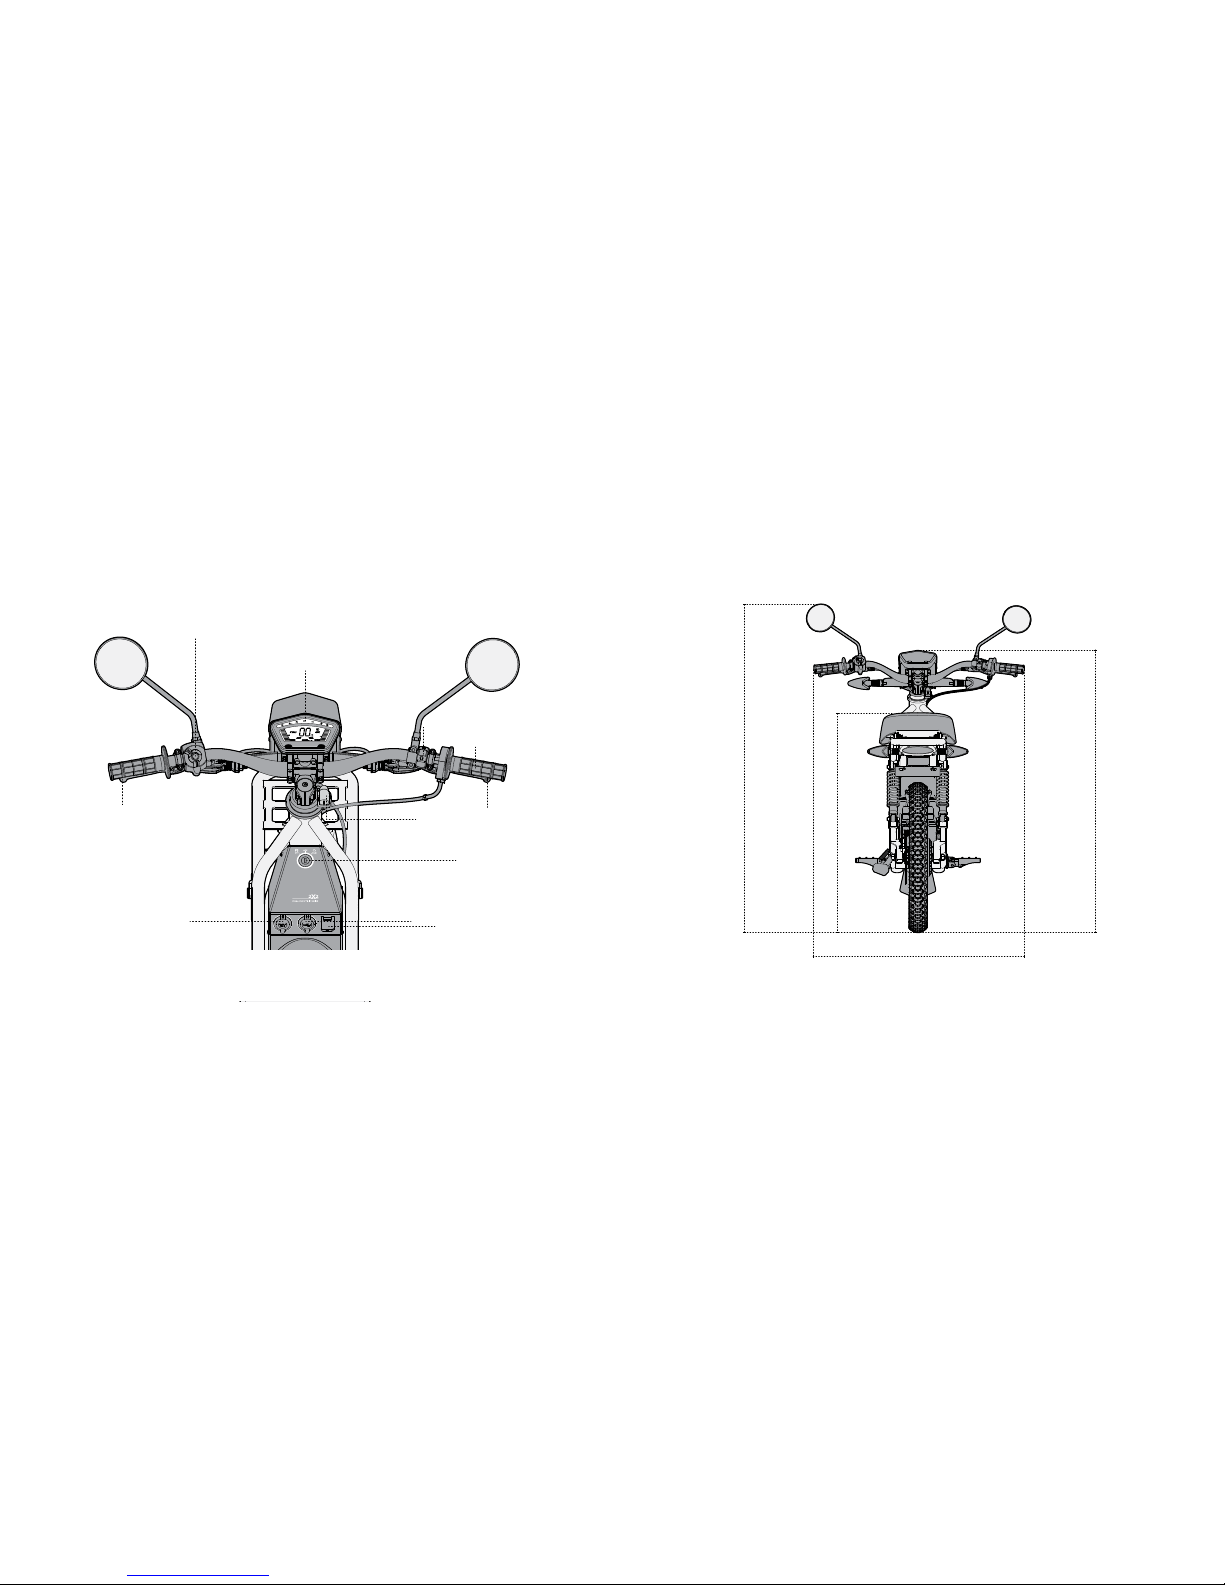
Display
The 2×2’s display houses an HTN transmissive
panel with a warm white backlight for optimal day
and night viewing. The display makes keeping
track of your riding easy and shows all the
important information, including speed, battery
level, odometer, trip meter, motor temperature,
real-time power output, and the time. The display
can switch between metric and imperial units to
suit your requirements. Tell-tale lights indicate
warnings, a low battery, directional indicators, the
headlight, and an illuminated “N” light when the
bike is in a neutral and non-ridable mode.
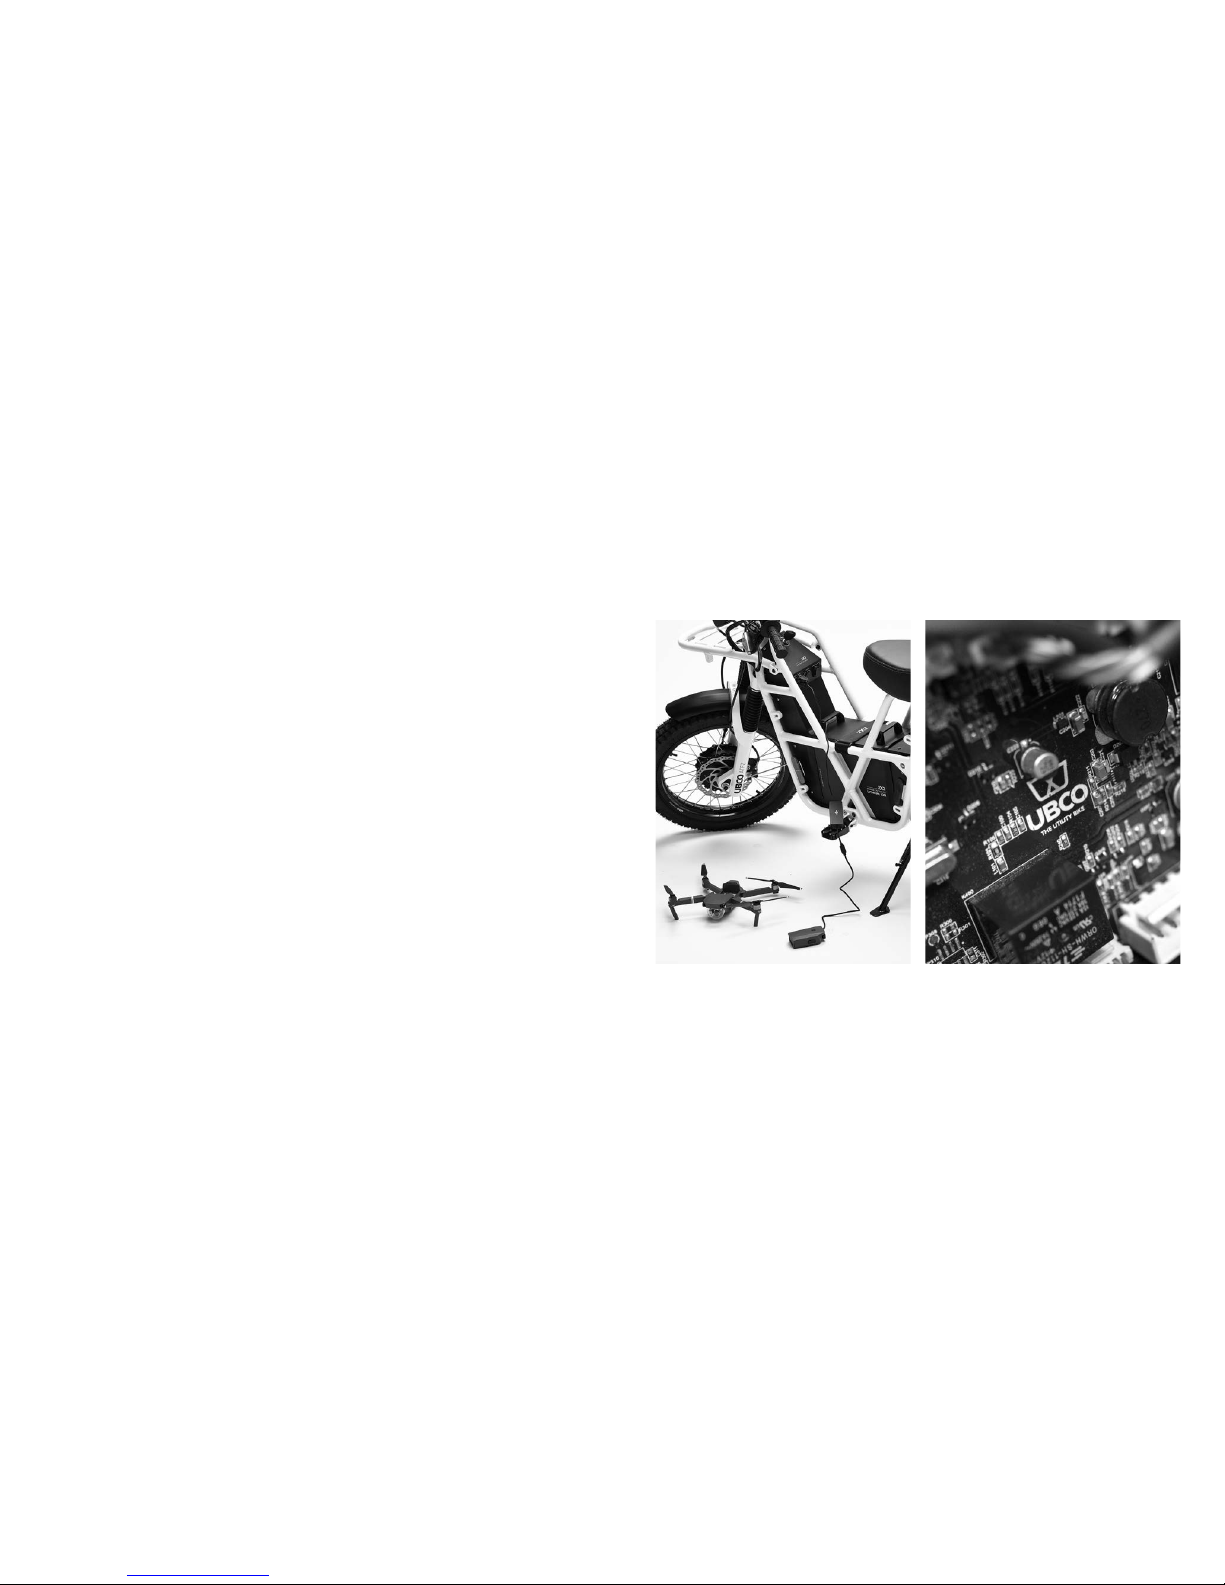
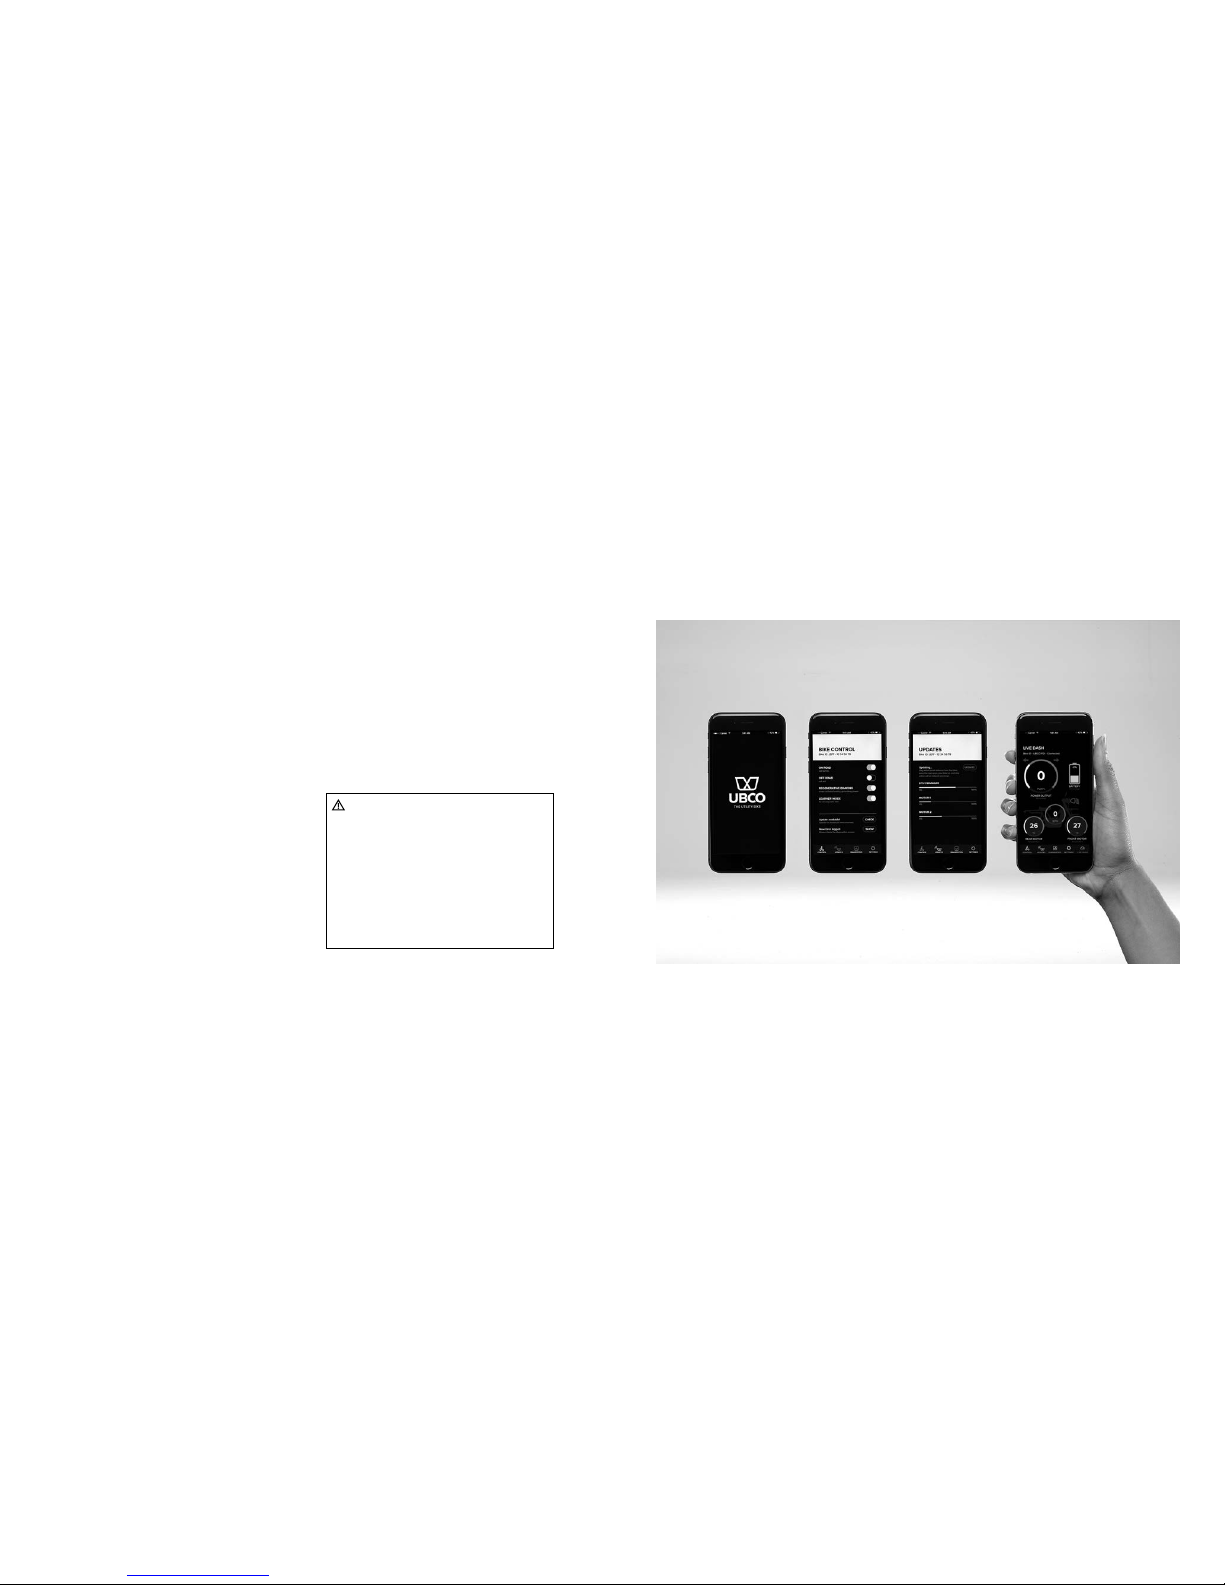
Connectivity and User Input
Not only can the 2×2 charge your USB and 12V
socket devices, but you can now talk to the bike
with your smart phone or other Bluetooth-enabled
devices.
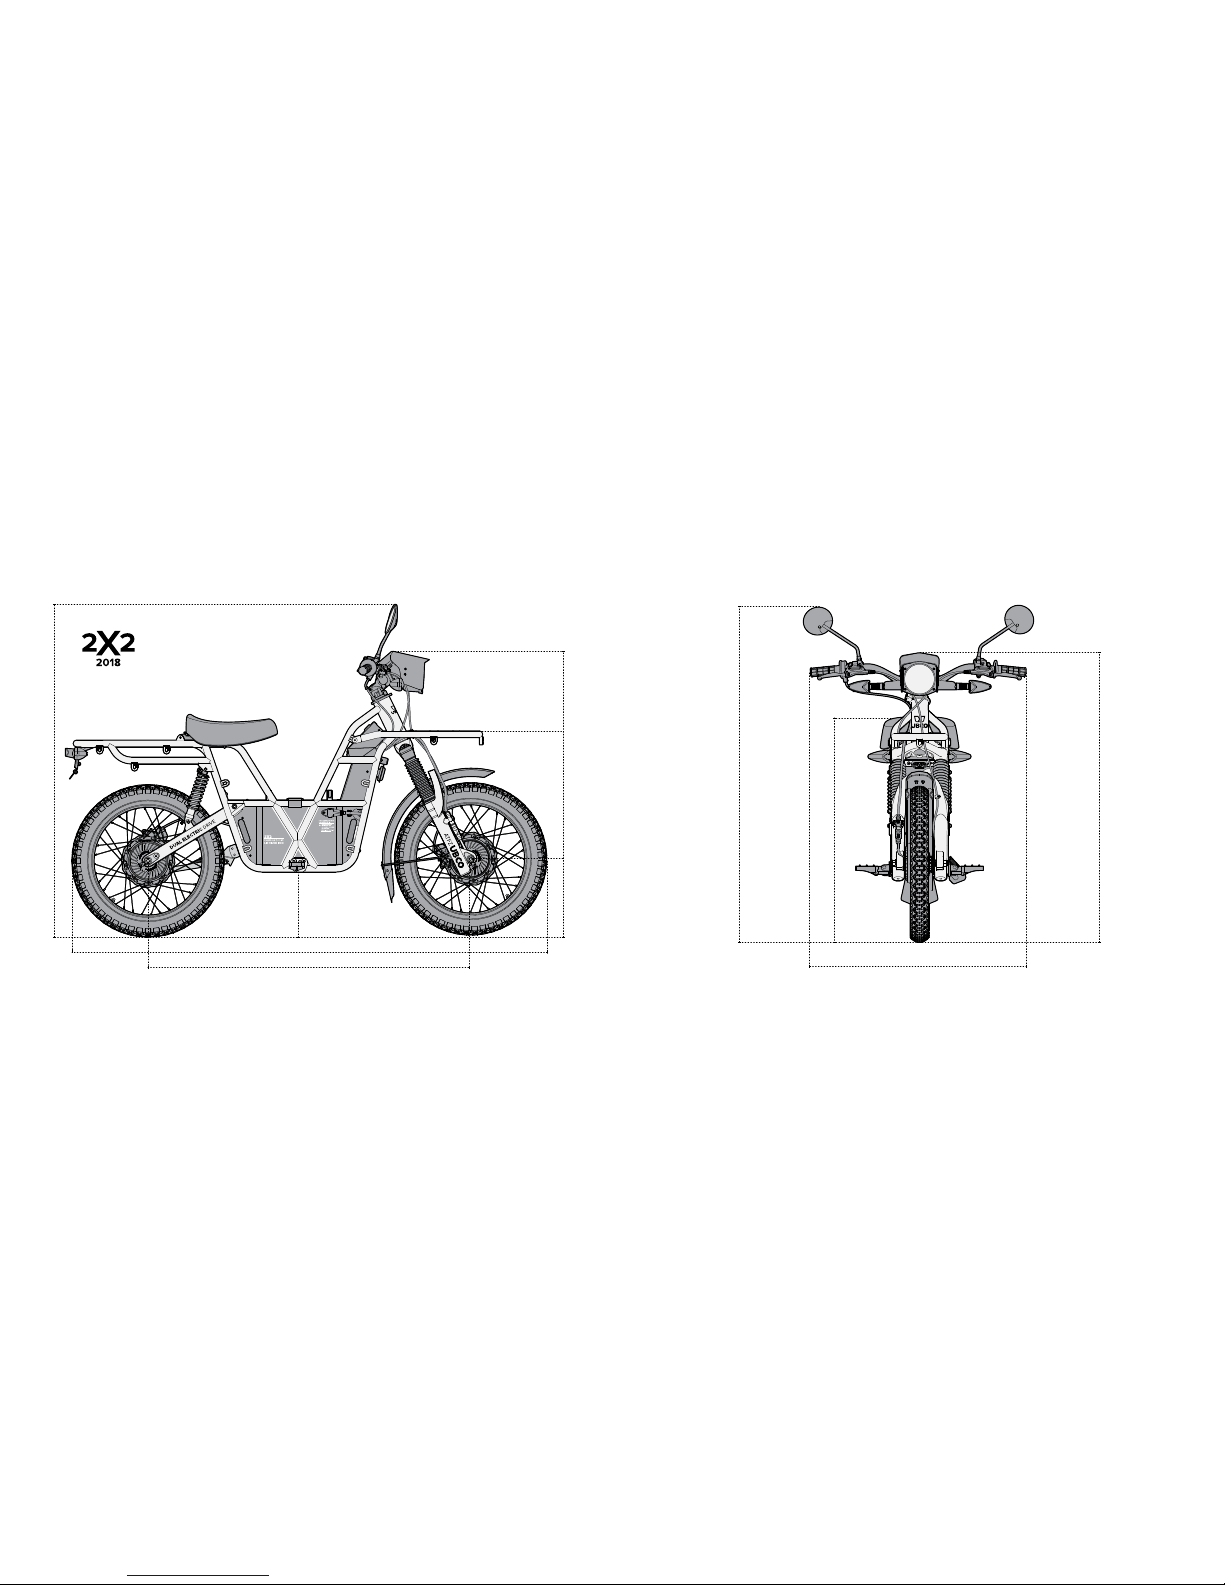
Kickstand
The Ubco 2×2 is equipped with a retractable,
spring loaded kickstand on the left side of the bike.
For more information on the kickstand, see Section
02: Getting Started
Warning: Modifications
We strongly advise that you do not remove
any original equipment or modify the bike
in any way that would change its design
or operation. The 2×2 has been designed
in a way that makes it safe for all users;
changing this intention could result in injury
both to riders and those around you. If you
are to adapt the bike for your needs, use
only the lugs and carriers provided and
follow safety instructions.
*Screens for demonstration only and are subject to change.
Directional indicators, reflectors, rear light, number plate holder and mirrors on the road version only.