manuals.online logo
Brands
  1. Home
  2. •
  3. Brands
  4. •
  5. Ultravation
  6. •
  7. Air Cleaner
  8. •
  9. Ultravation UVPhotomax Signature SS-PTX-1224 Installation instructions

Ultravation UVPhotomax Signature SS-PTX-1224 Installation instructions

5TA2
• One power supply with PCO lamp installed
• Four self tapping screws (for mounting)
• Two wire nuts (used with 24V units only)
• 24v power cord or 120v power cord depending
on model
• UVC warning label
• Replacement lamp log sheet
• Large square mounting gasket
• Warranty card
• Four self-tapping screws
• Two self-tapping lamp screws
• One light shield
• One magnet with mounting screw
• One lamp mounting plate
• One lamp mounting gasket
• One 12” or 17” UVC T3 germicidal lamp
• One lamp cord w/connector
• One “Y” connector
Safety Precautions:
It is recommended that this unit be installed and maintained by a trained technician.
WARNING: UV Hazard. Always protect eyes from ultraviolet light. NEVER look at UV
lamps in operation. Unplug or disconnect power before re-lamping or servicing.
WARNING: Severe eye damage or temporary blindness may occur.
WARNING: DO NOT operate outside of air handler. Mount product in preferred
location rst.
WARNING: No openings should be allowed which would give direct line-of-sight to the UV
light.
Note: In the event of accidental breakage or replacement of the ultraviolet lamp, please
ensure that the lamp is disposed of in accordance with local and state environmental laws
regarding uorescent lamps containing mercury.
Notice:
All wiring inside of the air handler in direct line of site of the UV lamp must be shielded with
aluminum foil tape or equivalent non-combustible material. When installing this unit, select
a mounting location that prevents ultraviolet light exposure to synthetic or other plastic com-
ponents with unknown resistance to ultraviolet light. Ultraviolet light may cause color shi
or structural degradation of plastic internal components.
Maintenance:
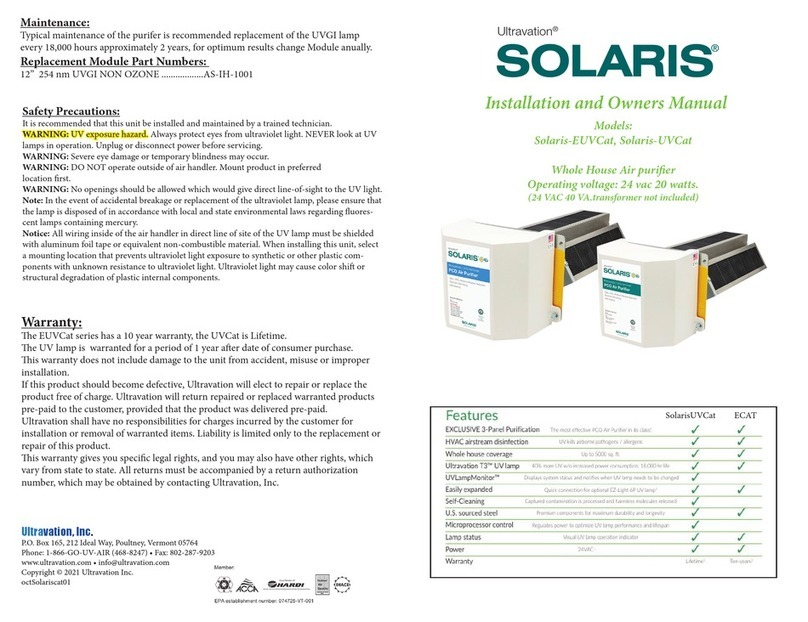
Typical maintenance of the Air Purifying System is recommended replacement of the UVC
lamp every year.
UV lamps undergo a photochemical process during operation. is slowly reduces the
amount of UV light generated to disinfect against airborne pathogens.
Note: For the Signature Series models you must reset the service indicator light aer each
lamp replacement. with the power on press and hold the RESET button for 10 seconds using
a non-metallic implement. e LED should turn blue while the button is depressed. Release
the RESET button, and the LED should remain blue.
Important:
When installing new lamps, ensure that the lamp glass is free from any ngerprints or debris,
as this may alter the path of the UV energy. Use rubbing alcohol and a dry cloth to remove
any surface contaminants.
Replacement Lamp Log Sheet:
Included with the product is a replacement lamp log sheet. It is provided as a label so it can
be attached near the installation to ensure lamp replacements are being tracked.
Replacement Lamp Part Numbers:
UVPhotoMax System............................12” Dual Spectrum Lamp ......................AS-IH-1013
UVCatalyst System..............................12” UVC T3 germicidal Lamp..................AS-IH-1001
Replacement lamps for Remote EZLight Option
12” UVC T3 germicidal Lamp (Provides 2 years increase HVAC eciency)...AS-IH-1001
17” UVC T3 germicidal Lamp (Provides 2 years increase HVAC eciency)...AS-IH-1003
Warranty:
Ultravation® UVPhotoMAX™ and UVCatalyst oers the Ultravation ten year warranty,
Signature Series models have the Utravation lifetime warranty, with the exception of the
ultraviolet lamp(s), which are warranted for a period of one year aer date of consumer
purchase.
is warranty does not include damage to the unit from accident, misuse or improper
installation.
If this product should become defective, Ultravation will elect to repair or replace the
product free of charge. Ultravation will return repaired or replaced warranted products
pre-paid to the customer, provided that the product was delivered pre-paid.
Ultravation shall have no responsibilities for charges incurred by the customer for
installation or removal of warranted items. Liability is limited only to the replacement or
repair of this product.
is warranty gives you specic legal rights, and you may also have other rights, which vary
from state to state. All returns must be accompanied by a return authorization number,
which may be obtained by contacting Ultravation, Inc.
Advanced Oxidation
Air purier
Installation and Owners Manual
UVPhotomax Series
UVCatalyst Series
is manual is for the following models
Operating Operating
Model# Voltage Model# Voltage
SS-PTX-1224 24V SS-UVCatalyst-1224 24V
SS-PTX-1224-12R 24V SS-UVCatalyst-1224-12R 24V
SS-PTX-1224-17R 24V SS-UVCatalyst-1224-17R 24V
SS-PTX-1200 120-240V SS-UVCatalyst-1200 120-240V
SS-PTX-1200-12R 120-240V SS-UVCatalyst-1200-12R 120-240V
SS-PTX-1200-17R 120-240V SS-UVCatalyst-1200-17R 120-240V
PTE-1224 24V UVCatalyst-1224 24V
PTE-1224-12R 24V UVCatalyst-1224-12R 24V
PTE-1224-17R 24V UVCatalyst-1224-17R 24V
PTE-1200 120-240V UVCatalyst-1200 120-240V
PTE-1200-12R 120-240V UVCatalyst-1200-12R 120-240V
PTE-1200-17R 120-240V UVCatalyst-1200-17R 120-240V
Whole House Air Cleaning
Right
Angle
Straight-
rough
Support
Box Style
To further enhance your indoor air quality try an
Ultravation ProgressiveMedia Air Cleaner with your
Advanced Oxidtion Air Purier. We manufacture the
lter frames that house our Progressive Media lters
to the same quality standards as our high
performance lter media. Built with 100% U.S origin,
galvanized steel and powder coat nish, we back all of
our ltration equipment with a ten year waranty.
For more information on Progressive
Media Whole House Air Cleaners go to:
www.ultravation.com
Signature Series
models shown
Step 1. Mechanical installation
1.Determine a location for the oxidation module. Mount the unit on the exit or supply side
of the HVAC system and before the ductwork branches o.
2.Separate the power module from the mounting plate
3.Remove lamp protector used for shipping
purposes. (Fig. 1 PhotoMax only)
Remove protecive gasket from around lamp used for shipping
purposes. Move module to the open position and remove
gasket. (Fig. 2 UVCatalyst only)
4.Mark a 4” round opening (or use the end of the oxidation module to mark the area) on the
air duct and cut the hole needed for the insertion of the advanced oxidation module. Attach
large sguare gasket (supplied) to air duct around 4” opening. Adjust Photon Clarier. (Pho-
tomax only see step 3)
5.Insert the mounting plate / oxidation module into opening and
attach to duct with two supplied self -tapping screws in the lower
le and upper right (only). For UVCatalyst models ensure catalyst
position actuator is in the closed position (as shown g. 3.) Attach
large square gasket (supplied) to air duct around 4” opening. Place
module against ductwork. Fasten module in place with four self-
tapping screws (supplied) in lower and uppermounting positions.
Once installed push in and relocate the catalyst actuators to the
open position (as shown g. 4).is ensures you maxamize the
surface area of titanium infused carbon to allow you to acheive
maximum performance.
6.Place the power module on the unit aligning holes in tabs with
holes in mounting plate (upper le /lower right).
7.Secure the power module to the mounting plate with the remaining
two self-tapping screws.
Step 2. Electrical installation
1. For line voltage models simply plug the 120v cord into the power supply and then into a
proper recepticle follow all applicable local code.
2. 24v models must be connected to a dedicated minimum 40va transformer with supplied
power cord. (Read below)
1. Disconnect power supply before beginning installation to prevent electrical shock or
equipment damage.
2. Connect secondary voltage. Refer to voltage color or terminal coding on transformer for
proper wire combination. On terminal type transformer, be sure that no exposed wire can
come in contact with any terminal.
3. Connect primary voltage. Refer to voltage color coding on transformer for proper wire
combination. See Fig. 1 for connection and installation.
4. Tape or protect all unused exposed wire separatly to avoid a possible electrical short.
5. Check installation and reconnect power supply for proper operation.
Step 3. Adjusting the Photon Clarier
e UVPhotoMAX™ is a universal air purier with a patented
design that provides adjustability to the advanced photo-
catalytic process for a variety of treated space sizes.
When setting up your equipment, adjust the Photon Clarier
Adjuster (under electronics cover) to the appropriate position
based on the square footage of the home or CFM of the air
handler. Fine adjustments may be required depending upon
household living characteristics.
Lamp Replacement Procedure
e UV lamp is shipped installed in the equipment and should
be replaced during an annual service. To replace the UV lamp
follow the steps below:
1. Unplug power cord and remove power module. (See Fig. 1)
2. Note the position of the Photon Clarier and pull adjustment
bar to its full-out position. (See Fig. 2 Photomax only)
3. Remove lamp screws and pull lamp out of oxidation module.
(See Fig. 3)
4. Install new lamp and fasten with lamp screws.
5. Set the Photon Clarier to its noted setting. (Photmax only)
6. Place the power module on the unit and fasten.
7. Plug in power cord.
g. 2
Note: For Signature Series models you must reset the service indicator light aer each lamp
replacement. with the power on press and hold the RESET button for 10 seconds using a
non-metallic implement. e LED should turn blue while the button is depressed. Release
the RESET button, and the LED should remain blue.
Installing EZ-Light 6P
1. Turn o power to system being upgraded by unpluging the power cord from power unit.
2. Remove blank plug by squeezing it from the inside of the electrical enclosure with a pair
of pliers and pushing it out of the enclosure.
3. Disconnect the 6 pin connector in line with the lamp connector.
4. Connect the supplied ‘‘Y’’ connector to the 6 pin connector in the system and connect
the lamp connector into the ‘‘Y’’ connector.
Note:All the connectors are specic to its location and can not be connected incorrectly.
5.Plug the lamp connector fully onto the installed UVCatalyst lamp. Be sure the four
pinholes are orientated properly to the four matching pins on the lamp.
EZ-Light 6P (Option)
Some HVAC equipment can benet from additional UV lamps. e Ultravation Air Purifying
System power supply will operate a second UV lamp to disinfect additional areas inside the
HVAC system such as the blower fan. e EZ-Light 6P is designed specically for second lamp
applications or add odor control capabilities.
Fig. 1
Fig. 2
Open
Position
Fig. 3
Fig. 4
g. 1
g. 3
Ultravation, Inc.
P.O. Box 165, 212 Ideal Way, Poultney, Vermont 05764
Phone: 1-866-GO-UV-AIR (468-8247) • Fax: 802-287-9203
www.ultravation.com • info@ultravation.com
Copyright © 2008-2014 Ultravation Inc.
Made In
USA

This manual suits for next models

23

Other Ultravation Air Cleaner manuals

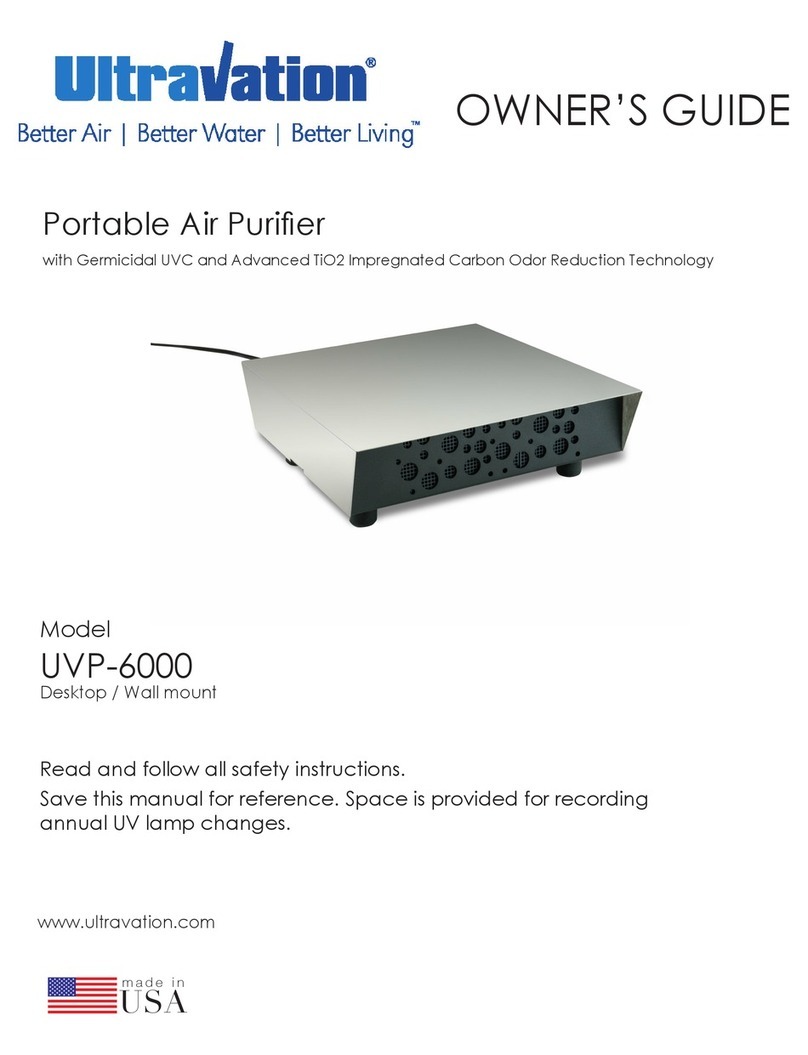
Ultravation UVP-6000 User manual

Ultravation

Ultravation UVP-6000 User manual

Ultravation 90-026 User manual

Ultravation

Ultravation 90-026 User manual

Ultravation UVMatrix EZ Series User manual

Ultravation

Ultravation UVMatrix EZ Series User manual

Ultravation Ultramax EZ Series User manual

Ultravation

Ultravation Ultramax EZ Series User manual

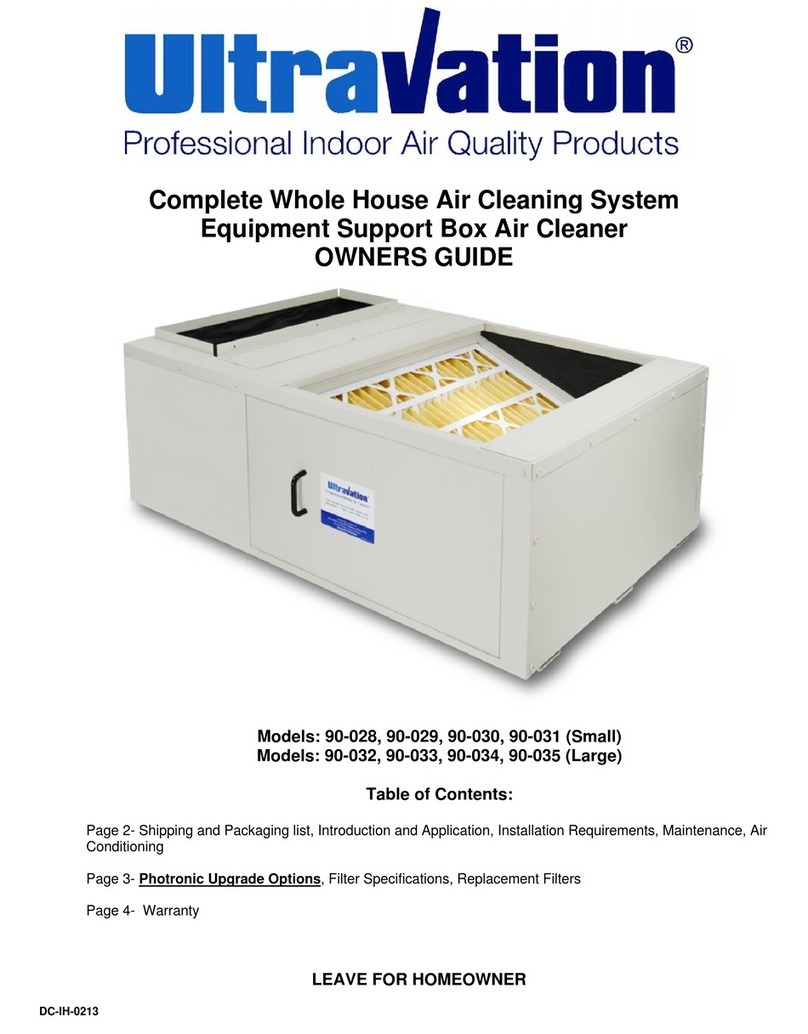
Ultravation 90-028 User manual

Ultravation

Ultravation 90-028 User manual

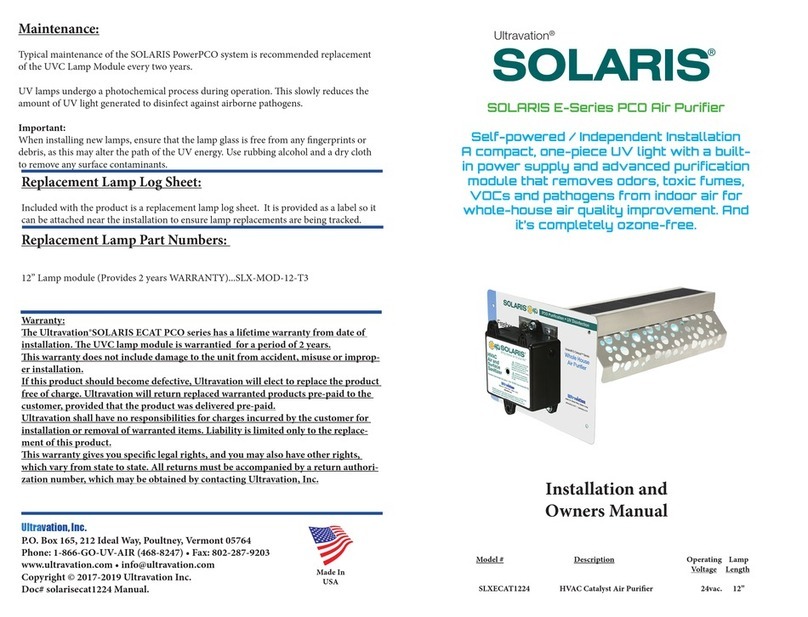
Ultravation SOLARIS E Series Installation instructions

Ultravation

Ultravation SOLARIS E Series Installation instructions

Ultravation SOLARIS-EUVCat Installation instructions

Ultravation

Ultravation SOLARIS-EUVCat Installation instructions

Ultravation Solaris SLX1024 Installation instructions

Ultravation

Ultravation Solaris SLX1024 Installation instructions

Ultravation UVPhotoMAX UVP-4000 User manual

Ultravation

Ultravation UVPhotoMAX UVP-4000 User manual

Ultravation 92-019 650 CFM User manual

Ultravation

Ultravation 92-019 650 CFM User manual

Ultravation Solaris SlXLED Installation instructions

Ultravation

Ultravation Solaris SlXLED Installation instructions

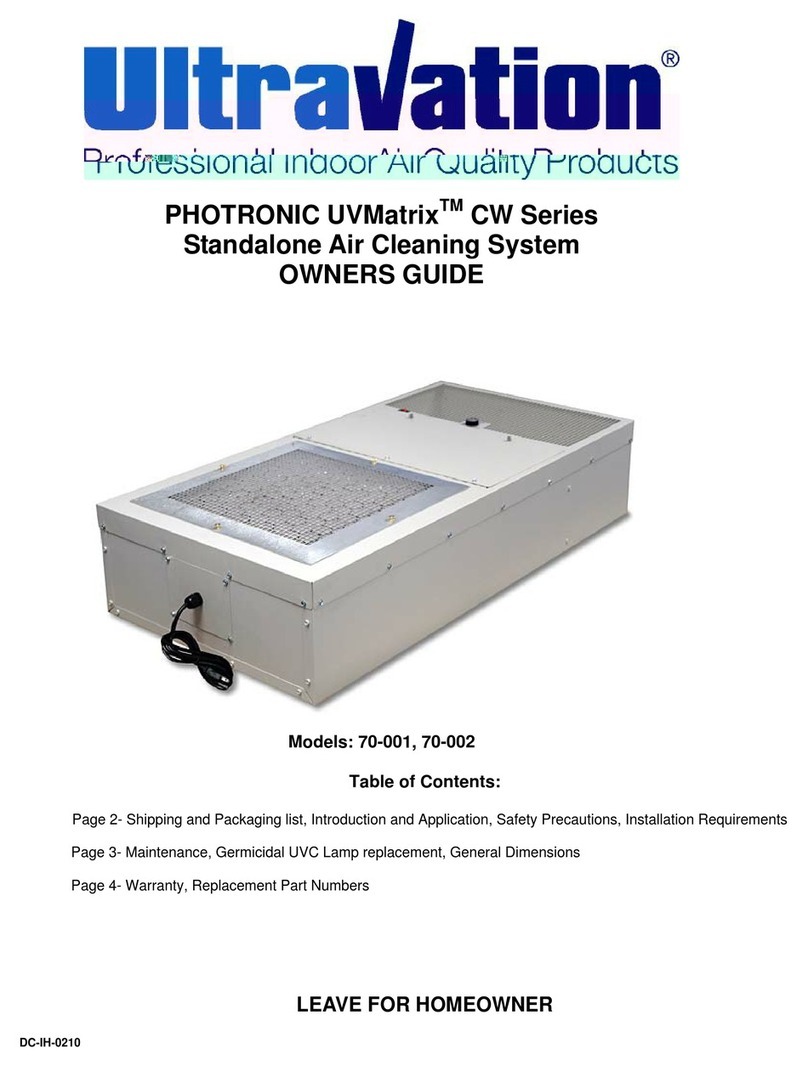
Ultravation PHOTRONIC UVMatrix CW Series User manual

Ultravation

Ultravation PHOTRONIC UVMatrix CW Series User manual

Ultravation 93-002 650 CFM User manual

Ultravation

Ultravation 93-002 650 CFM User manual

Popular Air Cleaner manuals by other brands

SPX Cooling Technologies Hybrid Cooling Towers brochure

SPX Cooling Technologies

SPX Cooling Technologies Hybrid Cooling Towers brochure

Philips 1000i Series user manual

Philips

Philips 1000i Series user manual

Oreck ProShield Purifier user guide

Oreck

Oreck ProShield Purifier user guide

Surgically Clean Air Sur301F Operation manual

Surgically Clean Air

Surgically Clean Air Sur301F Operation manual

Honeywell HEPACLEAN HHT-085-HD Important safety instructions

Honeywell

Honeywell HEPACLEAN HHT-085-HD Important safety instructions

Hamilton Beach TrueAir 04481 Use & care guide

Hamilton Beach

Hamilton Beach TrueAir 04481 Use & care guide

Winix AZNU230-HWE user manual

Winix

Winix AZNU230-HWE user manual

ElectrIQ EAP145H user manual

ElectrIQ

ElectrIQ EAP145H user manual

Emerson White-Rodgers MCS600W owner's manual

Emerson

Emerson White-Rodgers MCS600W owner's manual

GreenTech GT3000 owner's manual

GreenTech

GreenTech GT3000 owner's manual

Hoover WH10100 owner's manual

Hoover

Hoover WH10100 owner's manual

Plasma Ions PS-501TV quick start guide

Plasma Ions

Plasma Ions PS-501TV quick start guide

AllerAir Airtube Exec Technical specifications

AllerAir

AllerAir Airtube Exec Technical specifications

Honeywell QUIETCLEAN HFD230 Series owner's manual

Honeywell

Honeywell QUIETCLEAN HFD230 Series owner's manual

ionmax AIRE user manual

ionmax

ionmax AIRE user manual

Lennox 91W54 Installation

Lennox

Lennox 91W54 Installation

activTek AP3000 user manual

activTek

activTek AP3000 user manual

Sharp KCF31RW Operation manual

Sharp

Sharp KCF31RW Operation manual

manuals.online logo
manuals.online logoBrands
  • About & Mission
  • Contact us
  • Privacy Policy
  • Terms and Conditions

Copyright 2025 Manuals.Online. All Rights Reserved.