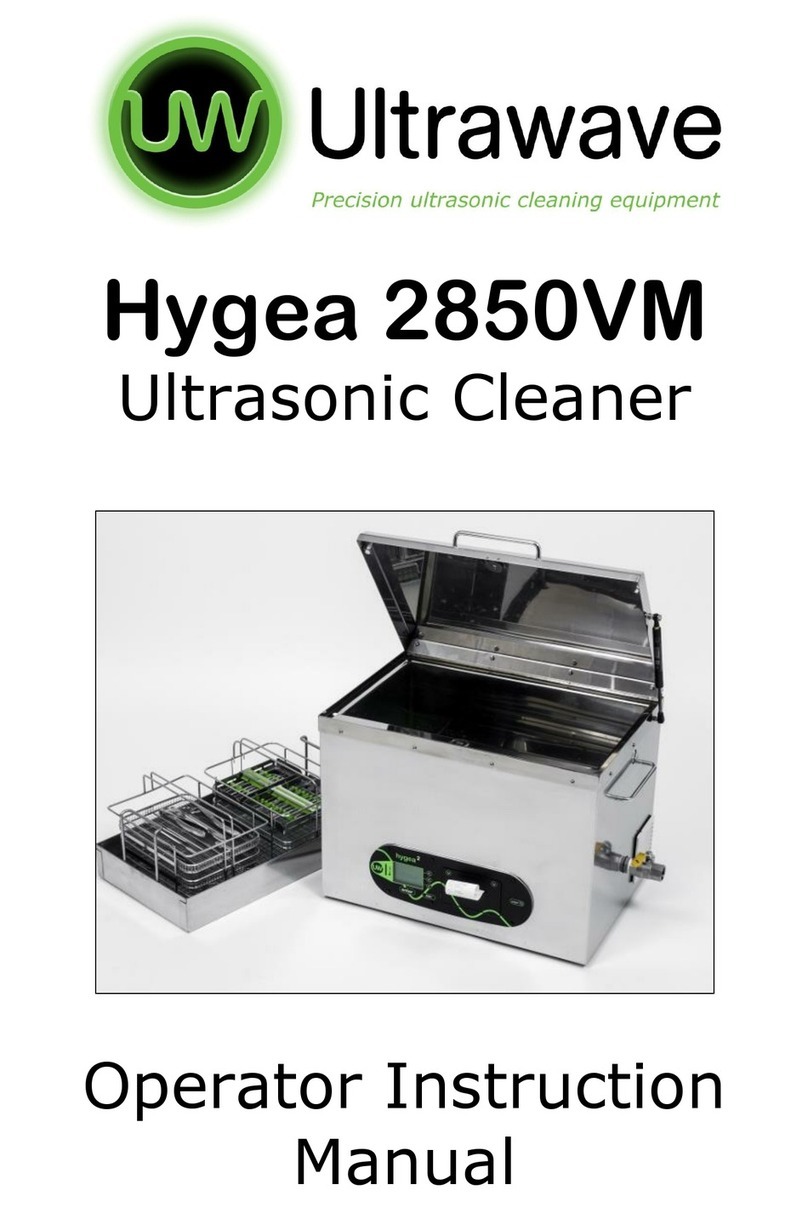
Ultrawave hygea d3ntal Assembly instructions

Operator Instruction Manual

Page 1 of 41
Contents
Important Information ............................................................................................................................. 2
Unpacking Your hygea d3ntal ................................................................................................................. 4
PC et Up ................................................................................................................................................... 5
Machine et Up - Positioning the hygea d3ntal ................................................................................. 6
To Record the aved Data ...................................................................................................................... 8
Wireless U B Dongle Pairing .................................................................................................................. 9
Changing Wireless U B Dongle Pairing Device .................................................................................. 11
Controls & Indicators ............................................................................................................................... 11
Connecting to ervices .......................................................................................................................... 12
Operation ................................................................................................................................................. 13
Degas ........................................................................................................................................................ 14
Process Locking Lid ................................................................................................................................ 15
Preparing to Run a Cycle ....................................................................................................................... 16
During Operation .................................................................................................................................... 17
uccessful Completion of Cycle ........................................................................................................... 17
Basket Draining ....................................................................................................................................... 18
Programming Options ........................................................................................................................... 18
etting the Temperature ....................................................................................................................... 19
etting the Cycle Time ........................................................................................................................... 19
etting the Power Level ....................................................................................................................... 20
etting the Frequency Leap ................................................................................................................. 20
Advanced Menu Options ....................................................................................................................... 21
Using the Ultrawave Cycle Validation oftware ................................................................................ 24
Firmware Updates ..................................................................................................................................25
Periodic Testing and Validation ............................................................................................................ 27
pecifications ......................................................................................................................................... 28
Dimension ................................................................................................................................................ 33
Maintenance / Troubleshooting .......................................................................................................... 34
Cleaning Efficacy .................................................................................................................................... 34
Troubleshooting and Cycle Abort Messages ...................................................................................... 35
Warranty ................................................................................................................................................... 37
WEEE Compliance ................................................................................................................................. 38
Returning Equipment to Ultrawave .................................................................................................... 38
hygea d3ntal Accessories ..................................................................................................................... 39

Page 2 of 41
Important Information
Safety Instructions
•The hygea d3ntal is intended to be used to clean Dental Instruments prior to sterilisation.
•The hygea d3ntal is designed for indoor use by a professional user.
Electrical
•Connect to a 230VAC fully earthed supply via a 3pin plug.
•It can be dangerous to operate an ultrasonic bath without an earth connected.
•The hygea d3ntal machine is rated at 350W maximum.
•The detachable mains lead is rated at 250V 6A. NEVER FIT A LEAD ITH A LO ER
RATING.
•The mains plug is fitted with a 5A fuse. NEVER FIT A FUSE OF A HIGHER RATING.
•The detachable mains lead is the disconnect device and should remain accessible while
the machine is in use.
•Ensure that excess mains cable is stored neatly.
General Use
•Do not place fingers, hands, or other parts of the body in the liquid in the bath when it is
sonicating.
•Fill the hygea d3ntal with cold water. This will ensure that the machine runs its automatic
de-gas cycle (see page 12 for the importance of degassing).
•Always ensure the liquid is above the level sensor when in operation.
•Do not place parts or containers directly on the bottom of the cleaning tank. Always use
a basket or instrument cassette to support items to be cleaned. Not doing so may
damage the bath and invalidate your warranty.
•Care should be taken when operating the bath at temperatures higher than 54°C as
external surfaces may become hot.
•Never use toxic, flammable, acidic, caustic, or corrosive solutions in the bath.
•Do not move the bath when it is full of water.
•Before cleaning, drain the bath. Clean by wiping with a clean non-abrasive cloth.
•The user should familiarise themselves with this user manual before operating the
equipment. afety may be impaired if they are not followed.
•Ultrawave will not be responsible for damage or injury caused by incorrect use of the
equipment.
•should apply to Ultrawave or its agent for advice on cleaning techniques or detergents.
•
IMPORTANT:
Once the cleaning cycle has finished, remove the cleaned items, and rinse
them immediately in clean running water.
Electromagnetic Interference
The hygea d3ntal is designed and built to minimise electromagnetic interference with other
devices. However, if interference is noticed between another device and this product:
•Remove interfering device from room.
•Plug the hygea d3ntal into an isolated circuit.
•Increase separation between ultrasonic and interfering device.
•Contact Ultrawave if interference persists.

Page 3 of 41
Safety Symbols
Danger
Indicates an imminently hazardous situation which will result in
serious or fatal injury. This symbol is used only in the most extreme
conditions.
Caution
Indicates a potentially hazardous situation which may result in
minor or moderate injury. It may also be used to alert against
unsafe practices.
Equipment Alert
Indicates a potentially hazardous situation which could result in equipment
damage.
Shipping Symbols
Proper shipping
orientation
Keep dry
Fragile
Catalogue Number
Date of Manufacture
erial Number
Manufacturer
Transportation / Storage Conditions
Ambient Temperature Range -20°C to +45°C
Relative Humidity 10% to 90% (non-condensing)
Atmospheric Pressure 49.6 kPa to 106.4 kPa

Page 4 of 41
Unpacking Your hygea d3ntal
Check your hygea d3ntal and its carton carefully for any damage. If you find damage, contact
Ultrawave or your supplier immediately.
Parts/Accessories Included with the hygea d3ntal QTY
Three Tier Basket Carrier 1
Instrument Cassettes 2
Basket Tray 2
Basket Clip 1
Lid 1
Hose Connector 1
Drain Hose 1
Power Cable 1
Quick Guide 1
onozyme 3 – 250mL ample Bottle 1
Wireless U B Dongle 1
For additional accessories please visit the Ultrawave website
www.ultrawave.co.uk

Page 5 of 41
PC Set Up
Please check your PC has these minimum system requirements available:
•Windows 7 or above
•2GB RAM
•U B 2.0 Port
Installing the Ultrawave Cycle Validation Software
To download the Ultrawave Cycle Validation oftware for the hygea d3ntal please go to the
URL:
www.ultrawave.co.uk/pages/validation-software
Note: Please ensure that you have user rights to install the software. If not please contact
your network or IT administrator.
1. Click on the download link
2. Once the file has downloaded, right click on the file and select extract all.
3. Follow the prompts until the extraction is complete
4. Open the folder and double click on the .msi file to run and install
Drivers
If the software does not run correctly, please also download the drivers zip file from the URL
above and unpack and install these onto your computer.

Page 6 of 41
Machine Set Up - Positioning the hygea d3ntal
The hygea d3ntal may be positioned on a table or a countertop and should be positioned
within reach of a standard earthed electrical outlet. The label located on the back of the
hygea d3ntal will identify correct power requirements.
The hygea d3ntal must be positioned no more than 15 metres away from the PC connected to
the wireless U B dongle to ensure that cycle validation data is received reliably.
The hygea d3ntal relies on low power radio waves to transmit validation data,
therefore it can be susceptible to interference. Please ensure all radio interference
is kept to a minimum within the vicinity of the unit.
If connection to the PC dongle is interrupted, your hygea d3ntal will store the cycle
validation data in its internal memory. Your hygea d3ntal will display a warning after
500 cycles, as the internal memory fills up. If this occurs, please ensure that
connection to the PC dongle is re-established as soon as possible to ensure records
are sent to the PC. When the internal memory is full, your hygea d3ntal will not allow
any more cleaning cycles to be run to ensure no loss of cycle validation data.

Page 7 of 41
Positioning the hygea d3ntal (cont)
Please see the below tips for positioning of the hygea d3ntal:

Page 8 of 41
To Record the Saved Data
1. Always ensure the U B dongle is inserted into a PC or Windows tablet and the
Validation uite application is on, prior to turning the hygea d3ntal power on. Once
the power is on, please ensure the following screen is observed:
2. The hygea d3ntal will then scan and find the U B Dongle
3. If the U B is found the following screen will be displayed.
4. If any cycle validation records are stored within the hygea d3ntal these will then be
transferred to the PC at the end of each cycle.
5. The hygea d3ntal is now ready to use and will store data.

Page 9 of 41
Failed Connection
If a connection is not found when following steps 1-3 above, the following screen will be
displayed:
If this occurs, please refer to the machine setup section on page 7, and also confirm the
wireless U B dongle pairing described in the following section.
ireless USB Dongle Pairing
Each machine should already be pre-paired with the dongle supplied, if not then ensure the
Validation uite is open on your PC or tablet with the dongle connected into it.
1. Power up the machine and the following screens are displayed:
2. Press the arrow key to confirm YE , and the following screens are displayed:

Page 10 of 41
If there are multiple machines in the practice, then multiple dongles may be found.
3. The last six digits of the dongle(s) ID is displayed on the machine. Please check on your
PC Validation uite, as the dongle ID is displayed in the bottom left-hand corner. If
multiple dongles are displayed, then select the correct one by using the < keys on the
controls of the machine. Once the correct one is selected then press the Menu key and
the machine should then display:
4. A request is then sent to your PC, press the ACCEPT key as displayed below and the
pairing is complete:
Please note that this must be done promptly, or it will time out and you will have to start the
pairing from the start again.

Page 11 of 41
Changing ireless USB Dongle Pairing Device
Ensure the Validation uite is open on your PC or Windows tablet with the dongle you want to
pair with is connected into it.
Power up the machine whilst holding the
key, the screen below is displayed. Follow the
same instructions as the previous section on Dongle Pairing.
Controls & Indicators
The different keys perform the following functions:
KEY 1: tarts and ends the ultrasonic cycle
KEY 2: Menu – croll through the menu
KEY 3: Up/On/Yes – Adjust the settings in the options menu
KEY 4: Down/Off/No – Adjust the settings in the options menu

Page 12 of 41
Connecting to Services
Connecting the Drain Assembly
1. crew the hose connector into the drain valve at the rear of the hygea d3ntal.
2. Locate the hygea d3ntal close to a drain or sink and within easy reach of a standard
earthed electrical outlet. Do not place on a circuit which could become overloaded.
3. Connect one end of the drain hose to the hose connector and locate the other end over
a drain or sink. horten hose if required.
4. Connect the power cord into a suitable outlet.
5. Ensure that the power plug and the switch are accessible.
6. Make sure the drain valve is closed.
Connecting the Power Cord
1. Plug the power cord into the main power connection located on the back of your unit
2. Ensure your hygea d3ntal ultrasonic cleaner is plugged into a 230 VAC fully earthed
outlet.

Page 13 of 41
Operation
Before Operating the hygea d3ntal
1. Pour cold water into the bath until the level reaches the ‘FILL TO’ line (A).
2. Add 40mL of onozyme 3 (B).
3. Place the lid on top of the hygea d3ntal.
4. Turn on the hygea d3ntal via the switch at the rear, just above the power cord.
The switch will then illuminate.
5. Run degas cycle.
A B
Equipment Alert
If the liquid level is too low, i.e., below the ‘Fill To’ line. You will not be able to
run a cycle until the tank is properly filled. The following warning will be
displayed.
Sonozyme 3
onozyme 3 is the recommended detergent to be used with the hygea d3ntal. As the detergent
is an essential part of the cleaning process a reminder screen will be displayed each time the
liquid falls below the liquid level sensor or when the hygea d3ntal is switched on.

Page 14 of 41
Degas
•A degas cycle will allow optimum ultrasonic activity by removing gases present in the
ordinary tap water.
•The time needed to degas the liquid will vary depending on the amount of gas present
in the liquid.
•A degas cycle of 5 to 10 minutes is recommended.
Running a Degas Cycle
1. If the liquid falls below the Liquid Level ensor, or if new liquid has been added or
changed, the option to degas your hygea d3ntal will appear.
2. Prior to starting the degas cycle, remove all instruments and make sure the unit is filled
with liquid and the required dose of onozyme 3.
3. Place the lid on the hygea d3ntal.
4. elect the < YE key to start the degas cycle. The screen below will display.
5. Wait 5 to 10 minutes.
6. Press the
key KIP to end the degas cycle. The degas cycle will NOT automatically
stop when degassing has completed.

Page 15 of 41
Process Locking Lid
•The hygea d3ntal is fitted with lid sensors to prevent cycle interruption. The cycle will
abort, and the operator will be notified should the cycle be interrupted by lifting the lid.
•A cycle cannot be started without the lid in place. The following screen will be
displayed if the lid is not in place.
•Once the lid is in place, the screen will alternate with either of the following displays
giving a water temperature status.
OR

Page 16 of 41
Preparing to Run a Cycle
1. Place instruments to be cleaned in the three-tier basket carrier and use the clip to
secure the basket trays.
2. Insert basket carrier into the hygea d3ntal.
3. Check the bath for the required level of water and onozyme 3.
4. Place the lid on the hygea d3ntal prior to starting the cycle.
5. The hygea d3ntal is now ready for use. Press the
key TART to begin the cleaning
cycle.
Note: The hygea d3ntal cleaning cycle time has been factory pre-set to 10 minutes.
ome instruments may take longer or shorter to clean effectively depending on the level of
contamination. To adjust the cycle time, refer to ‘adjusting the cycle time’ section.
Caution
Always rinse and inspect your instruments to ensure all debris has been removed prior to
sterilisation.
Equipment Alert
Heating the water in the bath will aid the cleaning process. When cleaning surgical
instruments, it is recommended to limit the temperature to 40°C. This will avoid
the coagulation of protein and other bio burden which could then bake onto the
instruments.

Page 17 of 41
During Operation
•The time set by the operator will be displayed and will count down as the cycle
continues.
•The temperature displayed is the actual liquid temperature and the default is 30°C, if
flashing this indicates the liquid is heating up.
•The operator can abort the cycle at any time by pressing the
key.
•If the temperature reaches 50°C the hygea d3ntal is too hot. The hygea d3ntal will
automatically abort the cycle and you will receive an ABORT - OVER TEMP message.
(refer to the troubleshooting).
Successful Completion of Cycle
1.
2. On successful completion of the cycle, the below message will display until the
operator presses OK.
3. Remove the basket from the bath, rinse and inspect after cleaning.
4. Your hygea d3ntal remembers the set parameters from the previous cycle. If the
operator wants to run the same cycle press OK. It is not necessary to run through the
menu each time.
5. Your hygea d3ntal is factory set to run a 10-minute cycle.

Page 18 of 41
Basket Draining
The lid can be inverted, and the basket placed on top to catch excess liquid.
Programming Options
The following parameters can be adjusted (Temperature, Cycle Time, Power Level, Leap). Your
hygea d3ntal remembers the set parameters from the previous cycle.
1. To access the options menu and scroll through the various changeable parameters,
press the MENU key, when the main screen below is displayed.
2. To scroll through the menu, press the MENU button.
3. When you exit the Programming Options, DO NOT S ITCH THE MACHINE OFF; you
must start a cycle for the new settings to be saved. Once saved, the new settings will
be used each time the machine is switched on.

Page 19 of 41
Setting the Temperature
Your hygea d3ntal is fitted with a thermostat and heaters to ensure the temperature of the
liquid is maintained at the set temperature. The heaters will switch on if the cleaning liquid
temperature is lower than the set temperature.
1. Your hygea d3ntal enables the user to set the desired temperature of the cleaning
liquid between 20°C and 40°C.
2. As a safety feature, the heaters, and ultrasonics in your hygea d3ntal will only operate
when the bath is full of liquid.
3. Use the + and - buttons to accurately set the desired temperature.
4. When the desired temperature has been selected, use the MENU key to move to the
next screen.
During normal operation, ultrasonic energy will heat the cleaning liquid by up to 15°C per hour.
Your hygea d3ntal cannot cool the cleaning liquid. If the liquid temperature becomes too hot,
you must either let it cool down or refill the bath with cooler water.
Setting the Cycle Time
Your hygea d3ntal enables the user to set the cycle time from 1 minute up to 99 minutes. The
factory pre-set cycle time is 10 minutes.
1. Press the MENU button and the TIME screen below will appear.
2. Use the < + and < - keys to increase or decrease the desired cycle time.
3. When the desired cycle time has been selected, use the MENU key to move to the next
screen, or press the
key to go back to the TART screen.
Other manuals for hygea d3ntal
1
Table of contents
Other Ultrawave Ultrasonic Jewelry Cleaner manuals

Ultrawave
Ultrawave QS Series User manual

Ultrawave
Ultrawave Q Series Assembly instructions

Ultrawave
Ultrawave U Series Assembly instructions

Ultrawave
Ultrawave Q Series User manual

Ultrawave
Ultrawave Qi Series Assembly instructions

Ultrawave
Ultrawave Qi Series Assembly instructions

Ultrawave
Ultrawave U50 Assembly instructions

Ultrawave
Ultrawave Hygea 2850VM Assembly instructions

Ultrawave
Ultrawave Hygea 6427 User manual

Ultrawave
Ultrawave IND Series Assembly instructions