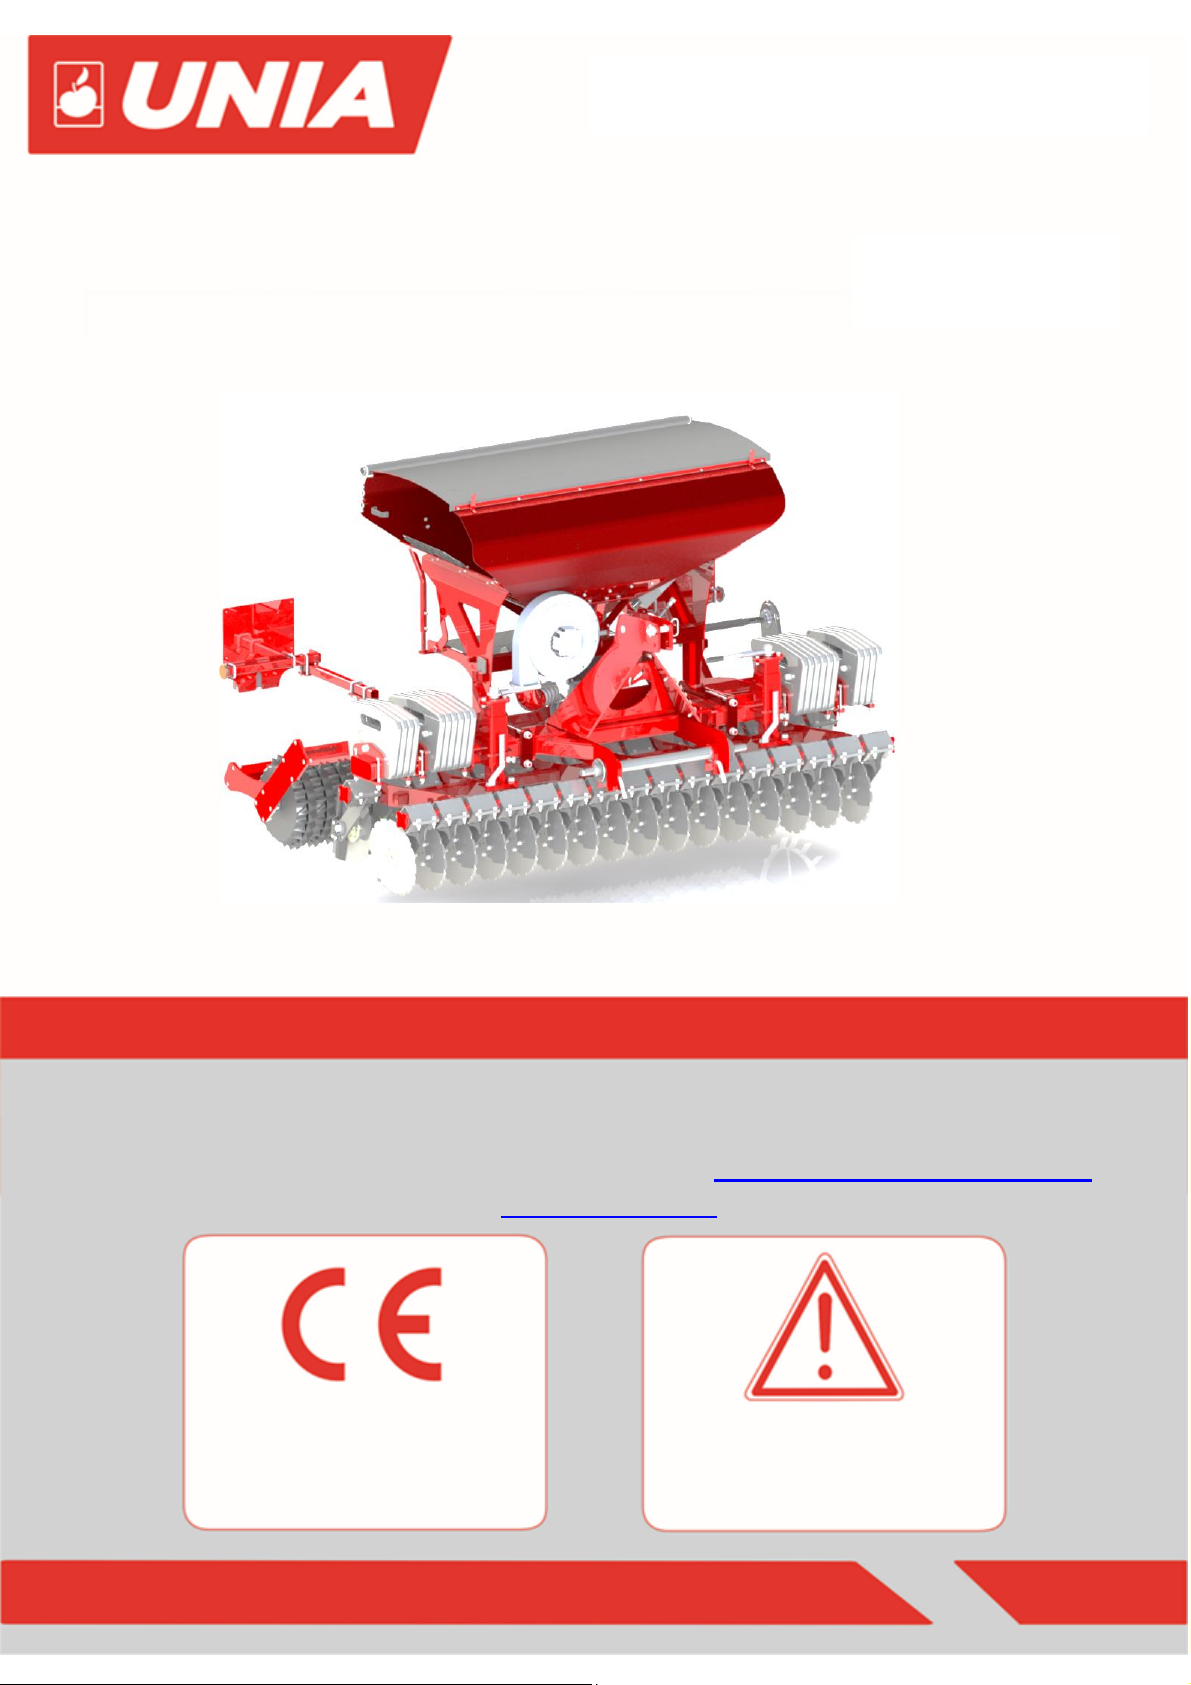
FENIX G Operating manual
- page 6 -
CONTENTS
I. PREFACE ................................................................................................................................................... 8
II. GENERAL................................................................................................................................................... 8
III. WARNING SIGNS .................................................................................................................................... 8
IV. GENERAL GUIDELINES ON SAFETY AND ACCIDENTS PREVENTION........................................................... 9
V. NOISE AND VIBRATIONS.......................................................................................................................... 10
VI. HYDRAULICS......................................................................................................................................... 10
VII. MAINTENANCE..................................................................................................................................... 10
VIII. RESTRICTIONS ON TRAVELING ON PUBLIC ROADS ................................................................................ 11
IX. PREPARATION FOR THE FIRST START-UP............................................................................................... 12
X. GENERAL AND COMMERCIAL INFORMATION. REPAIR DURING THE WARRANTY PERIOD. ........................ 13
XI. USER MANUAL ..................................................................................................................................... 14
1. INTENDED USE.................................................................................................................................. 14
1.1. Technical data ............................................................................................................................... 15
2. CONSTRUCTION AND OPERATION..................................................................................................... 15
2.1. Main Assemblies of the seed drill. ................................................................................................. 15
3. USING THE MACHINE........................................................................................................................ 17
3.1. Loading and Unloading.................................................................................................................. 17
3.2. Connecting and Setting the Blower................................................................................................ 17
3.3. Operation and Setting of Metering Unit......................................................................................... 19
3.3.1. Calibration test on the FENIX G seed drill. .................................................................................. 19
3.3.2. Checks during sowing................................................................................................................. 21
3.3.3. Adjustment of seed Amount ...................................................................................................... 22
3.3.4. Operation of the Seed Dispenser................................................................................................ 23
3.4. Filling and Emptying the Seed Hopper and Dispenser. ................................................................... 25
3.5. Track markers................................................................................................................................... 26
3.6. The depth of the cultivation. ......................................................................................................... 27
3.7. Work with the unit and operating conditions................................................................................. 27
4. Daily Maintenance............................................................................................................................ 28
4.1. Maintenance Intervals................................................................................................................... 28
4.2. Storage.......................................................................................................................................... 29
4.3. Lubrication .................................................................................................................................... 29
4.4. Hydraulic System Maintenance and Use ........................................................................................ 30
4.5. Lighting Installation. ......................................................................................................................... 32
5. Disassembly and decommissioning. .................................................................................................. 32