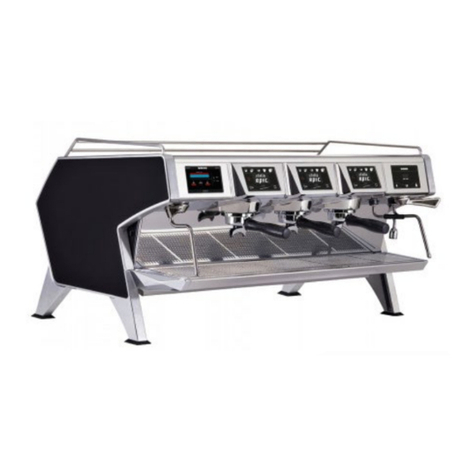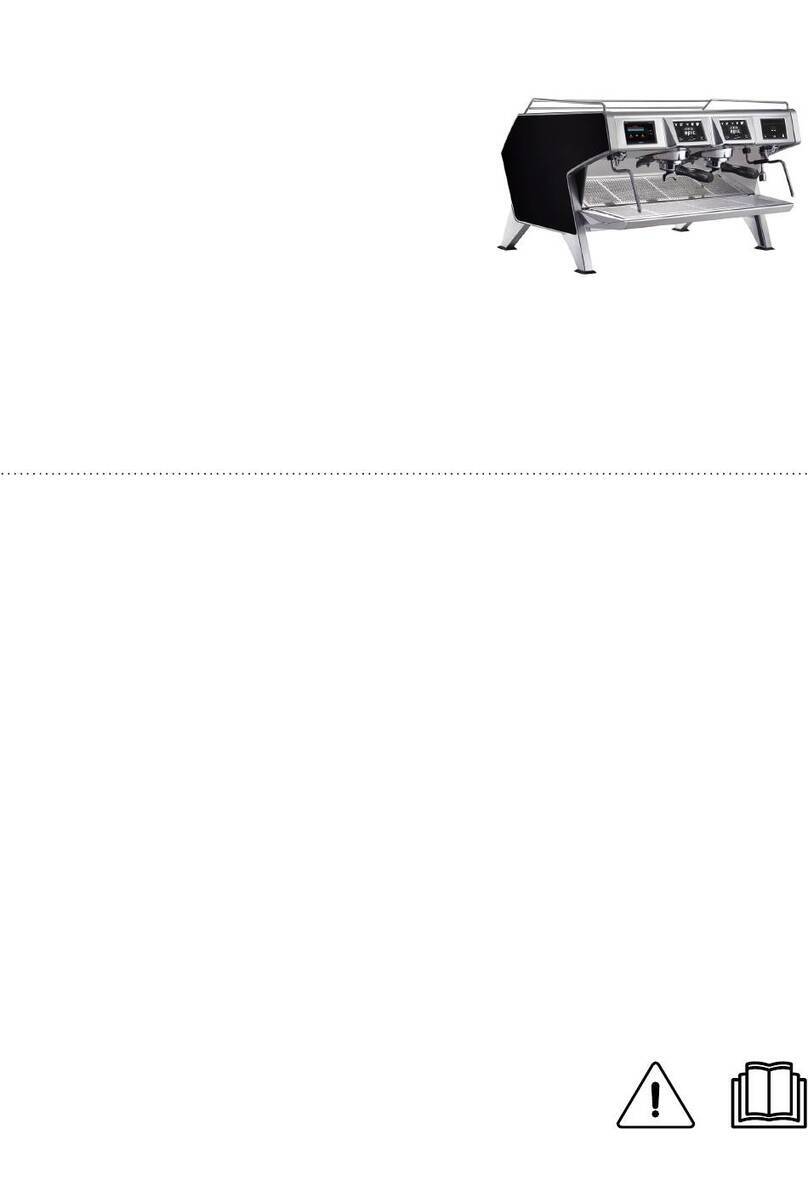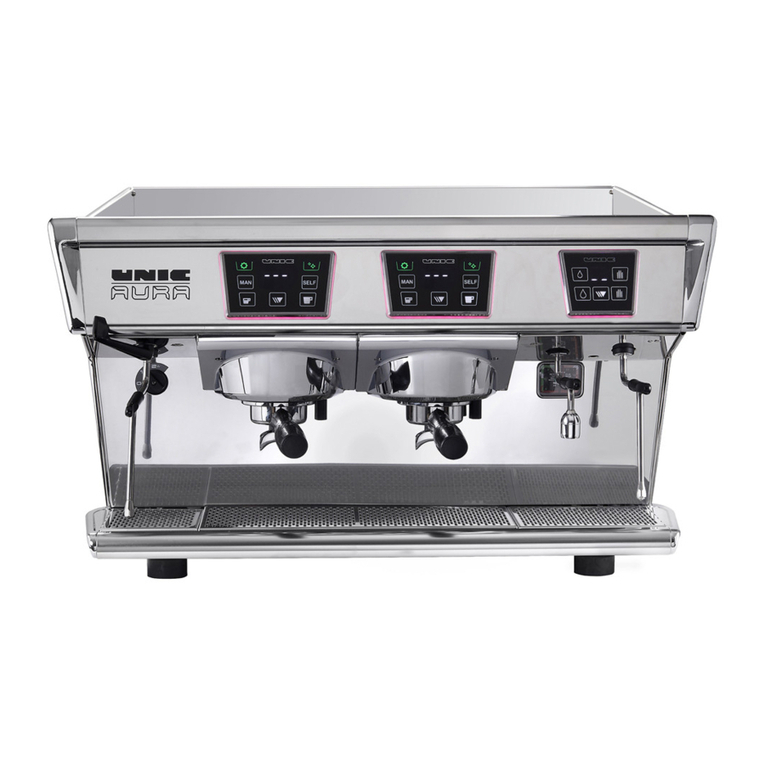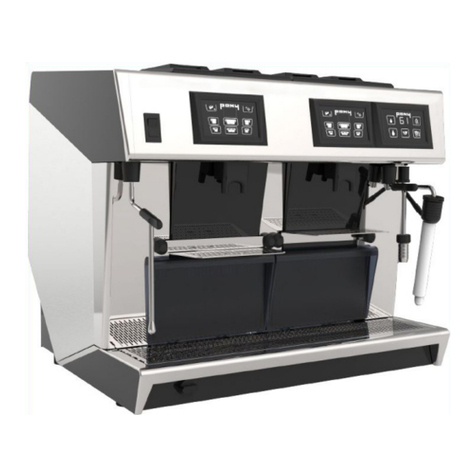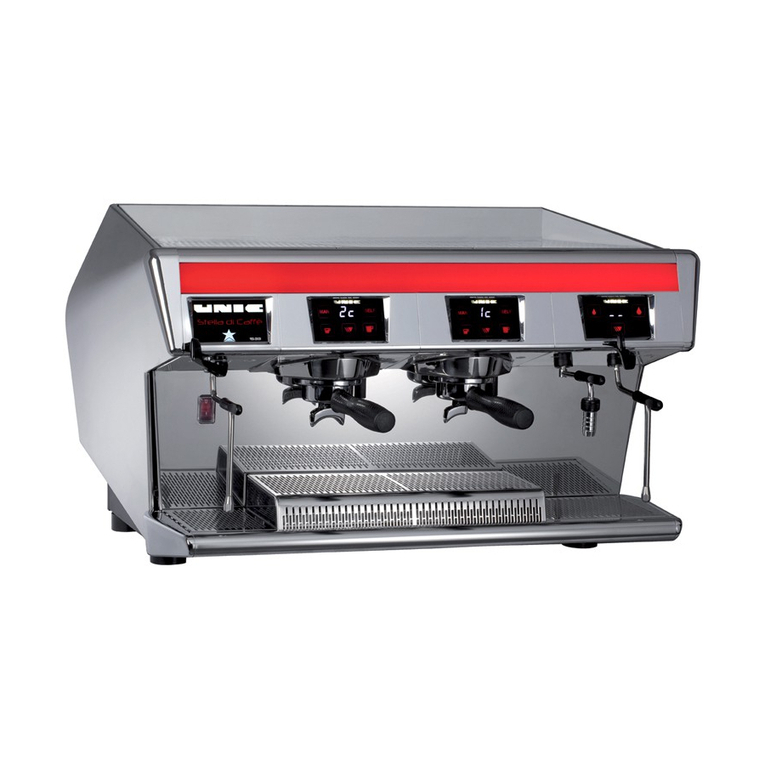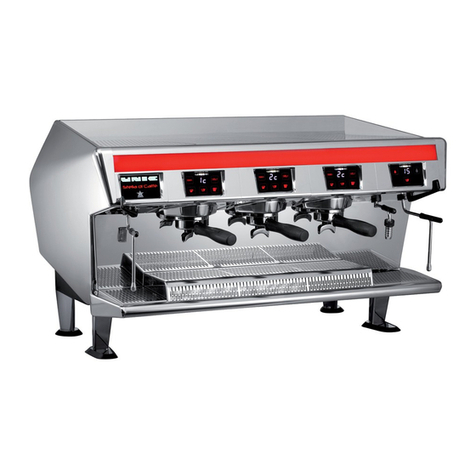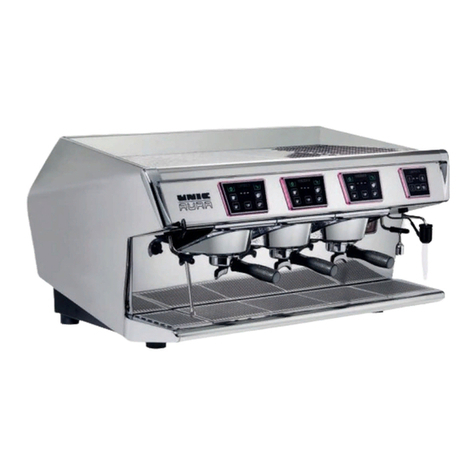
◊ PRÉSENTATION OF THE STELLA EPIC
The Stella di Caè features a water boiler for each group. In addition, a
large separate boiler provides an ample supply of steam.
Almost all parameters of the machine can be viewed and adjusted simply
and intuitively from the touch screen.
◊ PRÉPARATION OF THE MACHINE
The machine is delivered in a cardboard box and is screwed onto a
wooden pallet.
¾Unpacking the machine
- Cut the strapping.
- Open the crate and take out the box containing the accessories.
- Unscrew the nuts securing the machine to the pallet.
- Separate the cardboard box from the pallet.
- Remove the machine from the pallet and place it on wooden blocks.
- Remove the transport screws and washers.
¾Preparing the site and installing the machine
- Position the machine in its nal location, and level it with rubber wash-
ers if necessary.
- The machine must be installed on a at surface.
- It is necessary to leave a space of 5 cm at the back. Do not obstruct
the air intakes provided on the top of the machine.
- An earthed electric socket corresponding with the characteristics of
the machine and a water supply are enough.
- The canopies are put in place after the settings have been done.
- The machine must not operate without its feet.
◊ WATER CONNECTION
Water softener essential above 5° KH
Water supply:
- Pressure: 0 - 8 bars (0.1MPa - 0.8 MPa).
- Union: 3/8 female gas (male union on the machine).
- Tube: internal diameter 8 mm minimum.
- Provide a shut-o tap.
Work on the right side of the machine:
Unscrew the bolt (ref. NM096) at top at the cup heater.
Slide the side toward the back.
Screw the water inlet tube to the union in the machine (photo opposite).
Draining:
- Union: Ø18 mm (female on the machine).
- Tube: internal diameter 12 mm minimum.
The drain tube is supplied tted on the machine. It is held by an adjust-
able Rilsan collar. Dislodge the tube from the collar.
Then connect the other end of the drain tube to a waste water drain by
ensuring that no adverse slope interferes with good outow.
Drain pipe are mounted and delivered on the machine.
Connect the other end of the drain pipe to a waste water drain while making sure that there are no reverse slopes
to hinder the ow.
◊ ELECTRIC CONNECTION
CAUTION: The machine must be connected to a xed wiring with an all-pole disconnector.
The machine is delivered with a cable consisting of 5 wires.
- Put the all-pole disconnector on “0” before any intervention.
- Make sure that the voltage, frequency and power values marked on the machine data plate are in conformity
with the electric network mains
- Make sure that the machine connection matches the available voltage supply (see wiring diagrams hereunder).
If necessary, modify by moving bridges on the terminal block (left side of the machine)
CAUTION: for connection to 230V with a 5 cable core, wires situated at the end of the cable must be correctly
coupled.
- 230V single phase: blue and black wires together, brown and grey wires together. Be aware with the amperage
(32A).
- 230V three phase: brown and grey wires together + there is no neutral so the blue wire must be connected to
a phase.
¾ADAPTATION OF TRANSFORMER TO ACCOMMODATE INCOMMING VOLTAGE
The machine is equipped with a multi-voltage transformer to ensure correct supply voltage to the electronics.
The machine is set in the factory according to the destination country.
IN ALL CASES THE GREEN/YELLOW WIRE MUST BE GROUNDED
If it is necessary to change the factory setting, only the jumpers should be repositioned: no wiring should be
moved.
◊ STARTING-UP
When the power is switched on the machine performs an initialisation cycle that checks all the components; the
starting up time is approximately 45sec.
¾Filling the boilers
As soon as the power is switched on the boilers ll automatically.
Remember to turn on the water stop valve.
♦ Steam boiler
A safety function is provided in case the boiler is not lled in within 3 minutes: the lling solenoid valve and the
pump switch o.
In all cases:
Check the water supply to the machine
Switch the machine o and on again: switch the main isolation switch to 0 and then back to 1
Filling starts again
♦ Group boilers
A small amount of water should ow out of each group.
If not, the light bar above the faulty group ashes:
Check the water supply to the machine
Switch the machine o and on again: switch the main isolation switch to 0 and then back to 1
Filling starts again
Examples :
Safety advice
This device is intended to be used only for its specic
use.
The manufacturer disclaims any liability for damage
caused by abnormal use or abuse.
Children 8 years of age or older and persons with
reduced physical, mental or sensory abilities, or lack of
experience and skill may use this device, if supervised by
a qualied person, or they have received the instructions
for use and security necessary to understand the risks
involved.
Supervise children to make sure they do not play with
the appliance and they can’t make the cleaning &
maintenance of the machine.
Do not leave the packaging elements within reach of
children. These elements are potentially a source of
danger.
The installation must be done by a qualied technician
and following local and national regulations. He is the
only one to be authorized to access the internal parts of
the device for maintenance and repair.
Use only the technical and spare parts manuals
for proper functioning of the machine, and avoid
compromising safety.
Access to the service area is limited to persons with the
necessary knowledge of safety and hygiene as well as
practical experience of the device.
Leave enough free space around the machine to facilitate
its use and to preform any maintenance operations.
The device must not be:
- exposed to the elements of the external environment
or placed in damp places,
- exposed to a water jet or splashing.
- installed in areas where the jets or high pressure
cleaners are used.
The device must be:
- placed on a stable, level and horizontal surface
- used at an ambient temperature of 5°C to 35°C (41°F
- 95°F), (if it is stored at an ambient temperature below
5°C (41°F) the water circuit (boiler-piping) must be
drained.)
- if the device freezes, wait 24 hours at a minimum
temperature of 10°C (50°F) before restarting the device.
Before connecting the power and water supplies, check
that the electrical and water network are in accordance
with the technical information plate of the device.
The power supply must be provided with the following
safety features: power switch which completely isolates
the machine from the mains (gap between contacts of
at least 3 mm), ecient earthing and an eective circuit
breaker for protection against earthing leaks; section of
the conductors appropriate for a power capacity.
Before connecting or disconnecting the power cable,
switch the main switch onto position 0. If the power
supply cable is damaged, it must be replaced by the
manufacturer, by its after-sales service technician or
similarly qualied persons, to avoid any danger.
For electrical safety, make sure that the device is
properly earthed.
The manufacturer disclaims any liability for damage
caused by improper earthing.
The device must be connected to a water network with
a pressure of 1 to 8 bar (0.1 to 0.8 MPa) and a tap
readily accessible must be tted in front of the water
supply tube. The device is to be installed with adequate
backow protection to comply with applicable federal
state and local codes.
In case of emergency (re, surge, abnormal noise, etc.
the rst thing to do is to cut o the current and close the
water tap.
Be careful not to obstruct the air inlets of the machine
with towels or other objects.
Beware of hot surfaces such as cup heaters, the unit
heads and the hot water and steam outputs.
Never install containers lled with liquid on the top of
the machine.
Beware of jets of hot water or steam.
The machine should be descaled only by a qualied
technician.
