10 SSK 3.1 | Version 1.07
Care, Maintenance and Repair
Before operation, for the most diverse requirements
various settings must be made for the problem-freel
operation of the sand blasting cabin.
Proper functioning depends on various factors. On the
one hand, a clean and dry abrasive and free lines are an
important prerequisite (operating pressure as in the tech-
nical data). On the other hand, it depends on which
workpieces are to be processed with which abrasive,
because each workpiece and abrasive has different pro-
perties (hardness, grain size, weight, aggressiveness).
The blasting media (e.g., normal, mixed, noble
corundum, crushed slag, glass beads, blasting balls,
etc.) are offered in various grain sizes.
Due to these different parameters, different settings
must be made to ensure proper functioning of the
sand blasting cabin.
djustment of the blowgun
The generated negative pressure in the blowgun can be
adjusted by the Screwing depth of the component [pos.
7], if the lock nut [Pos. 5] and release the air pressure
connection [Pos. 8].
Fig. 5: Blow gun
Both settings are interdependent! It should always
be tried several settings to achieve an optimal result.
Here are two examples and their effects:
- too deeply screwed in component [pos. 7] (small di-
stance inside to the nozzle): too little negative
pressure and too little blasting agent.
- too far back turned component [Pos. 7] (large di-
stance inside to the nozzle): there is no negative
pressure generated, but injected into the blasting
medium line -> pressure build-up
Step 1: Select a suitable blasting medium and fill in the
sandblast cabin.
Step 2: The workpiece must be free of oil, grease and
moisture. If necessary, clean the workpiece be-
fore placing it in the blast cabinet.
Step 3: Set the desired working pressure at the com-
pressed air supply (compressor). ake sure
that the maximum pressure is not exceeded!
The working pressure must be chosen accor-
ding to the sensitivity of the material.
Step 4: Connect the sandblast booth to the compres-
sed air source.
Step 5: Place the workpiece to be machined in the blast
cabinet, close the door and turn on the blast
cabinet lighting.
Step 6: Use the integrated protective gloves to hold the
sand blasting gun and the workpiece and start
sandblasting. Hold the sand blasting gun at an
angle of 45 ° to 60 ° to the workpiece, with the
blasting medium being blown away from the
workpiece against the back wall of the sand-
blasting cabin.
Use the pedal to dose the addi-
tion of abrasive.
ttention
:
When opening the cabin doors during
operation, the sandblasting cabin switches off au-
tomatically.
Step 7: After finishing work, disconnect the tool from
the compressed air source and remove the
workpiece.Care maintenance and repair
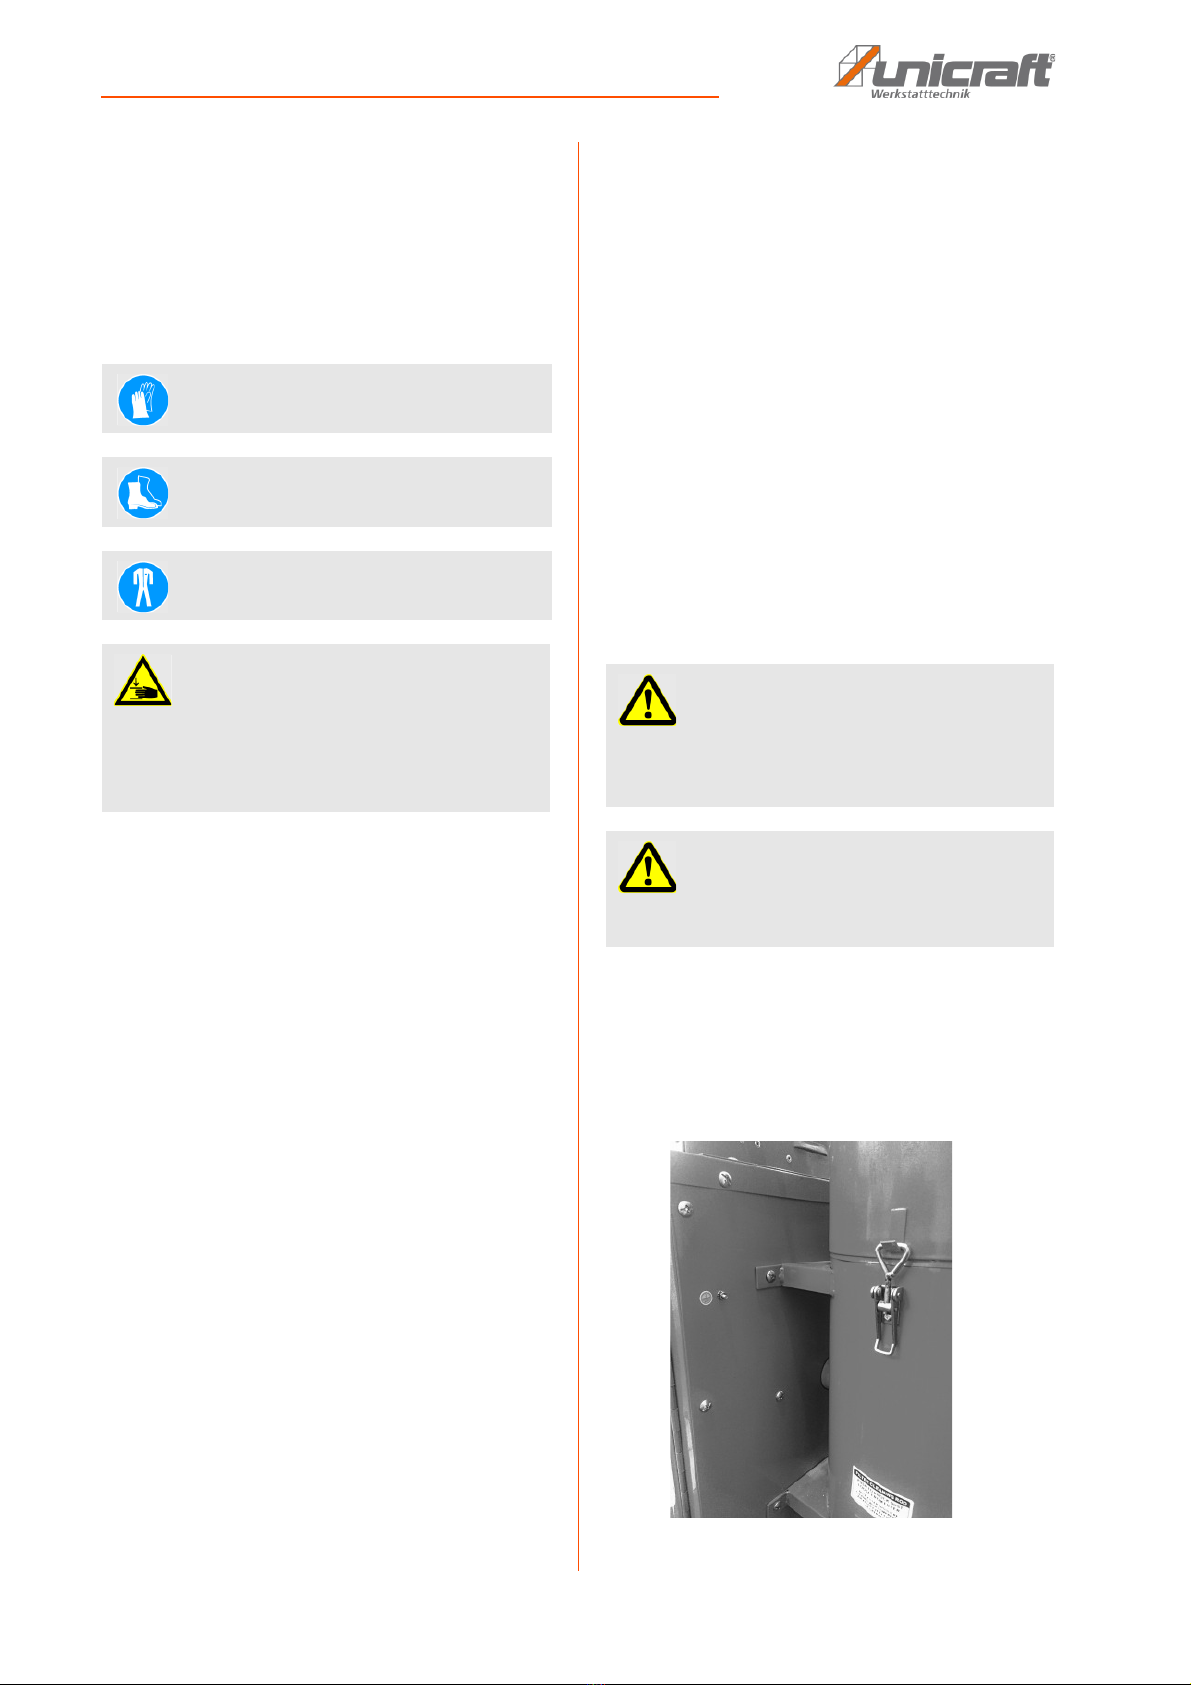
9 Care, Maintenance and Repair
9.1 Care by Cleaning
The sandblasting cabin should always be kept in a clean
condition.
NOTE!
There are no general guideline values for these set-
tings and the correct setting must be determined by
testing depending on the blasting medium and the re-
quirement.
TTENTION!
Disconnect the tool from the compressed air supply
and the sandblasting cabinet from the mains before
carrying out any maintenance, servicing and cleaning
work. aintenance and repair work may only be car-
ried out by qualified personnel.
Use safety gloves!
NOTE!
Never use harsh detergents for cleaning. This can
lead to damage or destruction of the device