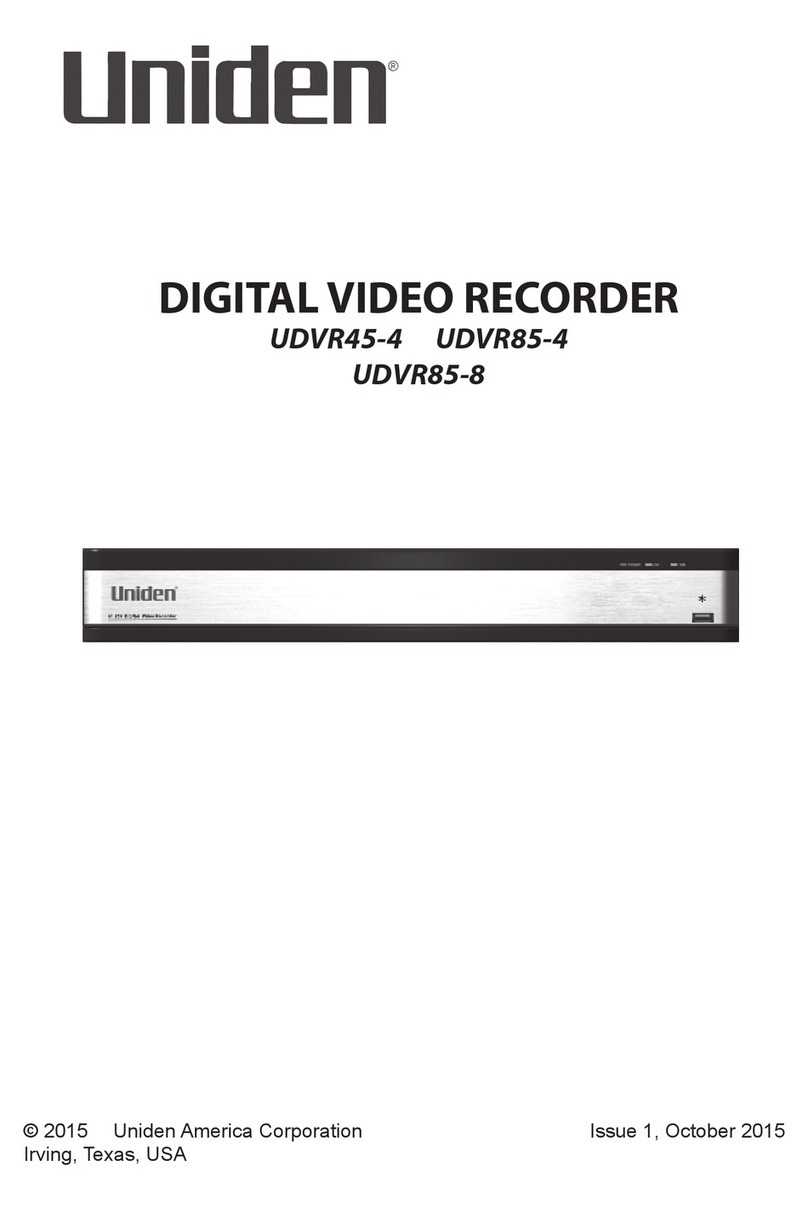
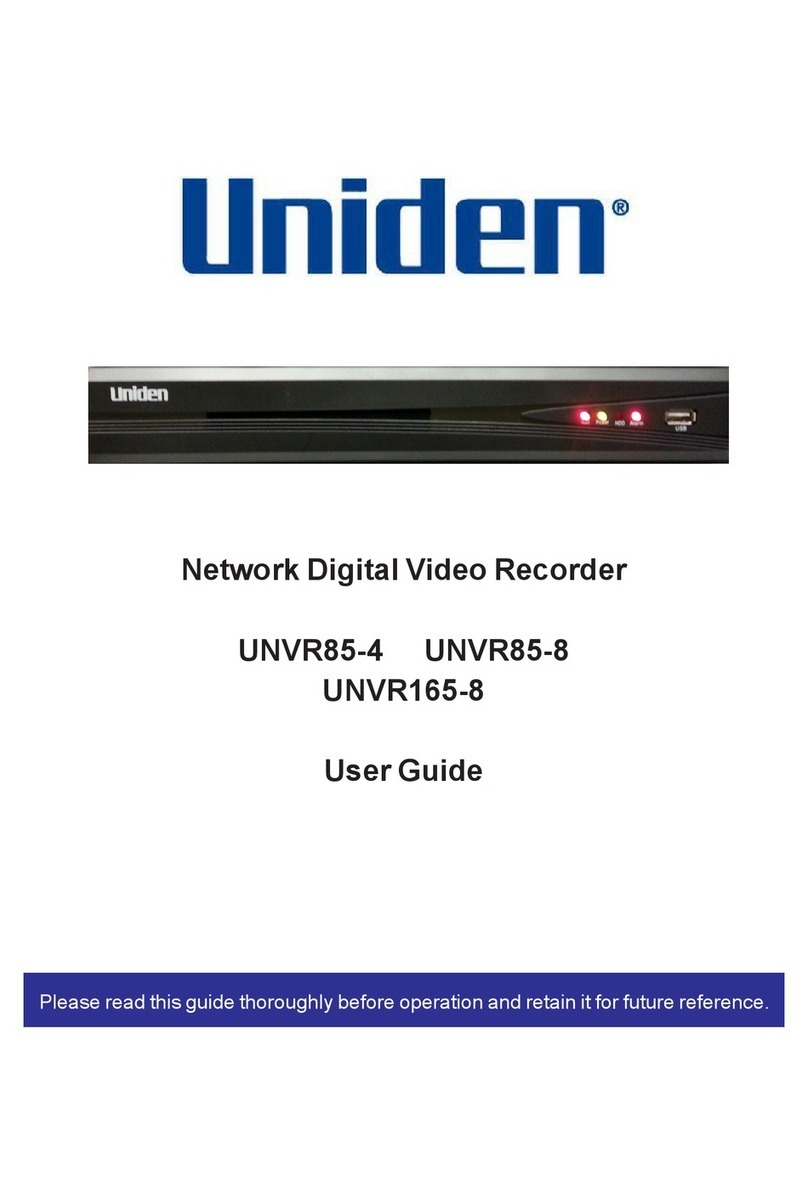
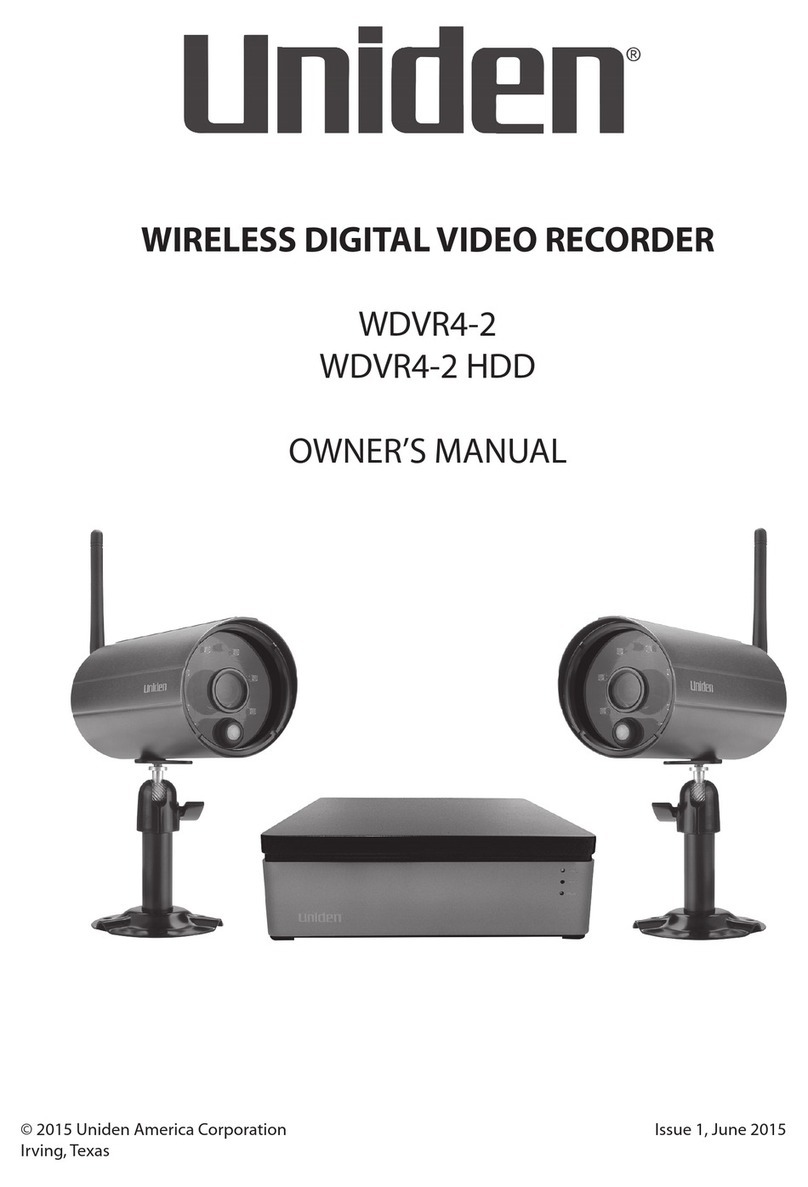
Uniden UNVR85x4 User manual

Video Security Systems
Compatible Products:
NVR/1080p | UNVR85x4 | UNVR85x8 | UNVR165x8
Pro View User Guide

Table Of Contents
I. Product Overview ...................................... 4
1. About ............................................... 4
2. System Specifications ................................ 4
II. Setup ................................................. 5
1. Installation ........................................... 5
2. Login ............................................... 7
3. Control Panel ........................................ 8
III. Program Overview ..................................... 9
1. Device Management .................................. 9
1.1 Add Device ....................................... 9
1.2 Add Decoder .....................................12
1.3 Channel Grouping ................................15
1.4 Layout ..........................................16
1.5 Storage Server ...................................18
2. Preview .............................................21
2.1 Device Streams .................................. 22
2.2 Preview Window Toolbar ......................... 22
2.3 Preview Overview ............................... 23
2.4 Device Group Polling ............................ 25
2.5 Device Layout Polling ............................ 25
2.6 PTZ ............................................ 26
2.6.1 PTZ Control ............................... 26
2.6.2 Preset, Cruise and Track ..................... 26
2.7 Picture Parameter ............................... 27
2.8 Preview Digital Zoom ............................ 27
2.9 Preview Multi-screen Display ..................... 27
3. Video Playback ..................................... 28
3.1 Video Search .................................... 29
3.2 Video Playback ................................. 30
3.3 Video File Download ........................... 30
3.4 Toolbar Overview ................................31
2

3
4. Map Configuration ..................................32
4.1 Add Map .......................................32
4.2 Map Tree Functions .............................33
4.3 Map Deployment ................................33
5. Map Management ...................................34
6. Decoder Configuration ............................. 35
6.1 Layout Setting ................................. 36
6.2 Screen Input Binding ........................... 37
6.3 Group Management ............................ 37
6.4 Enable Status ...................................39
7. Decoder Management .............................. 40
7.1 Decoding Mode Selection ........................ 40
7.2 Decoding on the Wall ............................ 41
7.3 Decoding Rolling ............................... 43
7.4 Preview Function Overview ......................43
7.5 Decoder Playback .............................. 44
7.6 Playback Function Oveview ......................45
8. Alarm Configuration .................................46
8.1 Add Alarm Rule .................................46
8.2 Modify Alarm Rule ..............................49
8.3 Delete Alarm Rule ...............................49
9. Alarm Management ................................. 49
10. Log Management .................................. 50
11. User Management ................................... 51
11.1 Add Sub-user................................... 52
11.2 Sub-user Access Distribution .....................52
11.3 Sub-user Modification and Deletion .............. 55
12. Local Configuration .................................56

4
I. Product Overview
1. About
The View Management System (VMS) software is used to manage
front-end network monitoring devices, including NVR, DVR, IPC,
MDI, SDI, etc. The primary uses of the VMS are: real-time preview,
video playback, mapping, alarm linkage, decoding on a video
wall, web access and mobile access.
The VMS program operates independently of other devices,
making it easy to setup, and works well for smaller projects. The
VMS accesses data directly from device. Connecting a device
with several clients is not recommended, since it may overload
the device.
The VMS currently supports five protocols: Active Registration,
I8H, I8, ONVIF and GB28181. Active Registration, I8H and I8
are proprietary protocols of Uniden, so they can be used free
of charge for any time period. ONVIF and GB28181 protocols
have 100 free authorizations that can be used within the span
of a month beginning the day of setup. Once the authorization
expires, the device won’t be accessible.
2. System Specifications
Operating System: Windows 2003 and above (framework 4.0
required). Windows 7 is recommended.
CPU: Intel® Celeron® CPU E3400 @ 2.6 GHZ or above.
RAM: 4G or above is recommended.
Network: Gigabit NIC and above for PC. GB and above for
router.
A PC can only run one database at a time, please make sure
no other databases are running and the two data ports are not
occupied to allow the program to run normally.

5
Language Setup Screen
To begin, you will be prompted to select a setup language so
you can start the installation. The default language is English, if
you require a dierent language, you will need to select it from
the drop-down. The program supports Simplified Chinese and
English. Click OK to confirm the setup language and begin the
setup.
Setup Screen
II. Setup
Double-click the program to open the setup wizard.
1. Installation
Click Next to select setup path.

6
During setup, you will need to select a location to install the VMS
program. The default path is C:\VMS, but you can modify the path
to install the program to a dierent destination.
Setup Destination Location Screen
Setup Additional Tasks Screen
1. Installation continued

7
Login Screen
The next screen allows the option to create a desktop shortcut and
Quick Launch icon to easily locate and open your program once
installed. Press Next to continue to installation.
Note: Computers equipped with antivirus software may display a warning before you
begin installation, please select Allow when prompted to enable the installation of the
program to continue.
Once installed, the program will begin. The user may enter login
information and select a language for the program. The default
username is “admin” and the password is “123456”. Enter the
password and click Login. You may uncheck the Remember
Password box if you would not like your password to be
remembered by the computer. You can also enable or disable
Auto Login. The Forgot Password button can assist you in
getting a temporary password. After clicking Login, you will enter
the Control Panel.
2. Login

8
3. Control Panel
Control Panel
The Control Panel contains several functions as highlighted by
the arrows above:
1) Displays the current user, user’s permissions, current time, CPU,
memory consumption and real-time network data flow. Click the
button to log out of the current account.
2) Displays real-time alarm and event notifications. Double-click
an alarm message to open the channel preview and view its live
activity.
3) Use the alarm sound toolbar to clear an alarm or
event message.
4) Use the toolbar to: pin the window in place, enter fullscreen
or hide the window.

9
III. Program Overview
1. Device Management
1.1 Add Device
On the Control Panel, select Device Management to open up the
device settings interface.
Device Management displays information on all of the devices
currently added to the VMS system. It lists the device type,
protocol type and online/oine status. Click Add Device in the
top right corner to add a device to the system.
Device Management Screen

10
On the Add Device Screen, select one of the following
protocols:
• Register Protocol is the active registration protocol
independently developed by Uniden.
• I8H Protocol is Uniden’s independently developed protocol
used for newer devices.
• I8 Protocol is Uniden’s independently developed protocol
that is used in older versions. Devices that don’t support
I8H Protocol can use this protocol.
• ONVIF Protocol is a joint ownership protocol that allows
third party devices to access the system if they are ONVIF
compatible.
• GB28181 is the national standard protocol for third party
devices to access the system if it’s supported.
Note: Active Registration, I8H and I8 do not require you to purchase an authorization
and can be used freely, while ONVIF and GB28181 are available only as temporary free
trials. Once the trial period expires, then you will be required to purchase authorization
to continue using it.
Once the protocol is selected, click Search to search all
available online devices.
Add Device Screen

On the Device Search Results screen, devices that are
already added to your device list will be displayed in dark
grey.
You can sort the results based on IP address by clicking on IP
at the top.
Check the box next to the device you would like to add and
click Select.
11
Device Search Results Screen
Add Device Screen

12
Decoder Screen
To add multiple devices in the search interface, select each
one and click Add Batchly. Fill in the password and add the
group of devices with one key.
Note: Passwords, for devices that require them, need to be filled in correctly.
Leaving passwords blank or filling them in incorrectly will lead to a failure to add
the device.
1.2 Add Decoder
You can enter the Decoder interface by clicking the tab at the
top of the Device Management screen. This screen displays
all decoders that are currently added to the server and
indicates if they are online or oine. Current decoders can be
edited or removed. New decoders can be added by clicking
the button in the top right corner.

13
Click Search to locate the available online decoders on your
LAN. Decoders that are already added will display in dark
grey and you will be unable to select them in the search
results window.
Add Decoder Window
Decoder Search Results Window

14
On the Add Decoder window, enter the decoder information:
• Decoder Name: You can define and modify the
decoder’s name.
• Username: Default username is “admin”.
• Password: Default password is left blank.
Once completed, click Save to add the decoder to the server.
Choose a decoder from the list and press Select. You can
also select multiple decoders from the list and click
Add Batchly. Enter the password to add a group under
the same key.
Add Decoder Window

1.3 Channel Grouping
Click on the Group tab on the Device Management screen.
Right-click in the blank area on the right side of the screen.
Select Add Group.
Group Screen
Add Group Window
15
Enter a group name and click Save to create the group.
Next, select a device on the left side, choose a group on the
right then click the button to add the device’s channels
to the selected group. You can view the grouping on the
Preview screen.

16
Complete Grouping
Layout Screen
To remove a channel from the group, click the channel and
press the button.
1.4 Layout
Click the Layout tab on the Device Management screen.

To create a new layout, click Add Layout.
Enter the Layout Name and select the number and type of split
screens desired. Split screens include standard split and wide
screen split. Standard split screens display in 16:9 aspect ratio
and wide screen pictures display in 1:1 aspect ratio. Select the
duration of stay for rotating channel previews under Dwell and
then drag and drop the channels to adjust the layout.
Add Layout Screen
Add Layout Screen
17

18
Click New to add another layout and click Save when
completed. The added layout should be displayed in the
column to the right of the Layout screen.
Right-click on an existing layout to edit it.
1.5 Storage Server
Click the Storage tab on the Device Management screen to
view your server’s storage.
Modify Layout Screen
Storage Screen

Right-click the blank area in the left column under RecPlan and
select Add Channel to modify the storage server. Select the
channel to modify its recording plan.
Storage Configuration Screen
Recording Plan Screen
19
The Storage screen displays server names, addresses and used
disk space. Click the button to configure server storage.

20
The default recording plan template options are All Day and
Working Day. If you need other recording plan templates, click
User Template and create a new one.
If a red dot is displayed next to the channel, then the channel
is recording. The blue dot indicates that the channel is not
recording.
Automatic Overwriting is defaulted to Enable. Enable allows
earlier recorded files in the storage to be automatically
overwritten when the disk becomes full. If disabled, the
recording will be suspended when the disk is full.
Recording Mode oers four options:
• Timing & Alarm: Captures recording based on a set
schedule and also when the alarm is triggered.
• Timing: Captures recording only when scheduled.
• Alarm: Captures only when alarm triggers a recording.
• Stop: No recording occurs.
Pre-record and Post-record functions provide a small amount of
video to be recorded and logged for an event before and after
the main recording and are available only with Timing & Alarm
and Alarm recording modes.
Copy to Channel allows you to transfer recording plan settings
from one channel to another channel if the other channel is
already on the storage server.
Advanced Settings allows you to create a partition on your
storage disk for recording.
Click Save to apply the completed configuration.
To modify, add or delete a channel on the storage server, right-
click the channel.
This manual suits for next models
2
Table of contents
Other Uniden DVR manuals

Uniden
Uniden Pro12800N0-4K User manual

Uniden
Uniden iWitness DC360 User manual

Uniden
Uniden igo cam 325 User manual

Uniden
Uniden UDVR46-4 User manual

Uniden
Uniden WDVR4-2 HDD User manual

Uniden
Uniden DC12 User manual

Uniden
Uniden PRO Series User manual

Uniden
Uniden PRO400X1 User manual

Uniden
Uniden CAM250 User manual

Uniden
Uniden DC115 User manual