Uniden igo cam 325 User manual

iGO CAM 325
Accident CAM
Vehicle Recorder
For more exciting new products please visit our website:
Australia: www.uniden.com.au

2
UNIDEN iGO CAM 325 Vehicle Recorder
Important Safety Instructions
NOTE
Uniden does not represent this product to be waterproof. Do not
expose this product to Rain or Moisture.
NOTE
This product is intended for use in a motor vehicle. Don’t install
the device where it will block the driver’s view of the road
(including the mirrors!) or the deployment of the airbag.
NOTE
Keep your attention on the road! Don’t try to operate or focus
on any device while driving. If you have to concentrate on a
device, pull off the road for a few minutes.
NOTE
Ensure that the camera lens is kept clean and there is nothing
blocking the lens.
NOTE
Don’t leave the device in direct sunlight for a long period of time
or where the temperature could go above 60°C.

3
UNIDEN iGO CAM 325 Vehicle Recorder
CONTENTS
Important Safety Instructions .......................................2
What Do I Do First? ........................................................4
Make Sure These Items Arrived in the Box ................................................4
Controls & Indicators .....................................................5
How Do I Put It in My Car? .............................................7
Attaching the Windshield Mount ..................................................................7
Operation ........................................................................ 8
Micro SD Card .......................................................................................................8
Plug it in, Power On/O ...................................................................................9
Record Mode ...................................................................................................... 10
Photo Mode ....................................................................................................... 12
Playback Mode ...................................................................................................13
Connecting to a PC .........................................................................................13
Settings Menu ...................................................................................................14
Important Information ....................................................................................15
Warranty ........................................................................16

4
UNIDEN iGO CAM 325 Vehicle Recorder
Make Sure These Items Arrived in the Box
What Do I Do First?
DC (CAR) Adaptor USB Cable
Windshield Mount
• If any item is missing or damaged, contact your place of purchase
immediately. Never use damaged products!
• Need help? Get answers at our website:
www.uniden.com.au for Australian model.
iGO CAM 325
• Owner’s Manual

Controls & Indicators
UNIDEN iGO CAM 325 5Vehicle Recorder
43
21
5
6
7
8
10
9
14
13
11
12
15
16
15
17

6Vehicle RecorderUNIDEN iGO CAM 325
Ref Component Description
1UP • In Menu list, move the cursor, one line up.
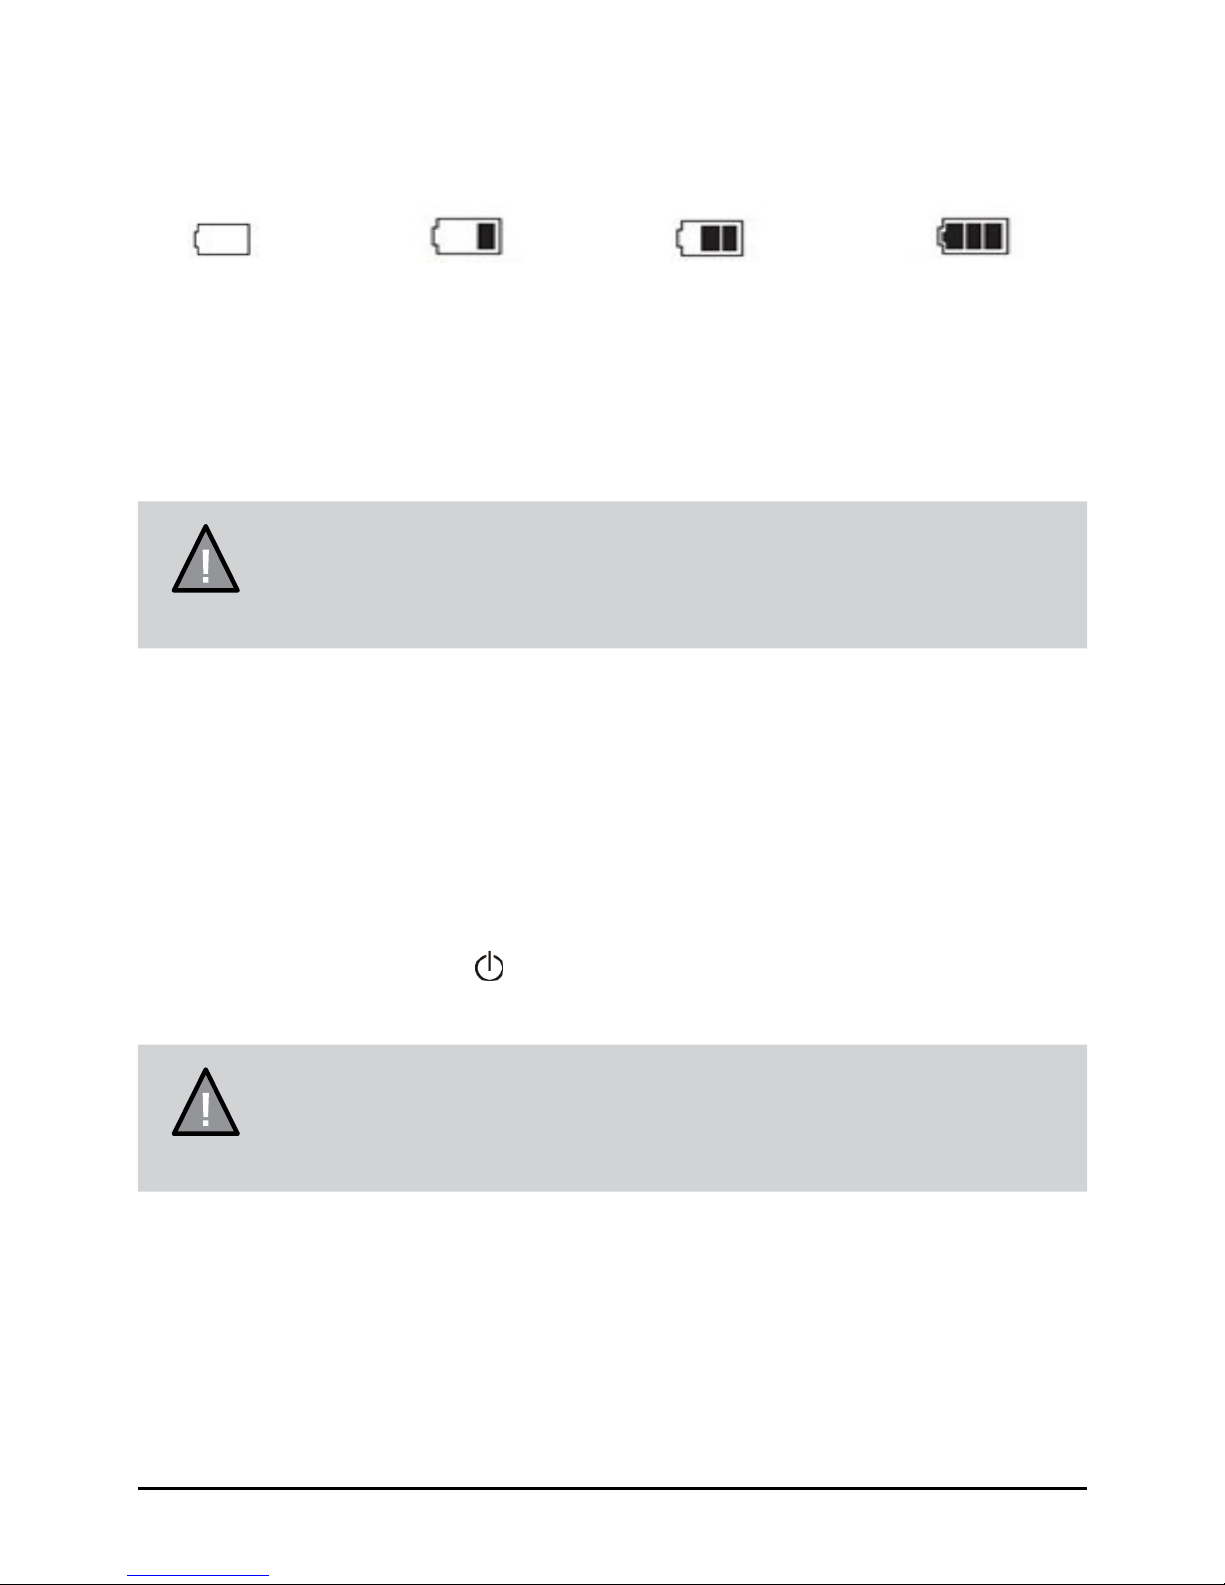
2 LED • RED - Indicates charging
3MENU In standby, open the Menu.
4 LED • BLUE - (Glow) Standby (Flashing) recording
5 DOWN • In Menu list, move the cursor, one line down
• Turn on/off the audio recording.
6 OK • In the Record mode, press this button to start/stop
video recording.
• Use this button to capture an image in the Photo
mode.
• Help conrm a menu selection.
• Conrm changes in the settings.
7 M/ • While recording, press to lock/save (from overwrite)
the current recording.
• Use this button to shift between the Record, Photo
and Playback mode.
8POWER • Press to turn power on.
• Press & hold to turn power off.
• During power on, press to turn Infrared LEDs (night
vision) on/off.
9 LCD
10 USB Port • Connect External Power & charge battery
• Connect to PC for data (SD card) transfer
11 Card Slot micro SD Card Slot
12 Lens
13 Bracket Slot Fit the bracket hook of the windshield mount
14 MIC Records sound.
15 Reset If the device fails to operate, try resetting the device.
Press the reset button using a ne pen or paperclip.
16 Speaker
17 Infrared LED LED for night vision

7
UNIDEN iGO CAM 325 Vehicle Recorder
How Do I Put It in My Car?
Attaching the Windshield Mount
1. Insert the bracket hook into the bracket slot provided on the top of the unit.
2. After inserting the hook, slide it down till it locks in position.
3. Press the suction cup at against the windshield.
4. Push the suction lock up, until it snaps into place and tighten the locking
collar to secure.
5. Gently pull on the mount to make sure it is secure.
NOTE
Suction cups will not stick well on a curved/textured or wet
surface.

8
UNIDEN iGO CAM 325 Vehicle Recorder
Operation
Micro SD Card
NOTE
A compatible micro SD card (not supplied) is required to record
and store videos and photos.
The unit can support micro SDHC cards (High Capacity SD) up to 32GB in
capacity. A micro SDHC card of at least 4GB capacity and minimum Class 4
speed is recommended.
Insert a formatted micro SD card gently in the slot at the side of the unit. To
remove the card from the slot, press the edge of the SD card inwards for it to
pop out and then pull it out of the slot.
Uniden recommends using good quality micro SD cards.
Battery Information
Although primarily designed for in-car use, the unit can operate from its built-
in battery for up to 10 minutes.
Please note, the power usage would depend on day/night recording and
resolution setting.
The unit will charge the battery whenever power is detected through the
USB port. When the unit is being charged, the Red LED will glow. It will
automatically turn off when the unit has been charged completely. The unit
will take about 90 minutes to charge completely.
NOTE
Please ensure that the battery is fully charged before using it
for the rst time. To extend the battery life, fully charge the unit
once every 3 months.

Plug it in, Power On/Off
NOTE
When connected to a car charger with power, the unit will
automatically power on and start recording.
1. Connect the DC car adaptor to the power connector (USB port) found on
the device.
2. Connect the other end of the DC car adaptor to your car’s cigarette lighter.
3. When connected to the car charger the unit will power on automatically
and start recording. When the car’s engine is turned off, the unit will
automatically turn off in a few seconds.
At other times, press the Power button to turn it on, or press & hold the
Power button to turn it off.
NOTE
Only use the DC car adaptor that comes with your device. Any
other adaptor might damage the device.
Full
Half full
Low
Empty
9Vehicle RecorderUNIDEN iGO CAM 325
Battery Alert
The image given below indicates the battery level at different stages.

10 Vehicle RecorderUNIDEN iGO CAM 325
NOTE
To record a video, ensure that a valid SD card (not supplied)
is inserted in the given slot. Also note, that inserting/removing
the SD card when the unit is recording causes the device to
shutdown.
Recording
When connected to a car charger, the unit automatically goes into the record
mode and starts recording. The icon will display on the screen.
A ashing red dot next to the icon indicates that the unit is recording.
To stop recording, press OK and the red dot disappears, indicating that the
recording has stopped.
Protect Function to Protect the Current Recording
If you want to protect the current recordings, then press the M/ button,
the key icon will appear on the screen. This indicates that those
recordings have been locked and will not be overwritten by new video clips.
Record Mode
Menu Settings
NOTE
Please note, you cannot access MENU when the the unit is
recording. To access the Menu, you will need to stop recording
by pressing OK.
In the record, photo or playback mode, press the MENU button once to
access the menu settings for that particular mode. Press twice to display the
Settings menu. Press the relevant UP and DOWN keys to scan through the
various settings and then press OK to select.
Press the MENU button to exit the Menu.

11
UNIDEN iGO CAM 325 Vehicle Recorder
Resolution Set the video resolution. The maximum resolution
is 1080P.
Loop Recording Use this option to set the time duration for each
recording. If you choose the option ‘Off’ then the
recorder will not loop record and the les will not
be overwritten on the micro SD card. The duration
of these recorded les will be around 10 minutes.
Exposure Set the brightness sensitivity.
Motion Detection Enable this setting to allow the recorder to start
recording when it detects movement.
Record Audio Use this setting to turn on/off the audio recording.
Date Stamp Use to display or hide the date and time stamp on
the recordings.
G-Sensor This feature detects signicant or sudden
movement and automatically locks the current
recording.
Key Tone Have the keys sound a tone when you press them.
Parking Mode Parking Mode is off by default. You can switch it on
to allow G-Sensor to detect strong vibration and
start recording for the parked vehicle.

12 Vehicle RecorderUNIDEN iGO CAM 325
Photo Mode
Timer Set the time gap for capturing an image.
For example, if you select 2s, then that will be the
delay between the OK button being pressed and
the image being captured.
Resolution Dene the image resolution.
Sequence The camera goes into a continuous shooting mode
when this option is activated and you get up to 5
shots in one click.
Quality Use to dene the quality of the images you want
to capture.
Sharpness Use to dene the clarity of detail in the images you
want to capture.
White Balance Establish the condition to capture an image, from
the options given.
ISO Use this setting, to increase or decrease the
sensitivity of the camera towards light.
Exposure Set the brightness sensitivity.
Anti-Shake Activate this to reduce the camera shake and
capture a better quality image.
Date Stamp Enable/Disable the date and time on the image
les.
• Press the MODE button till you see the icon displayed on the top left
corner of the screen.
• Now, press the OK button to take a photo.
Menu Settings

13
UNIDEN iGO CAM 325 Vehicle Recorder
Playback Mode
• Press MODE button till you see either of the or icons displayed
on the top left corner of the screen.
• Press the UP and DOWN keys to scan through the various video/image
les.
When in the Playback mode, press the MENU button to get the following
options:
• Delete
• Protect
Delete
Select this setting by using the relevant UP/DOWN key and press OK. The
following options are displayed on the screen - Delete Current, Delete All.
Choose the option, based on whether you want to delete the current le or all
the les (both recordings and images) on the SD card.
Protect
Select this setting by using the relevant UP/DOWN key and press OK. The
following options are displayed on the screen - Lock Current, Unlock Current,
Lock All, Unlock All. Choose the option, based on whether you want to lock/
unlock the les on the SD card, and then press OK.
Connecting to a PC
The iGO CAM 325 can be connected to a PC (using the supplied USB cable).
When the unit is connected to the PC, the following options - Mass Storage,
PC Camera - are displayed on the unit’s screen.
Select the option Mass Storage to manage and view the SD card contents on
the PC. When the unit is detected on the PC as an external drive, select to
view the DCIM folder. Click on the DCIM folder to open and view recordings/
images arranged in folders according to the specied date. The locked/
protected recordings have le names beginning with ‘SOS’, thus enabling you
to easily distinguish them from the rest of the recordings.

In any of the modes (record, photo or playback), press the Menu button twice
to open the settings menu.
Settings Menu
Set Date/Time Change the date and time by using the relevant UP
and DOWN keys, and then press OK to conrm.
Auto Power Off Set the time duration to automatically power off the
unit, when idle.
Language Set the language.
Frequency Under this setting you have the option to choose
between 50Hz or 60Hz. Select the relevant option
and press OK.
Screen Saver Set the time to automatically turn off the LCD after
the recording starts.
Format Use this option to format the SD card
Default Setting Use this option to change all the settings back to
the default factory settings.
Version Firmware Version
14 Vehicle RecorderUNIDEN iGO CAM 325

General Problems Possible Solutions
The unit cannot take photos or
record videos
The unit automatically stops when
recording
• Ensure that the SD card is
formatted properly and inserted
correctly.
• Use the recommended type of
SD card (minimum 4GB Class 4)
Video is unclear Ensure that there are no ngerprints
or dirt on the lens. Ensure that the
lens is always kept clean.
Dark images while recording
water/sky
Adjust the EV setting.
Colour of the images is not good Set the ‘white balance’ setting to
automatic.
Cross-stripe interference in an
image
This is due to the light frequency.
Change the light frequency
depending on the local power supply.
The unit crashes Press and hold the ‘Reset’ button,
with a pin, to restart the unit.
Important Information
Solving Problems
Listed below are some of the problems and the possible solutions. If you still
need help, visit our website, listed on the front cover.
15 Vehicle RecorderUNIDEN iGO CAM 325

16 Vehicle RecorderUNIDEN iGO CAM 325
Warranty
UNIDEN iGO CAM 325
IMPORTANT: Satisfactory evidence of the original purchase is required
for warranty service
Please refer to our Uniden website for any details or warranty durations offered
in addition to those contained below.
Warrantor: The warrantor is Uniden Australia Pty Limited ABN 58 001 865 498
(“Uniden Aust”).
Terms of Warranty: Uniden Aust warrants to the original retail purchaser only
that the iGO CAM 325 (“the Product”), will be free from defects in materials and
craftsmanship for the duration of the warranty period, subject to the limitations
and exclusions set out below.
Warranty period: This warranty to the original retail purchaser is only valid in
the original country of purchase for a Product rst purchased either in Australia
or New Zealand and will expire one (1) year from the date of the original retail
sale.
If a warranty claim is made, this warranty will not apply if the Product is found
by Uniden to be:
(A) Damaged or not maintained in a reasonable manner or as recommended
in the relevant Uniden Owner’s Manual;
(B) Modied, altered or used as part of any conversion kits, subassemblies or
any congurations not sold by Uniden Aust;
(C) Improperly installed contrary to instructions contained in the relevant
Owner’s Manual
(D) Repaired by someone other than an authorized Uniden Repair Agent
in relation to a defect or malfunction covered by this warranty; or
(E) Used in conjunction with any equipment, parts or a system not
manufactured by Uniden.
Parts Covered: This warranty covers the Product and included accessories.
User-generated Data: This warranty does not cover any claimed loss of
or damage to user-generated data (including but without limitation phone
numbers, addresses and images) that may be stored on your Product.

Statement of Remedy: If the Product is found not to conform to this warranty
as stated above, the Warrantor, at its discretion, will either repair the defect or
replace the Product without any charge for parts or service. This warranty does
not include any reimbursement or payment of any consequential damages
claimed to arise from a Product’s failure to comply with the warranty.
Our goods come with guarantees that cannot be excluded under the Australian
Consumer Law. You are entitled to a replacement or refund for a major failure
and for compensation for any other reasonably foreseeable loss or damage.
You are also entitled to have the goods repaired or replaced if the goods fail to
be of acceptable quality and the failure does not amount to a major failure.
This warranty is in addition to and sits alongside your rights under either the
COMPETITION AND CONSUMER ACT 2010 (Australia) or the CONSUMER
GUARANTEES ACT (New Zealand) as the case may be, none of which can be
excluded.
Procedure for obtaining warranty service: Depending on the country in
which the Product was rst purchased, if you believe that your Product does
not conform with this warranty, you should deliver the Product, together with
satisfactory evidence of your original purchase (such as a legible copy of
the sales docket) to Uniden at the address shown below. You should contact
Uniden regarding any compensation that may be payable for your expenses
incurred in making a warranty claim. Prior to delivery, we recommend that you
make a backup copy of any phone numbers, images or other data stored on
your Product, in case it is lost or damaged during warranty service.
UNIDEN AUSTRALIA PTY LTD
Phone: 1300 366 895
Email: [email protected]
17 Vehicle RecorderUNIDEN iGO CAM 325


© 2018 Uniden Australia Pty Limited.
Printed in PRC V1.1
Table of contents
Other Uniden DVR manuals

Uniden
Uniden UNVR85-4 User manual

Uniden
Uniden Pro12800N0-4K User manual

Uniden
Uniden DC115 User manual

Uniden
Uniden WDVR4-2 HDD User manual

Uniden
Uniden PRO400X1 User manual

Uniden
Uniden GNVR 167 Series User manual

Uniden
Uniden CAM250 User manual

Uniden
Uniden PRO Series User manual

Uniden
Uniden Pro7400H1 User manual

Uniden
Uniden DCAM User manual