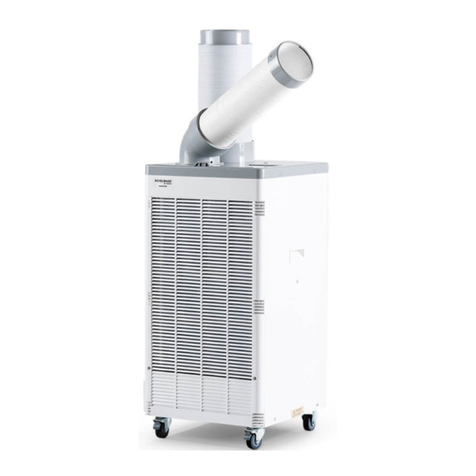
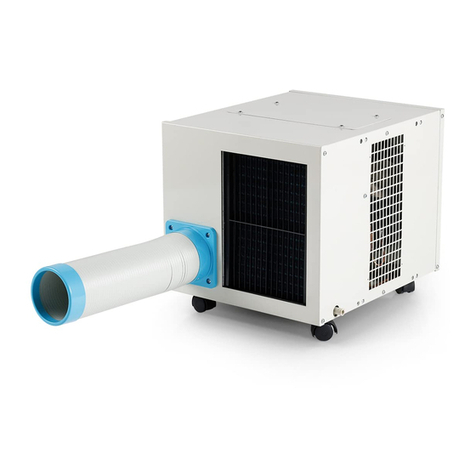
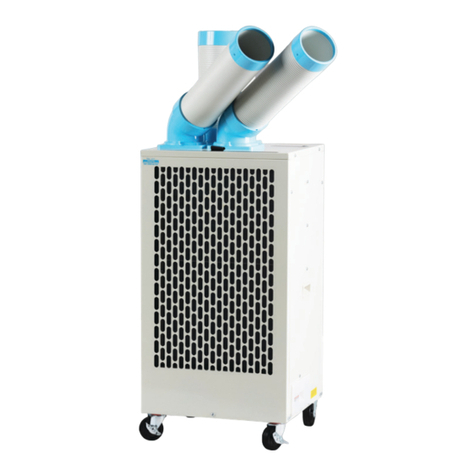
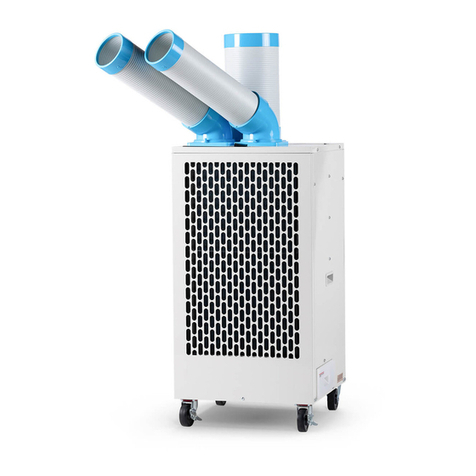
UNINEX Koolzone SAC-2500C User manual

USER MANUAL
SAC-25OOC
KOOLZONE
MOBILE SPOT COOLER
FOR MORE INFO

KOOLZONE
2
THANK YOU FOR PURCHASING THE KOOLZONE MOBILE SPOT COOLER.
PLEASE READ THE INSTRUCTIONS BEFORE USING.
KEEP THESE INSTRUCTIONS FOR REFERENCE.

TABLE OF CONTENTS
1. SAFETY PRECAUTIONS ································ PAGE 4,5
2. SPECIFICATIONS ············································ PAGE 6
3. ACCESSORIES ················································ PAGE 6
4. PARTS OF THE MACHINE ································ PAGE 7
5. INSTALLATION ··············································· PAGE 7
6. OPERATING INSTRUCTION ··························· PAGE 12
7. MAINTENANCE AND INSPECTION ··············· PAGE 13
8. TROUBLESHOOTING ···································· PAGE 14
KOOLZONE
3

KOOLZONE
4
1. SAFETY PRECAUTIONS
Please read “Safety Precautions” carefully before operating the unit to reduce the risk of injury or
damage.
Please read carefully. The following should be read and understood.
STOP
STOP
FORBIDDEN
AS DIRECTED
NOTIFICATIONS / CAUTION
FOR YOUR SAFETY, PLEASE FOLLOW THESE INSTRUCTIONS.
It may cause personal injury, re, or other property damage
if you neglect this mark and operate in the wrong way.
Please do not use the unit where ammable materials are used or stored (such as thinner,
gasoline, kerosene, LPG, aluminum, magnesium, and plumbum). They could cause possible re or
explosion.
Only a professional repair service should disassemble the unit in order to avoid warranty
voidance or safety issues such as re, electric shock, and injury. If you need repairs, please
contact the manufacture or qualied repair service.
This mark stands for under any circumstances this unit should
not be used.
This mark stands for only use as directed.
The power supply use only 115V single phase, otherwise it will cause the unit not to function
properly.
This mark stands for notication of use or to be aware of
possible hazardous or unsafe situations.
Please do not operate the unit in the rain or wet areas.

KOOLZONE
5
Keep unit away from excessive heat or re. It may cause damage to the unit.
Do not change or modify the unit. It could cause damage to the unit or property and will void
warranty.
Use only grounded outlet.
Turn off the unit to move location or lock casters.
Hold plug when pulling out of outlet. Otherwise, the plug may be damaged or sparking could
occur.
The unit operates in the temperature range from 64°F to 104°F, otherwise it may cause the unit to
slow the air ow or shutdown.
To prevent an accident or damage, the unit can not be used in the following locations:
• Not grounded.
• Unlevel ground.
• Stairs, emergency exit or entrance.
• Area of strong wind, heavy dust or metal powder.
Unplug unit for repair or installation.
Do not bend, pull, bind, clip, or change the power cord. It may cause accidents such as re or
electrical shock.
Do not use unit on a boat.
Unplug unit if storing or non-use for a period time.
If the unit is stopping, has excessive noise, or abnormal odor, please stop use immediately.
STOP

KOOLZONE
6
Drain Hose
Mounting Brackets
Cooling Duct
Bolts and Washers
2. SPECIFICATIONS
3. ACCESSORIES
POWER / FREQUENCY
LOAD CURRENT
CONSUMPTION POWER
COOLING CAPACITY
COMPRESSOR
REFRIGERANT
REFRIGERANT (RATED CHARGE)
FAN PROTECTOR
CONDENSATE WATER HANDLING METHOD
SIZE
WEIGHT
OPERATING TEMPERATURE LIMIT
Single phase 115 V / 60 Hz
Fan
1.7 A
195 W
Aircondition
8.58 A
937 W
9,210 BT U
Fully Closed Type Rotary
R410 A
520 g
Inner Overheatprotector
Drain Pipe
17.7” × 20.6” × 15.9”
7 7. 2 L B
(77℉ - 113℉)
• Refrigeration capability and electric features are tested at 94℉room temperature and 60% humidity.

KOOLZONE
7
Front Cold Air VentSocket
Evaporator Filter Screen
Heat Vent
Bracket Bolts Heat Vent Cover Plate
Cooling Vent Cover Plate
Cooling Duct
Heat Vent
Cooling Duct
Cold Air Vent Cover Plate
Water Outlet
Heat Vent
Cold Air Vent
Heat Vent Cover Plate
Heat Vent
Switch Control Box
Power Cord
Evaporator Filter Screen
4. PARTS OF THE MACHINE
5. INSTALLATION
• INSTALLING THE COOLING DUCT
There are three cold air outlets. All three outlets can be used together (one cooling duct included).
Additional ducts can be purchased seperately. Select the direction of the cold air outlet needed for use.
The cold air vent socket is xed to the cold air vent on the air conditioner with four M5x12 screws
(included). Select the direction needed and cover the other air vents with a cold air vent cover plate.
There are three heat outlets provided by the air conditioner. Depending on the situation, the heat vent
cover can be used on one or none of heat vents.
Cold Air Flow Front View Cold Air Flow Side View
Electric Box
Cover Plate
Side Cold Air
Vent Cover Plate

KOOLZONE
8
Cold Air Vent
Mounting Bracket
Spring Washer
Flat Washer
Cold Air Vent Cover Plate
Cooling Duct
Cold Air Vent
M8×25 Bolt
• INSTALLING MOUNTING BRACKETS
Align the screw holes on the machine with the mounting bracket. Using the four M8x25 screws
(included) secure the mounting brackets.
Differnt Mounting Option (Outside) Differnt Mounting Option (Inside)
Cold Air Flow Bottom View
When installing the unit, the upper ceiling or beam must be able to fully support the weight of
the unit. All supporting hardware should meet building code standards to ensure the safety of
the unit.
NOTIFICATION

KOOLZONE
9
• INSTALLING THE UNIT
INSTALLATION OPTION 1. (Hardware is not included)
Installing the unit directly on the ceiling.
INSTALLATION OPTION 2. (Hardware is not included)
Installing the unit on the ceiling using lifting or hoist rings.
Load direction of the lifting rings. The at sides of the upper and lower lifting rings should be on the
same direction (as shown in the diagram).
CAUTION
M8 Hexagon Bolt
Wire Rope
70℉~80℉
Wire Clip
Lifting Ring
Mounting Bracket
Flat Washer
Spring Washer
Nut
Flat Washer
Mounting Bracket
Flat Washer
Spring Washer
Nut
Ceilling

KOOLZONE
10
INSTALLATION OPTION 3. (Hardware is not included)
Installing the unit on the beam with a boom.
INSTALLATION OPTION 4. (Hardware is not included)
Installing the unit on the table or bed.
Nut
Nut
Nut
Installing Board (Note Included)
Flat Washer
Flat Washer
Flat Washer
Flat Washer
Boom (M8 Bolt)
M8x25 Bolt
M8x25 Bolt
Mounting Bracket
Spring Washer
Spring Washer
Spring Washer
Beam
Table/Bed

KOOLZONE
11
Switch Control Box Hook
Water Outlet
Drain Hose
•INSTALLING THE DRAIN HOSE
Connect the drain hose as illustrated below. Condensated water can be drained directly from
the unit using the drain hose.
•INSTALLING THE THE SWITCH CONTROL BOX
The switch control box hook is attached to the side of the unit (as illustrated below). Connect the
switch control box to the hook.
• POWER SUPPLY CONNECTION
Please use a dedicated power outlet.
Please use a grounded circuit breaker with a 15A capacity.

KOOLZONE
12
• HOW TO OPERATE AND SELECT FUNCTIONS
Set the switch to fan mode and the fan will start. The unit will emit ambient air.
At fan mode setting the compressor will not work.
Set the switch on cooling mode, the compressor will start and cold air will ow from the AC unit.
Set the switch to the stop, AC unit will turn off.
6. OPERATING INSTRUCTION
SWITCH CONTROL BOX OVERVIEW
STOP
Stop Stop Stop
Fan Fan Fan
Cooling Cooling Cooling
FAN COOLING
• Operating temperature is between 77°F to 113°F.
• If you use the unit out of the temperature range, it may not work properly.
• Do not overload the electrical system by using too many devices off one outlet.
NOTIFICATION
When the overload protection is working, the air ow from the unit will be at the ambient temperature of
the room, but will not cool the air.
If overload protection works frequently, nd out, and x the problem before using the unit.
•COMPRESSOR OVERLOAD / OVERHEAT PROTECTION
If the compressor overheats or overloads due to high or low voltage or high ambient temperature,
the built in safety protection for the compressor will start working and turn off the unit.
CAUTION

KOOLZONE
13
Evaporator Filter Screen Condenser Filter Screen
Top Front
Direction
above 16”
Direction
above 16”
Direction
above 16”
Direction
above 16”
Evaporator Filter Screen Condenser Filter Screen
7. MAINTENANCE AND INSPECTION
• When cleaning lter with heavy use, consider vacumming lter before rinsing. Rinse with water and dry
thoroughly before reuse.
• When cleaning the surface of the unit, do not use abrasive materials or chemicals which could damage
the unit surface.
Please clean the lter regularly.
NOTIFICATION
In order to prevent accidents, the unit should be placed on level ground. Unlevel ground, stairs,
emergency exits should not be used. Minimum distance needed is 12” from any wall.
While the unit operates, please do not place obstructions in front of the lter, cooling, or heating
exhaust duct.
•KEEP DISTANCE
Make sure the unit has minimum distance from any wall, ceiling, or object as illustrated below.

KOOLZONE
14
8. TROUBLESHOOTING
PROBLEM CAUSE SOLUTION
NOT RUNNING
NO REFRIGERATION
WATER LEAKS OUT
• The power plug is loose or
disconnected.
• The breaker switch has turned off.
• The condenser surface is dirty
and blocked.
• The heat exhaust fan not working.
• The external environment
temperature is too high.
• The compressor is not working.
• The refrigeration system pipeline
is blocked.
• Possible power overload.
• The drain pipe is blocked.
• The lter is dirty.
• The water tank is full of water.
• Clean out the drain pipe.
• Clean the lter.
• Remove drain cap and empty the
water.
• Clean the condensor surface and
vents.
• Check fan.
• Move to more a suitable place
to use.
• Check the capacitor to the
compressor.
• Check pipeline system and clean.
• Check for proper voltage.
• Insert the plug into the wall outlet.
• Check breaker on main panel and reset.
• Ask the technical service department
for assistance.
• The warranty period of this machine is one year. Our company has a technical department to
provide sevice to our customers.
• If the customer disassembles or modies the unit in any way, the unit is not covered by the warranty.
• If the unit is out of warranty, the customer is responsible for service and additional costs if needed.

KOOLZONE
15
KOOLZONE MANUFACTURER’S
RECOMMENDATIONS
12
AWG
MAX
12FT
1. USE A DEDICATED OUTLET. DO NOT SHARE AN OUTLET WITH OTHER DEVICES.
SHARING AN OUTLET MAY CAUSE A POWER OUTAGE.
2. IF USING AN EXTENSION CORD, A 12 AWG IS RECOMMENDED.
3. DO NOT BLOCK THE HEAT EXHAUST DUCT.
BLOCKING THE HEAT EXHAUST COULD CAUSE THE UNIT
TO OVERHEAT AND STOP WORKING PROPERLY.
4. FOR OPTIMUM PERFORMANCE, USE ONLY UP TO A MAXIMUM OF
12 FT OF HEAT/COOL EXTENSION DUCT.

KOOLZONE
16
PLEASE NOTE
OPTIMUM OPERATING TEMPERATURE RANGE FOR
KOOLZONE MOBILE SPOT A/C COOLER
IS FROM 77° - 113° FAHRENHEIT.
WHEN USING THIS UNIT ON COOLING MODE,
THE AMBIENT TEMPERATURE WILL BE REDUCED
BETWEEN 10° - 15° FAHRENHEIT.

MAKE LIFE SIMPLE AND MORE CONVENIENT
WITH UNINEX
EXCLUSIVELY DISTRIBUTED BY:
UNINEX INTERNATIONAL
5780 SMITHWAY STREET COMMERCE, CA 90040
T. 800-864-3288 / 323-890-9246 / F. 323-890-9249
MANUFACTURE:
NAKATOMI CO.,LTD.
6445-2, TAKAI, TAKAYAMA, KAMITAKAI, NAGANO, JAPAN
SCAN ME
CONTACT US FOR PURCHASE OR RENTAL
Table of contents
Other UNINEX Accessories manuals

UNINEX
UNINEX Nakatomi Koolzone SAC-6500 Instruction manual

UNINEX
UNINEX KOOLZONE SAC-3000AS User manual

UNINEX
UNINEX KOOLZONE SAC-1800 Instruction manual

UNINEX
UNINEX Nakatomi Koolzone SAC-6500 User manual

UNINEX
UNINEX KOOLZONE SAC-1800 User manual

UNINEX
UNINEX KoolBase MSC1800NE User manual

UNINEX
UNINEX KoolBase MSC407NE User manual

UNINEX
UNINEX KOOLZONE SAC-4500 Instruction manual

UNINEX
UNINEX KOOLZONE SAC-25FC User manual

UNINEX
UNINEX KOOLZONE SAC-3000 User manual